My First DIY Fabric Bag
Hello, dear creative Hivers!
Hope you are all having the best of the day wherever you are, well for me it's been a busy day trying my hands on making a DIY fabric bag for the first time, yeah, that's right, even though I'm always finding a project or two to do with my sewing machine every now and then, I've never thought of making my very own bag, not until I stumbled on an interesting hivers post,@bimpsy, she made a beautiful fabric bag and I got motivated to try making one myself, one of the benefits of being a member on the Hive blockchain means we get to have good daily inspirations that motivated us to get better with our craft and all other life experiences.
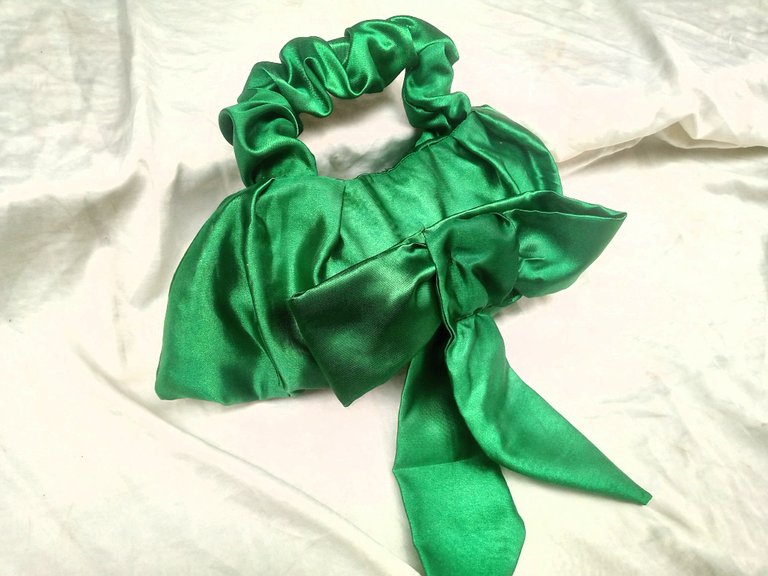
I didn't expect the final result to be perfect since it's my first time making a bag, it's always better to give it a trial first rather than give up with a defeated mindset that you can't do it, so with that in mind, and I embarked on the making process and at the end of it all, I didn't make a perfect bag but a beautiful one which I'm so proud of showing off and even feel more inspired to make many more because this one has already been snatched by my younger sis, I mean I would do same in her shoes, now that I have an idea of how to go about the making process, I plan to explore many more designs and fabric types and getting them wouldn't be a problem, as long as I can still make a new one.
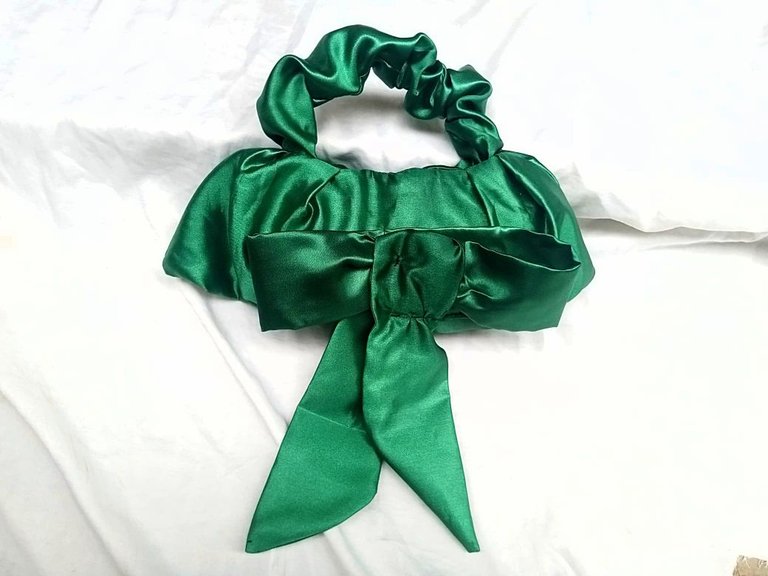
Materials used
- Satin Fabric
- warden(foamy interfacing)
- Thread
Making Process
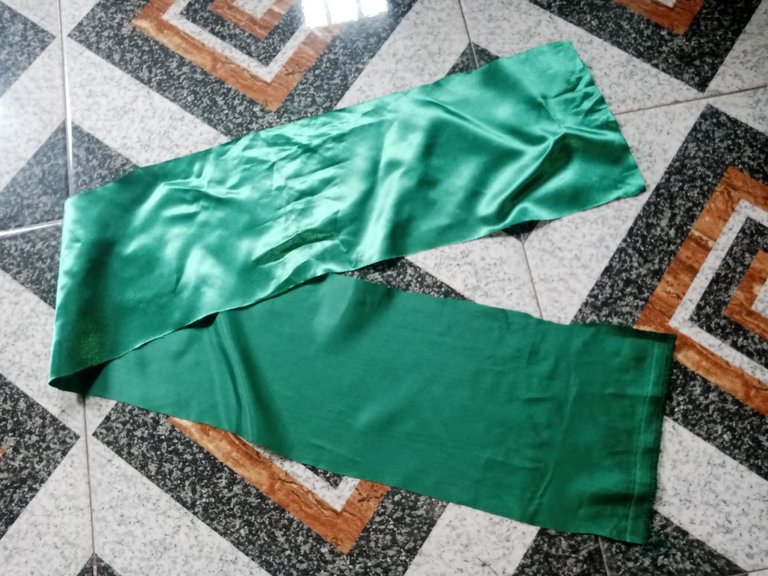
- I started by cutting out two strips that would serve as the bag's main pattern pieces for both the front and back, the width is 7.5 inches while the length is 22 inches
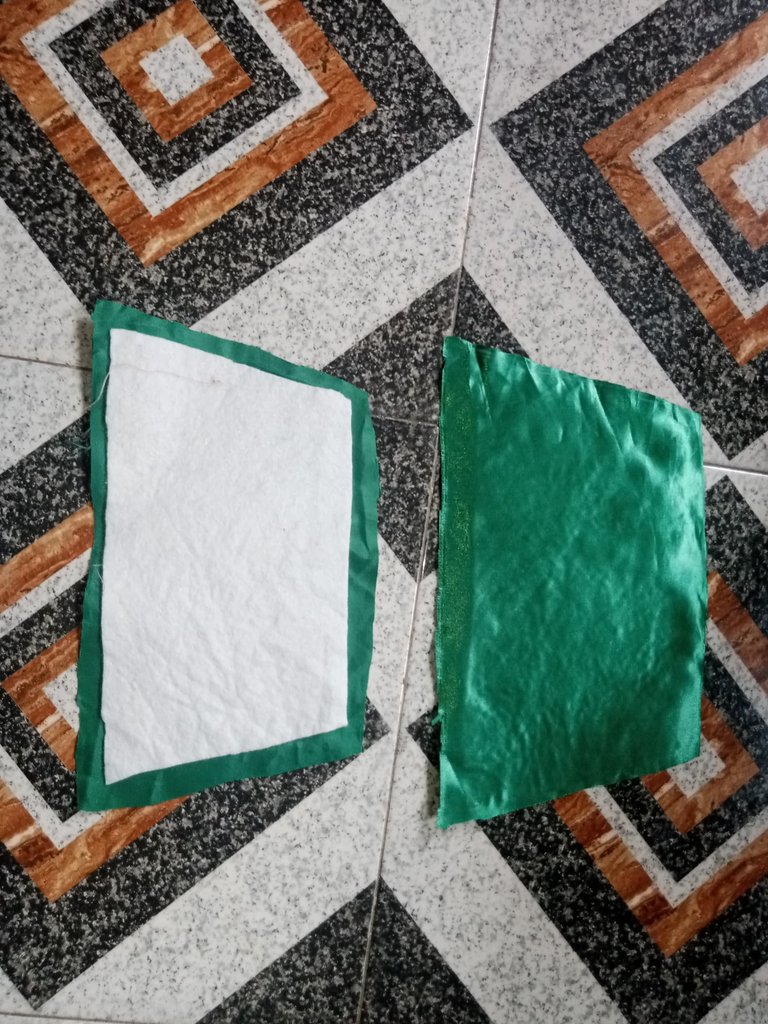
- Placing the two pattern pieces on the fold, I notched the middle point and also made a slanted cut out after measuring 6.5 inches above
- Continuing, I pleated both ends of the pattern pieces, above and below
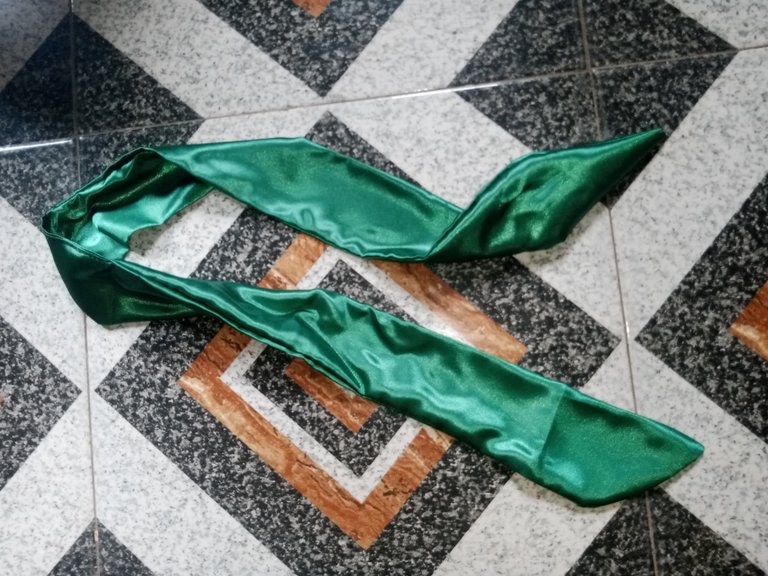
- Then went ahead to cut out the bow strip, which measured about 42 inches in length and 6.5 inches in width. I sewed both ends before turning it to the right side of the fabric.
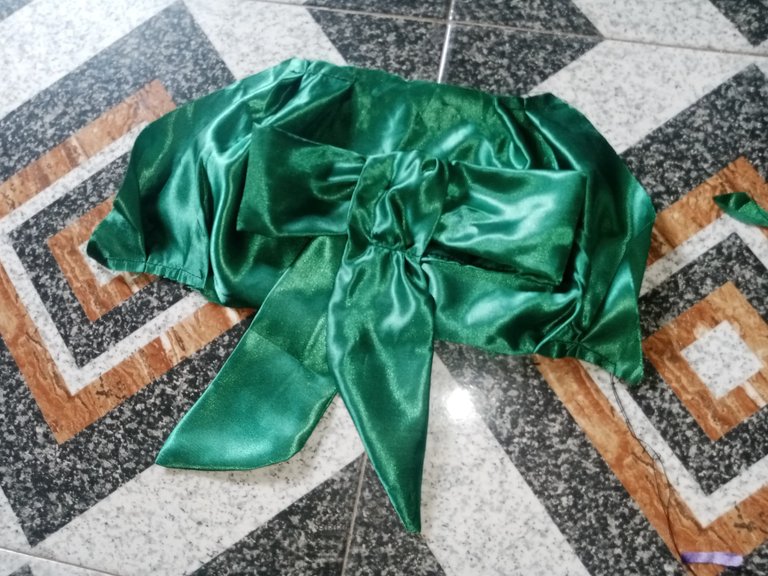
- I made a knot with the strip and attached it to one part of the main bag pattern piece.
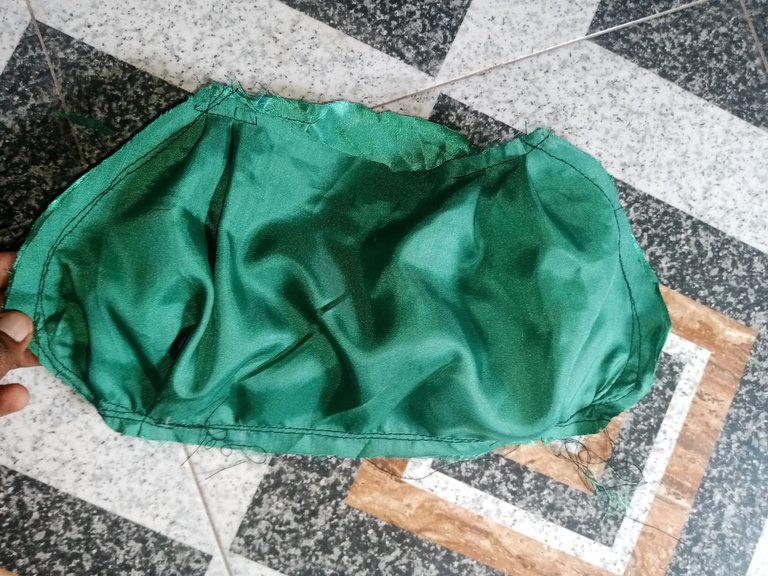
- Next, I joined the front and back main fabric pattern together, forming a curve at the edges
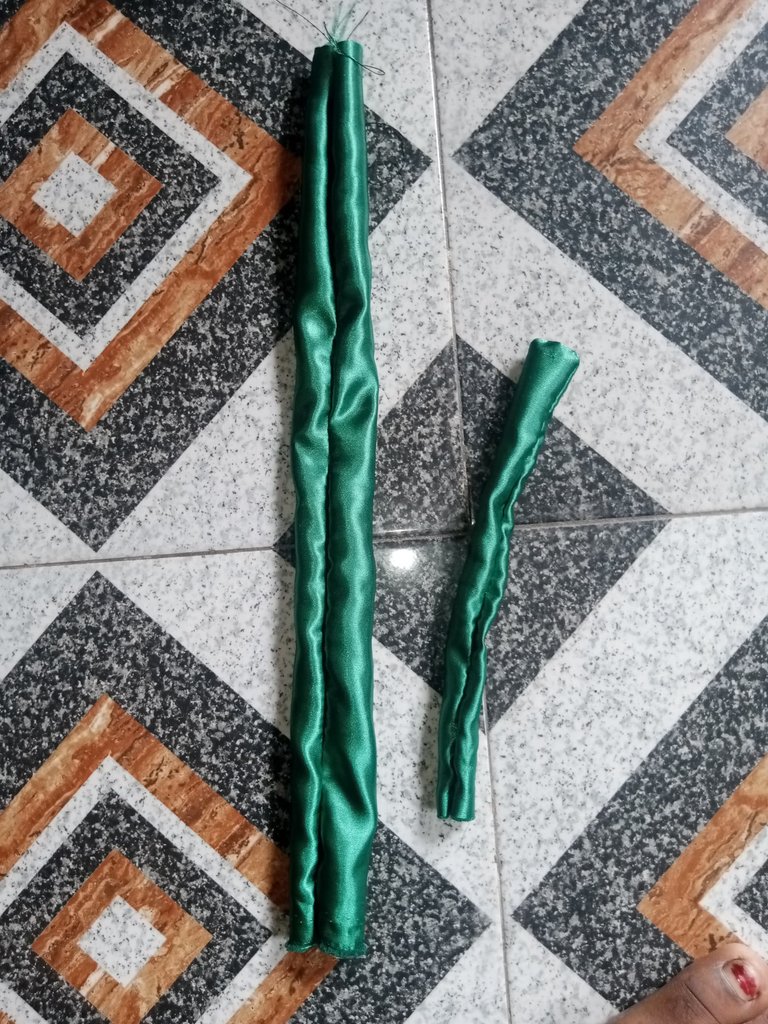
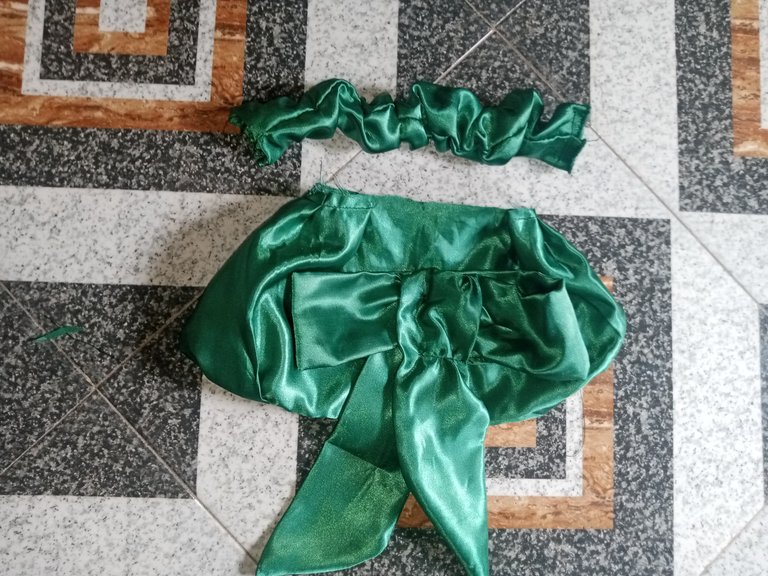
- Moving on, I cut out two strips to make a ruched handle for the bag
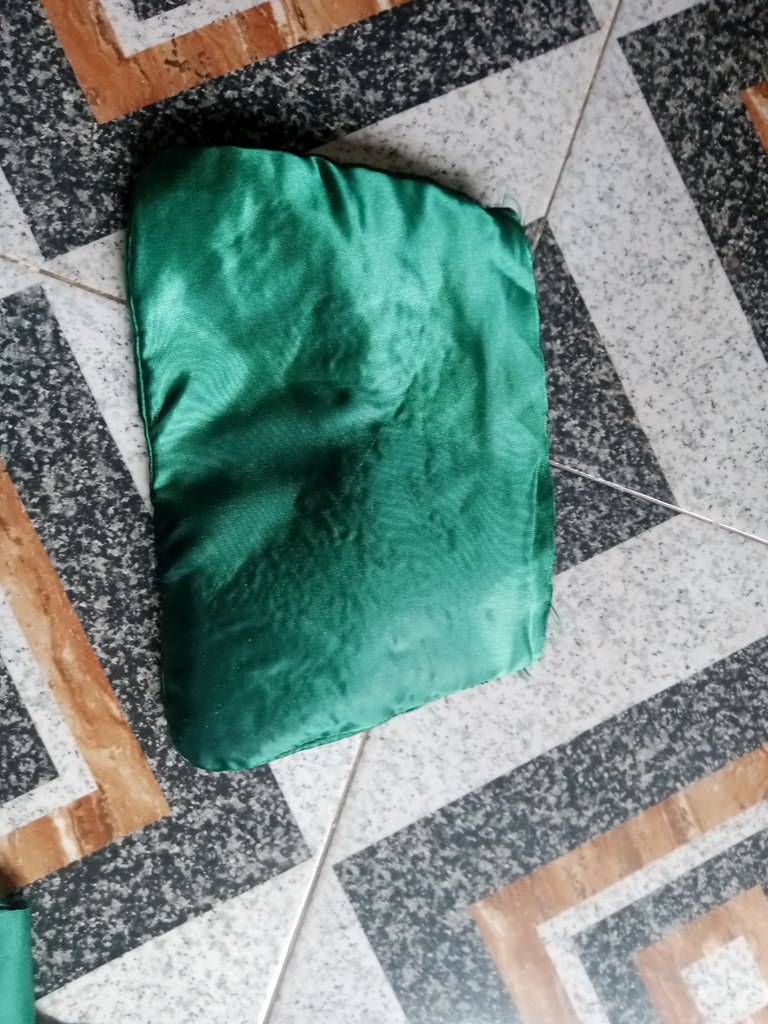
- Finally, I cut out the bag's inner lining pattern using the same fabric and also ironed the foamy interfacing on it before joining and using it to turn the bag's inside.

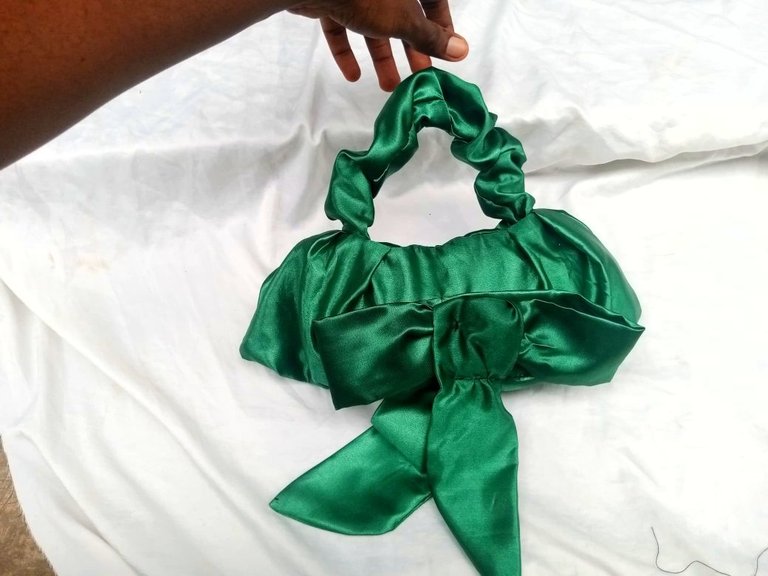
My beautiful bag is ready, I bet my sister is so happy with her new loot from me, I have to make another one pretty soon I guess.
I hope you understand the making process, you can reach out to me if you find any part confusing, and I'll be able so delighted to explain further, do you like my first fabric bag? Let me know😄

That's one beauty of Hive, you get inspired through someone's work and would want to try it out. It's always good when we do this as it makes us realise what we can do, and when we keep practicing it, we become more better in it.

Wow, this is a very cute bag, and that's the perks of being a Hivian, you get to learn on the block chain..it's always a win-win!!
It is a nice creative and useful piece. 😘😍
#dreemerforlife
Omo!!!!! 😍... This is too cute, @abenad come 🥺.
#dreemport
Poor me would have actually thought that this was for the head if you just posted the picture. Honestly this is beautiful and I can imagine what it would look like having that made from Ankara fabrics while putting on the same fabric.
Steeze 💯
This is so beautiful, I'm happy to see you try out this on your own, the bag is so cute and I really love the beautiful outcome.