Trending Homemade Graham Bars – Crunchy, Creamy, and Oh-So-Good! A Sweet Treat You Can’t Resist!
Sharing my homemade graham bar that’s been trending online! Give it a try—I think you’ll love it! 😊
Oreo Graham Bars are the ideal treat if you're searching for a quick and decadent dessert you can create at home and sell for a profit!
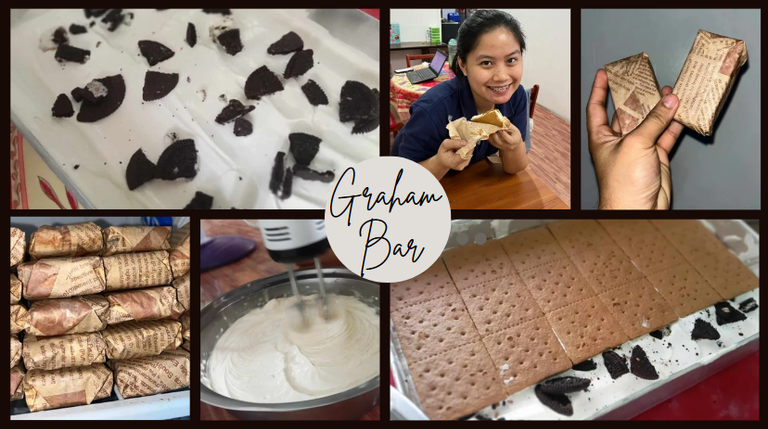
The crisp texture of graham crackers, the rich, creamy whipped filling, and the tempting chocolaty taste of Oreos are all combined in these no-bake bars. We'll walk you through the whole process of creating these bars in this blog, and I sell them for just 20 pesos each!
For the Ingredients:
• Oreo cookies - 1 pack
• Graham crackers - 2 plastic
• Condensada cream - 2 cans (chilled overnight)
• Butter (optional for added richness)
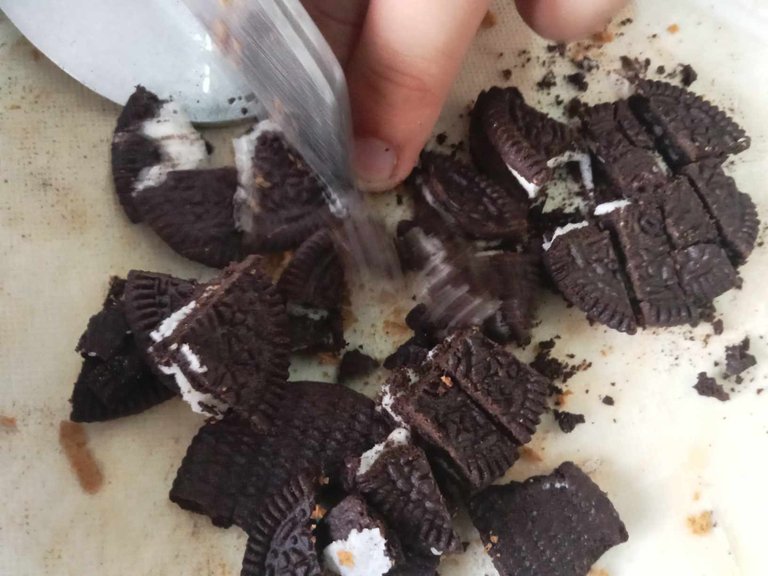
Step 1: Smash the Oreos
Start by preparing your Oreo cookies. Using a knife or the back of a spoon, roughly chop the cookies into smaller pieces. The goal is to mix crushed and chunky Oreos to add texture and flavor to your bars.
If you prefer a finer texture, you can crush the Oreos using a food processor, place them in a ziplock bag, and smash them with a rolling pin.
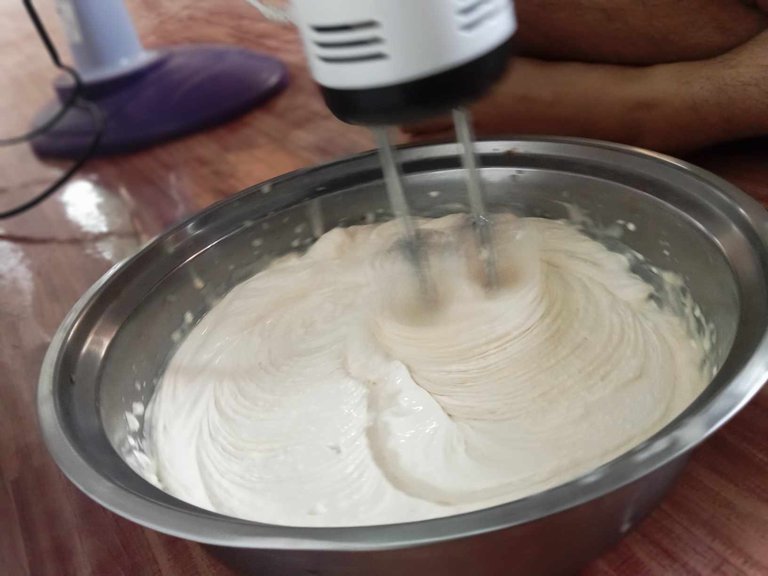
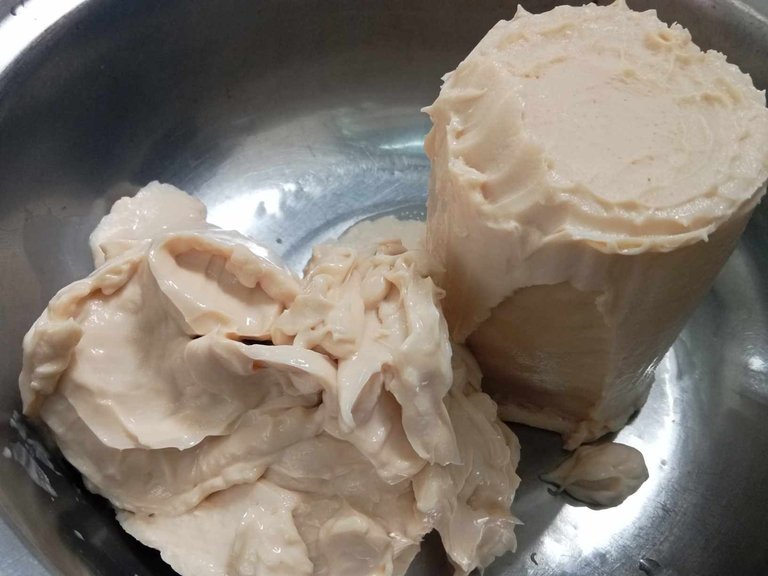
Step 2: Mix condensed cream.
To get a thick and fluffy consistency, it is essential to utilize well-refrigerated cream. To get a smooth and creamy texture, thoroughly mix the two components. If you desire a fuller flavor, add a small amount of melted butter to improve the flavor.
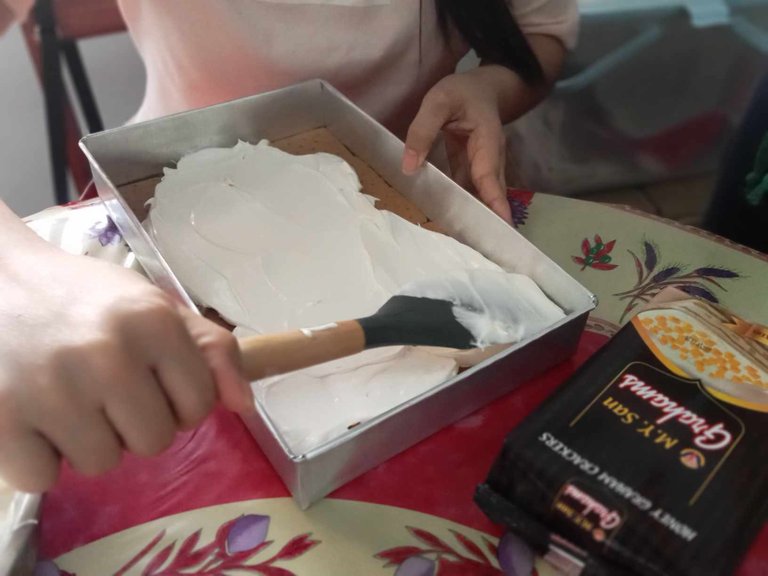
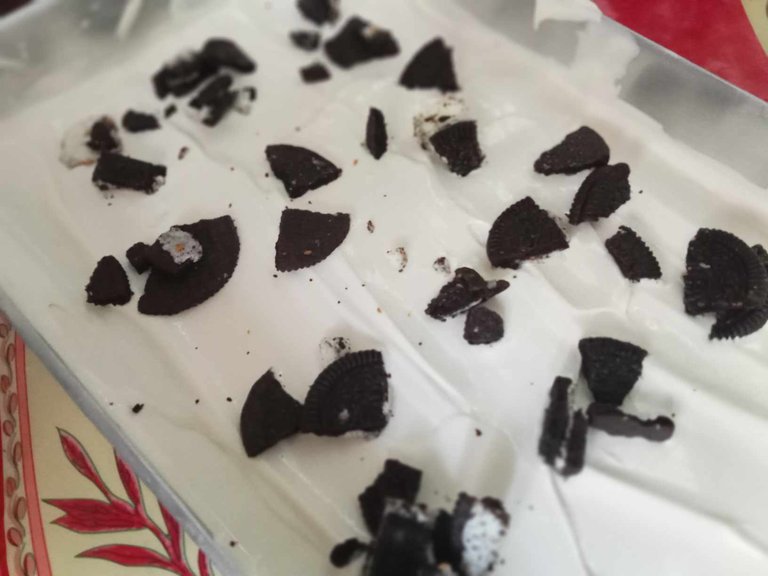
Step 3: Layer the Cream and Oreos
Pour a layer of the cream mixture into a rectangular container, spreading it evenly to create a smooth base. Sprinkle the crushed Oreos on top of the cream, ensuring they are well distributed. This will give every bite a delicious Oreo crunch.
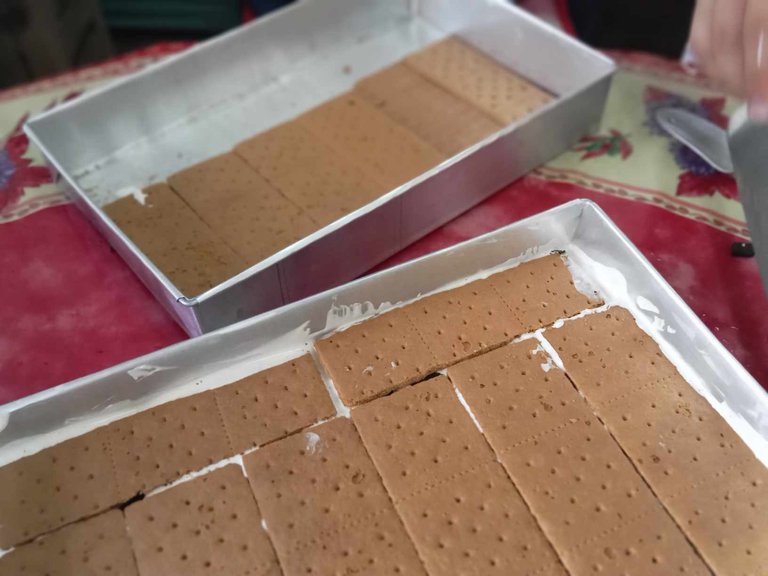
Step 4: Add the Graham Crackers
The graham crackers should be added after the Oreos and cream have been covered. Cover the whole surface of the filling with the crackers in a lovely arrangement. This layer will provide the creamy filling stability and a beautiful contrast.

Step 5: Repeat the Layers
Add another layer of cream and then additional crushed Oreos to continue stacking. Continue until you have a final layer of graham crackers on top. Your graham bars will be more decadent and luscious with more layers you make!
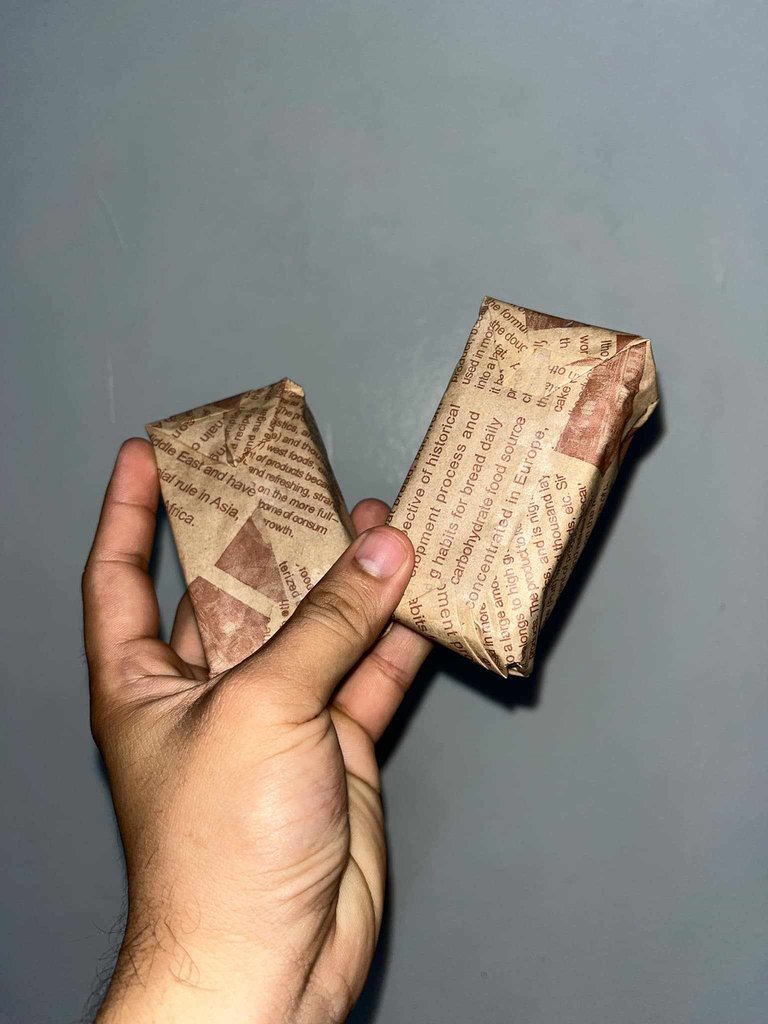
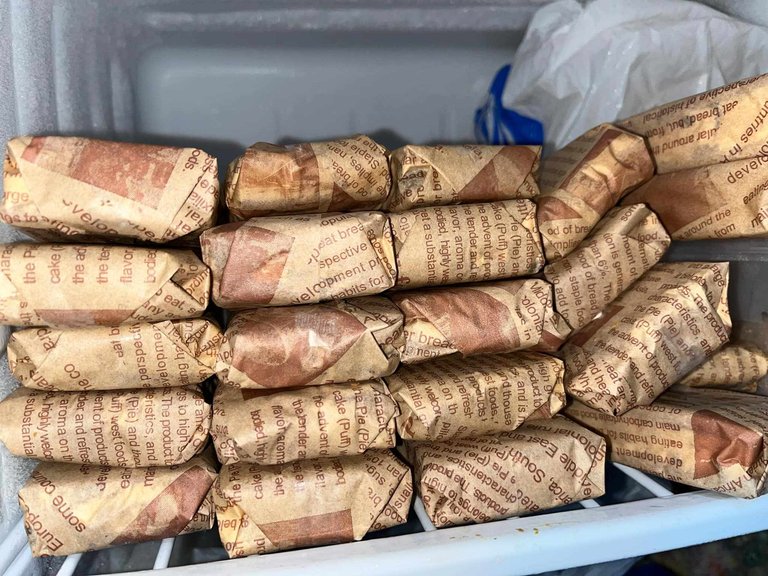
Cut into portions and wrap in step seven.
Remove the bars from the freezer and gently cut them into rectangular pieces after they are completely hardened. Wrap each piece separately with printed parchment paper to keep them fresh and increase their saleability. This improves the appearance and makes them portable for munching while on the run.
Step 6: Rest All Night
Put the container in the freezer for the entire night with a lid on. Because the bars are adequately cooled, the layers have time to solidify and take on a solid yet smooth consistency. Eventually, this step is essential to getting the ideal ratio of crunch to smoothness when you eventually bite into your graham bars.
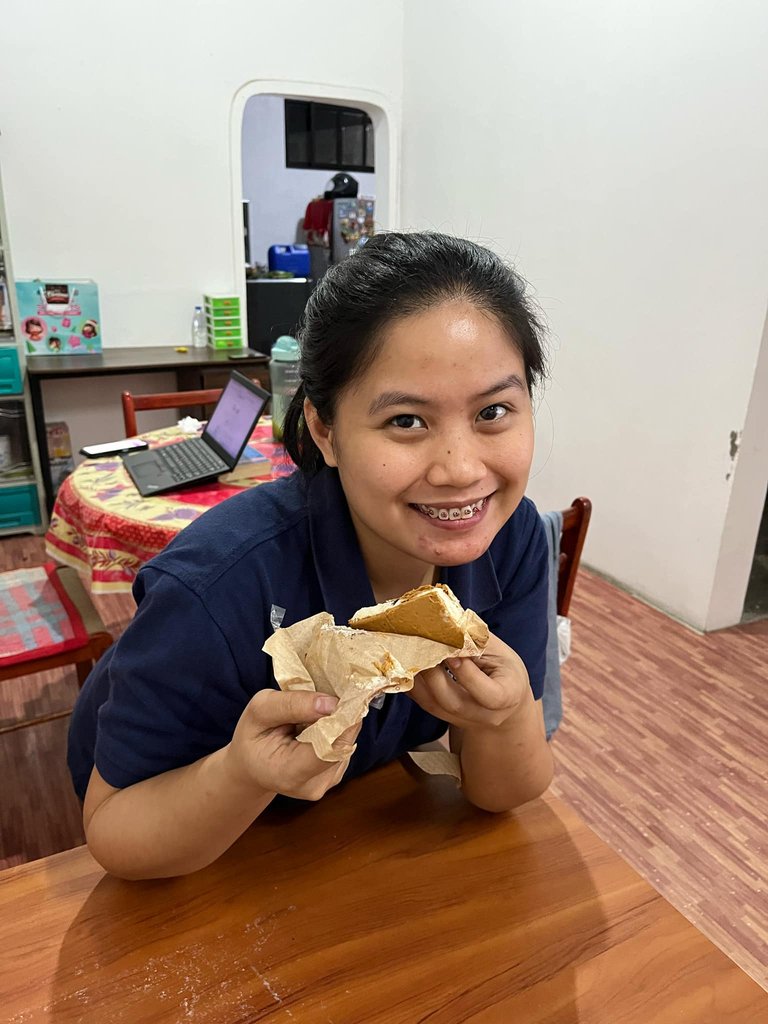
These Oreo Graham Bars are best enjoyed coldly, making them a refreshing daily treat. We sell each piece for just 20 pesos, making them an affordable and irresistible option for anyone looking for a sweet indulgence.
Why You Should Try Making These Bars:
Easy to Make – No baking is required. It is just simple mixing and layering.
Budget-Friendly – Uses affordable ingredients that are easy to find.
Perfect for Business – Great for selling as a side hustle or home-based business.
Crowd Favorite – A guaranteed hit for both kids and adults!
Oreo Graham Bars are a must-try dessert you can make with minimal effort but maximum flavor. Whether making them for personal enjoyment or to sell for extra income, these bars are a surefire way to impress anyone who takes a bite.
Try making a batch today, and don't forget to chill them overnight for the best results!
Warning: These graham bars are highly addictive! 😍 Once you try them, there's no going back! Who's up for a sweet treat? 🍫
These Oreo Graham Bars sound like the perfect mix of crunchy, creamy, and chocolaty goodness!
The no-bake aspect makes them super easy to prepare and I will definitely be trying them out. Although I'll have to substitute Graham bars with something else thats similar because we don't find that particular thing I'm India i think
Yes, they are! I'm so glad you're excited to try them out! For the Graham bars, you can easily substitute with biscuits or any plain, slightly sweet cracker. They should work just as well in giving that crunchy base.😍
Looks a super yummy treat 🤩🤩
super yummy, thank you😇
Join the foodie fun! We've given you a FOODIE boost. Come check it out at @foodiesunite for the latest community updates. Spread your gastronomic delights on and claim your tokens.
thank you, @foodiesunite 😀
Hi @missellimac
This is a good recipe, but it would be even better if you put down the amounts of ingredients you used, and how many bars you got from your recipe. Could you edit and include that information? Thank you
hi @foodiesunite , Thanks so much for your feedback! 😊 That’s a great suggestion. I’ll update the recipe soon with the ingredient amounts and the number of bars. Appreciate your support!
very interesting and looks delicious...it's very easy to make. Thanks for sharing
Thank you! 😊 I'm so glad you find it interesting and easy to make. Hope you give it a try and enjoy it
Yes, it was trending but I didn't try it. They say it like an ice cream.