Creative-Sunday; How to make your nails glamorous
Hello everyone welcome to HL Creative-Sunday and I want to make use of this moment to say happy weekend to you all.
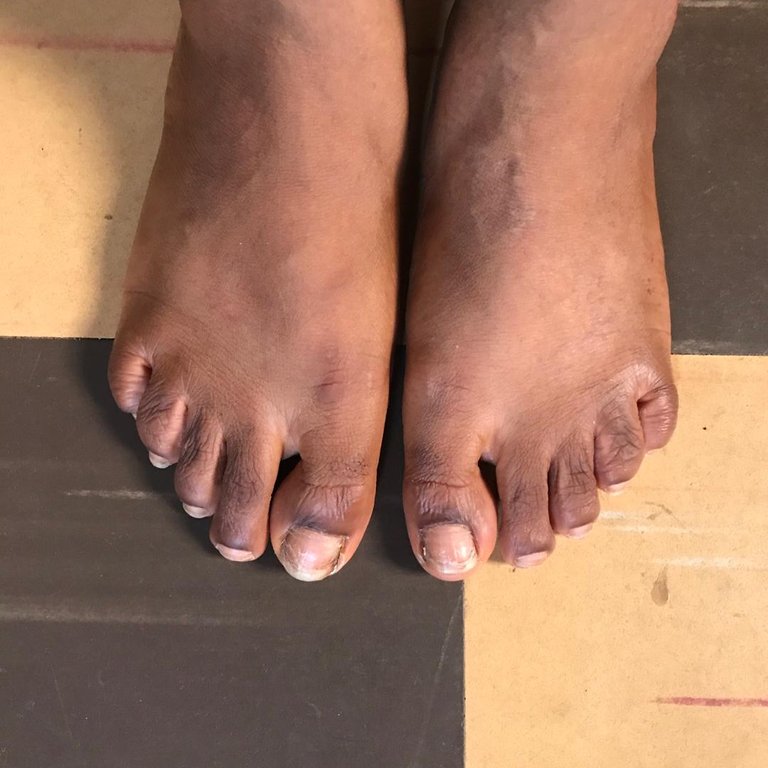
Today I will be showing the simple way ladies can make their legs beautiful and glamorous, I choose to do this because I don't want to station my creativity on one thing so you guys should watch out for more from me. So let's get to work.

The materials used are:
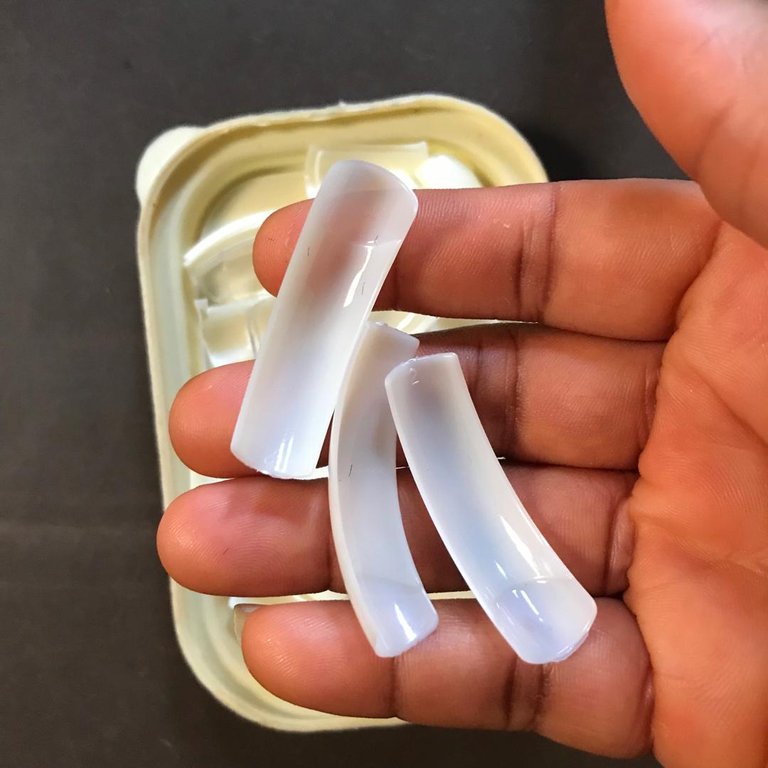
Nails
Nail removal
Nail polish (neutral and any other color of your choice
Cottonwool
Scissors
Nails files
Glue

The procedure
Make sure your legs are well clean because you wouldn't want to paint them dirty. So let's get to the main process.
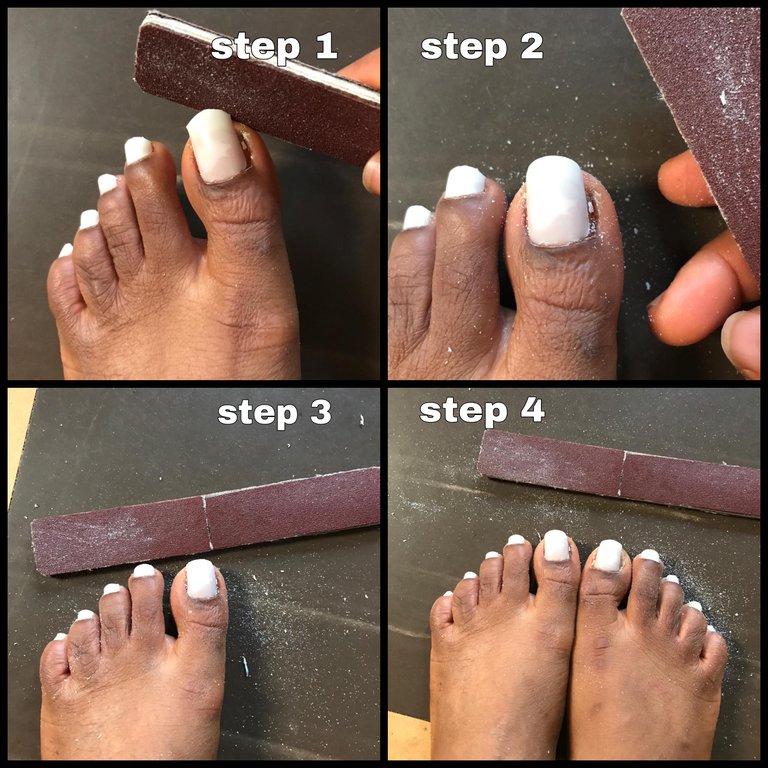
Step 1
I have two nail files in the picture because they have different work to do for me, so I took the smallest file and made use of it to scratch my nails.
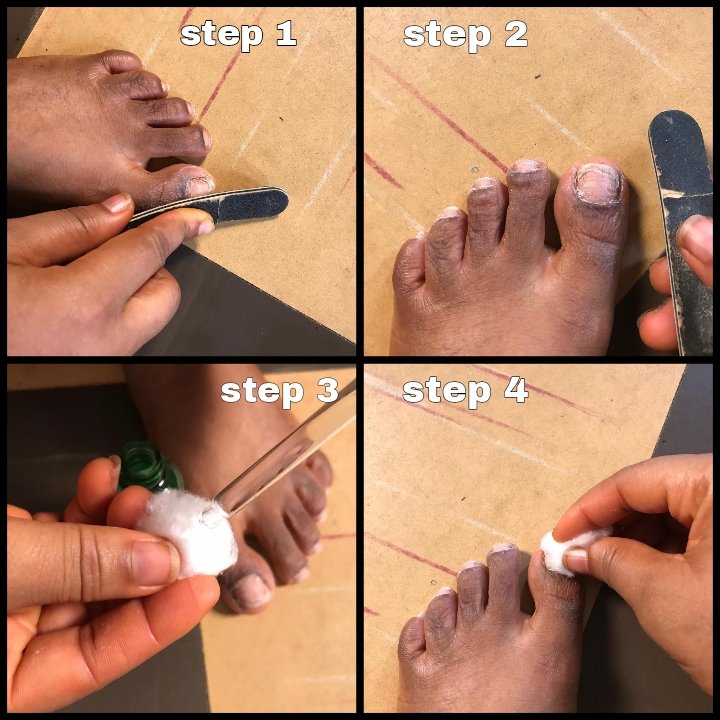
After that, I cut a small cottonwool then applied nail removal on it, and made use of it to remove the dirt from my nails.
The reason why I used that particular file was because it is not sharp and it is only used on normal nails and not for plastic because it can't file plastic nails.
Step 2
I selected the nails I will be using and then kept them separate, the reason for that was because the plastic nails have numbers on them because each toe has their sizes and you wouldn't want to be looking for the size when you start making the nails.
Step 3
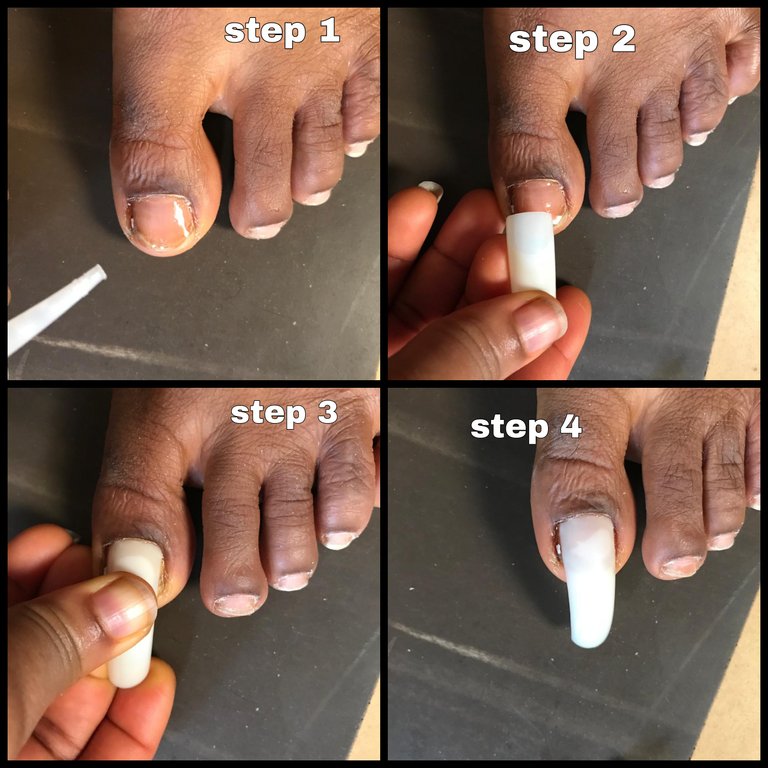
I applied glue on my toe and then placed the plastic nail on it, I held it down for some seconds because I wanted the glue to dry a little so that it wouldn't be removed anytime soon.
The same procedure was applied to the rest of the toes and the second leg as well.
Step 4
I made use of scissors to cut the plastic nail to the length that I wanted.

Some always want it longer than this but I don't like anything that will inconvenience me so I like it short.
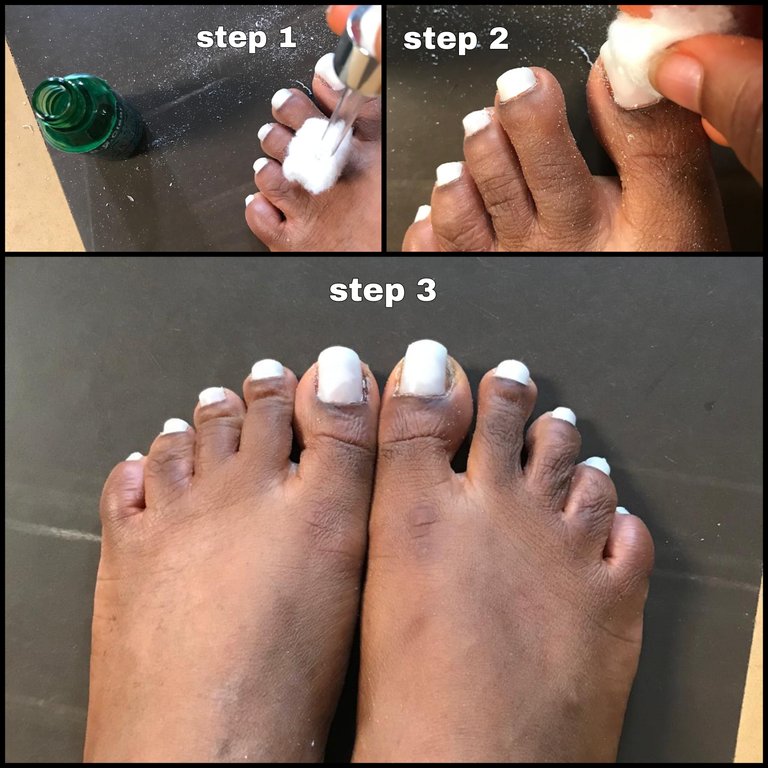
Step 5
I make use of the sharp nail file which is the bigger one to file the plastic nails so that I will look neat and perfect and also to give it a classic look.
I cut a small cottonwool and then applied nail removal on it and made use of it to clean all the dust on the nails, I don't want to paint on it because it will make the paint look ugly.
Step 6
I applied the orange nail polish on the nails and allowed them to dry for some seconds.
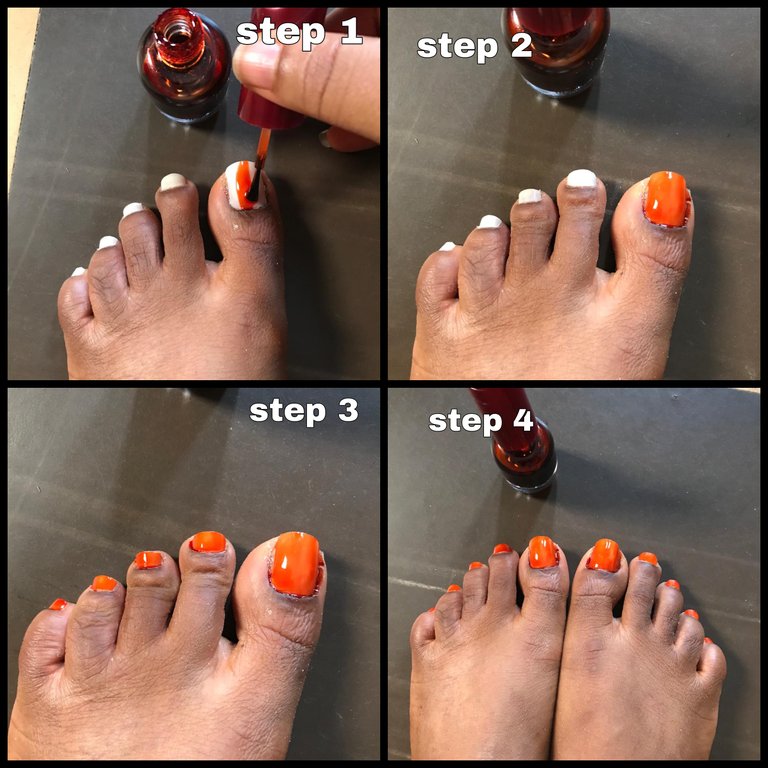
I applied the same color again and the reason why for that was because I wanted the color to be deep so applying it once wouldn't give me that.

After that, I applied the neutral nail polish and that works for shining, it will make the colors glow and that is why people make use of it after painting.
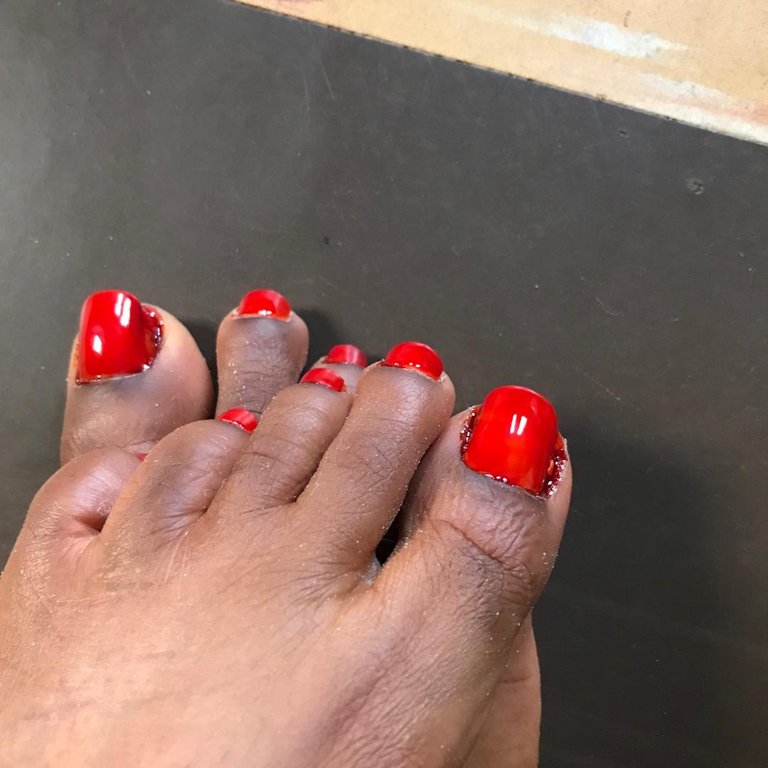
Now my nails are ready to rock town tomorrow when I am going to work.
I hope you like it. And thanks for stopping by.
great job that looks great thanks for sharing.
!giphy great
!PIZZA
!DHEDGE
@sagarkothari88 vote 20%
Via Tenor
Thanks and am glad you like it
you are welcome.
This post has been selected for upvote from our token accounts by @bhattg! Based on your tags you received upvotes from the following account(s):
- @dhedge.bonus
- @dhedge.pob
- @dhedge.neoxag
- @dhedge.waiv
@bhattg has 2 vote calls left today.
Hold 10 or more DHEDGE to unlock daily dividends. Hold 100 or more DHEDGE to unlock thread votes. Calling in our curation accounts currently has a minimum holding requirement of 100 DHEDGE. The more DHEDGE you hold, the higher upvote you can call in. Buy DHEDGE on Tribaldex or earn some daily by joining one of our many delegation pools at app.dhedge.cc.
I loved the color you chose to paint your toenails, it's very pretty.
Wow am glad you like it
My wife really need to see this ,she must not use money to fix again,thanks for sharing.
Hahaha 🤣 it's my work so if she doesn't know how to do it, it's not a crime
The tutorial is so simple as ABC. The outcome is looking so fine
Am glad you love it thanks sis
The outcome was nice and it looks good.