Powerful Pelacor Conjurer, What Does't Kill You!

Hello guys!
Yeeeeey I'm back again with my Splinterlands post. I'm writing this post to follow Splinterlands Mage Secrets Battle Challenge What Doesn't Kill You. Maybe this is different from my previous habit where I posted on the last day of the Mage secrets challenge. I happened to find this ruleset just after this challenge came out. I'm worried if it might be difficult to find the same rulesets. So I made this post as soon as possible.
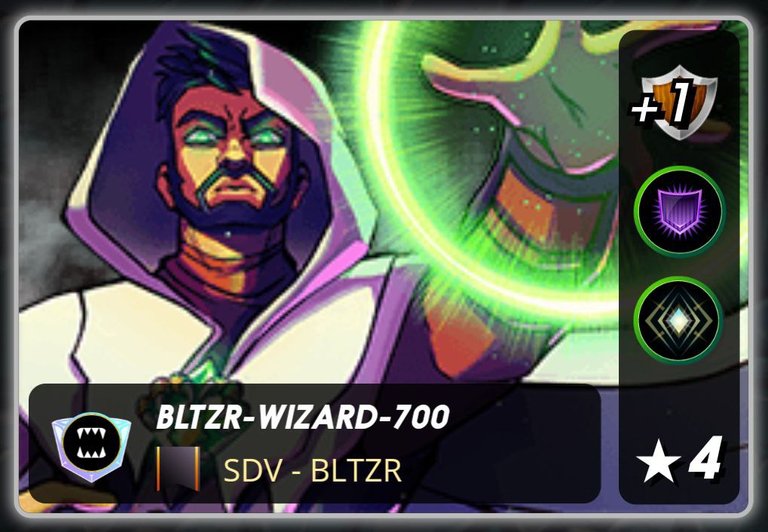
Well, I'm not a professional player or a tournament hero. I merely like to discuss battles and strategies that in my opinion are worthwhile. I participated in this combat using my Scholarship account with IGN BLTZR-WIZARD-700. I played in the Diamond league at modern rank while using a Full main Chaos Legion edition card and several Reward cards whose level was not max. The battle strategy that I shared may not be effective in other leagues because of the different levels of each league.
Alright, without further ado, let's get to the main topic of this post!

BATTLE PREPARATION
Challenge Rules

RULESET: What Doesn't Kill You
Description:
All units gain the Enrage ability which multiplies their speed and melee attack by 1.5x rounded up.
The attack multiplier only affects melee units.
Units with Inspire will increase your melee attack; Demoralize will decrease your opponent's melee attack.

Battle Rulesets

The rulesets in this battle are:
- Armored Up (All Monsters have 2 Armor in addition to their normal Armor stat)
- Tis but Scratches (All Monsters have the Cripple ability)
- What Doesn't Kill You (All Monsters have the Enrage ability)
- Mana Capacity 28
- Active Element Life, Death and Dragon.
Line Up and Strategy
In general, the strategies that can be used if all monsters have Enrage ability because of What Doesn't Kill You rulesets are:
Using a Tank that has a very high speed, by utilizing multiplies speed and melee attack by 1.5x rounded up so that the chance to avoid enemy attacks will also increase.
You can consider using melee monsters with large damage, so when Enrage is active, the damage produced will be greater and more deadly.
Using monsters that have the True Strike ability, so that the attack remains the target even though the target has a very high speed due to Enrage.
Buff and Debuff Speed are indispensable, to increase the effect of Enrage.
There are only 3 elements active in this battle, and with these 3 elements you can choose to use a defensive or attacking strategy. Since this is a middle mana battle, so I chose to use a defensive strategy with Grandmaster Rathe. I will explain the strategy of each monster that I choose in the table below.
| Monster | Position | Abilities | Strategy |
|---|---|---|---|
 Grandmaster Rathe Grandmaster Rathe | Summoner | +1 Armor, Void Armor, Amplify | Grandmaster Rathe will be very useful for defensive strategies, especially to withstand magic attacks. In addition, the Life element has several monsters with very powerful little mana, such as the Pelacor Conjurer. Speed games can also be applied because some monsters have Swiftness and Slow abilities. For Attacks, a combination of Melee, Range and Magic can be applied if using the Life Element. |
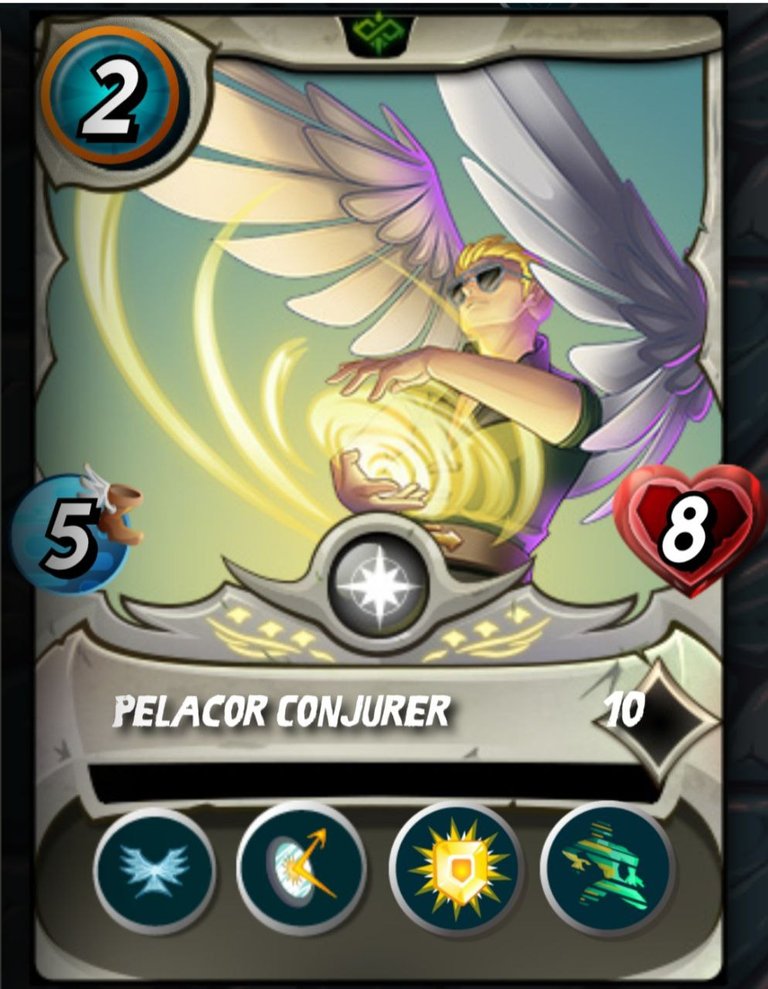 Pelacor Conjurer Pelacor Conjurer | First | Flying, Reflect Magic, Devine Shield, Phase | Non damage Tank which is a favorite tank for many players in middle and low mana battles. Pelacor Conjurer whose initial stat is very powerful, if Enrage is active it will be more difficult to be hit, both by Magic, Melee, and Range attacks. This is because the Pelacor Conurer already has high speed combined with Flying ability, as well as Phase ability. In addition, this monster also has Reflect Magic, Devine Shield. |
 Dax Paragon Dax Paragon | Second | Amplify, Affliction | Dax Paragon is in second place, with 2 magic damage and Affiction ability in anticipation if the opponent uses monsters with Heal abilities. Although the Amplify ability is useless because Summoner also provides Amplify for all monsters, Affliction will make the target no longer healable. |
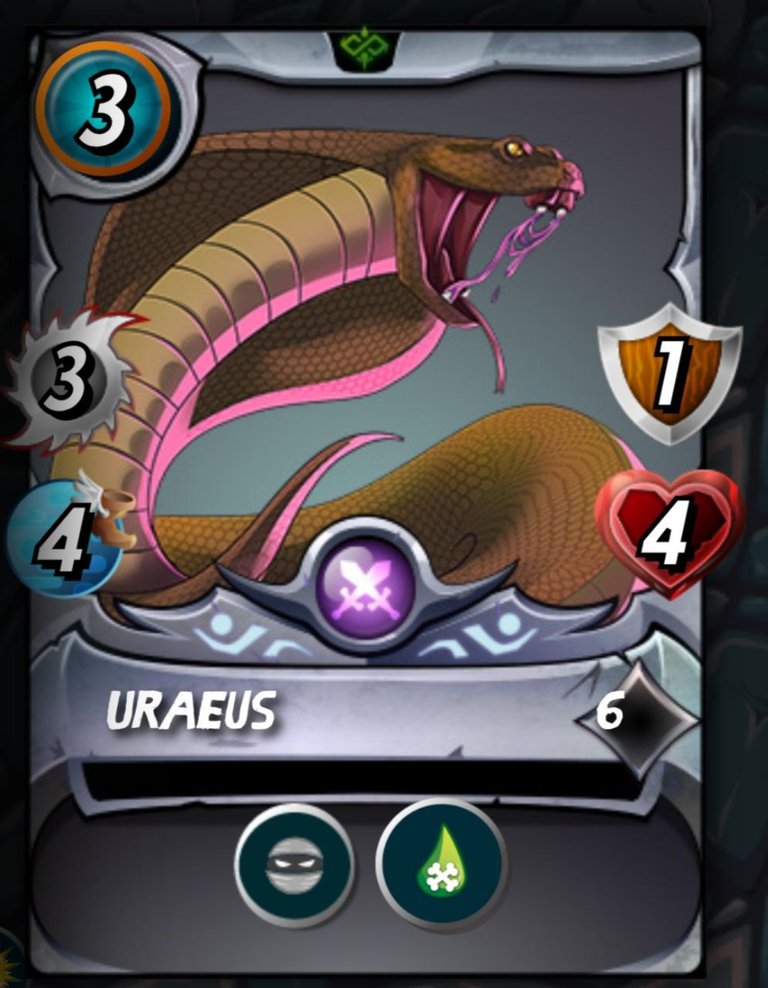 Uraeus Uraeus | Third | Sneak, Poison | Uraeus is a Neutral monster with Sneak and Poison abilities. This will be one of the attackers in this formation, with the target in the opponent's monster at the very back. Poison will be very helpful in attacks, because if the parget is poisoned, it will make the target lose 2 HP in each round. |
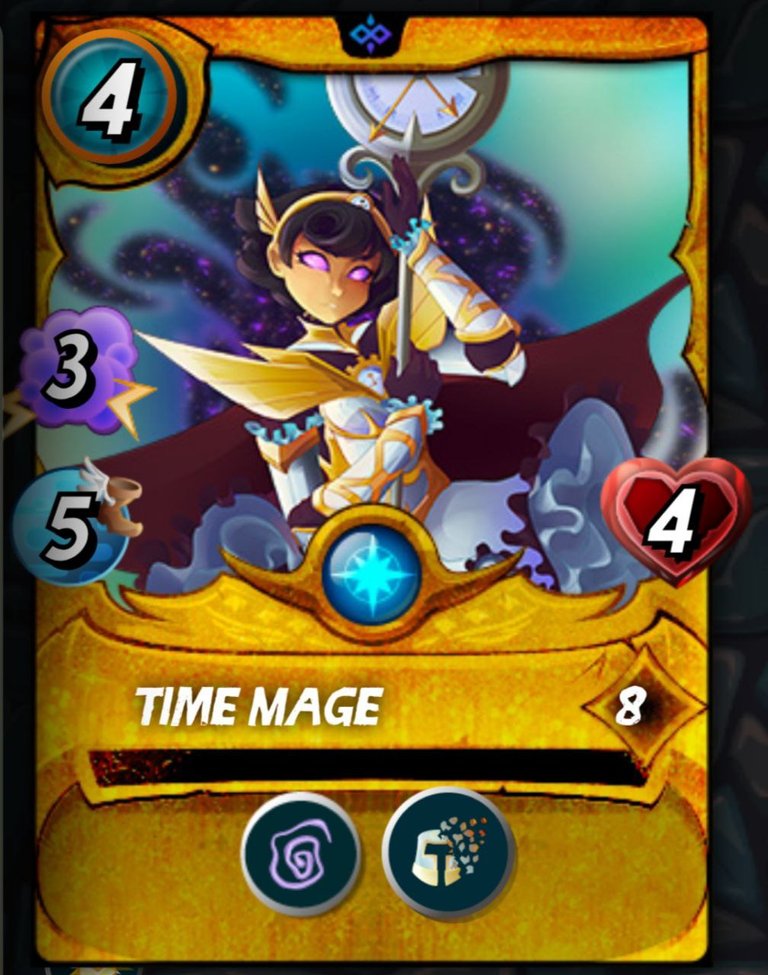 Time Mage Time Mage | Fourth | Slow, Rust | Time Mage in fourth position becomes an attacker as well as a Support monster. Time Mage has 3 magic damage and very high speed as an attacker, and also has Slow to reduce all the speed of enemy monsters, and also Rust ability that will remove 2 Armor from all enemy monsters. |
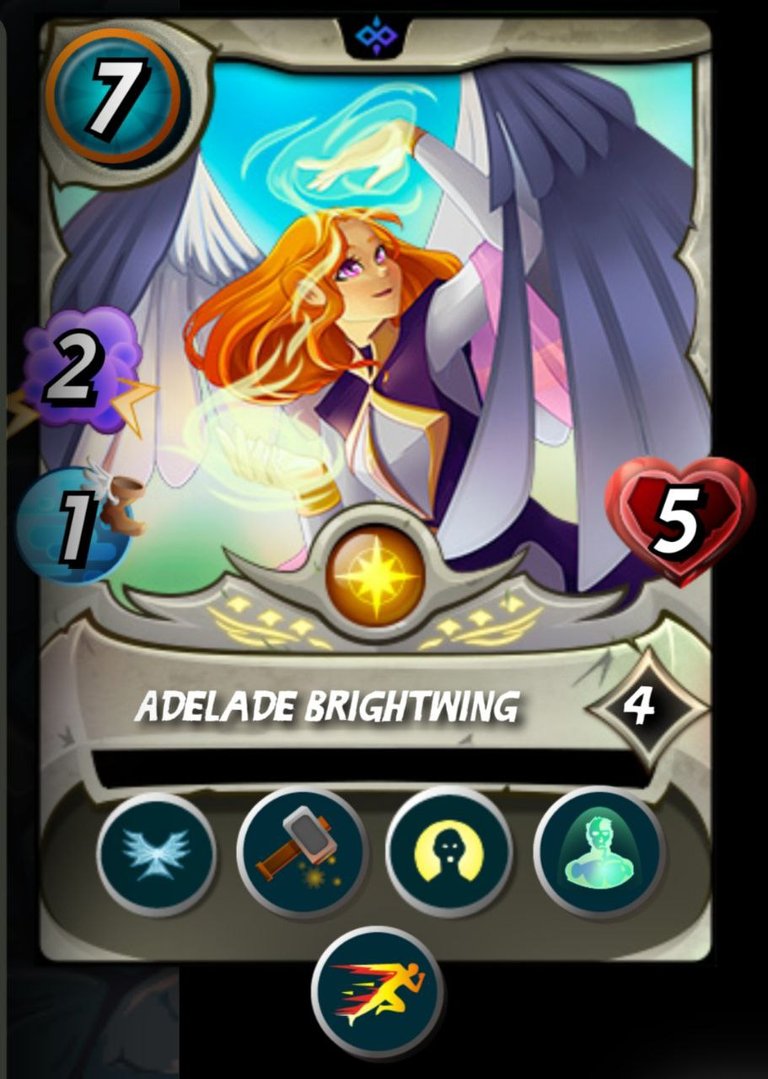 Adelade Brightwing Adelade Brightwing | Fifth | Flying, Repair, resurrect, Immunity, Swiftness | Just like the Time Mage, Adelade Brightwing is also the most important monster Support in this formation. The abilities possessed by this monster will be very useful for survival strategies with Grandmaster Rathe. Repair ability will repair the armor of the comrade monster that receives the most attacks. Resurrect ability will revive the fastest dead comrade monsters, and Swiftness ability will increase the speed of all friend monsters. In addition, for self-defense, this monster has Flying and Immunity abilities. |
 Venari Crystalsmith Venari Crystalsmith | Last | Thank Heal, Dispel | Venari Crystalsmith in the last position is also a Support monster, as well as an Attacker. With 3 damage range attacks and also a fairly high speed, this monster is able to become an attacker. This monster also has a Thank Heal ability that will restore the HP of the friend monster in the first position, and a Dispel ability that will eliminate all positive influences received by the target. This ability is very useful for the current meta where many players use Martyr and Weapon Training, because the effect of this ability will also disappear if the target is hit by Dispel. |
You can see the complete line-up of both teams in the picture below. The opponent also uses Summoner Grandmaster Rathe in this battle.
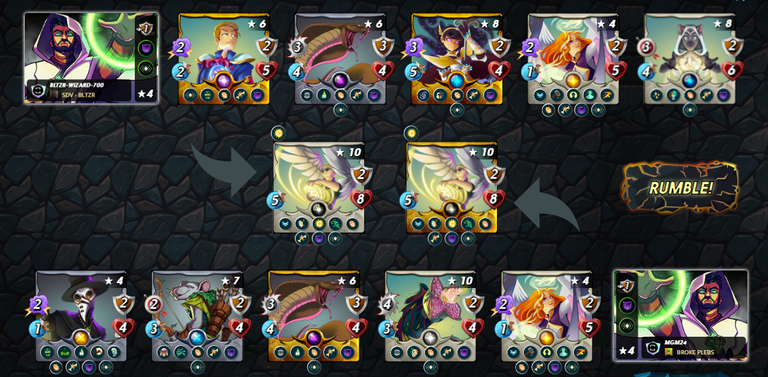
The tank in first place is the Pelacor Conjurer, just like what I did. In second place is Adelade Brightwing, then third place is Sneak monster, Stich Leech. In fourth position there is Uraeus, then fifth position is Venari Markstrat and in the last position there is a very powerful monster, Doctor Blight.
Are you curious about how exciting this battle will be? Let's move to BATTLEFIELD ARENA!
BATTLEFIELD ARENA
I've also included a youtube video of this battle that you can play right away.
This battle is very dancing, because both teams have balanced strength with almost the same formation. Position determines achievement, really felt in this battle. However, the Enrage ability has a huge influence, because the speed of each monster becomes chaotic and some attacks miss.
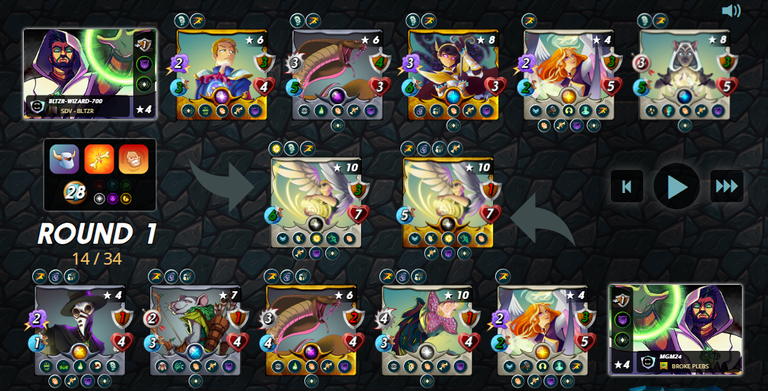
As usual, the first round begins with buffs and debuff parties from all summoners and monsters. The speed of my monsters is superior because I use 2 monsters related to speed, both reducing the opponent's speed and increasing the speed of friends.
Time Mage became the first attacker, followed by my Uraeus and Venari Cristalsmith attacks. Only then it was the turn of the opponent's Uraeus who was the attacker with the highest speed on the opposing side. There were 3 missed attacks in this first round, namely Venari Crystalsmith's attack to the opponent's Pelacor Conjurer, Dax Paragon's attack to the opponent's Pelacor Conjurer and Stich Leech's attack to Venary Crystalsmith.
At the end of the first round, my Pelacor Conjurer was hit by Doctor Bright's affliction. It's a pity that my tank can't be healed.

The second round began with Venari Markstrat being poisoned so that her HP was left at 1. Sure enough, not long after that the Venari Marksrats became the first monsters to die. Martyr ability increases Uraeus and Doctor Blight's stats. Then Venari Markstrat came back to life because of Resurrect Adelade Brightwing. After that, My Venari Crystalsmith also died from the opponent's Uraues attack, then Resurrect by my Adelade Brihtwing.
After that, the opponent's Pelacor Conjurer died because of my Dax Paragon's attack. Likewise, my Pelacor Conjurer also died from Doctor Blight's attack. There was only 1 miss attack in this second round, namely Stich Leech's attack on Venari Crystalsmith. The second round ended with both teams with 5 monsters left.

Not long after the third round began, the opponent's Adelade Brightwing died from Dax Paragon's attack. That way, the opponent's defense is easier to penetrate because the most important support has died. At the end of the third round, my Dax Paragon also died. Both teams have 4 monsters left.
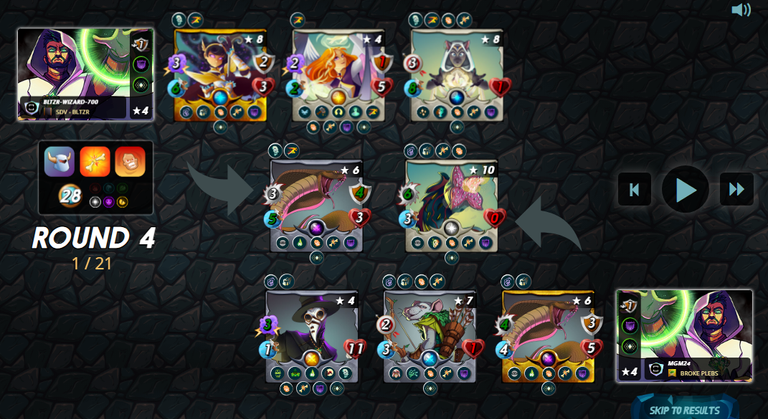
The fourth round begins with Stich Leech dying from a Venari Crystalsmith attack. Not long ago, my Uraeus also died from the attack of the Venari of the Markstrat. Towards the end of the third round, the opponent Uraeus also died from Adelade Brightwing's attack. Now the opponent only has 2 monsters left while I still have 3 monsters left.

Venari Markstrat died early in the fifth round due to Venari Crystalsmith's attack. Martyr is active again so that Dctor Blight's stat increases again. Now Doctor Blight has 4 Magic damage. In this round My Time Mage also died, so I only have 2 monsters left and the opponent only has Doctor Blight with 15 HP.

The sixth round began with Venari Crystalsmith's attack on Dotor Blight. Dispel made Martyr lose the effect received by Doctor Blight, so now Doctor Blight is back with 2 Magic attack damage.
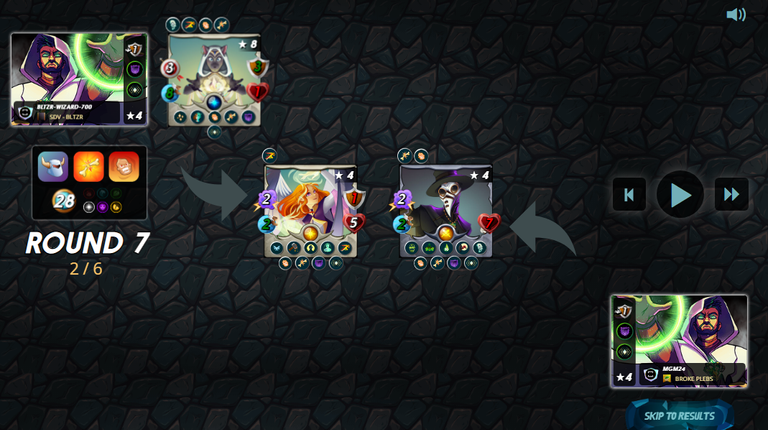
The round is still like the previous round, starting with the attacks of Venari Crystalsmith and Adelade Brightwing, then countered by Doctor Blight's attacks.

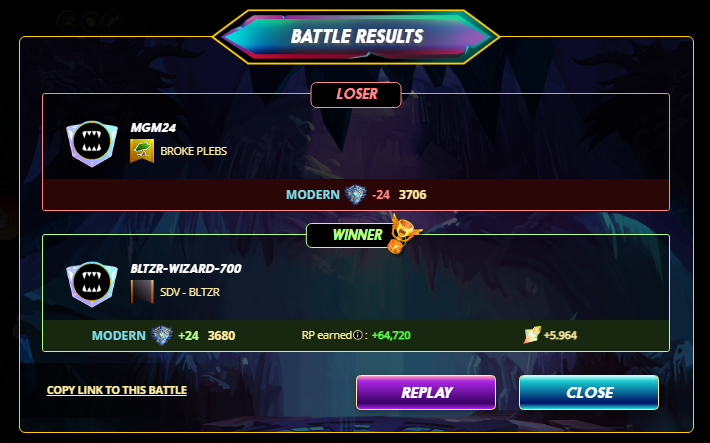
Finally, this battle ended in the eighth round. Doctor Blight, who became the opponent's last monster, finally died. I won this battle with the remaining 2 monsters, Adelade Brightwing and Venari Crystalsmith. You can see the final result of this battle in the picture below. With the SPS 180K delegate, I got 5,964 SPS and RP 64,720.
STRATEGY DISCUSSION
The strategy I used worked very effectively in this battle. Although both teams have almost the same line-up, the difference in speed is the main key to my victory. The opponent only has Swiftness from Adelade Brightwing, but I use 2 abilities related to speed, namely Slow from Time Mage and Swiftness from Adelade Brightwing.
In other battles, if I find the same rulesets then I will use this strategy again with the arrangement of monsters adjusting to the current state.
Ok guys, I think my post is enough here, thank you for visiting my blog, don't forget to upvote and leave a comment. If you want to start playing Splinterlands and don't have an account yet, don't hesitate to use my referral:
https://splinterlands.com?ref=anif1908
Credits:
The wonderful divider by kyo-gaming
Thumbnail created using canva
All images taken from Splinterlands website

@tipu curate
Upvoted 👌 (Mana: 44/64) Liquid rewards.
Yay! 🤗
Your content has been boosted with Ecency Points, by @anif1908.
Use Ecency daily to boost your growth on platform!
Support Ecency
Vote for new Proposal
Delegate HP and earn more
Reviewed and Approved for an Ecency boost. Keep up the good work.
Congratulations @anif1908! You have completed the following achievement on the Hive blockchain And have been rewarded with New badge(s)
Your next target is to reach 5000 upvotes.
You can view your badges on your board and compare yourself to others in the Ranking
If you no longer want to receive notifications, reply to this comment with the word
STOPTo support your work, I also upvoted your post!
Check out our last posts:
Thanks for sharing! - @alokkumar121
