Preparing flash drive to boot Linux on MacBook Air (PT1)
The first thing to do is to get a USB flash drive, and insert it to the Mac. Ensuring it is formatted, see steps below:
Open any folder and select application from the left pane, then double click on Utilities to open, then select disk Utility.
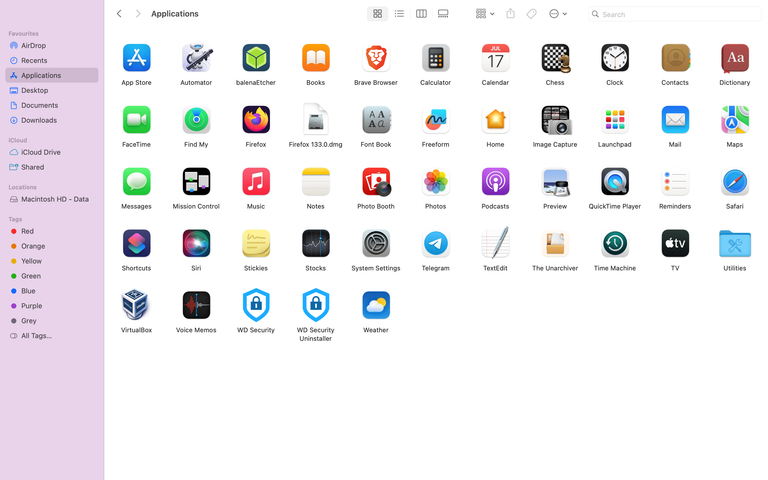 The Application window
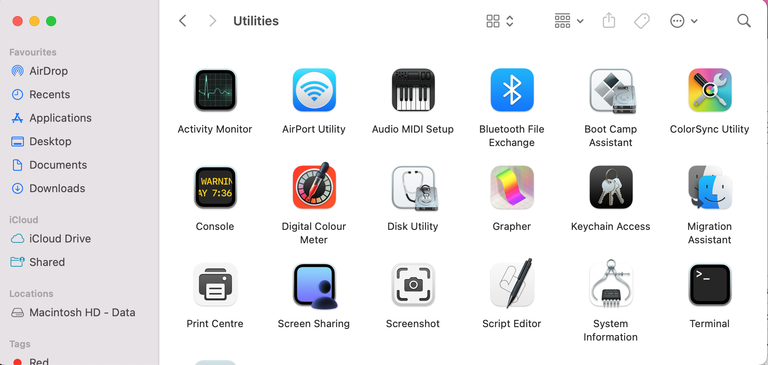 The Utilities window
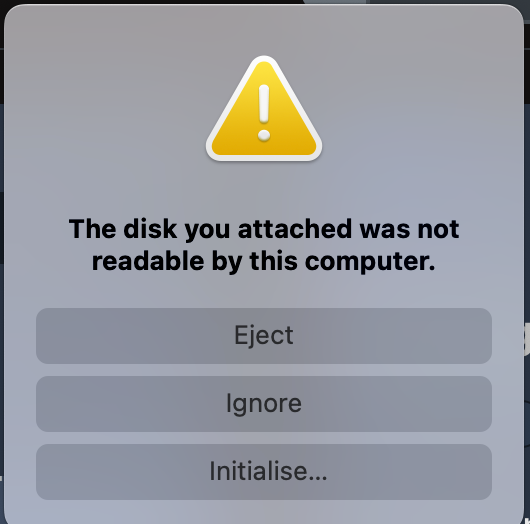
Another way to get to the Disk Utility page is to click on initialise from the error pop up once you plug in your flash drive
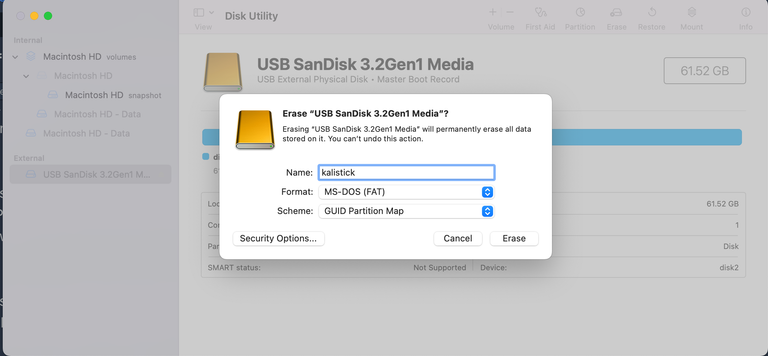
Make sure it is your flash Drive that you have selected in order to perform this operation on. Click on erase, from the pop up edit the name, choose the format and scheme and select erase. Your flash drive has been properly formatted.
Next is to download Etcher and then download the Linux mint you want to install on the flash drive. I will be installing Kali Linux, So I will be downloading the Kali Linux from their official site. The following steps will guide you on how to use etcher.
Launch the Application:
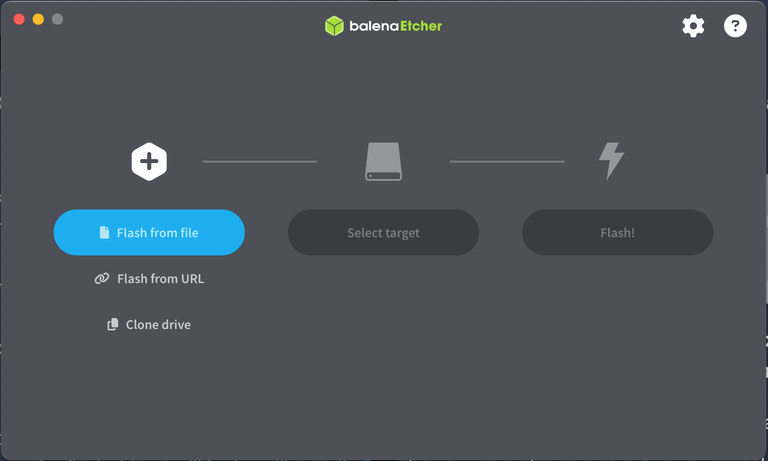
Select the Linux file from the folder it was saved
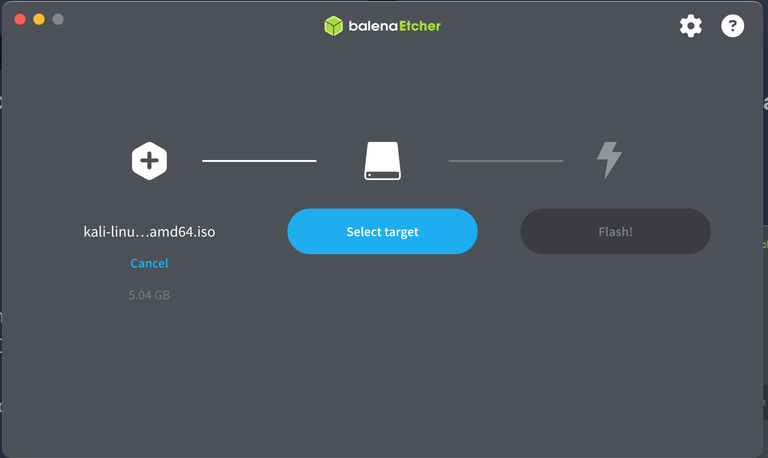
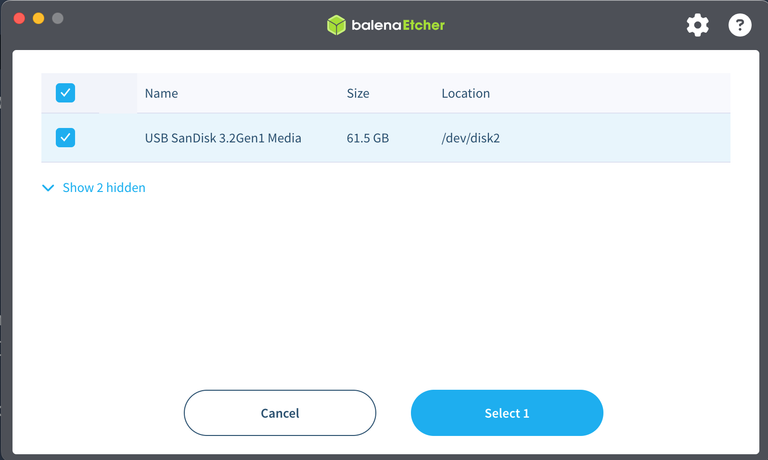
Select target folder: Make sure that it is the flash drive that is being selected.
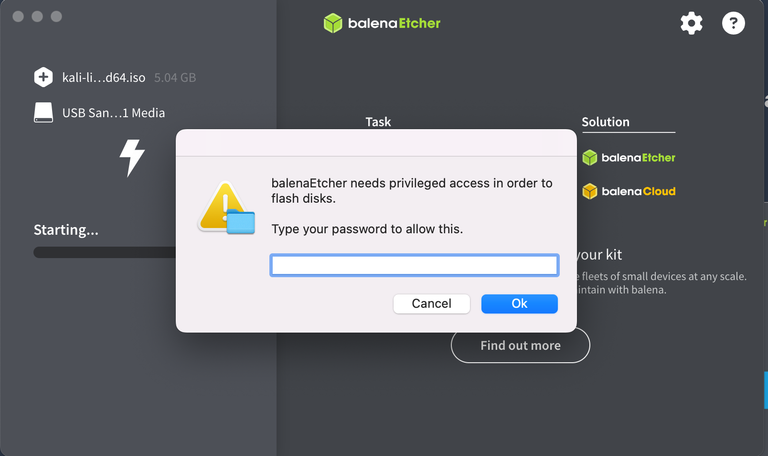
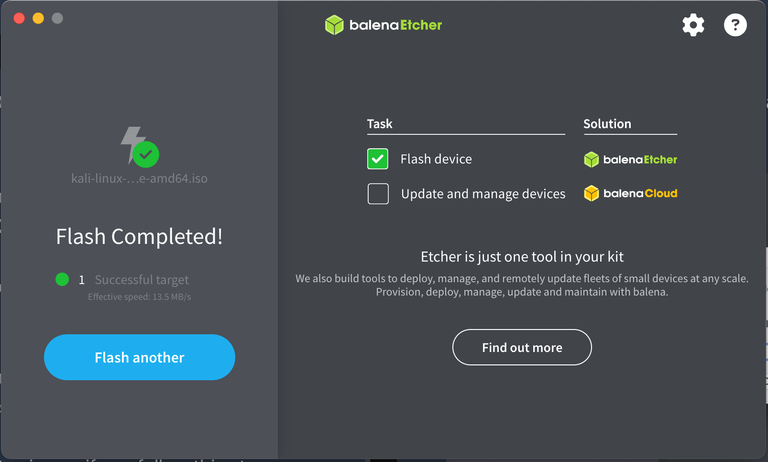
Click on flash: You might be prompted to enter password, enter the correct admin password.
That is all, it is not actually rocket science, if you follow this steps you are good to go.
Then restart your mac and press option key from the keyboard.
Select EFI to boot from flash and enjoy your Linux
Thank you for your time