Jay's $1 DIY Softbox
I could not afford a softbox around this time, but I really needed one. And so I made one myself. With a couple of videos from YouTube, I had a pretty good idea of how to do it. And here's how you can make one for just $1.
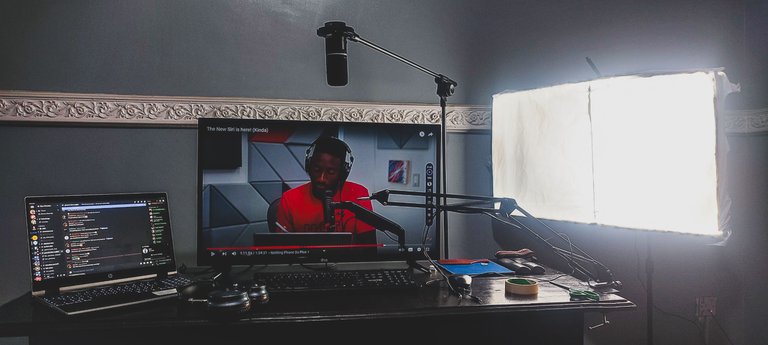
Generally, what I needed was a box to put the light bulb in, a reflective interior for maximum light output, and a diffuser material to soften the light and make it even. To achieve all that, I used a couple of things I had around at home:
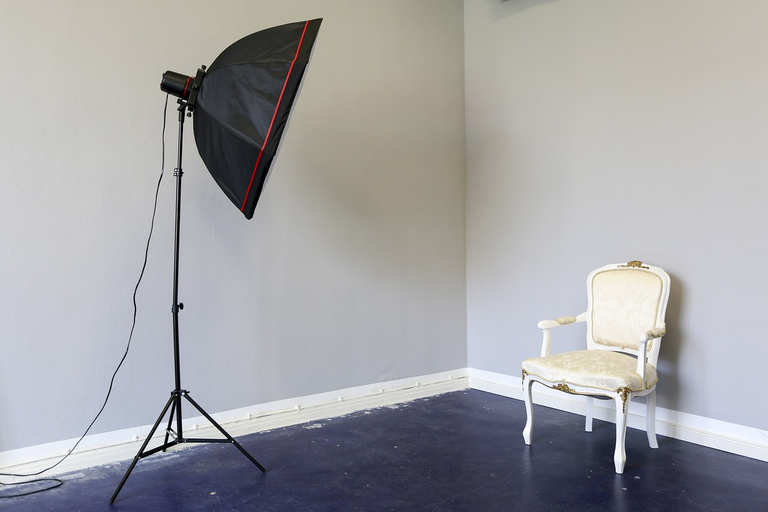
Materials
- Carton
- A roll of tin foil that cost me about $0.6
- Glue
- Sellotape
- White polythene bag
- 2.5mm wire
- White light bulb
- Lampholder
Tools
- One pair of scissors
- White board marker
- Long ruler
- Screwdriver
Steps:
The first thing I did was define the dimensions of the softbox on the cartons. And then I marked the areas I wanted to cut out.
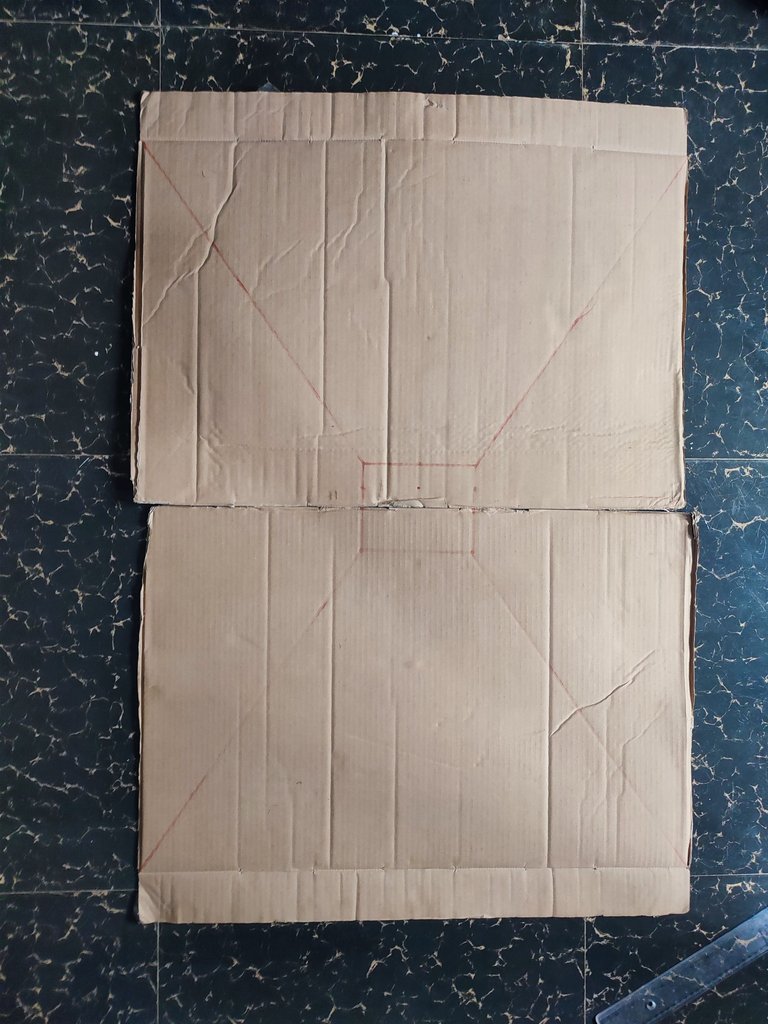 | 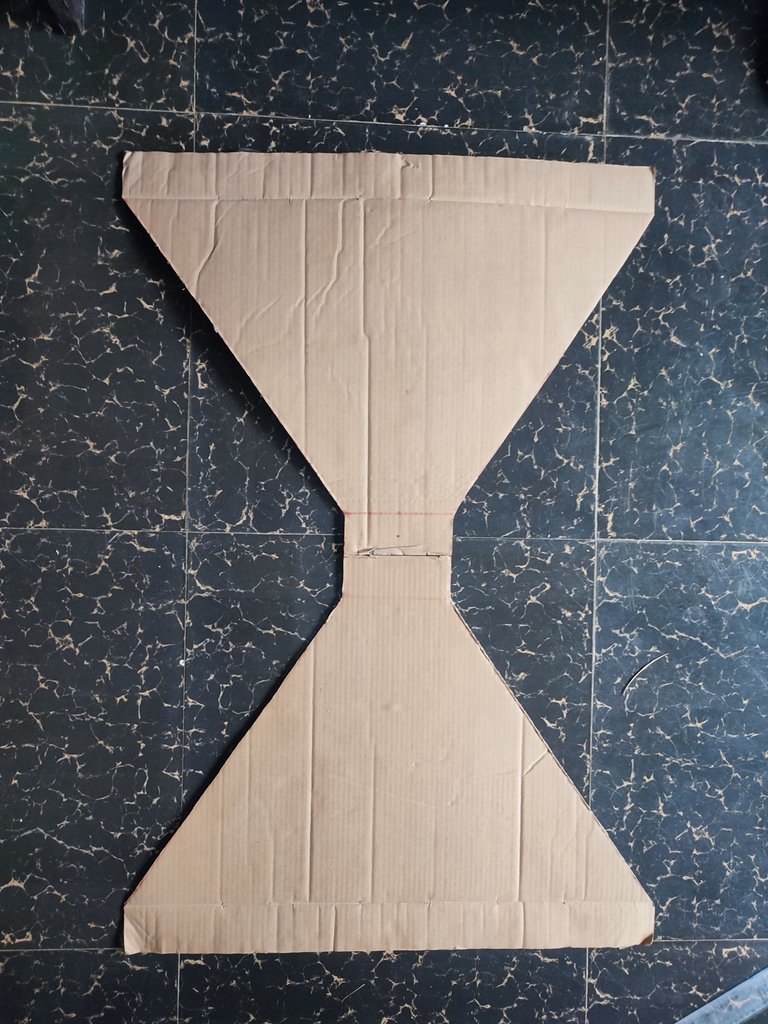 |
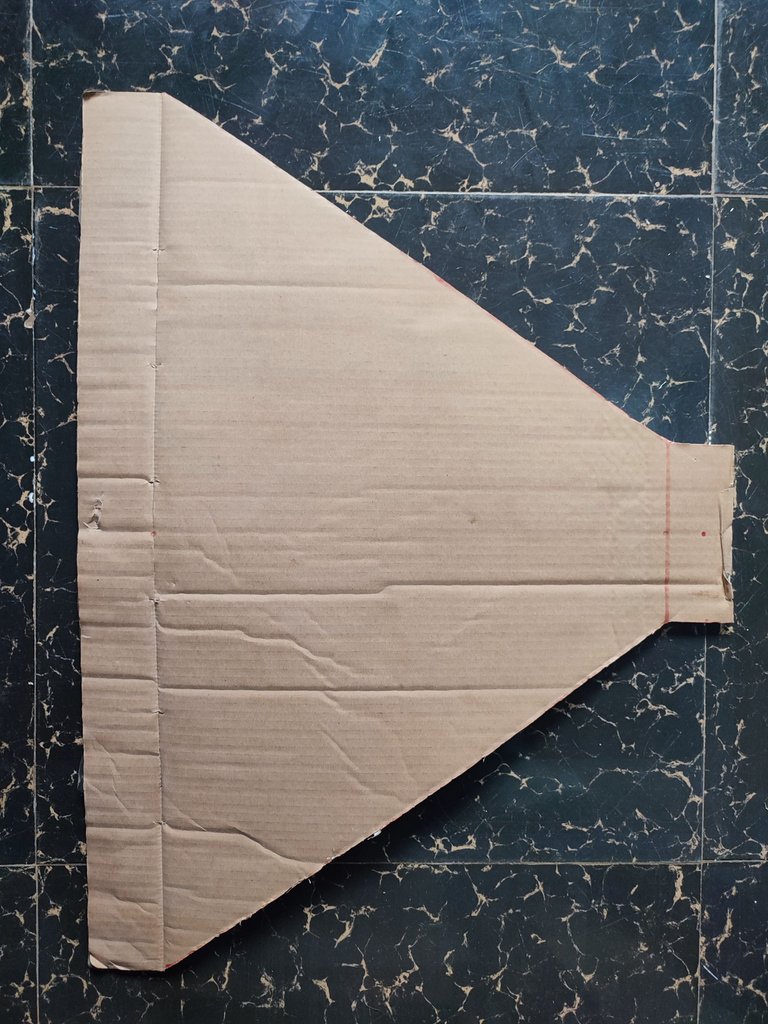
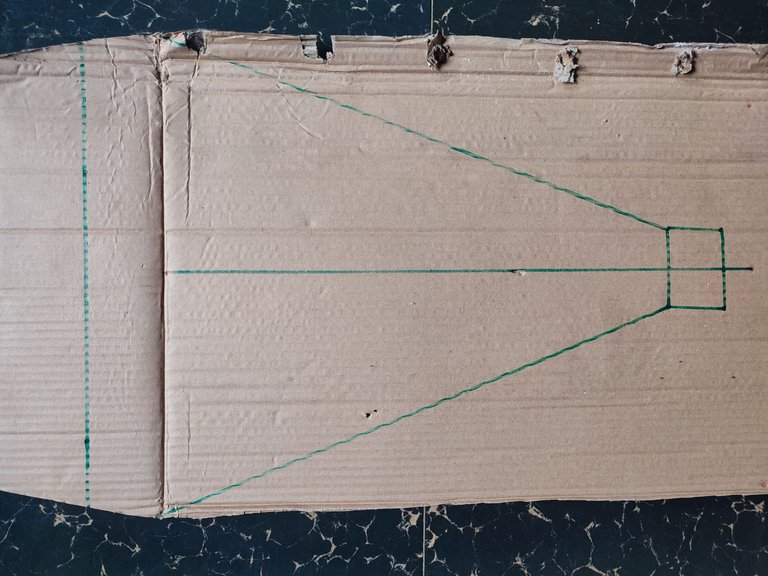
I knew I wasn't going for a square type, so I had two different sets of dimensions for the top and bottom versus the right and left.
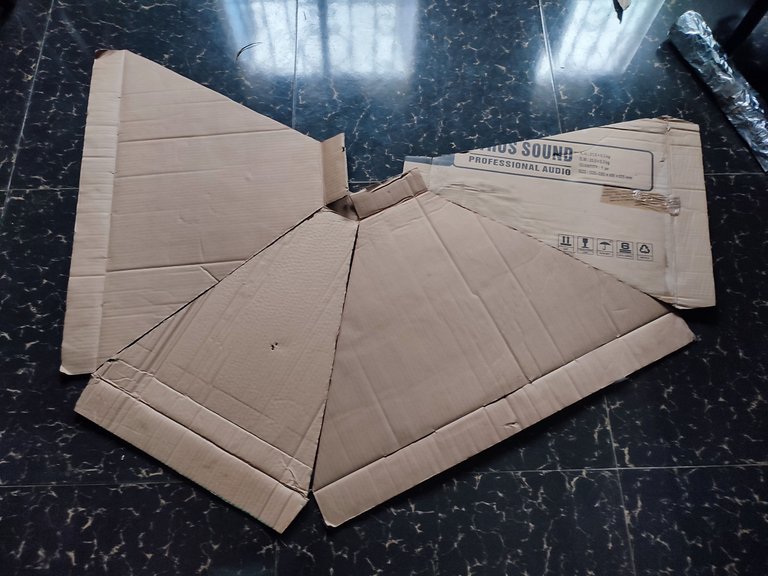
After cutting out the sides with the scissors, I put them side-by-side on the floor to join them together. I didn't think sellotape would hold the sides together well enough, especially when I didn't have enough of it, so I had to improvise.
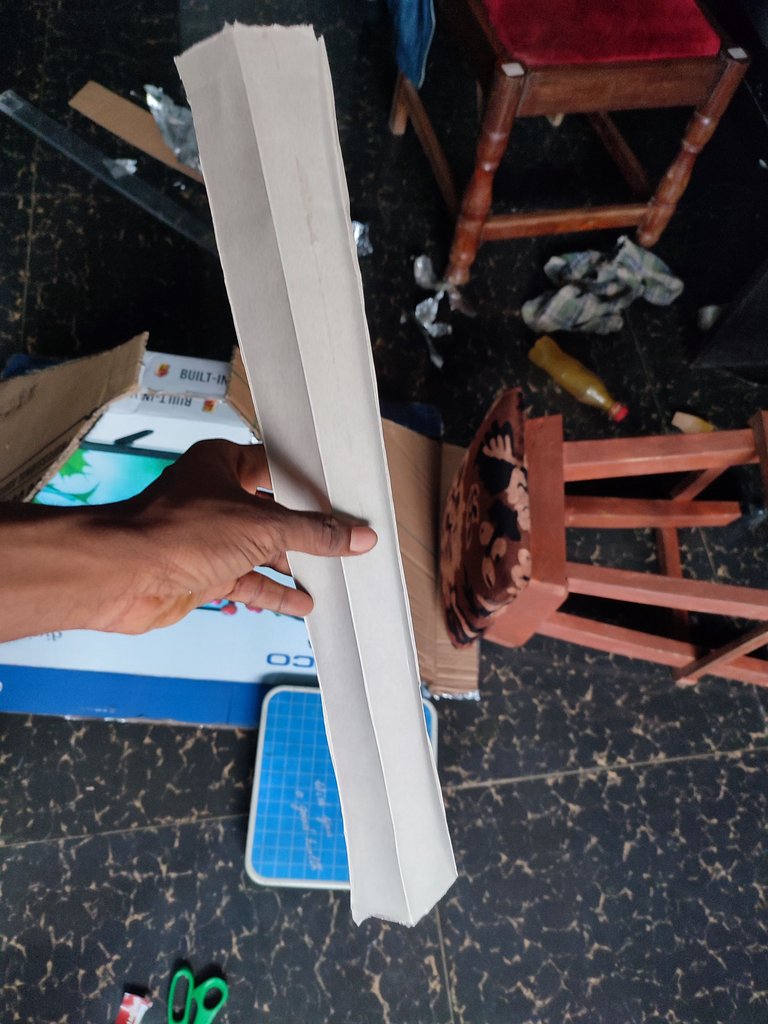
I cut out the cartons and formed them into L-shapes. They would serve as hinges for the edges of each side to make up the corners, on the inside and on the outside. And then I put glue on them to fix them in the right positions, mostly near the front and back.
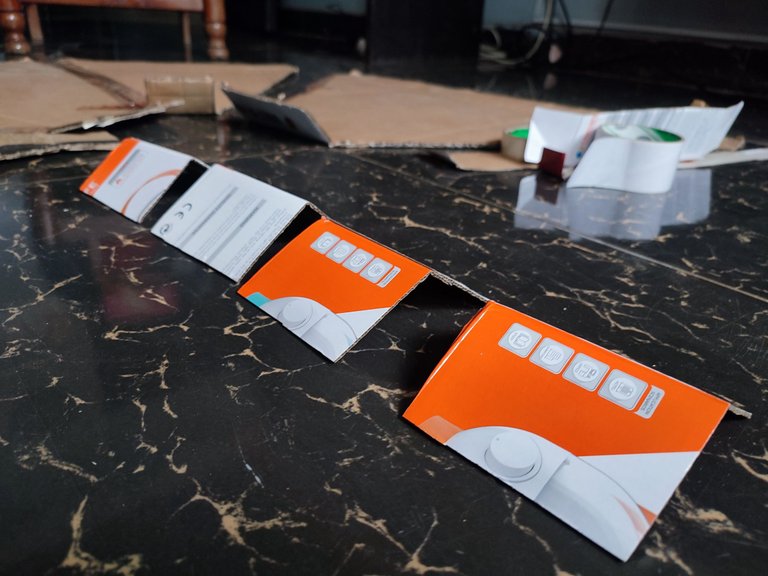 | 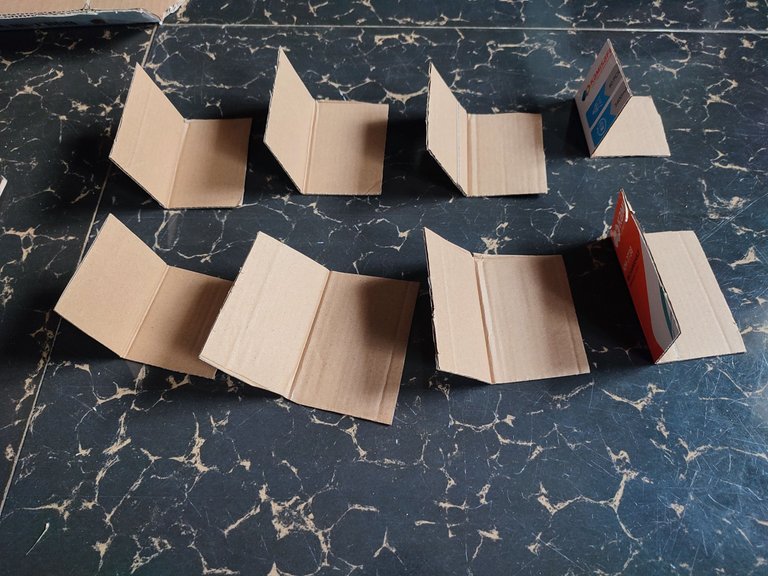 |
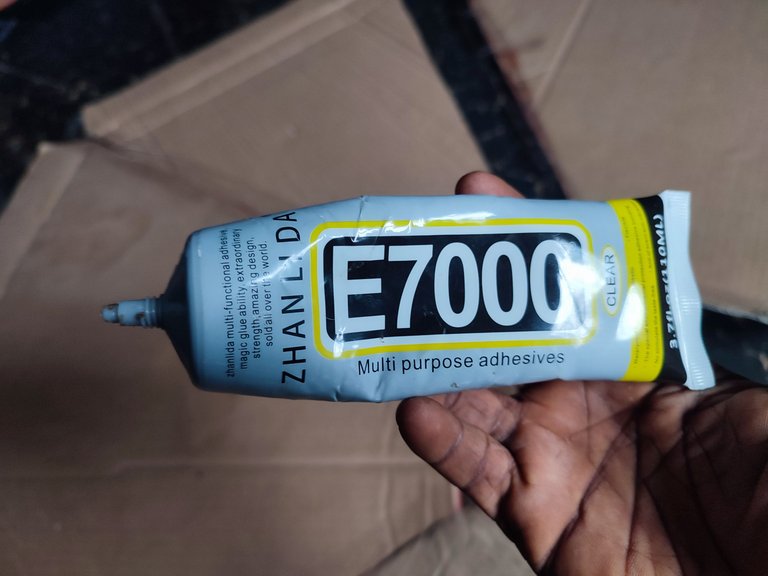 | 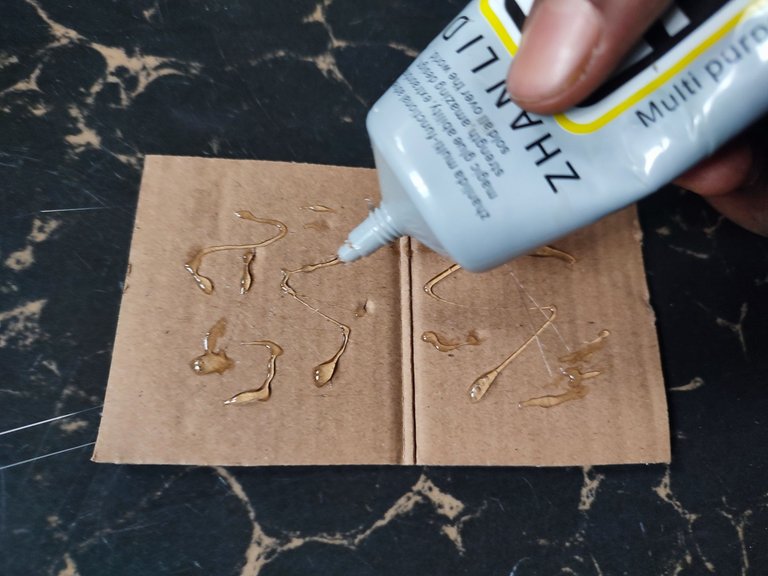 |
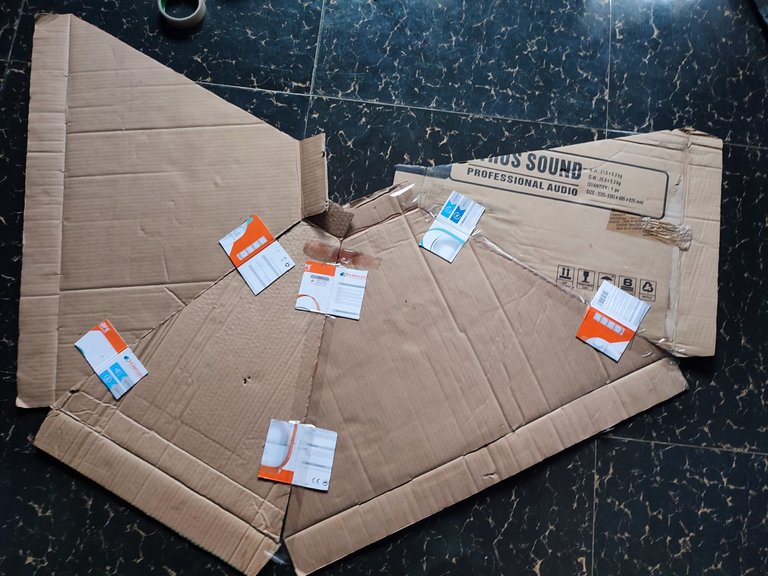
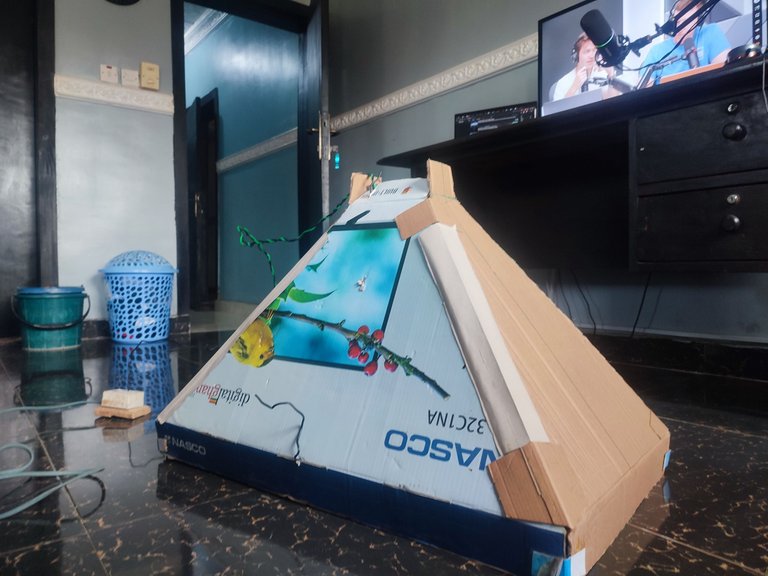
I could only work on three corners. And then I would seal up the remaining edges for the last corner on the outside after closing up the box. Before that, I had to lay out the tin foil on the inside.
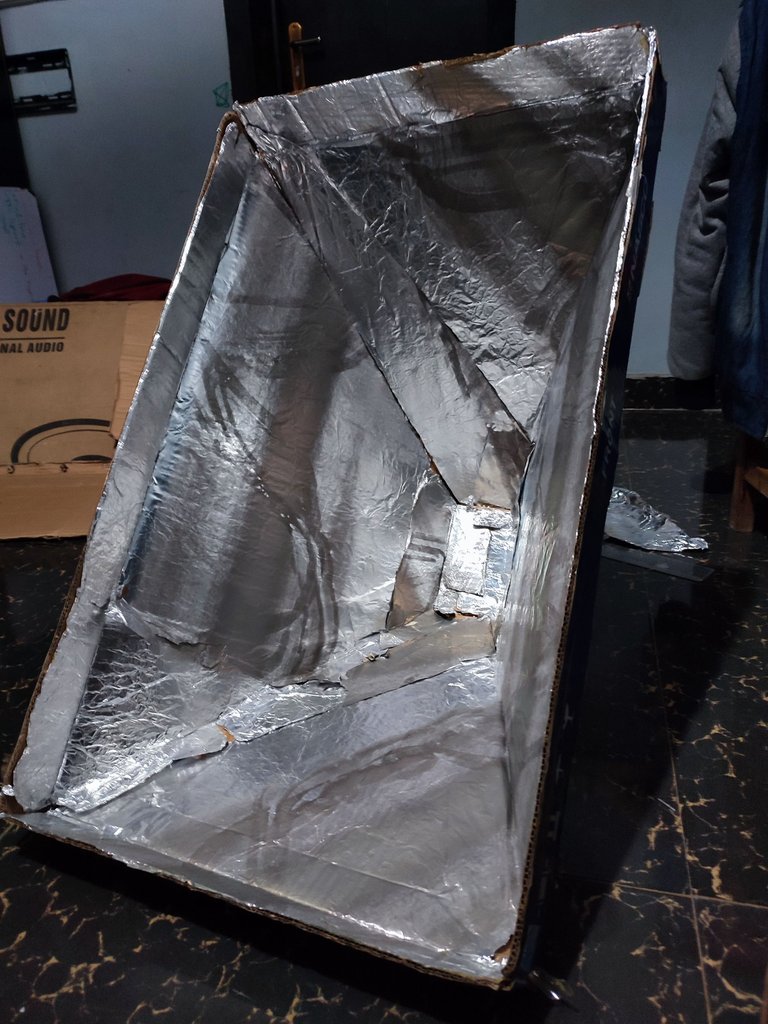
I may have been ripped off with the amount of tin foil I got. Thankfully, the amount I had was just right. And then I successfully layered every part of the inside with tinfoil using some glue.
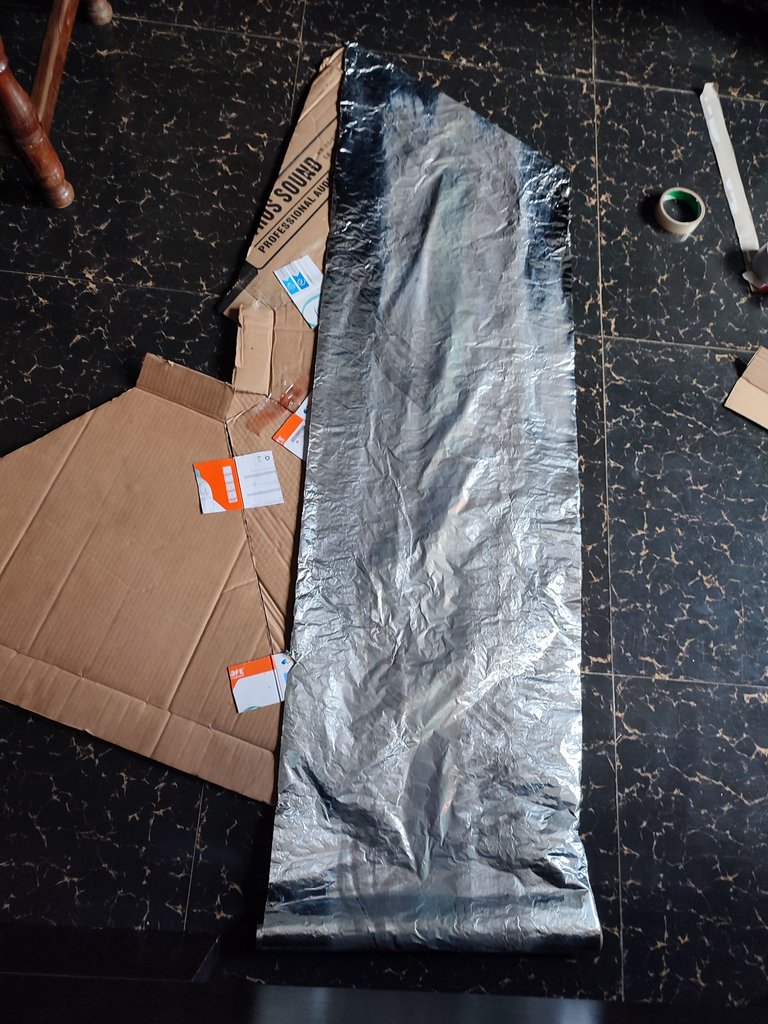
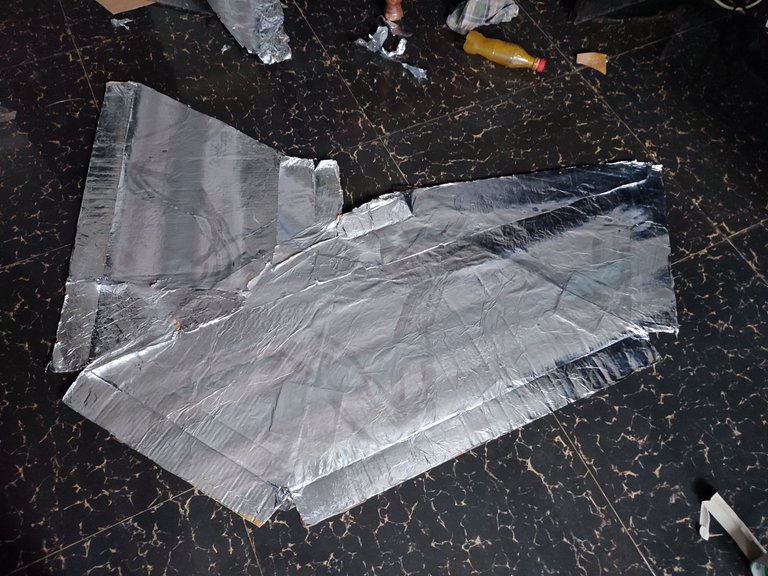
Then it was time to join up the last corner. And I used another set of L-shapes that I made earlier to do that.
I observed that light could spill out somehow from the corners. That could be a problem, so I had to seal them with some pieces of hard paper. Again, I used some glue to do that.
 |  |
Now, for the stand. I just picked up one of the microphone stands we had at home to do the job. To mount the softbox on it, that's where the 2.5mm wires came in.
I didn't have ropes around, so I had to use the wire. 2.5mm wires are thick, strong, and can retain form.
I used the screwdriver to perforate where the wires would go through the top of the softbox. I put the wires through them and shaped them into hangers. Afterwards, I slide the microphone arm into the hangers, and voila, the softbox is now mounted.
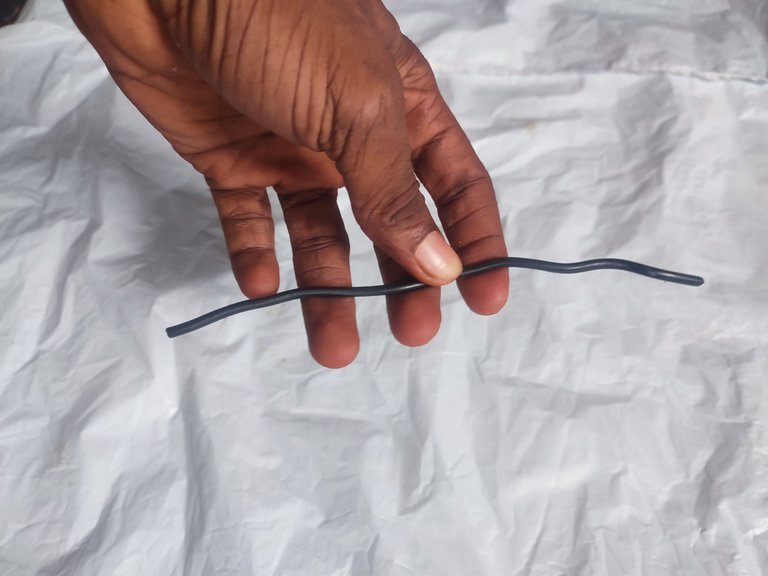
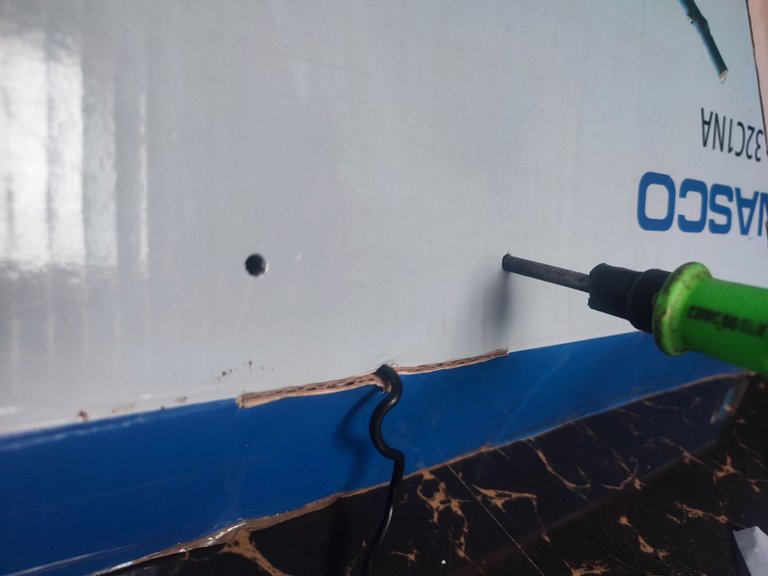
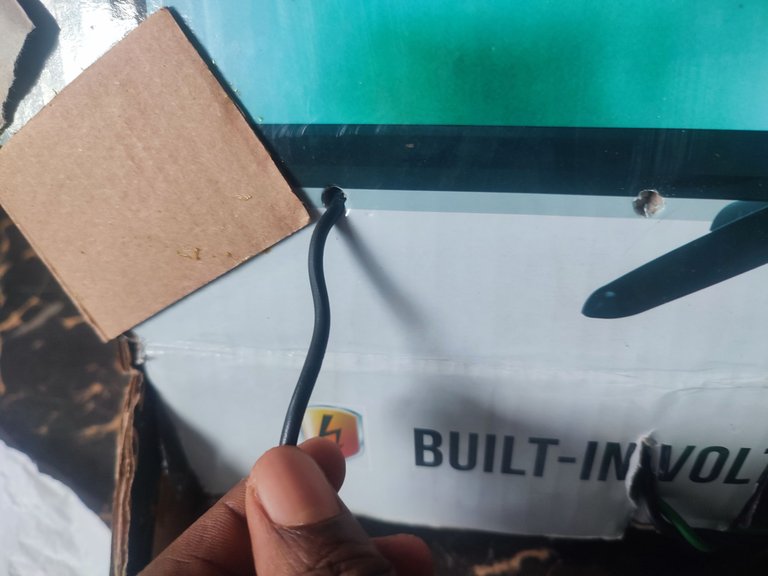
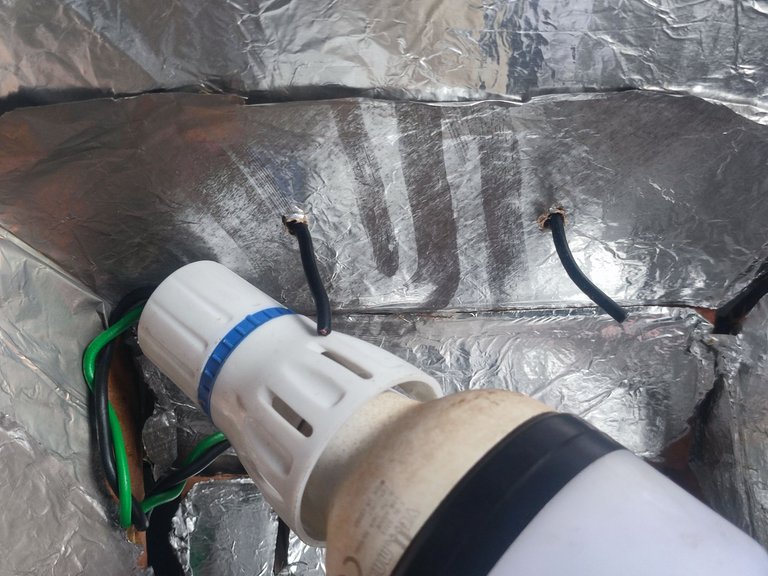
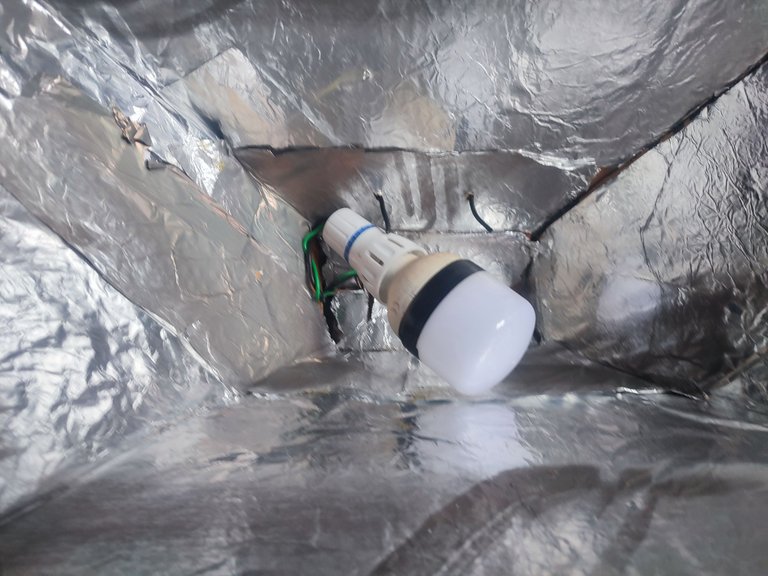
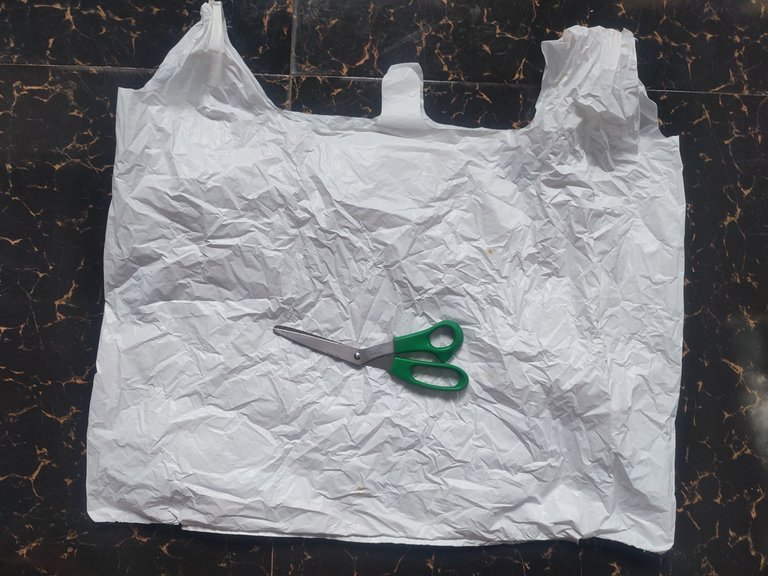
The final step was to put on the diffuser panel, and that's what the white polythene was for.
I carefully cut the sides of the bag to open it up the way I wanted. And then I just laid it on the front of the softbox and held it in place with sellotape.
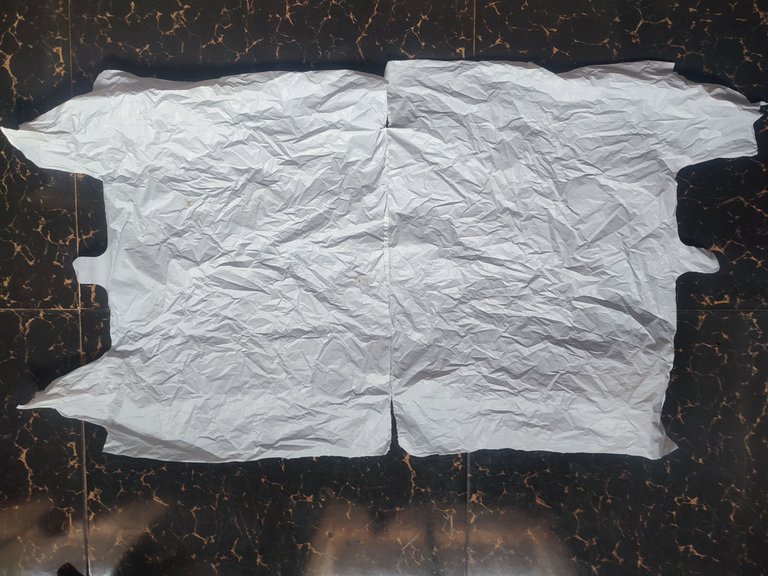
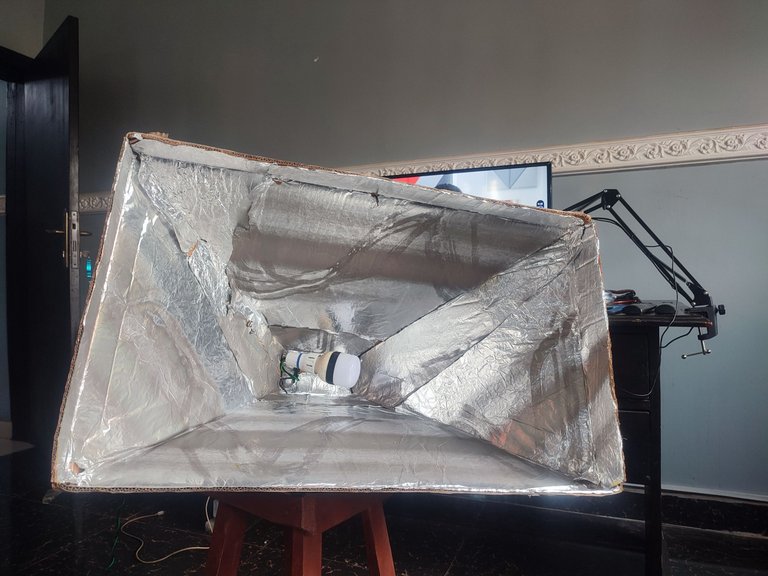
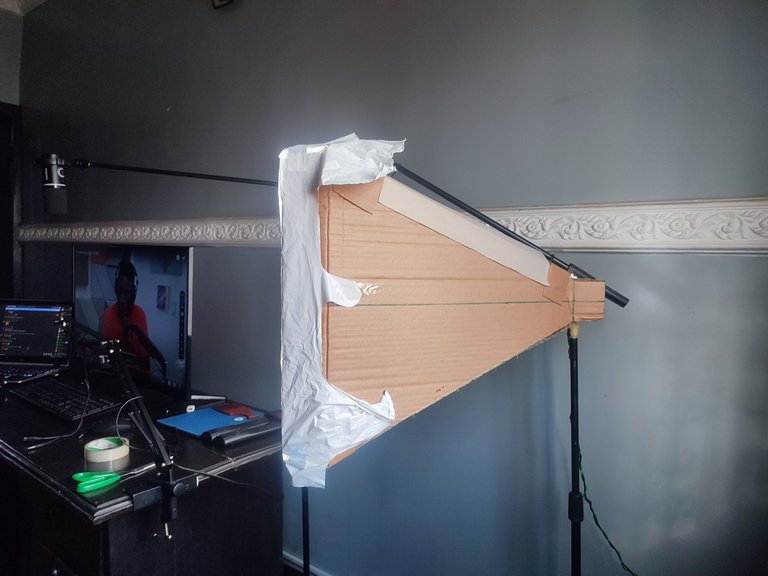
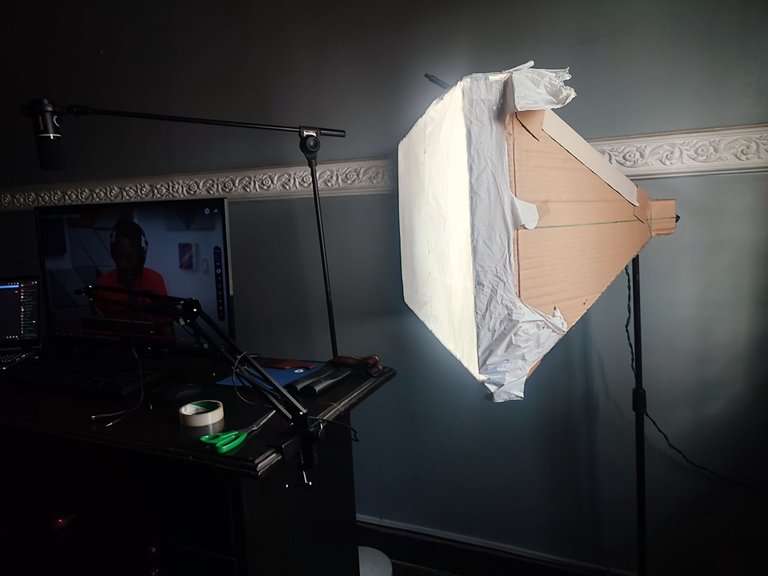
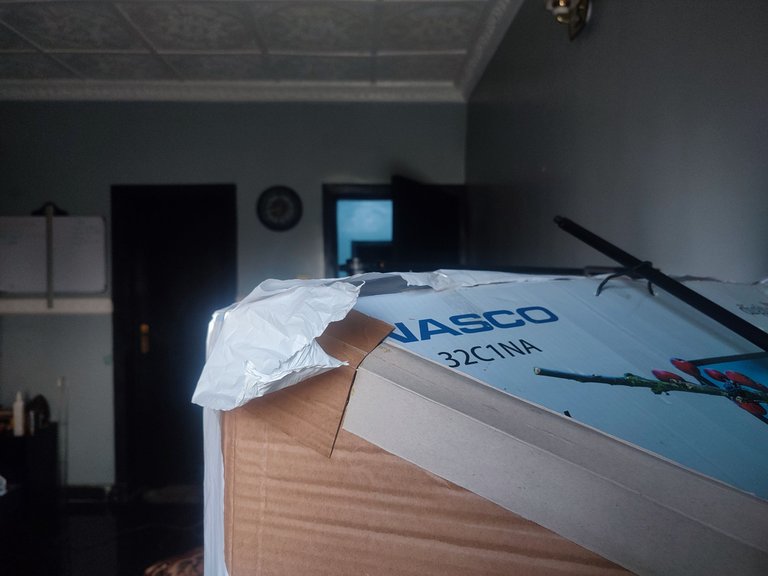
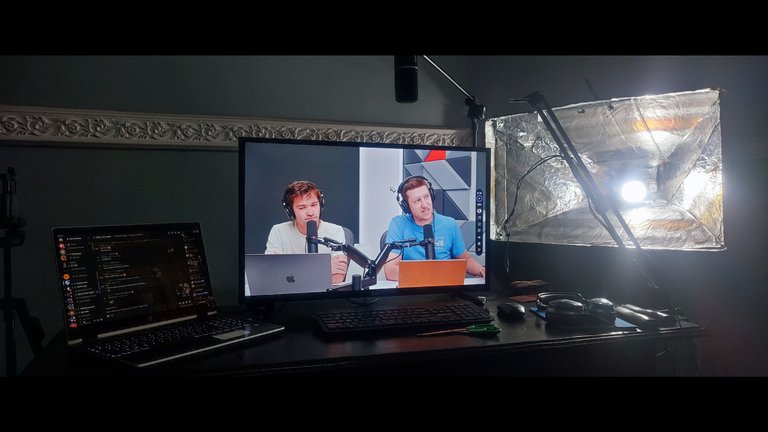

I can easily put in the light bulb from the back, as there are flaps created for that function in the design at the beginning.
And there, dear audience, is our DIY softbox. I spent about a dollar to achieve this.
All images belong to me
Posted Using InLeo Alpha

An Engineer doing big engineering things. It’s beautiful. I like how you paid attention to the dimensions and measurements. No mediocrity anywhere. I’m just excited I didn’t see anything like I used my mom’s hair pin or I used my brother’s belt… that gives me a sense of relief unlike what they’ve been doing to me over here.
My favourite part was the insertion of the light bulb and it’s wiring. That was so smooth.
Did you add any form of “regulations” to the light? Or it’s just as it is.
Anyway, I need to tell you this
When that soft box gets missing, I’ll buy one.
🤝
Thank you, D. I try my best to not "inconvenience" my Mom. Lol. Sometimes, it can be necessary...😁
That's actually an intelligent thought. I did consider regulation, but I haven't implemented it yet, since the light became dimmer when I added the 'diffuser'. For the regulation, here's what I will to use... 👇🏽
An old fan regulator. It has a resistor to do the light dimming job.
Hmmm...🤔
Oh that’s cool, I don’t know which particular bulb you’re using but there’s this bulb that charges whiles being on , connected to electricity and still stays on after there’s no electricity. That’s what we use at home. I don’t know if you know it , if not I’ll ask my brother what brand it is.
That’s what I’ll recommend, hearing the light became dimmer after adding the diffuser.
Wait, unless this bulb doesn’t even use electricity at all.
View more
Wow, I’m totally impressed Jay, this is a pure art of your creative mind. I love how the situation made you thing outside the box, see what you made! It’s amazing
Well done Jay 🥰. Some how I’m tempted to say you should have more difficulties so I can see what else your creative mind will create but I’m sure you can do that without difficulties so all the best Jay ☺️
You say what?? I should have more difficulties? 😂
Don't lemme catch you, Hope. 😂
Thank you
Me running as far as my legs can carry me 😂.
You’re welcome Jay 😌
View more
Great set up mate
Nice work with the light too 👏🏿
Thank you, man. You are the photographer.
Really only a dollar to make this...wow!
I know you have a thing for creativity but I never knew you were this goooood.
Nice one Jay, happy new week to you
Oh, thank you, Becky. 😁🤓
Like @hopestylist said, it's these difficult times that bring the other side of me.
I hope you have a great week.
Yes, thank you Jay
Wow, this is pretty amazing bro and sometimes we just have to think outside the box to make this magic.
I need to come learn from you, well done bro...
Don't worry, sir. I'll come to you for cooking lessons. 😂 And we can exchange. Before my woman use me laugh finish.
Wow! I'm really surprised that I haven't really thought of this considering how much I've always wanted a softbox.. Thanks for this man..
Man. I was pushed o. I want to make certain kinds of videos in the future, so I had to find a way.
Glad you found it useful.
Congratulations @olujay! You have completed the following achievement on the Hive blockchain And have been rewarded with New badge(s)
You can view your badges on your board and compare yourself to others in the Ranking
If you no longer want to receive notifications, reply to this comment with the word
STOPCheck out our last posts:
Whoa! This is super creative, man. This reminds me of my childhood days when my friends and I used to try to make and repair things. I've got to say, that area isn't my forte.
It's amazing how you created this masterpiece using simple materials. You made it look simple, but I'm sure if I tried making this, it would be a disaster.
Well done, sir.
Trust me, bro, the creative process was initially a disaster. 😂 I knew how to start, but finishing was by the grace of God. I figured it out anyway.
Thank you, sir.
I have to applaud your work👏👏👏👏👏👏👏. such mastery in assembling the tools you handpicked for the job. I do admire handcraft and yours is one I have seen in a long time, I can see your using your engineering skillset here, awesome work friend, love to see more creation from you.
Heh. Thank you, fren.
When there's a problem within my power to solve, I can get very critical with my thinking. Always been that way, thankfully.
You sound like you're into things like this. Maybe we'll see something from you soon.
I'm more on the admiring side, haven't really tried anything like that, I'm studying Accounting not anything related to craftsmanship.
View more
Omoo, you're a boss man ooo🙌
Eeii, I want to be like you when I grow upp🤲🏾
😂
Thank you, Mayor.
you are full of wonders Mr Olu. I must say this is very impressive. It's good to use ones talent especially in times when cost are high. Kudos
Heh. Thank you, man. I appreciate that. I'll share moer with time, hopefully.
Pretty neat work for a $1 product. The hard work shows
I appreciate that, man. Thanks.