Splinterlands Community Engagement Challenge: My Battlefield Breakthroughs!
Hello Splinterlands Summoners and welcome to another edition of Community Engagement Challenge! Today's post is about Battlefield Breakthroughs. I'll show a couple of battles and discuss how I chose my units. In choosing units, I consider the following: rulesets, mana cap and the splinter my opponent frequently used. I'll also discuss how I positioned my units to maximize their potential. I chose the Frontier Mode since this is the most played by beginners. Though my post is focused on beginners, I hope veteran players will also appreciate it. Let's proceed to the battles!
Battle 1 - Earthquake Ruleset
Earthquake ruleset deals two physical damage to all non-flying units. The Foundation set has no flying units to be used in Earthquake ruleset. In lieu of this, we want units with high health, high armor or with ability to sustain itself with healing. Here's how I formed my team.
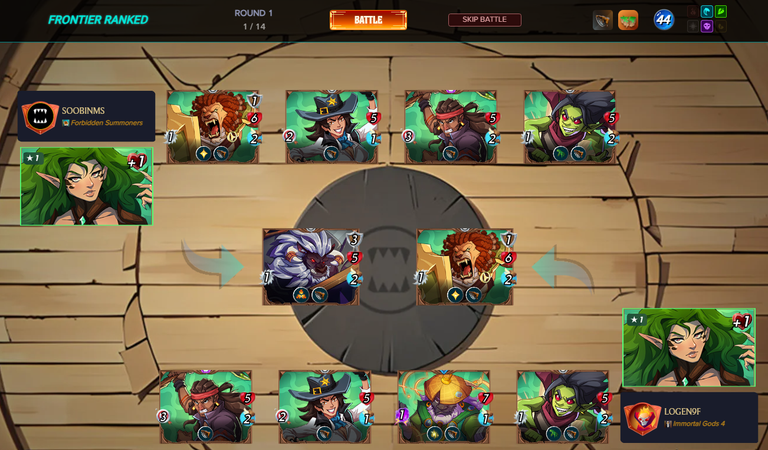
Dread Tafarian (tank)
I placed the Dread Tafarian in the tank position. It's the ideal position for him since he doesn't have any ability to attack from any position. He has one armor, six health and healing ability to sustain himself.
Mad Gearhead (second position)
In second position I had the Mad Gearhead. This is also the perfect position for this unit since he has the Reach ability, enabling him to deal damage from second position. He also has five health that will sustain him in this battle.
Time Bandit (third position)
The Time Bandit deals one magic damage and has high health stat of seven. From this position, it can deal damage and can also serve as tank since it can attack from the first position if in case the first two units get eliminated.
Wilhemdale Deputy (fourth position)
The Wilhemdale Deputy deals two ranged damage and has five health. I put the ranged units in the rear since they cannot attack from the tank position.
Kicking Rock
The Kicking Roc is the highest damage dealer in my team, having three ranged attack. She also has five health that will help sustain her against Earthquake damage. She is in the back to avoid damage.
My enemy also chose the Earth Splinter with different team composition and positioning. In the tank position, he had the New Beluroc Aegis which has the Taunt ability. If I were him, I would put this unit in the third position to draw attacks and help my tank (Dread Tafarian) survive longer. He also put the Mad Gearhead in the last position. He should be in second position because he has Reach ability as I discussed above. The opponent had one less attacker per turn and he also positioned his units wrong. He lost the battle because of these mistakes.
Battle 2 - Back to Basics
In Back to Basics ruleset, all units lose abilities. In this ruleset, I usually choose magic units or high damage ranged units. It so happens that the Water archon buffs magic damage so it's my preferred archon in this ruleset. Here's my team.

Port Guardian (tank)
The Port Guardian is a melee unit with low damage but has adequate health of six. His role in the team is to survive as long as he can and enable my magic damage dealers to attack the enemy. If my tank falls, then the rest of my units who have low health will soon follow.
Lunaki Howler (second position)
The Lunaki Howler can deal two magic damage when paired with the Water archon. He also has four health that I hope will serve as the next tank when the Port Guardian gets eliminated.
Water Logged Wizard (third position)
The Water Logged Wizard is the same as the Lunaki Howler but this unit only have three health.
Saltwater Mage (fourth position)
The Saltwater Mage is my highest damage dealer so I placed her in the back so that she is the last unit to be fighting if the first three units get eliminated. I wanted her to stay in battle for as long as possible to maximize her damage potential. She is my key card since she is not included in the Campaign mission and can only be obtained from reward chests.
Enemy Team
The enemy also chose magic but he doesn't have the Saltwater Mage. He had the Great Bear Druid who has dual attack but cannot use his melee attack from second position. I had the team with higher damage output per turn and this gave me the advantage to win the battle.
Final Thoughts
I hope the readers learned something from this post. Keep playing the daily missions and soon you will get more cards to make your deck stronger. There are cards like the Saltwater Mage that you can obtain only from continuously playing. This is what makes Splinterlands a fun game to play. It rewards players who play the game. Learn the basics of the game, hone your skills and strategies from consistent play and soon you will see your collection grow and your deck stronger!
https://www.reddit.com/r/Splinterlands/comments/1mrf5w4/splinterlands_community_engagement_challenge_my/
This post has been shared on Reddit by @logen9f through the HivePosh initiative.
Sending Love and Ecency Curation Vote!
 Please Vote for our New Proposal! 🙏
Delegate Tokens and HP to Fallen Angels to earn weekly rewards!
Delegate | Join to the guild