Crochet a granny square headband with me.
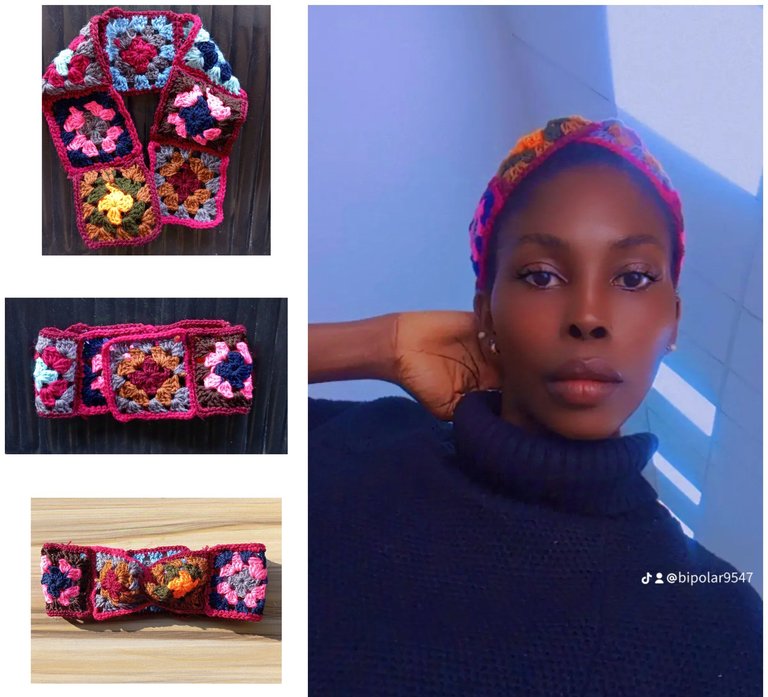
Holla needleworkers, allow me to interest you with this beautiful granny squares headband I made for my hair. The thing is, I have been meaning to own this design of headband for quite a while now but I have not been fortunate enough to see one to buy.
I first started seeing them online but they were made with fabric. At a point, I reached out to my seamstress if she could make one for me and she said that she could, but then hinted that she hasn't done it before so she really doubt if the out come will be ok.
In a bid to avoid what I ordered vs what I got, I told her not to bother.
Fast forward now, I started seeing the exact headband design with different fabrics at the market. Excitedly, I sorted to purchase some as I thought it would be affordable but the price the vendor called chased me away. It was really heart breaking, seeing these babies in the market and I could not still get one for myself.
As I was feeling sad, it hit me. Of course I'm a crochetier, with my hook and yarn, there's no magic and no heart desires of mine I cannot fulfill as long as it has to do with yarn.
I immediately went online and typed in, crochet headband and viola, the designs kept coming. Lots to choose from but I wanted something different, colourful and not clownish.
I thought about granny squares, that should be like my favourite crochet design or should I say stitch? Well, I searched again on granny squares headband and guys!!! The beauties popped up on my screen and I settled for a design.
For this project, I made use of the following items
- Different colours of yarn as it best suits me.
- 3mm hook
- Needles
PROCEDURE
Step one
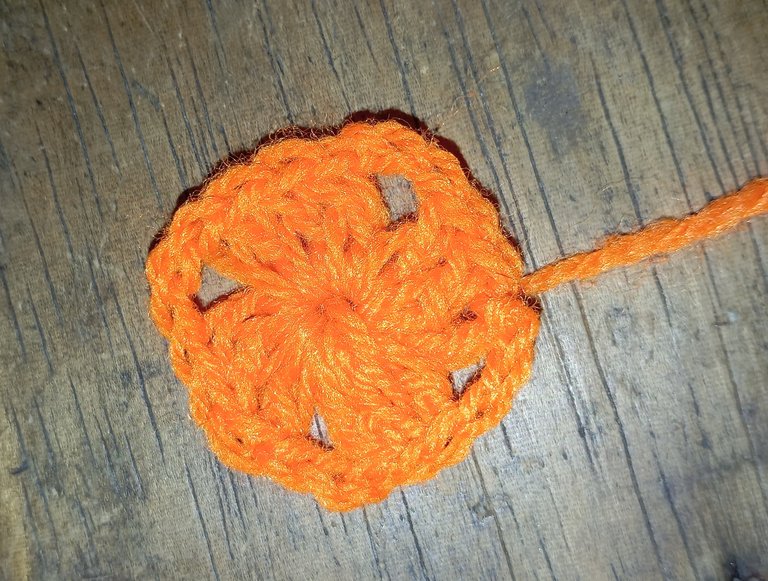
I started by making four chaines as that is more easier for me to navigate than the magic circle. After chaining four, I joined the chain with a slip stitch by inserting my hook into the first chain stitch to form a circle.
Next, I chained three (this counts as the first DC), inserted in the circle and then made 2DC afterwards to form a cluster of three.
I made the cluster of three into four sets, separating each cluster with three chains to form the square corner.
Second step
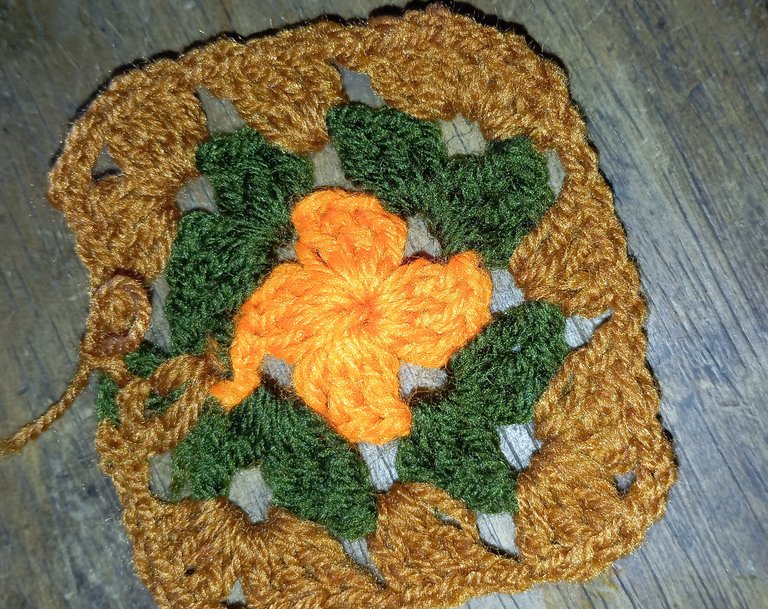
Here, I chained three and inserted it into the space of the square corner. After which, I added two double crochet to form the cluster of three double crochet. I made the cluster of three into four sets of three double crochet with 2 chains in between the sets.
I built on them by making three double crochet in the spaces and then separated by three chains at the corners to form the square shape.
I continued this till I formed the size of the square I wanted.
The edges
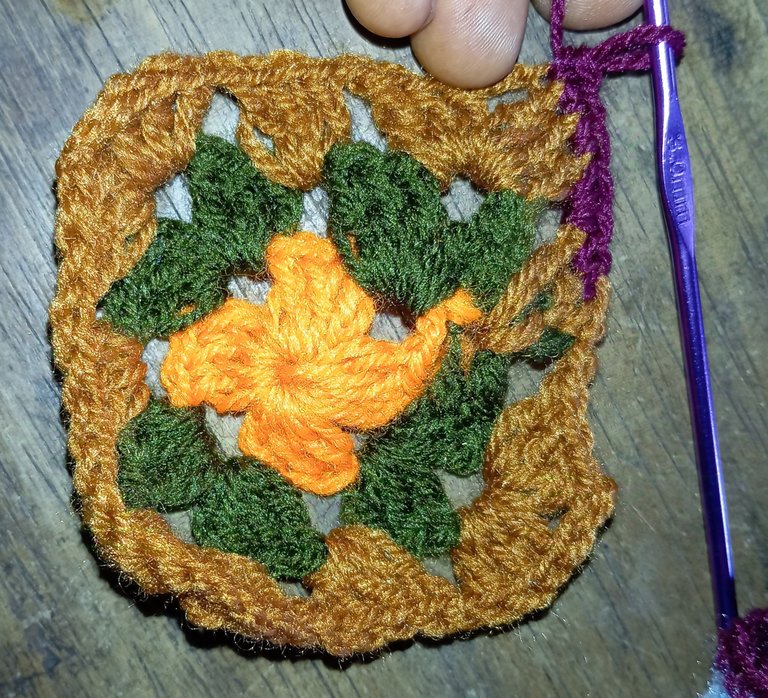
For the edges, I made use of single crochet till it covered the whole square.
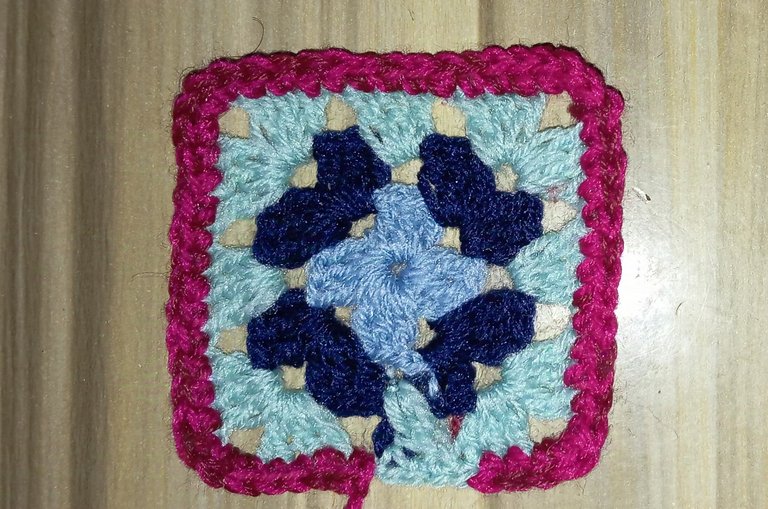
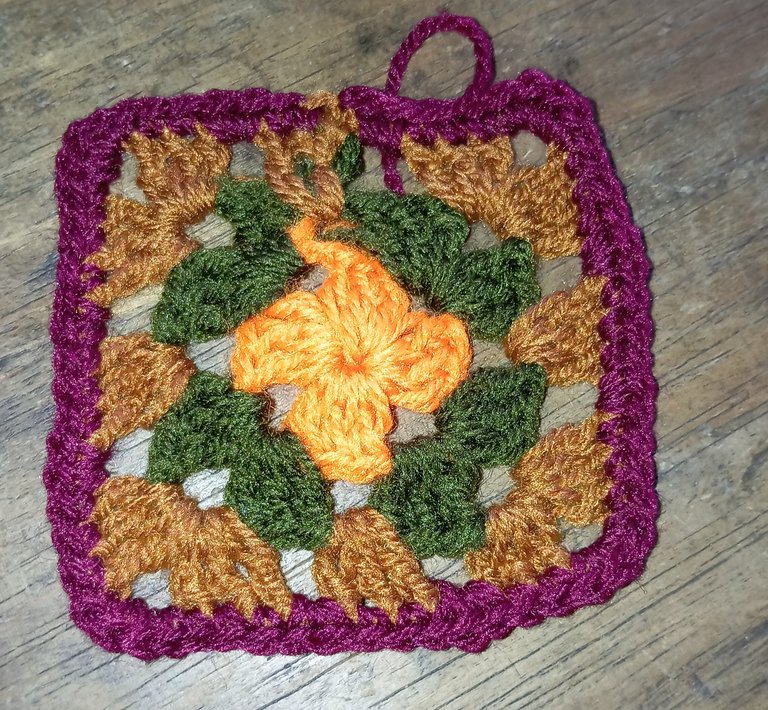
The length

For the length, I made seven granny squares as that fitted into my head. Although, it was a bit loose, Six granny squares would have fitted perfectly.
Assembling
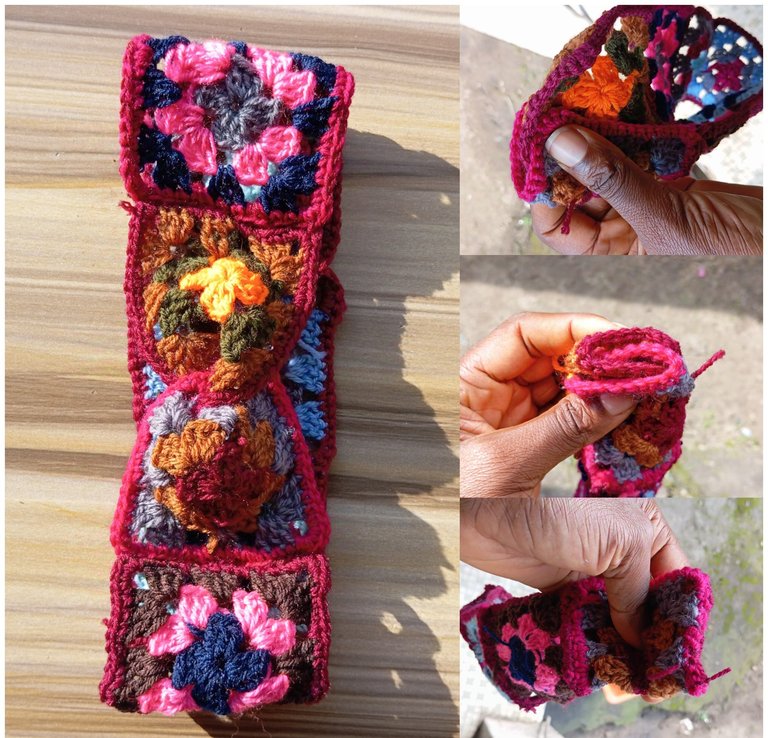
I lapped both edges inbetween each other and then joined them together by sewing with a needle and some yarn. I turned it to the other side and voila.
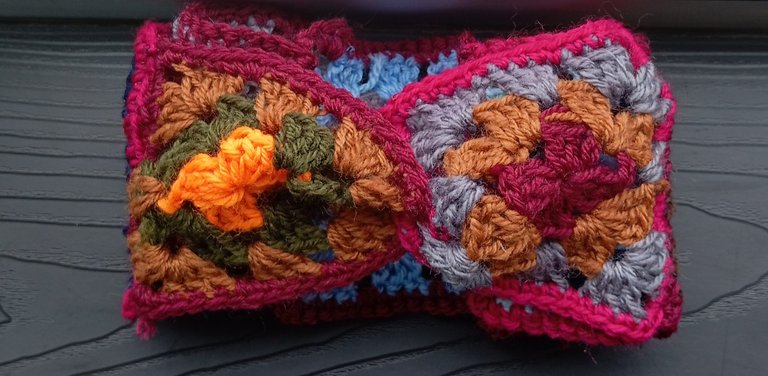
AND GUYS!!!!!! THIS IS WHAT WE HAVE 😌
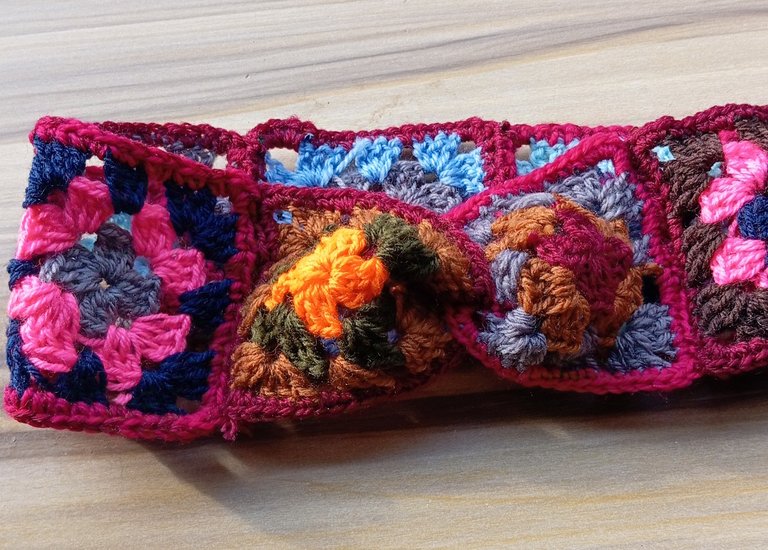
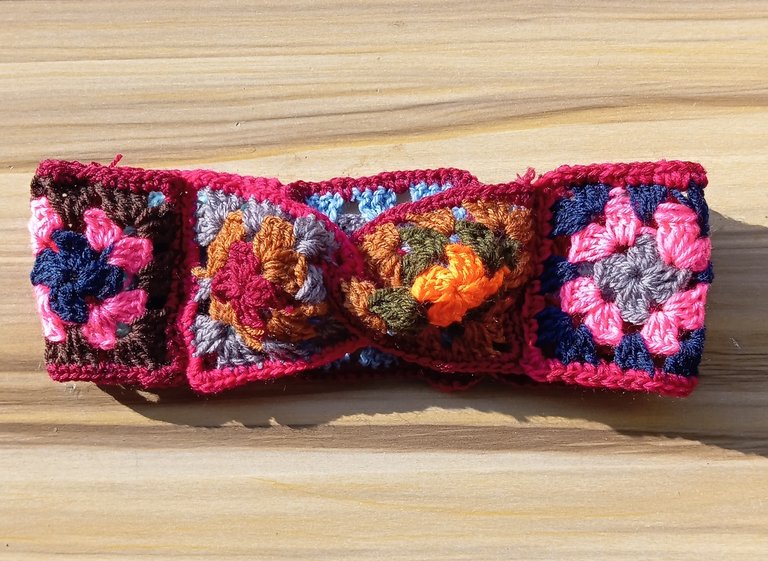
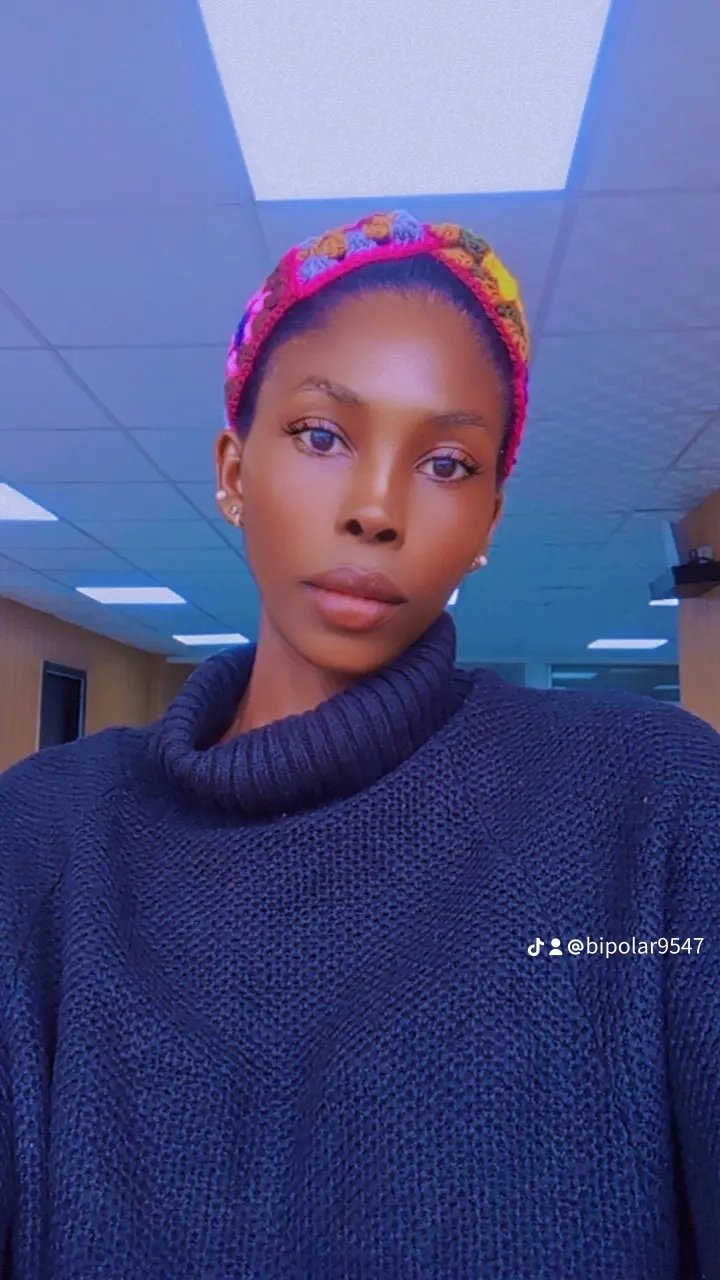
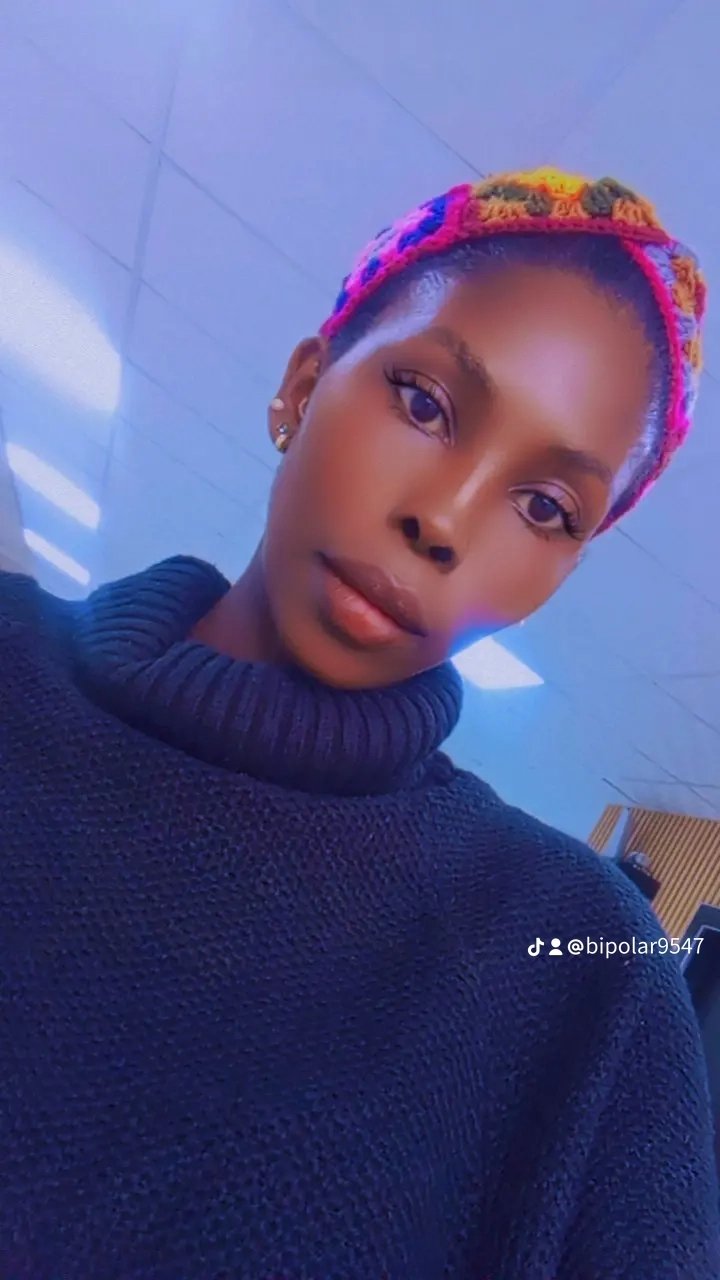

Done 🙂
👍
Nothing is impossible when our heart desires it, you did it and it was perfect, beautiful, colorful and with a beautiful design, it was a great help to see guides on the internet, I also manage to do many things looking on the internet.
You've said it all, with the internet and a willing heart, we can do most things 😊. Thank you for the compliment ❤️
My dear friend, I admire you for being a constant woman who does not give up.❤️👏❤️
View more
You have done well my friend, I'm not that perfect when it comes granny squares though I'm still in the learning process.
Your headband looks great 👍
Oh really? Granny square is one of the easiest I have ever had to deal with. I don't really have patience like that lol... so with granny squares, I'm covering a bigger size with so little time 😆
Please come and teach me🙂↔️
I love the colours you used. The headband came out really pretty.
Thank you Sensei 😍