Changing the changes [EN/ES] Cambiando los cambios (1/2)
Starting adjustments
Although many of us want our bicycles as they are, many times we need to change the components either due to wear or to introduce better ones. Especially when we don't have much money, we tend to do it little by little, one component at a time.
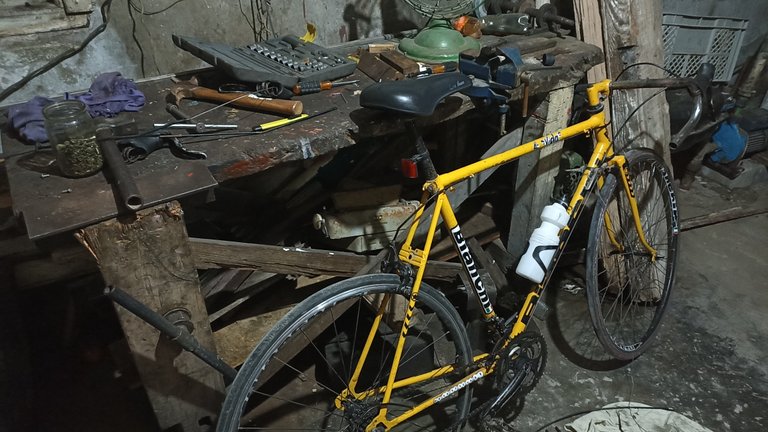
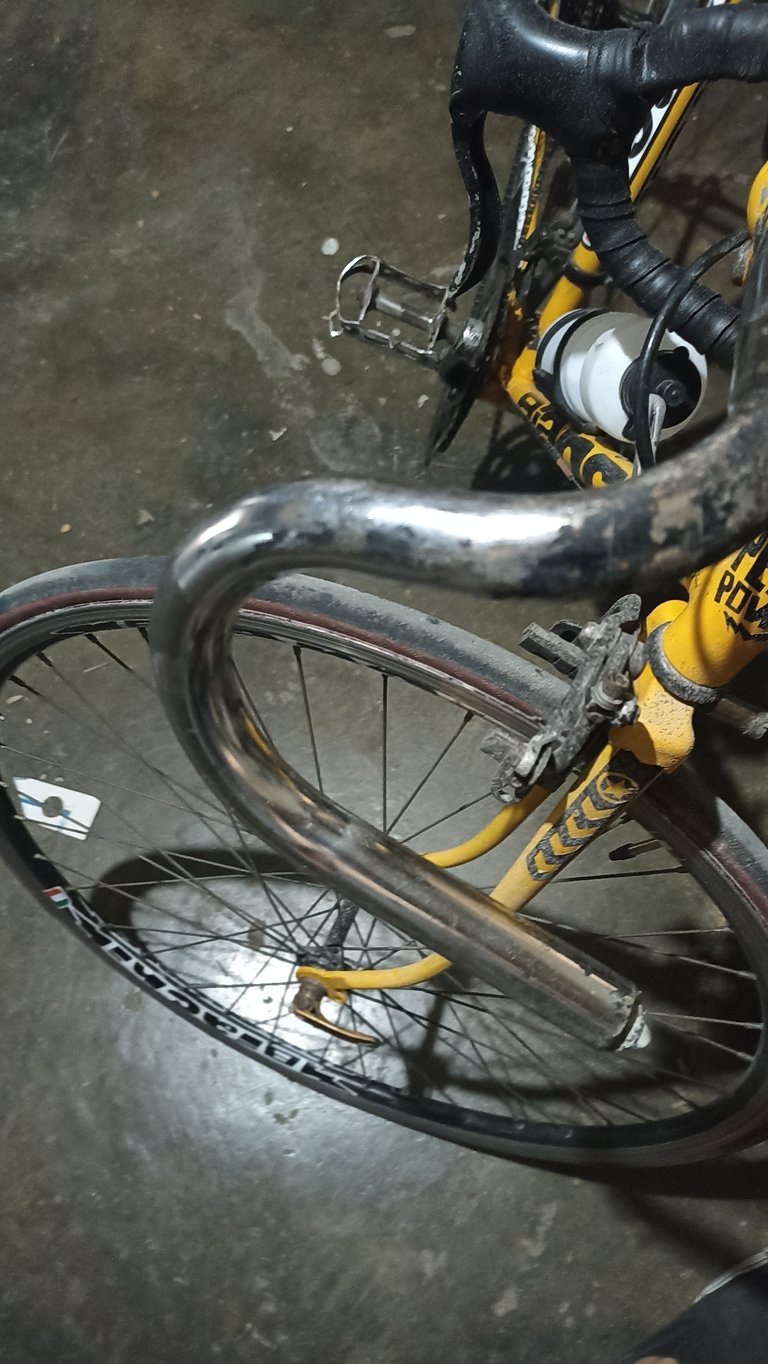
This time it was the turn of a dual component, the gear shifter. As it is a road bike, ideally, are brakes with integrated gear shifting. I had a classic road bike with separate old gear shifters from the brakes. These are a bit inconvenient since you have to release the handlebars to change gears. A few days ago, I obtained an integrated shifter and set out to install it.
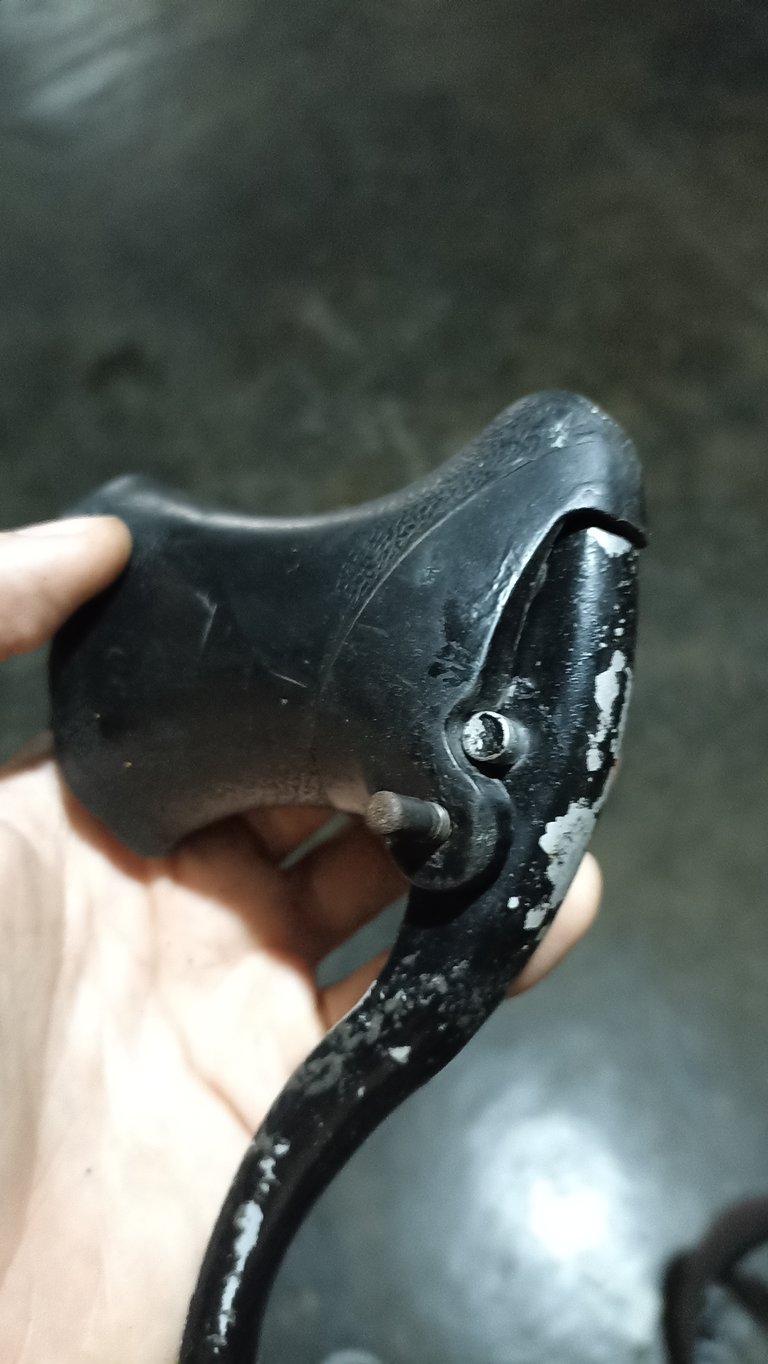
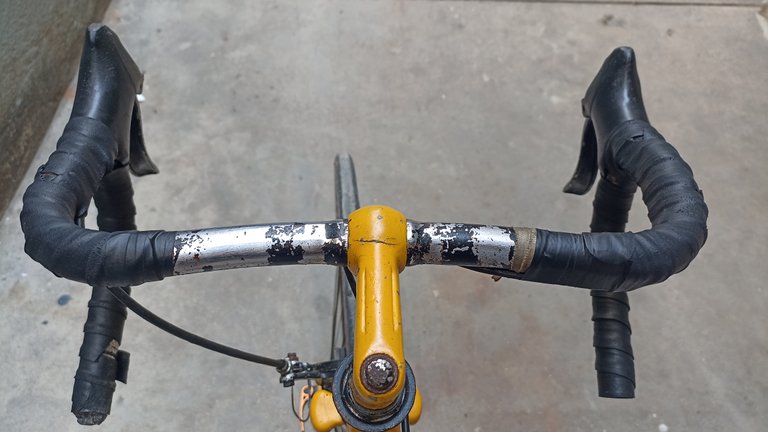
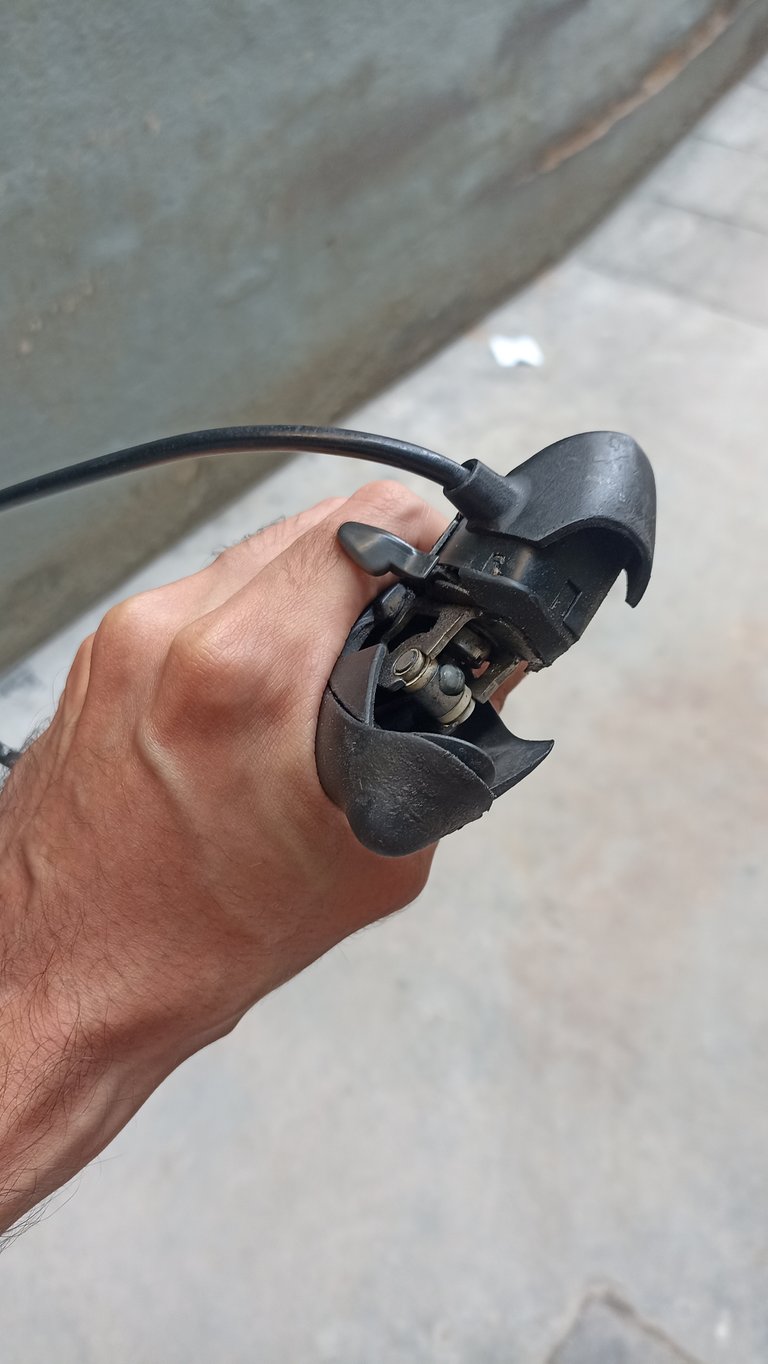
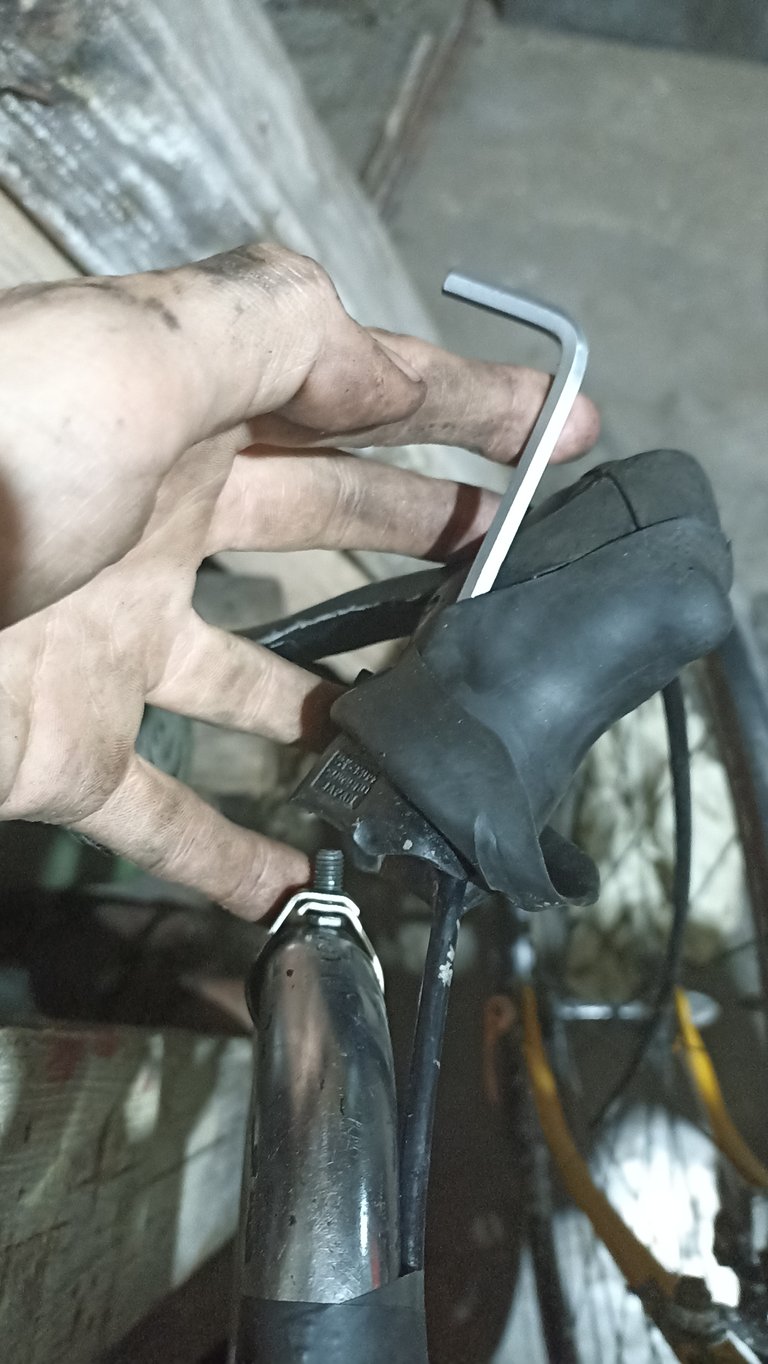
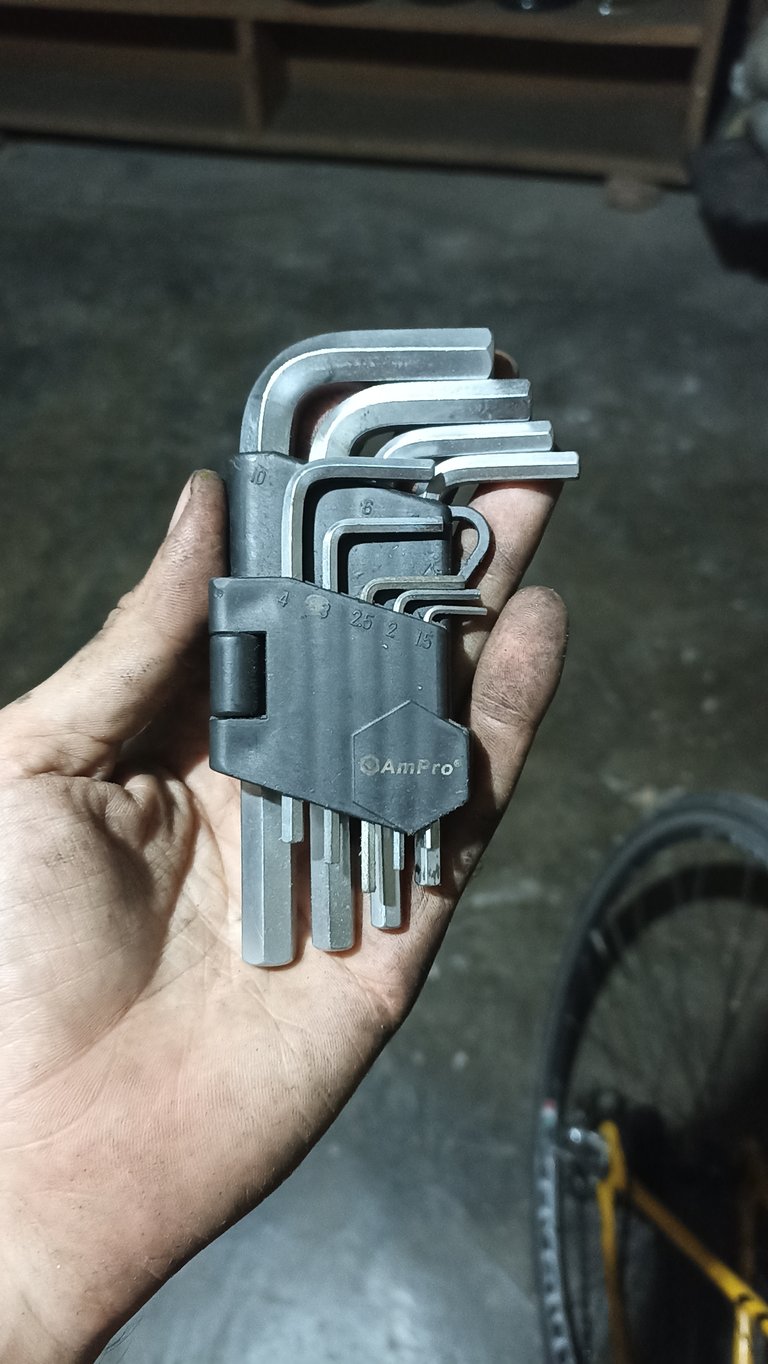
The first step was to remove the handlebar tape. I started with the left side, which controls the front gears and brake. After loosening the brake cable and removing the tape, we loosened the brake lever and uninstalled it. This brake was a bit tricky, so I had to remove the movable part to reach the screw with an Allen wrench and loosen it.
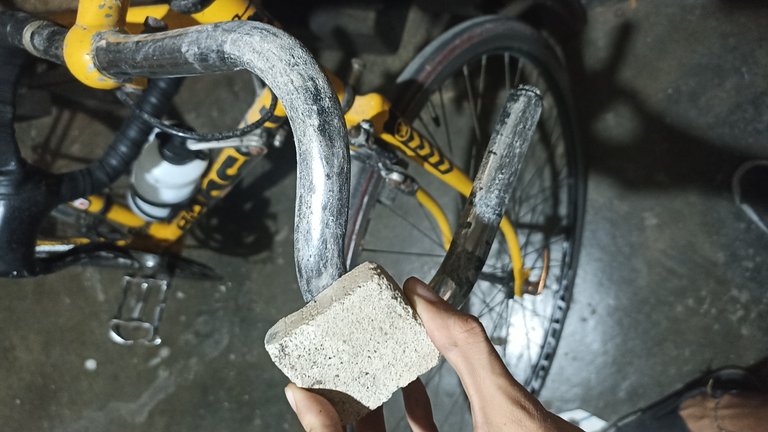
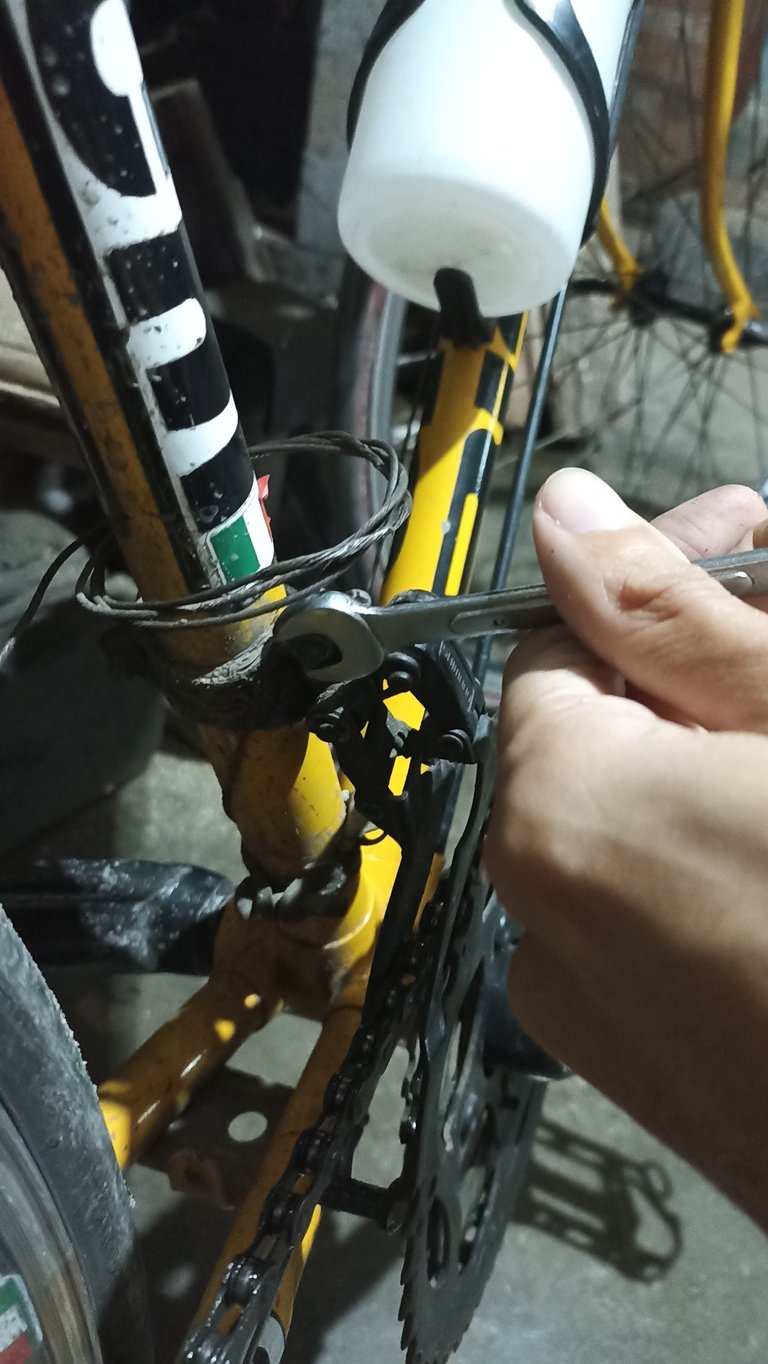
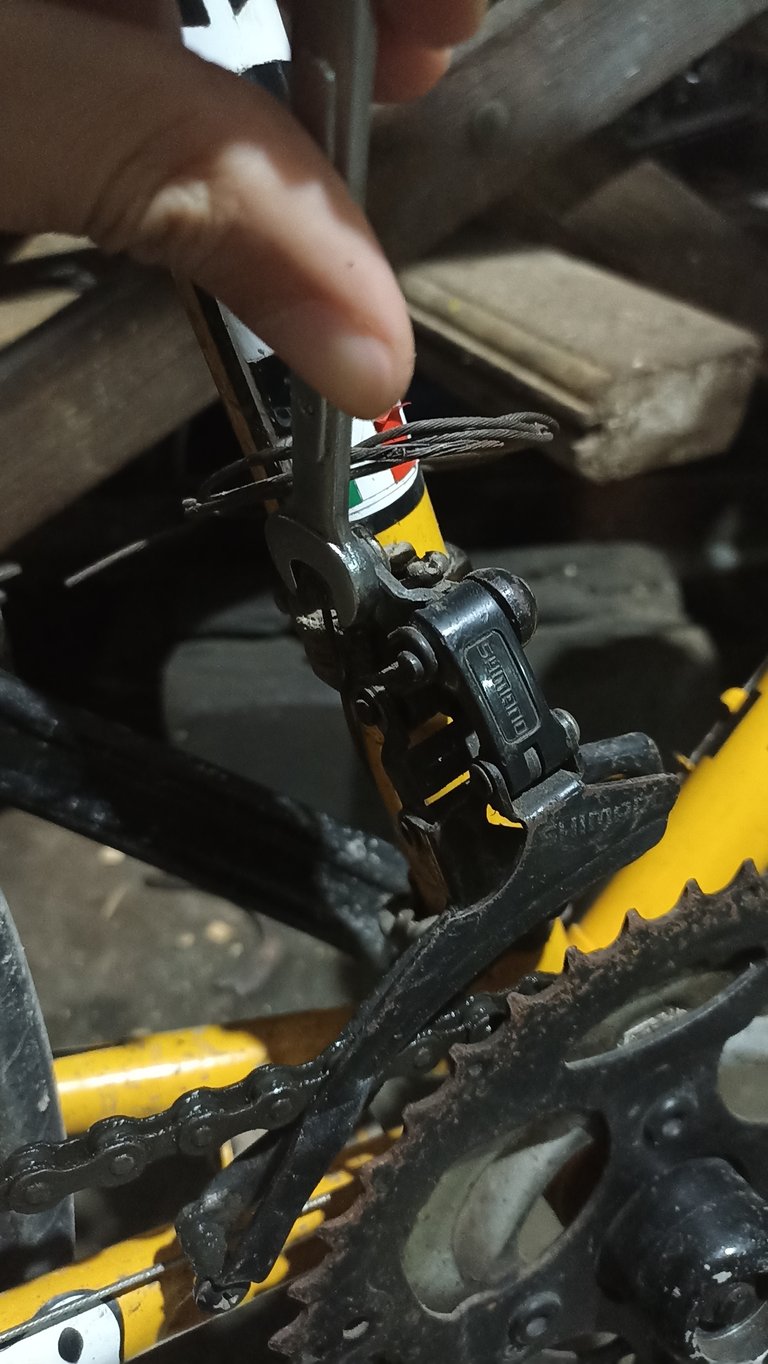
Before installing the new gear shifter, I cleaned the handlebars of rust and old paint residue with a pumice stone in the absence of sandpaper. I also detached the front derailleur since with this new shifter, both components are controlled.
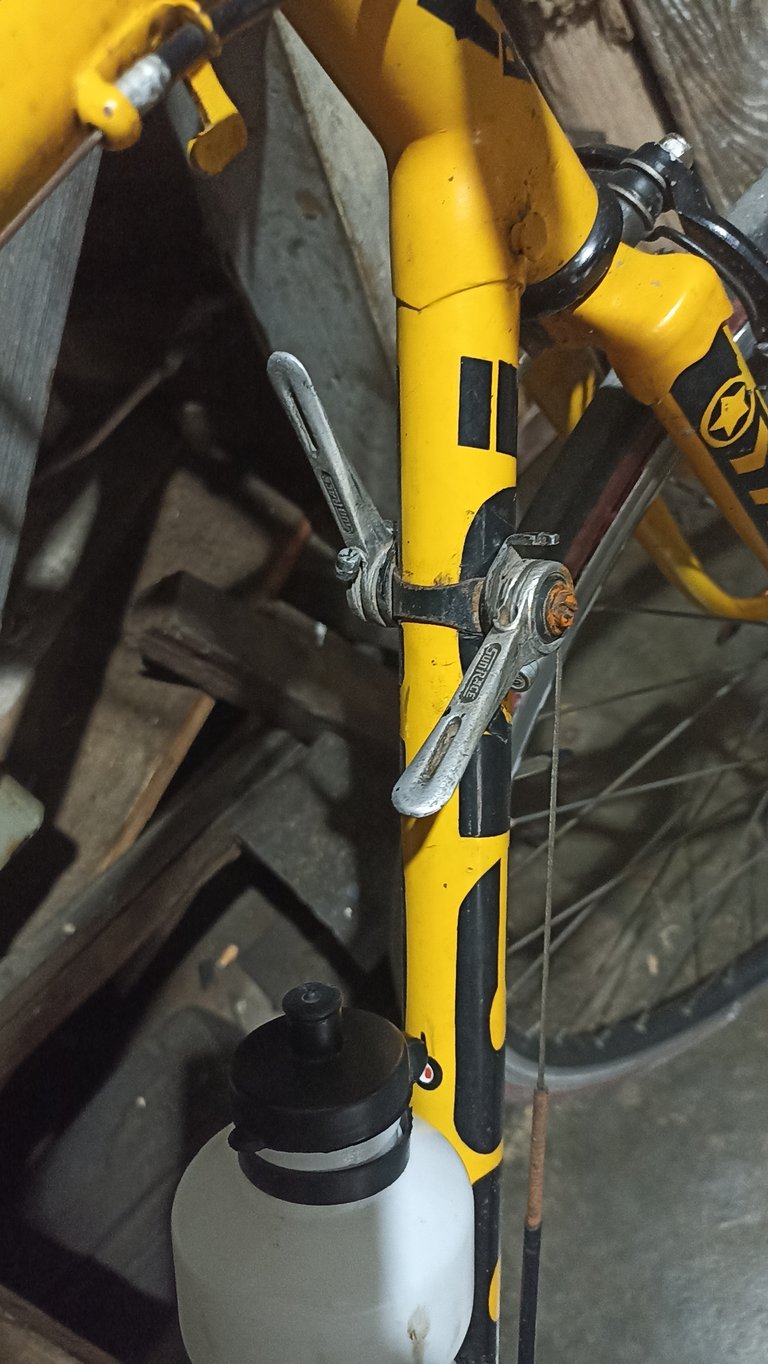
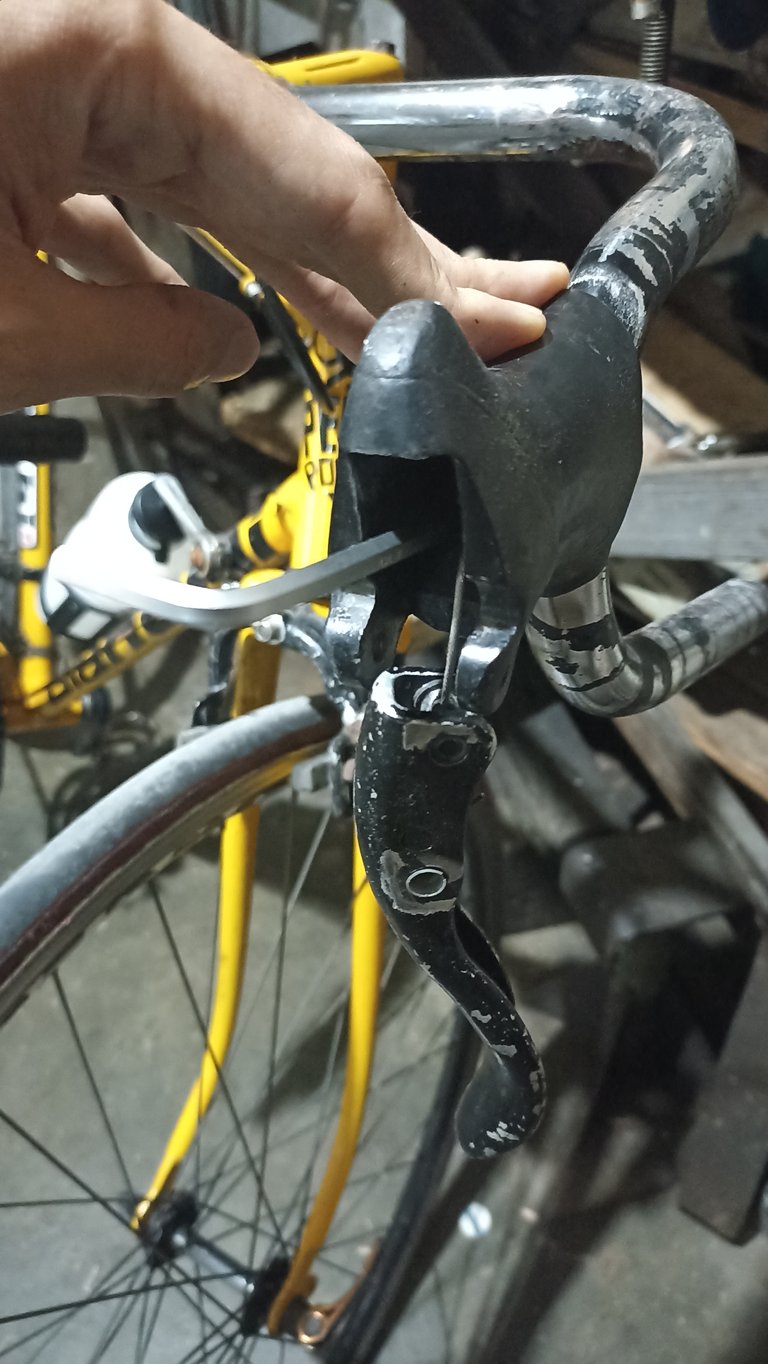
Installing this shifter was relatively easy. Once placed in position, we tightened it with a wrench, installed the brake cables and the gear cables. I obtained the new shifters with the necessary cables and housing, so it was just a matter of inserting the cable where it belonged and tightening. However, I have not adjusted the gears yet, as for this, we need to have the rear gears set properly.
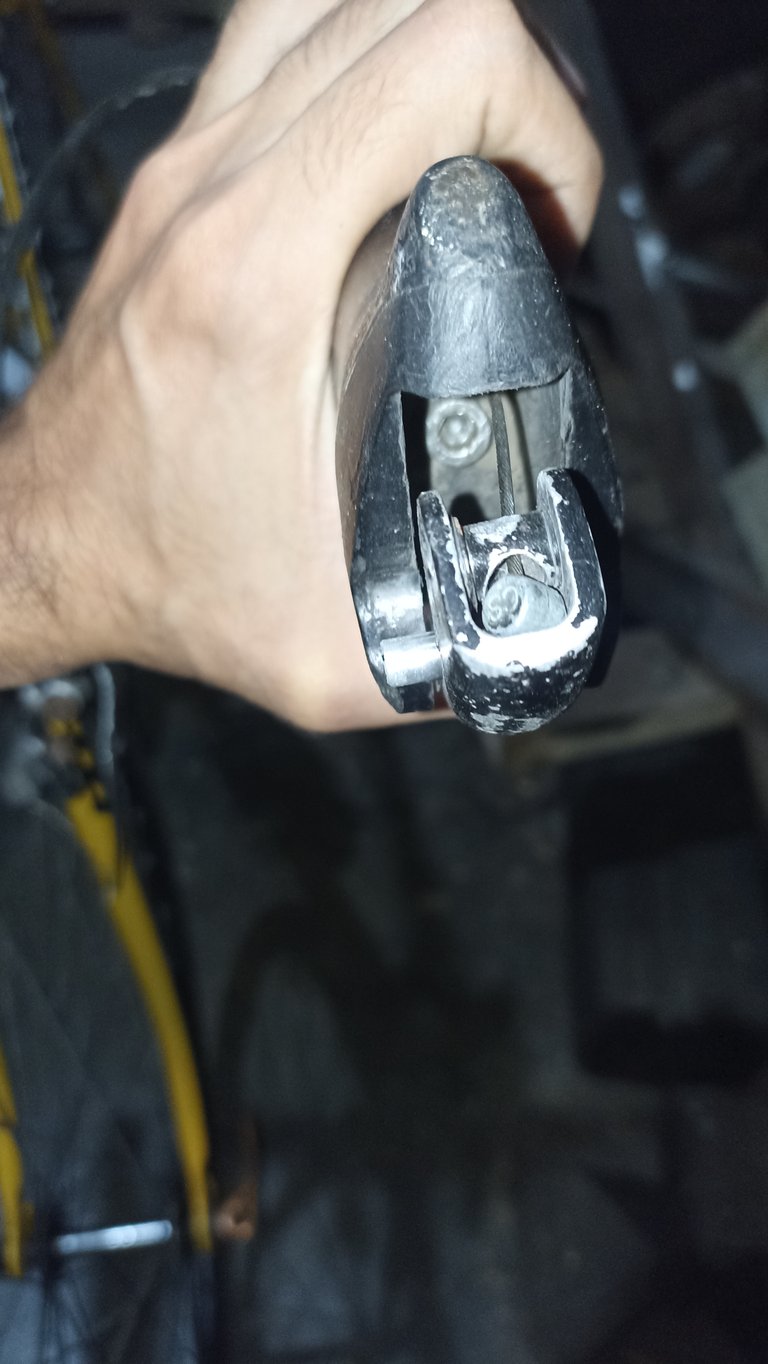
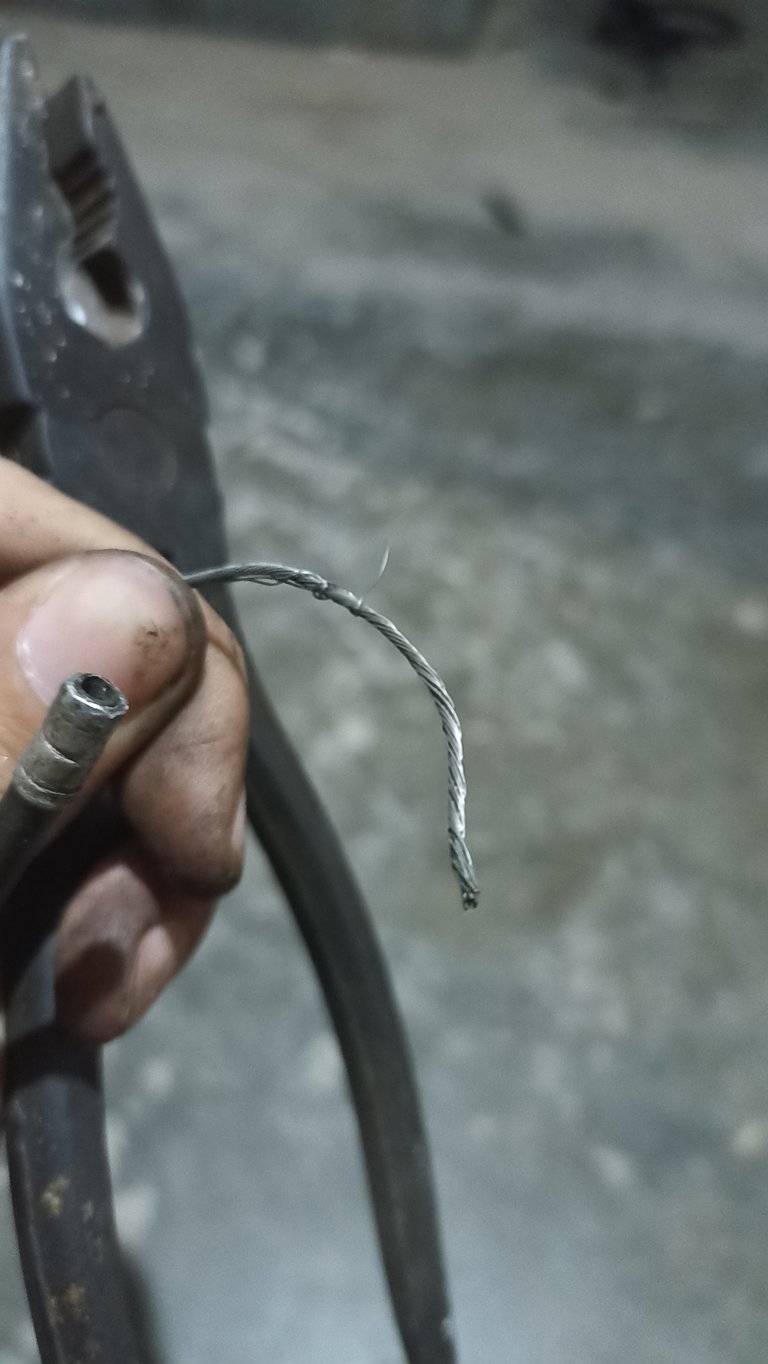
The most challenging part of getting the adjustments right was inserting the cables. Although I had new cables, the shifters were already set up with their cables, and I preferred to use them. As they were a bit worn at the ends, I had to adjust them properly to fit into the housing. It's not extremely difficult, but it did take some time.
The brakes were quite straightforward, just a matter of inserting the cables and tightening.
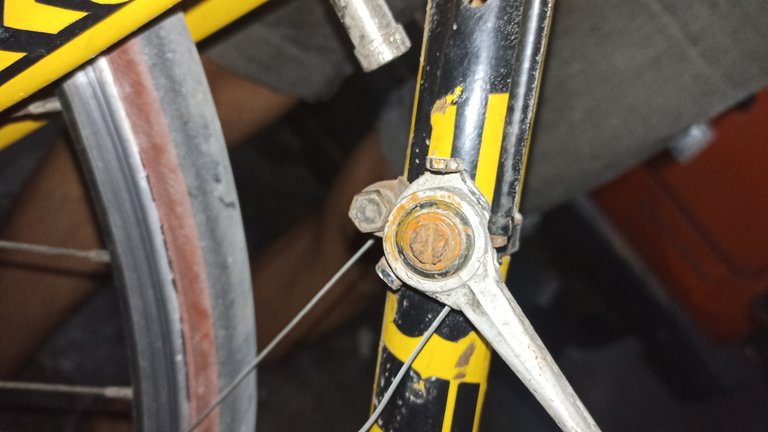
A problem arose with the left shifter: when using the gears, it would move, and when trying to adjust it, it completely came loose from the screw. This took another while, as I had tied the brake cables to the handlebar, and inserting the screw without loosening them was not an easy task.
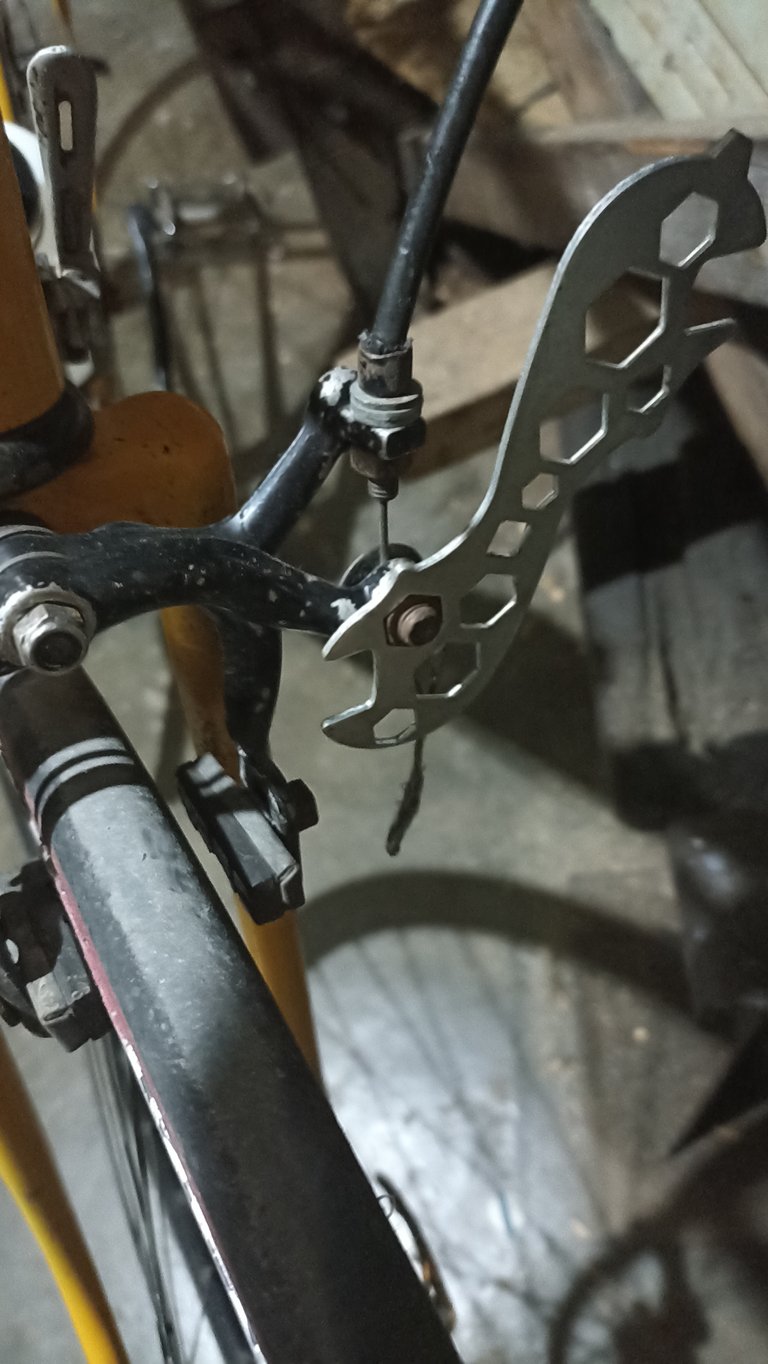
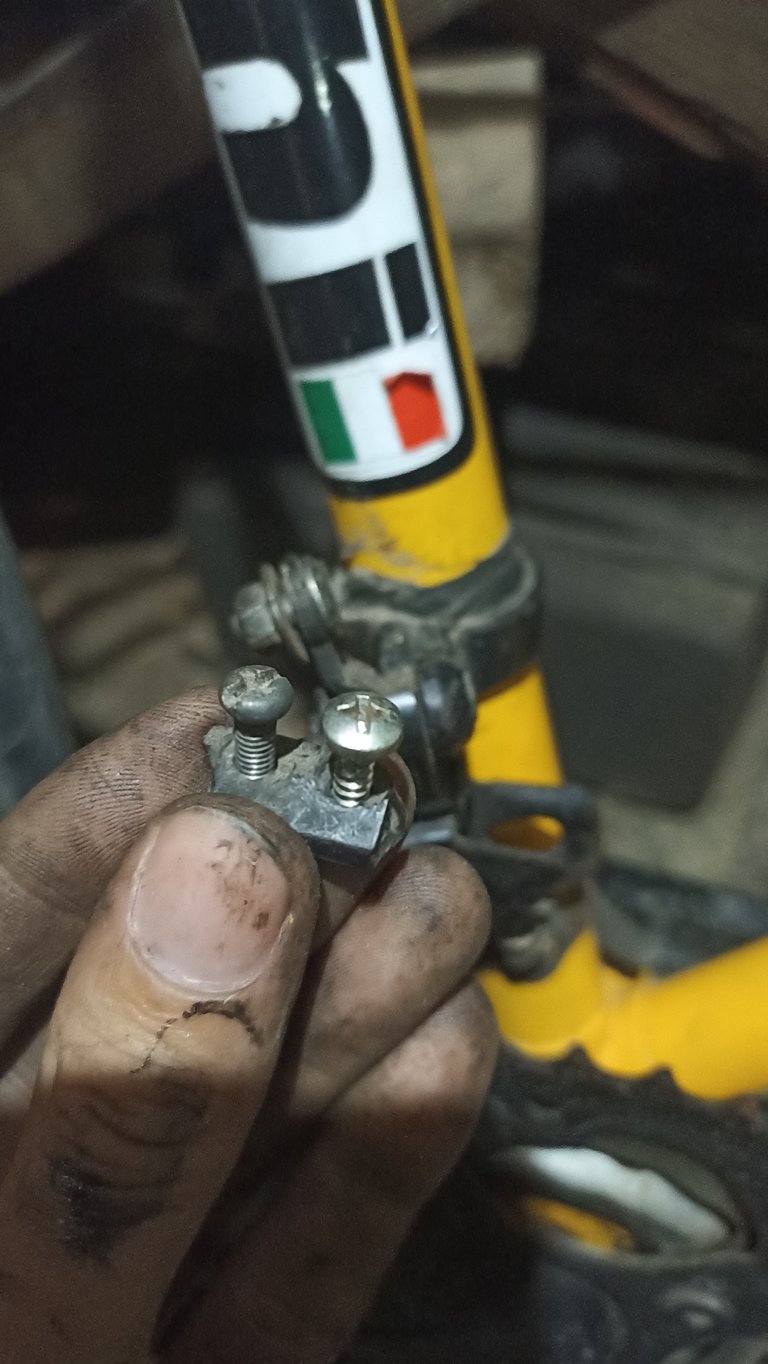
Taking advantage of the need to make adjustments to the front gears, I changed the limit screws for longer ones. After properly tightening the cable, everything was in order.
Finally, I had a cable housing but needed it to be shorter. I tried cutting it with a cutter but it didn't work. In fact, I ended up breaking the blade of the cutter. I managed to solve it with a hammer and chisel.
I had spent a long time with these repairs, so I decided to leave them here for the day and continue another time...
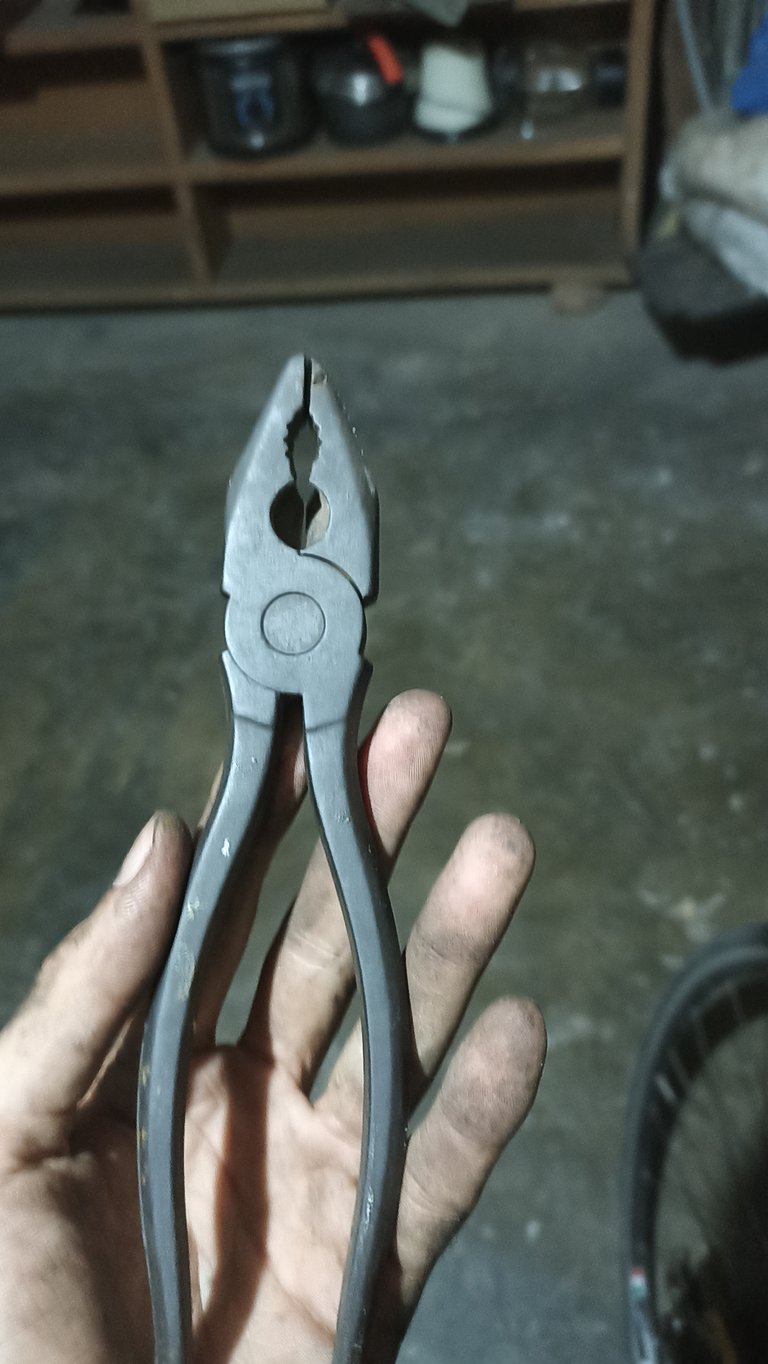
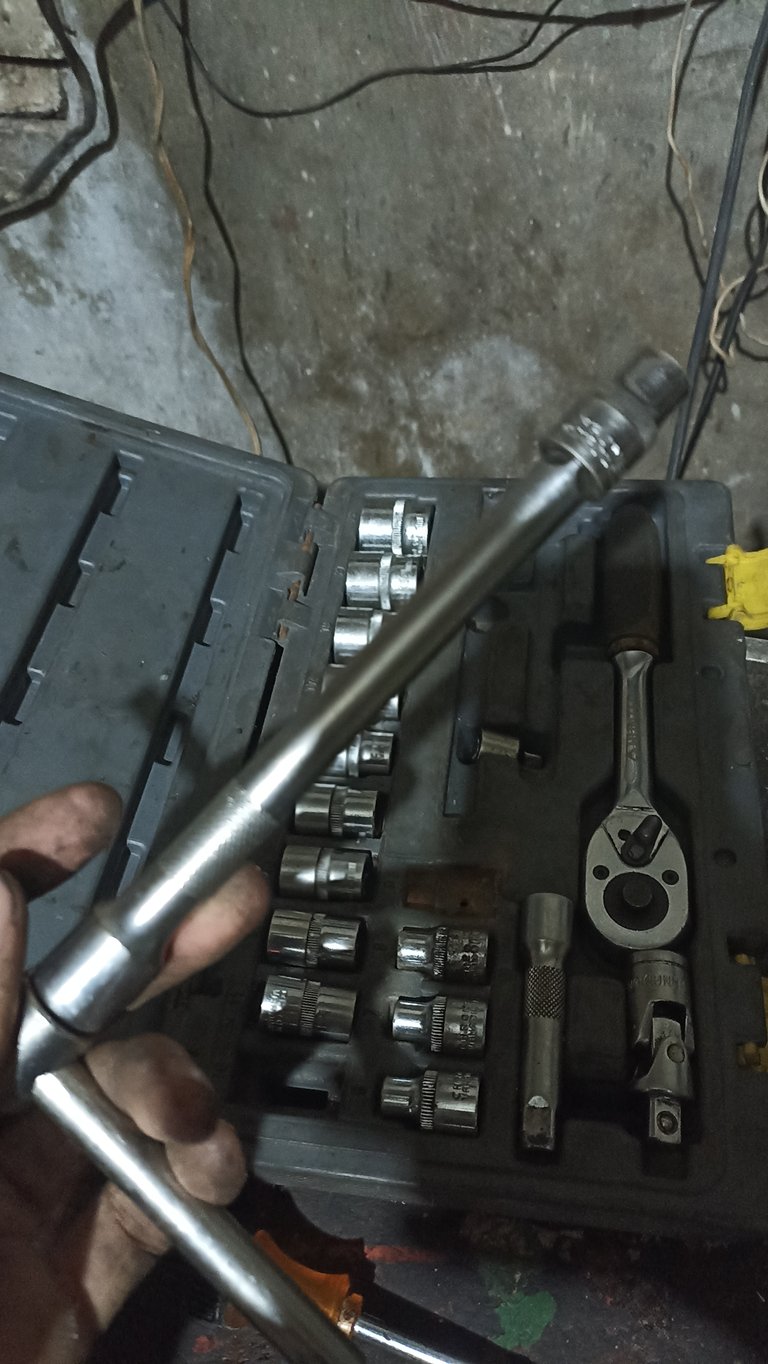
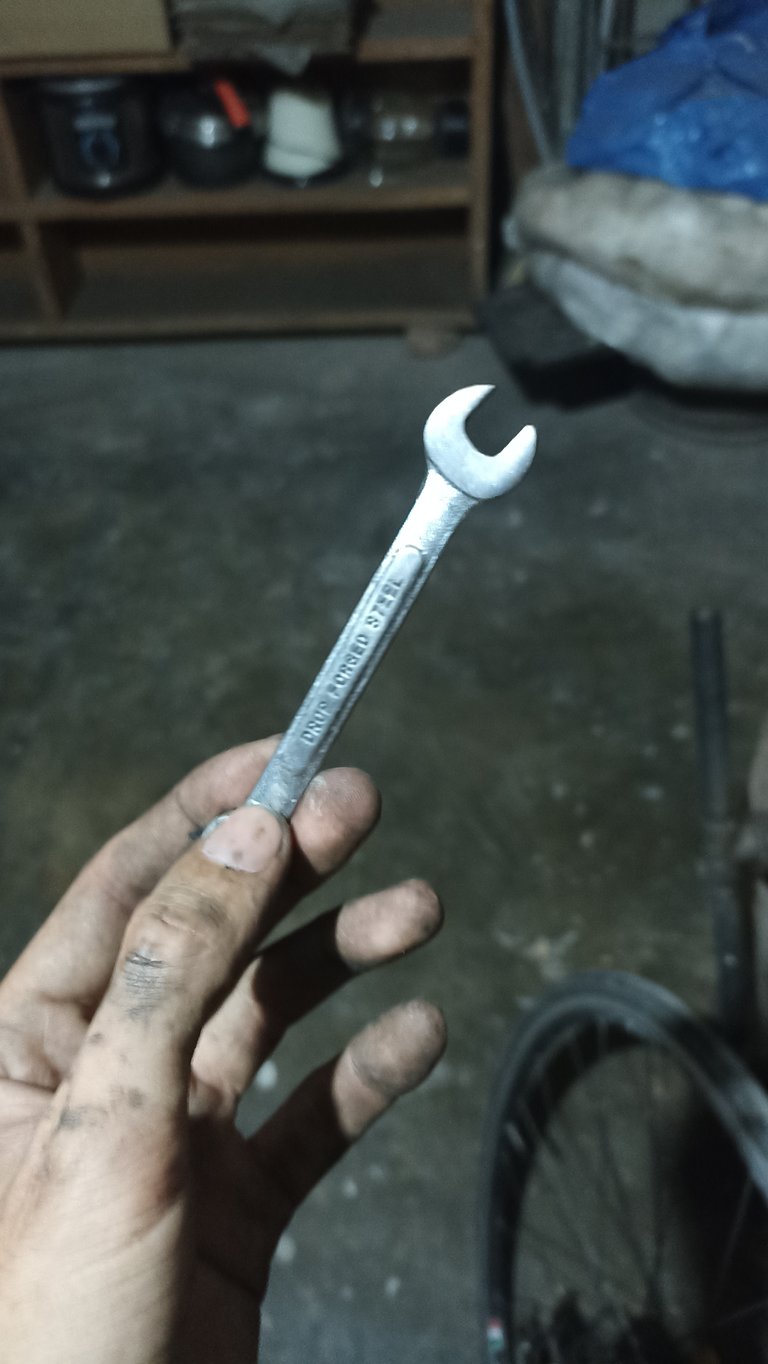
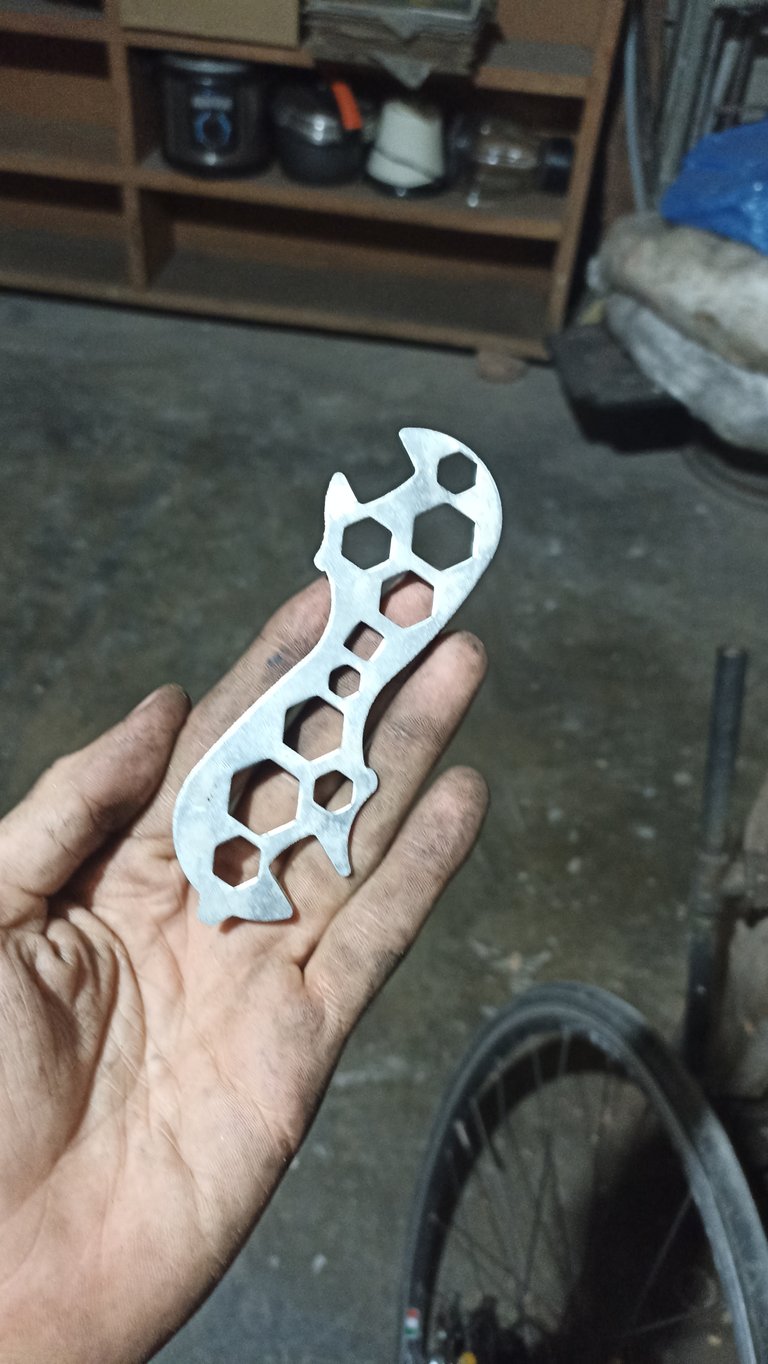
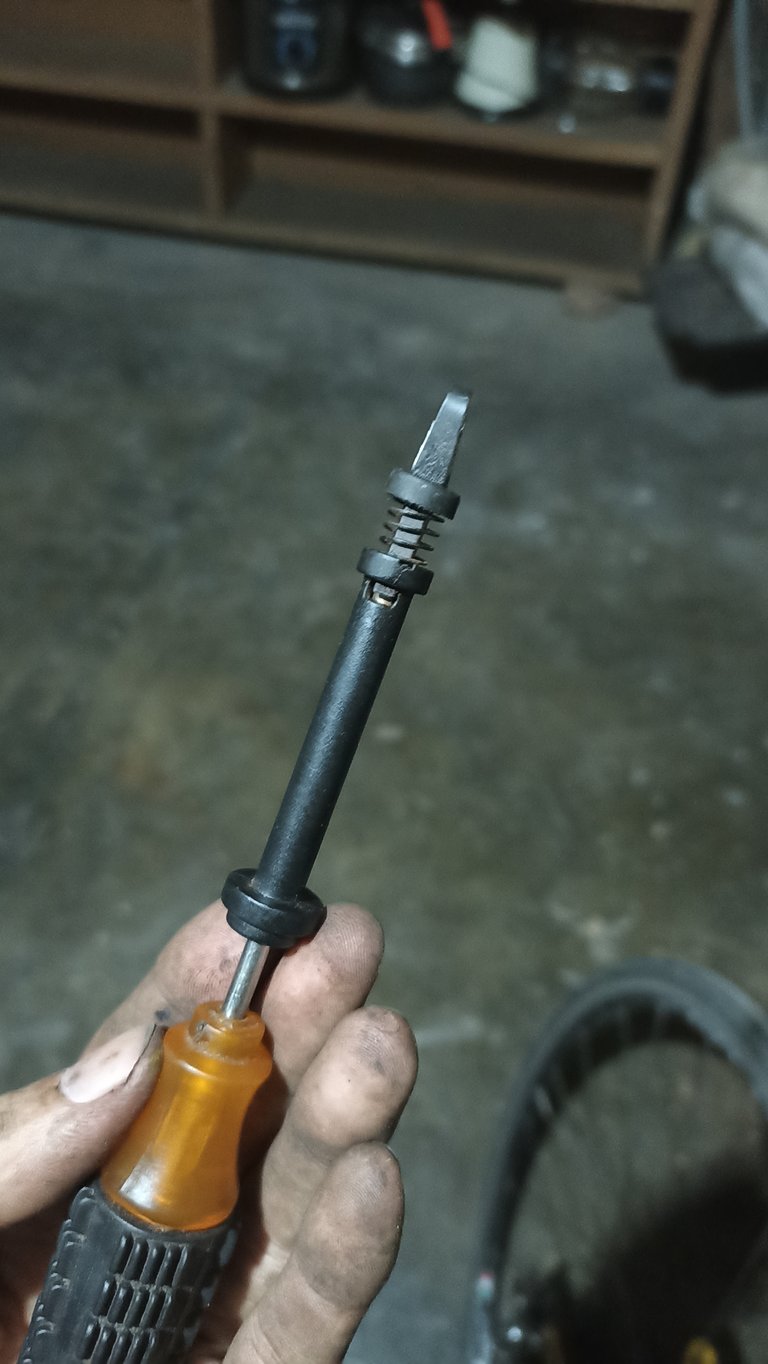
Tools used
Notes:
- All pictures are my own 📸
Versión en Español
Comenzando los ajustes
Aunque muchos queremos nuestras bicicletas tal como son, muchas veces necesitamos cambiar los componentes ya sea por desgaste o para introducir otro mejor. Sobre todo cuando no tenemos mucho dinero, solemos hacerlo poco a poco, un componente a la vez.
Pues esta vez le tocó el turno a un componente doble, la maneta de cambios. Al ser una bici de ruta, lo ideal son los frenos con cambios integrados. Yo disponía de una ruta clásica, con los cambios antiguos separados de los frenos. Estos son un poco incómodos ya que hay que soltar el timón para cambiar de velocidad. Hace unos días conseguí una maneta integral y me dispuse a instalarla.
Lo primero fue quitar la cinta del manillar. Comencé con el lado izquierdo, que controla los platos y el freno delantero. Después de soltar el cable de freno y descintar, aflojamos la maneta de freno y la desinstalamos. Este freno fue un poco complicado, así que tuve que quitar la parte móvil para llegar con la llave Allen al tornillo y poder aflojarlo.
Antes de instalar los nuevos cambios, limpié el timón de restos de óxido y pintura vieja con una piedra siporex a falta de papel de lija. También solté el cambio delantero ya que con esta nueva maneta se controlan ambos componentes.
Instalar esta maneta fue relativamente fácil. Ya colocada en su sito, apretamos con la llave, colocamos los cables del freno y los de los cambios. Las manetas nuevas las obtuve con los cables y forros de cable necesarios, por lo que fue solo introducir donde correspondía el cable y apretar. No obstante, todavía no ajusté los cambios, ya que para esto necesitamos tener primero los cambios traseros.
La parte más complicada de lograr correctamente los ajustes fue insertar los cables. Aunque tenía cables nuevos, las manetas ya estaban acomodadas con sus cables y preferí usarlos. Como estaban un poco desgastados en la punta, tuve que acomodarlos bien para que entraran en los forros. No es extremadamente difícil, pero sí me consumió tiempo.
Los frenos si fueron bastante sencillos, solo fue introducir cables y apretar.
Un problema surgió con la maneta izquierda: al usar los cambios, se movía y al tratar de ajustarlo se zafó completo del tornillo. Esto me llevó otro rato, ya que había amarrado los cables de freno al timón e introducir el tornillo sin zafarlos no fue tarea fácil.
Aprovechando que tenía que hacer ajustes en los platos, cambié los tornillos de los límites por otros que fueran más largos. Después de apretar bien el cable, ya quedó todo correcto.
Finalmente, tenía un forro de cable pero necesitaba que tuviera una menor longitud. intenté cortarlo con cutter pero no funcionó. De hecho, terminé partiendo la hoja del cutter. Resolví con un martillo y un cincel.
Ya llevaba mucho tiempo con estos arreglos, así que decidí dejarlos aquí por el día y continuar en otro momento...
Herramientas utilizadas
Notas:
- Todas las fotos son propias 📸
Translated and formatted with Hive Translator by @noakmilo.
Wow! Thanks for sharing this elaborate maintenance post. I try to do some bicycle maintenance myself too, but cabling is a bit too difficult for me.
This post was upvoted by the Cycling Community
Subscribe to the Cycling Community and share your cycling related posts with us.
Join our Discord Channel if you want to chat about cycling.
You can support the Cycling Community by delegating HP
| 25 HP | 50 HP | 100 HP | 250 HP | 500 HP |
Thanks, everything for the community 🤗
Congratulations @rigomohe! You have completed the following achievement on the Hive blockchain And have been rewarded with New badge(s)
Your next target is to reach 80 posts.
You can view your badges on your board and compare yourself to others in the Ranking
If you no longer want to receive notifications, reply to this comment with the word
STOPTo support your work, I also upvoted your post!
Those old friction shifters are so classic. I hope you enjoy the new ones though.
Yes, they are very classic, too much indeed. The main problem it's that don't have a very strong grip, so they shift without want it.