DIY / Trolley for creams
Hello, beautiful people all over the world welcome to DIY community where you can learn how to do different crafts and also teach people how to make crafts as well.
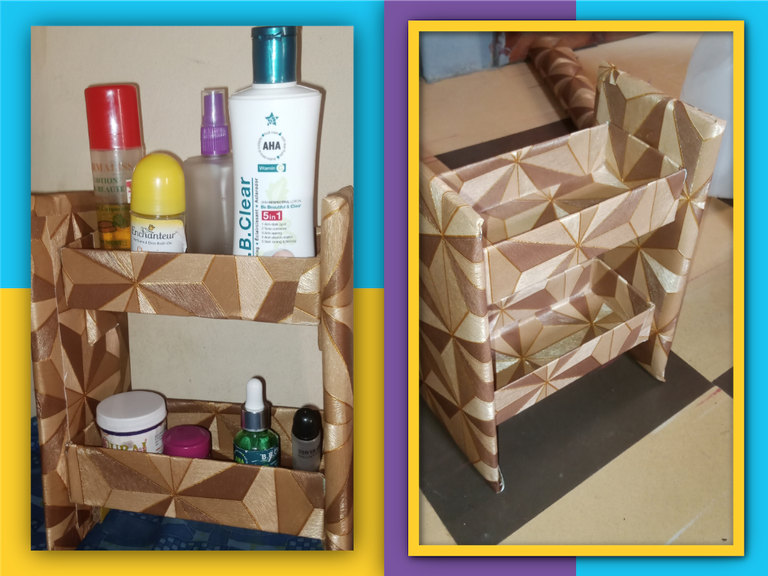
As you all know I love making beautiful crafts and today I am going to make a trolley for my creams.
Before I always put my cream anywhere but now I don't have to do that again, since I have a trolley.
Materials used are:
Wallpaper
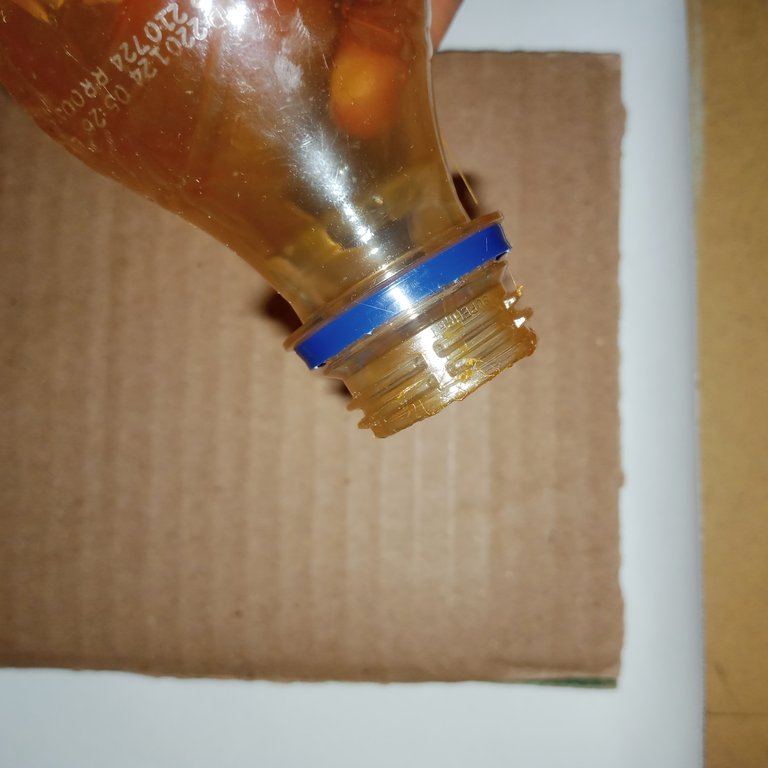
Gum
Pen
Carton
Phone box
Toothbrush
Scissors

Procedure
I am sure some people would be thinking how can I make a trolley with these simple materials, but let me tell you this, you don't need all the materials in the world before you can make a craft.
So let's get to work and see what the materials brought out for me.
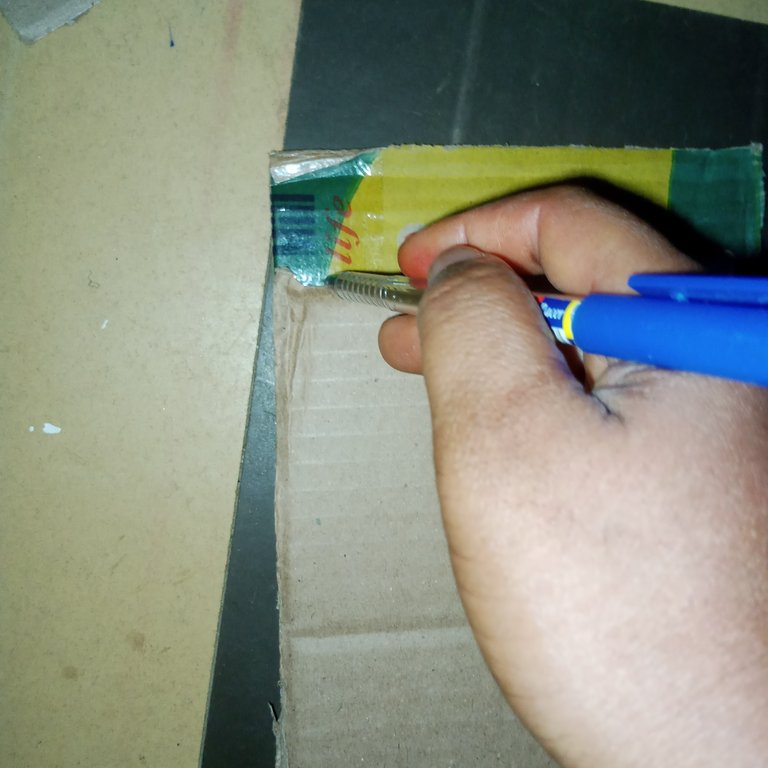
Step 1
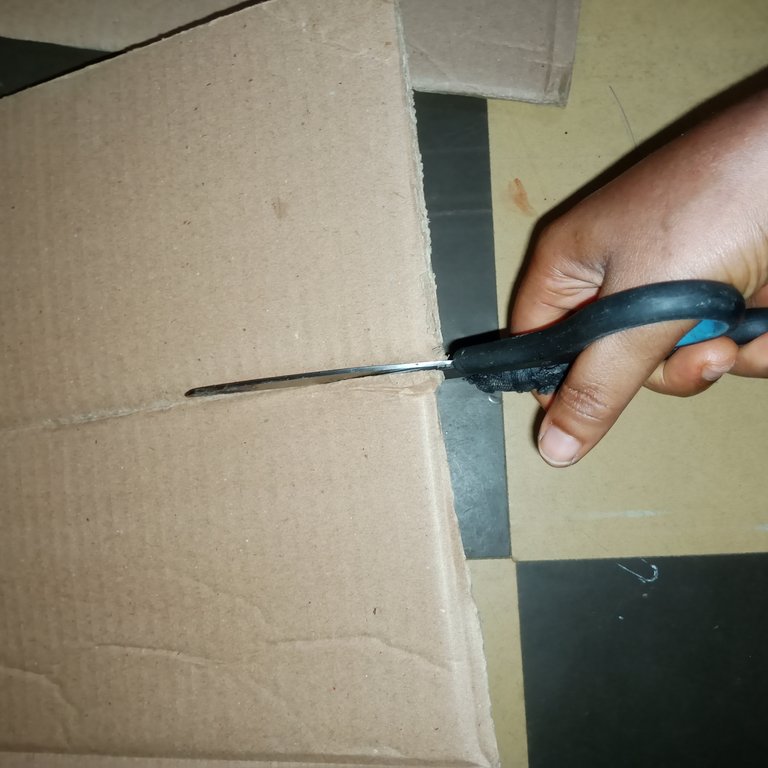
I made use of a pen to draw a rectangle shape on the carton, then I cut the shapes out in four places with scissors.

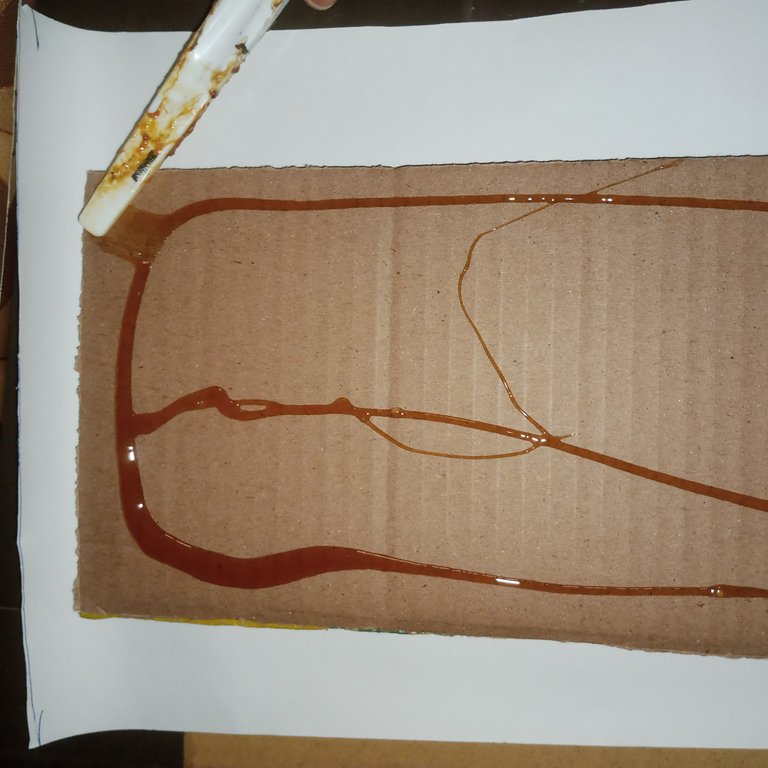
I poured the gum on two, then made use of the toothbrush to spread the gum on it.
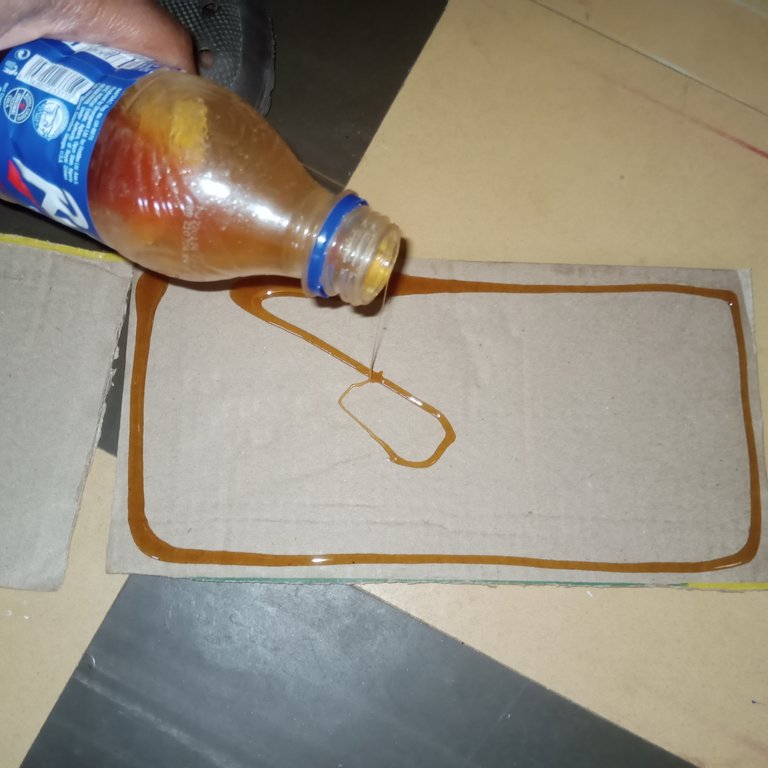

I placed the other ones on each of them because I wanted it to be very thick, I set it aside to get dry.


Step 2
I measured the phone box on the wallpaper, then made use of scissors to cut it out.

I poured gum on the phone box, then made use of the toothbrush to spread it all over the box.


After that, I placed the box on the wallpaper then wrapped the wallpaper on it.

I also applied gum inside and I placed the wallpaper inside as well to cover the box up.

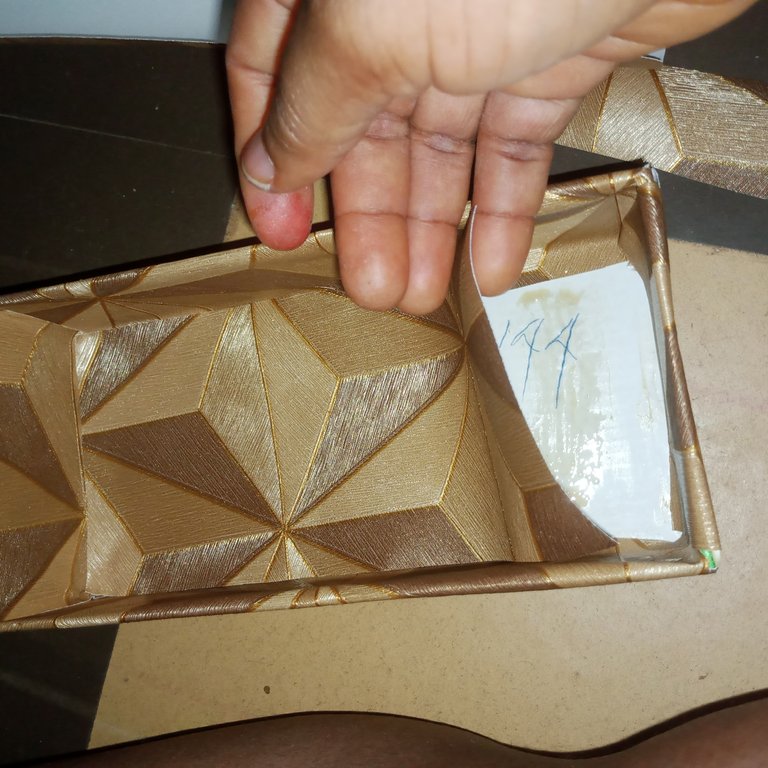
The same process was applied to the second box.
Step 3
The cartons were already dry, so I measured them on the wallpaper then cut them out as well.
I poured gum on each of them and then made use of the toothbrush to spread the gum before I wrapped the wallpaper on them.


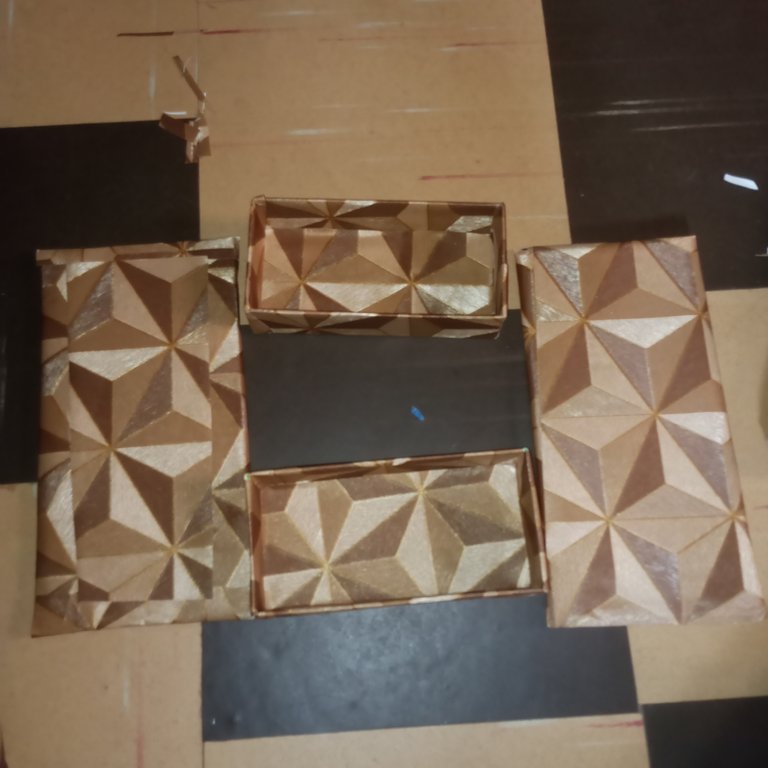
Now that everything is well wrapped, it is time to couple it together and see the outcome.
Step 4
I applied gum on each side of the boxes and then placed them on the rectangle shape.

I placed the other rectangle shape on it. I made use of a 5-liter keg filled with water to hold it down on each side.

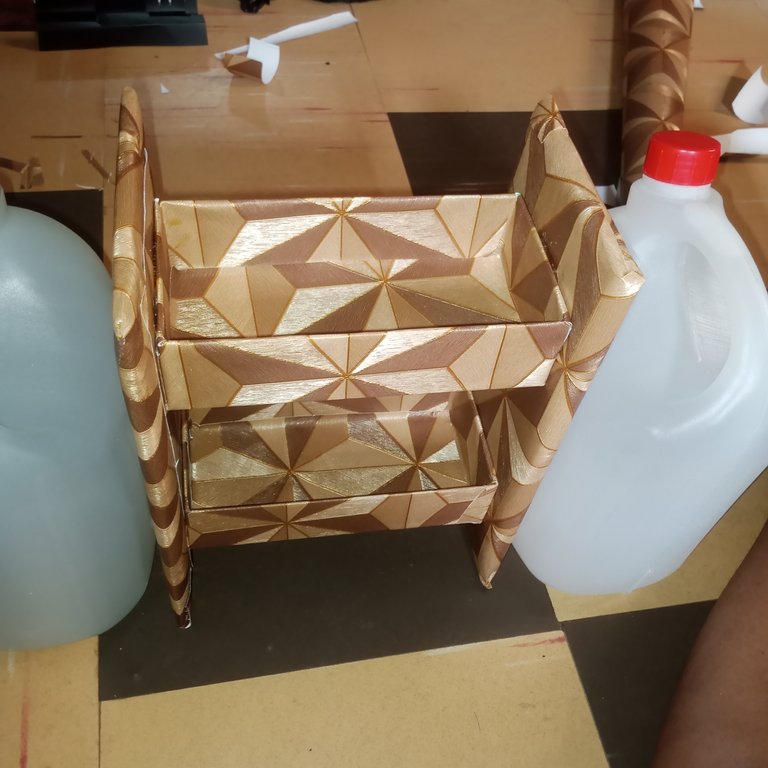
I left it to dry, and after that my trolley was dry.

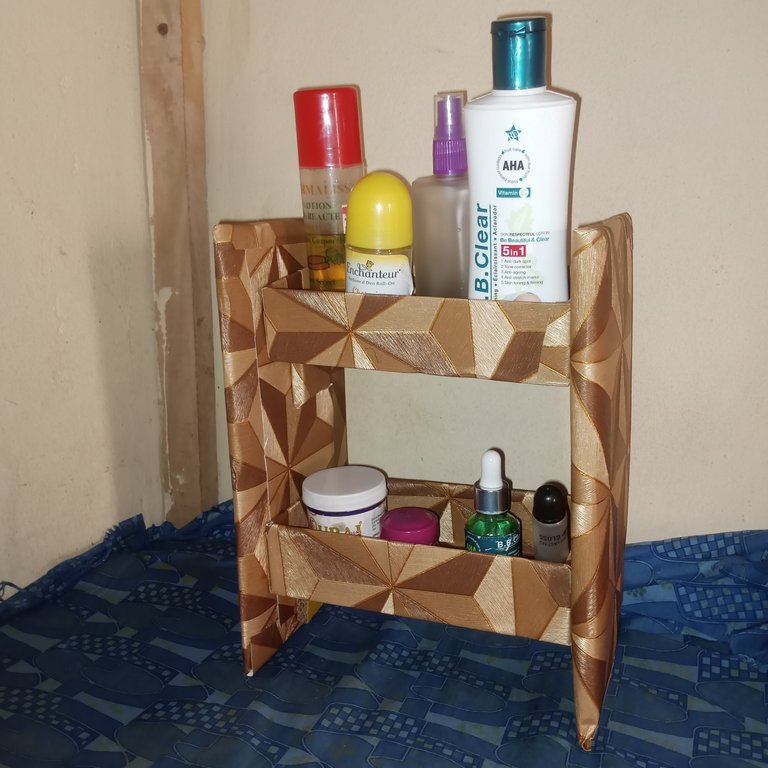
This is what it looks like after I put all my creams inside of the trolley.
I hope you like it.
This is a pretty box!
Yeah right
aha that looks fantastic, thanks for sharing. keep up the good work. have a great day and week ahead.
Hehehe 😁 I love the outcome as well and am glad you love it too.
Hehe 😁
She is very pretty!! I really loved it, congratulations, good job!
Awww am glad you like it
Excellent work, you have given these recycled materials a new use, resulting in a beautiful work. Thanks for sharing your work, it is undoubtedly a good idea to implement at home. Greetings friend.
Yeah, sometimes it is good to recycle things so that we won't waste money on buying some other things.
Am glad you love it.
Thanks
!diy
You can query your personal balance by
!DIYSTATSquedo muy bonito, excelente diseño!
it was very nice, excellent design!