Image processing in Python with Pillow
Python is currently one of the most widely used programming languages. It can be used to perform various tasks using a simple code. One of these tasks is image processing in Python.
One of the important things that Python can do is the automatic processing of digital images, which can be done using Pillow.
In this post, I will show you how to process an image in Python using the Pillow module. Then, I'll take it a step further and show how to perform some basic image operations.
What is Pillow?
Pillow is a subset of Python image processing libraries called PIL. This library is free and open source and is used to manipulate and process images.
PIL is a powerful library in its own right, but it hasn't been updated since 2009 and doesn't support Python 3. Pillow provides additional features and support for Python 3.
Pillow supports a wide range of image formats such as PNG, JPEG, PPM, GIF, TIFF and BMP. Using this library, you can perform various operations on images such as cropping, resizing, adding text, rotating, changing color, and more.
Project installation
You can install Pillow using pip, a package management tool for Python:
python3 -m pip install --upgrade pip

python3 -m pip install --upgrade Pillow
Pillow provides the Image object, which has built-in functions and properties that can be used to manipulate images.
To start, first import the Image object in the Python code.
from PIL import ImageThen, load the image by calling the Image.open() function, whose return type is a value of the Image object type.
image = Image.open('sample.jpg')For my app, I'm using a sample image from Unsplash.
It is also important to mention that the images must be in the same directory as the python file is running.
Properties of the Image object
The image has features that we can access to get more information from the image. Including:
- width Returns the length of the image
- height returns the width of the image
- format Returns the format of the image file (eg, JPEG, BMP, PNG, etc.)
- size returns the height and weight of the image
- palette Returns the color palette table, if any
- mode Returns the pixel format of the image (eg, 1, L, RGB, CMYK)
Basic operation for image
We can also process and manipulate our images using various operations.
Any changes made to the Image object can be saved to an image file with the save() method. All rotations, resizing, cropping, drawing and other image manipulations are done through calls on this Image object.
Let's dive deeper and explore some of these operations in more detail.
Change the image format
Pillow supports a wide variety of image formats. An image can be converted from one format to another as follows:
image = Image.open('sample.jpg')

image.save('sample_formatted.png')
The image is loaded first. Then Pillow considers the specified file extension as PNG, that is, it converts the image to .PNG before saving it to the file.
Create thumbnails
You can resize images by creating a thumbnail of the image using Pillow.
Using the thumbnail function, the size of the image is changed to maintain its aspect ratio. This function takes two values representing the maximum width and maximum height of the thumbnail.
image = Image.open('sample.jpg')
image.thumbnail((200, 200))
image.save('sample_thumbnail.jpg')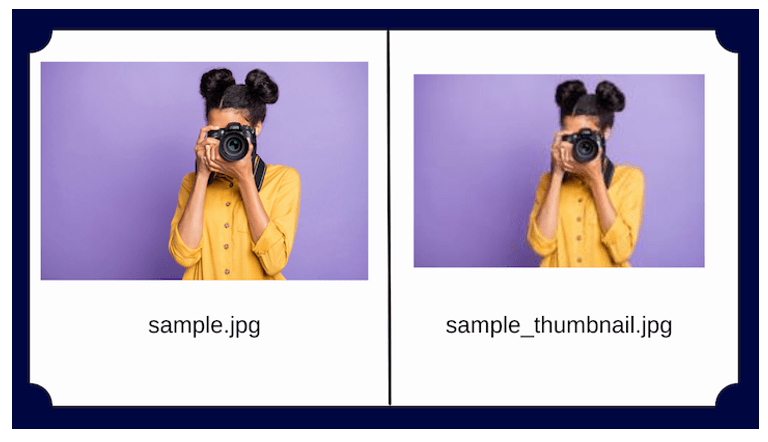
Flip and rotate images
If you need the image flipped or rotated, Pillow lets you do that. This is done using the transpose function, which takes the following parameters:
FLIP_LEFT_RIGHT, which flips the image horizontallyFLIP_TOP_BOTTOM, which flips the image verticallyROTATE_90, which rotates the image somewhat by the size of the angle
image = Image.open('sample.jpg')
image.transpose(Image.FLIP_TOP_BOTTOM)
image.save('sample_flip.jpg')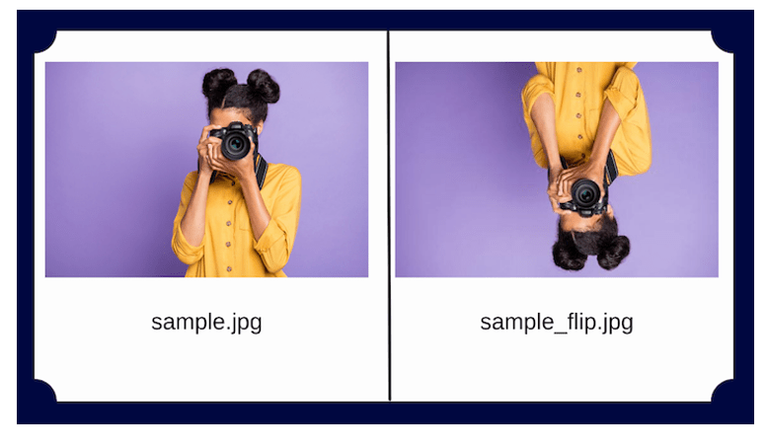
You can also rotate images using the rotate() method. This function takes an integer or decimal argument representing the degree of rotation and returns a new Image object of the rotated image. The rotation is counterclockwise.
image = Image.open('sample.jpg')


image.rotate(90)
image.save('image_rotate90.jpg')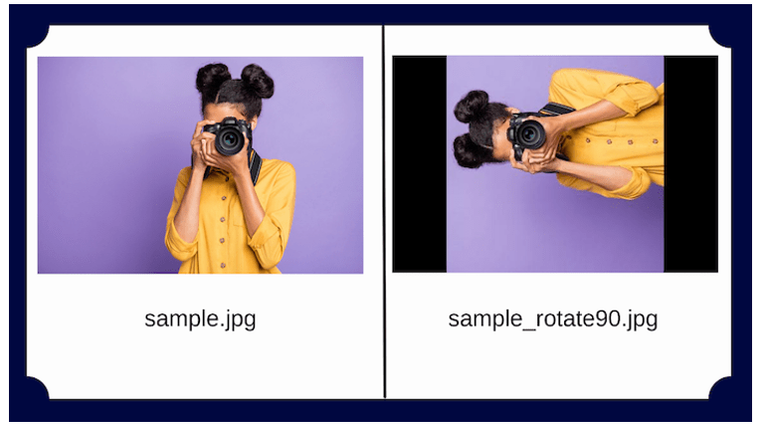
Crop images
Cropping an image means cutting only a specific part of it, which is often used when editing images for web applications.
The crop function in Pillow cuts the image rectangularly. This method takes a tuple specifying the position and size of the cropped area and returns an Image object representing the cropped image. The cutting area is defined by a Tuple whose coordinates are (left, top, right, bottom).
image = Image.open('sample.jpg')
image.crop(200, 50, 450, 300)
image.save('sample_cropped.jpg')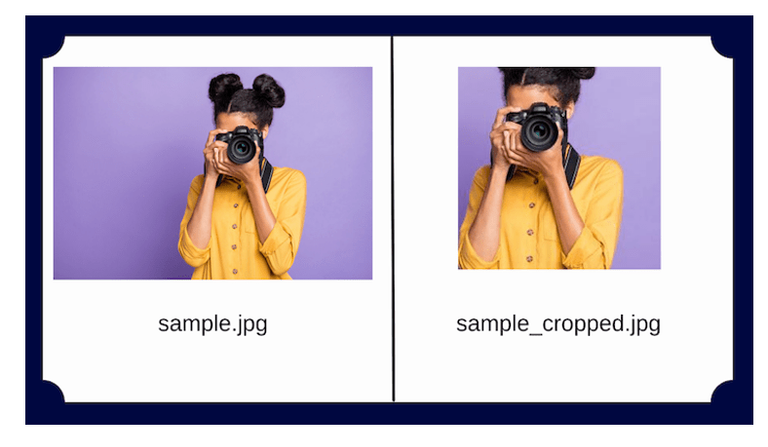
In the example above, the first two values indicate the starting location for the cut from the top left. The third and fourth values indicate the distance in pixels from the starting position to the right and bottom.
color change
There are different ways to represent pixels, including L (luminance), RGB, and CMYK.
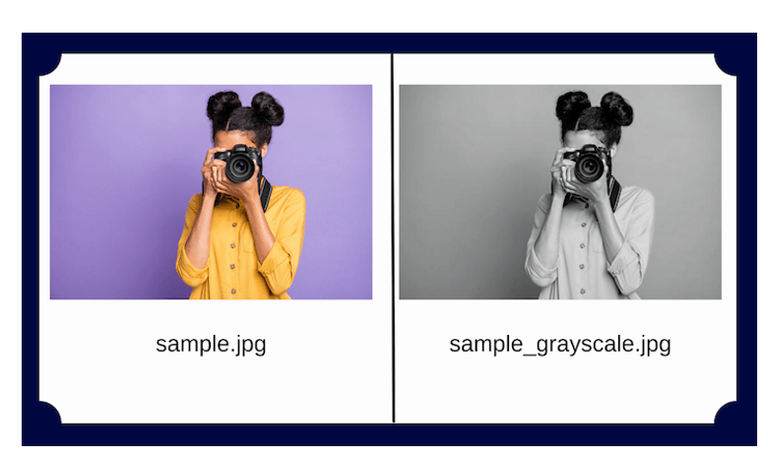
Pillow allows you to convert images to pixel values for different displays using the convert method. This library supports conversion between any supported mode as well as "L" and "RGB" modes. To convert between other modes, you may have to use an "RGB" image.
image = Image.open('sample.jpg')


grayscale_image = image.convert('L')
grayscale_image.save('sample_grayscale.jpg')
Using the convert function, the sample image is converted from RGB mode to L (luminance) mode, resulting in a grayscale image.
Image filtering
The act of editing and improving images to improve their appearance can be called filtering.
Using Pillow's ImageFilter module, you can use the filter method and use various filtering techniques, including:
- BLUR
- CONTOUR
- DETAIL
- EDGE_ENHANCE
- EDGE_ENHANCE_MORE
- EMBOSS
- FIND_EDGES
- SHARPEN
- SMOOTH
- SMOOTH_MORE
For example, let's take a look at the FIND_EDGES filter:
from PIL import Image, ImageFilter

image = Image.open('sample.jpg')
edges_image = image.filter(ImageFilter.FIND_EDGES)
edges_image.save('sample_edges.jpg')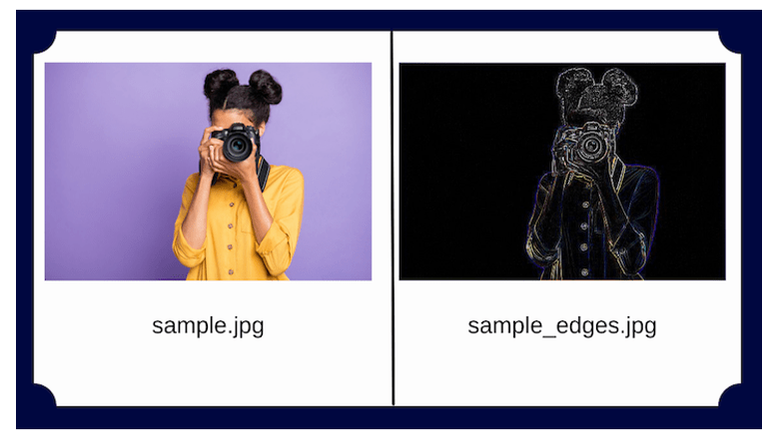
Image processing with Pillow: a practical example
Now that we have a basic understanding of the library, let's create a simple Python file to automate the processing of various image types.
Suppose you are given a group of images and you are asked to add a watermark to each image.
To solve the problem, you can create a python file called script.py in the same folder as the images.
First, import all necessary modules:
import os
from PIL import Image
The os module in Python provides functions to create and delete directories and to change and identify the current directory.
Create a directory for the processed image:
os.makedirs('watermarked_images')Save the length and width of the logo image:
logo_image = Image.open('watermark_logo.png')
logo_image = logo_image.resize((50, 50))
logo_width, logo_height = logo_image.size
Use the os.listdir function with a for loop:
for image in os.listdir('./images'):
try:
# Separting the filepath from the image's name
path, filename = os.path.split(image)
filename = os.path.splitext(filename)[0]
Open the image:
image = Image.open('./images/'+image)
#Resizing the image to a set size.
edited_image = image.resize((300, 300))
#Setting the position for the placement
width = edited_image.width
height = edited_image.height
Use the paste function to place the logo on the image:
edited_image.paste(logo_image, (width - logo_width, height - logo_height), logo_image)Save the images in the new directory:
edited_image.save('./watermarked_Images/' + filename + ".jpg")Each image in the directory is processed and a watermark is added to it. This code enables us to do the work in the best way in less time.
https://inleo.io/threads/pars.team/re-leothreads-21j9twu4g
The rewards earned on this comment will go directly to the people ( pars.team ) sharing the post on LeoThreads,LikeTu,dBuzz.
Congratulations @pars.team! You have completed the following achievement on the Hive blockchain And have been rewarded with New badge(s)
Your next target is to reach 200 upvotes.
You can view your badges on your board and compare yourself to others in the Ranking
If you no longer want to receive notifications, reply to this comment with the word
STOPCheck out our last posts:
!HBIT !hbit !hivebits $HBIT !WUSANG !wusang !BLAQ !blaq 👍
!LUV
@albro sent you LUV 🙂 (1/10)
Made with LUV by crrdlx