What irony is a win/lose in Aimless! [ES/EN]

¡Bienvenidos!
Hacia ya bastante tiempo que no hacia un Battle Mage Secrets en mi blog, y me hace muy feliz estar de vuelta una vez trayendoles estos tutoriales de batalla, aunque debo admitirlo, esta vez ¡si que me patearon! Estuve un par de meses sin jugar y practicamente me perdi todo lo relacionado al lanzamiento de Rebellion por lo que me toco aprender sobre la marcha lo que es jugar en el nuevo formato Modern... Sin embargo poco a poco me voy acostumbrando a las nuevas cartas y debo decir que me gusta mucho el meta actual, los cambios no han sido tan protagonistas en ELO bajo, por lo cual puedes ir practicando bastante bien desde Bronce.
Pero no nos vayamos por las ramas y vamos a los que nos compete en este post, que es el ruleset #Aimless.
Welcome back!
It's been a while since I've done a Battle Mage Secrets for Splinterlands community on my Hive blog, and I'm very happy to be back once again on the field bringing you these Splinterlands battle tutorials, although I must admit, this time I really got kicked my ass on the Bronze league! I was a couple of months without playing and I practically missed everything related to the launch of Rebellion so I had to learn on the fly what it's like to play in the new Modern format ... However, little by little I'm getting used to the new cards and I must say that I really like the current meta, the changes have not been so prominent in low ELO, so you can practice quite well from Bronze.
But let's not beat around the bush and let's go to what concerns us in this post, which is the #Aimless ruleset.

 Aimless
Cuando este ruleset esta activo todas las cartas en la batalla obtienen la habilidad Scattershot, cuyo efecto es provocar que los ataques de dicha carta sean completamente aleatorios, ignorando otras habilidades como Sneak, Opportunity o Taunt(de hecho, nacio para ser un counter de esta habilidad), aunque esto tiene truco, pues las cartas de ataque Melee no obtienen ningun efecto al obtener esta habilidad por medio del ruleset (que es como funciona normalmente) asi que solo las cartas con ataque magico o a distancia aprovecharan realmente este ruleset.
¿Cómo le sacas provecho a este ruleset?
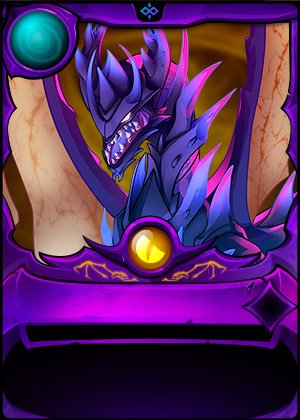
Hay dos maneras de jugar este ruleset, o vas de lleno con una alineacion magica o ranged (Obsidian para Tierra o General Sloan en Vida son geniales para esto) y activas la habilidad con los ataques de cada una. El problema que yo le veo a esto es que hace completamente aleatorio cada ataque y eso tanto te puede hacer ganar en un turno como perder en un turno, y creo que eso es mucho riesgo, por lo que no lo recomiendo.
Lo que si recomiendo es la otra forma, que es ignorar por completo el ruleset y jugar con la fuerza del Melee, abajo muestro un ejemplo perfecto de esto y de por que YO creo que esto ultimo es lo mejor.
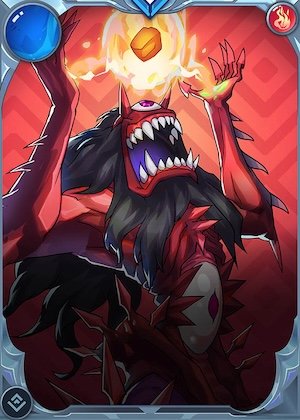
When this ruleset is active on a battle all the cards in that battle get the Scattershot ability on their ability set, whose effect is to cause the attacks of this card to be completely random every turn, ignoring other abilities like Sneak, Opportunity or Taunt (in fact, the Scattershot ability was born to be a counter of thie Taunt ability), although... Actually this has a trick, because Melee attack cards don't get any effect when getting this ability through the ruleset (which is how it normally works) so only cards with magic or ranged attack will really take advantage of this ruleset.
How do you take advantage of this ruleset?
On my opinion, there are two ways to play the battle when this ruleset appears, either you go all in with a magic or ranged alignment (Obsidian for Earth or General Sloan in Life are great for this) and activate the ability with the attacks of each. The problem I see with this is that it makes each attack completely random and that can make you win in one turn or lose in one turn, and I think that's a lot of risk, so I don't recommend it.
What I do recommend is the other way, which is to completely ignore the ruleset and play with the strength of the Melee, below I show a perfect example of this and why I think the latter is the best.


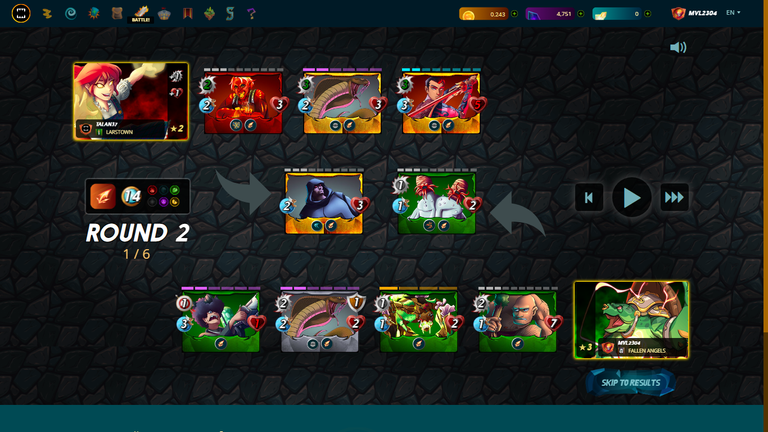
Aimless - 14 Mana Cap
Round 1
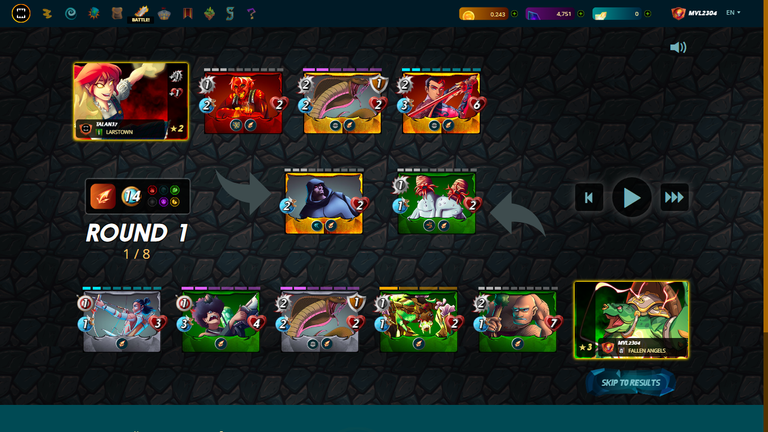
En esta batalla, yo decidi ir con todo usando el ruleset, añadiendo dos cartas que harian uso del ruleset pero obviando el hecho de que mi oponente podria usar la segunda forma de jugar en Aimless (que es la que yo recomiendo) y es dejando de lado la probabilidad e ir a lo seguro. Me explico:
Si el ataque es aleatorio, significa que en el turno 1 cada carta mia tiene un 1/4 probabilidades de atacar, si, va a atacar seguro, pero al no dirigir los ataques hacia un punto concreto puede pasar que en cada turno ataques una carta distinta, lo que causara menos daño a mas cartas (es lo que termina pasando) y al final, mi oponente, que hace 4 puntos de daño SEGUROS a mi ultima linea, termina ventilandose a todo mi equipo turno por turno. La mayoria de las veces lo aleatorio no es lo mejor en este juego.
In this battle, I decided to go all in using the ruleset, adding two cards that would make use of the ruleset but ignoring the fact that my opponent could use the second way of playing in Aimless (which is the one I recommend) and that is to leave probability aside and play it safe. Let me explain:
If the attack is random, like the case of the Scattershot ability, it means that in turn 1 each card of mine has a 1/4 chance to attack, yes, it will attack for sure, but by not directing the attacks to a specific point it can happen that in each turn you attack a different card, which will cause less damage to more cards (this is what ends up happening) and in the end, my opponent, who makes 4 points of SAFE damage to my last line, ends up blowing away my whole team turn by turn. Most of the time randomness is not the best in this game.
Round 2
Como dije arriba, mi oponente en un turno acabo con mi Xenith Archer, y sumado a eso hay que agregar la probabilidad de esquivar de Chaos Agent, que no hace mas que hundir aun mas mi estrategia. Ademas el hecho de que su tanque no tenga ataque hace algo inutil a mi Mycelic Morphoid, ralentizando a mi Hill Giant.
As I said above, my opponent finished off my Xenith Archer in one turn, and added to that is Chaos Agent's dodge chance, which only further undermines my strategy. Besides, the fact that his tank has no attack makes my Mycelic Morphoid useless, slowing down my Hill Giant.
Round 3
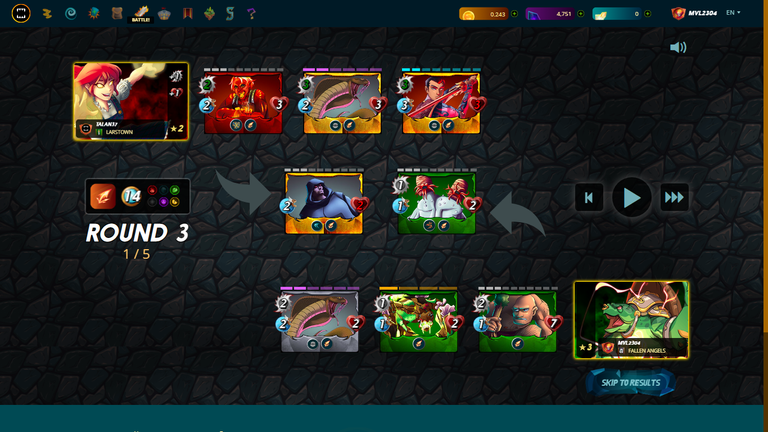
Llegó el turno del quiebre, que fue donde mi oponente me dejo con 0 chances de ganar al eliminar a mi Uraeus, que era mi unico chance de hacer algo en esta partida. Los ataques fallados fueron determinantes.
It was the turn of the break, where my opponent left me with 0 chances to win by eliminating my Uraeus, which was my only chance to do something in this game. The missed attacks were decisive.
Round 4

No habia nada nas que decir aqui. ¡Pero ojo! Esto no siempre es asi, de hecho aqui debajo te dejo otra batalla donde el Scattershot funciona de maravilla:
There was nothing to say here, but beware! This is not always the case, in fact here below is another battle where the Scattershot works wonders:
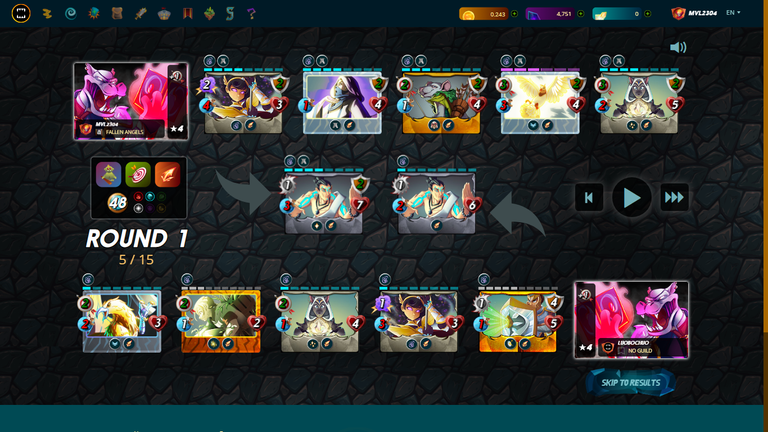
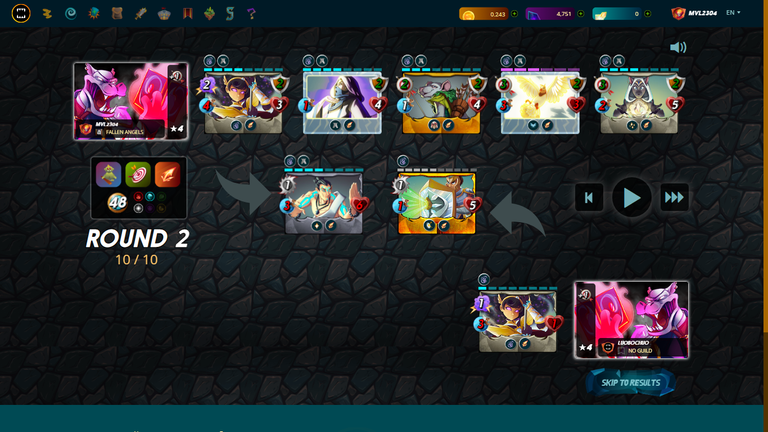
En esta batalla hay 2 puntos muy importantes a tomar en cuenta, la cantidad de cartas, y sobre todo la potencia de ataque. El daño combinado de mi equipo es tan grande e inversamente proporcional a la poca vida de las cartas de mi oponente que termina haciendo la diferencia muy rapido. Siempre lo digo, jugar con cartas al maximo nivel posible es siempre una ventaja que no deberias desaprovechar.
In this battle there are 2 very important points to take into account, the amount of cards, and above all the attack power. The combined damage of my team is so big and inversely proportional to the low life of my opponent's cards that it ends up making the difference very quickly. I always say it, playing with cards at the highest possible level is always an advantage that you should not waste.
Entender los puntos debiles donde le puedes sacar ventaja a tu enemigo es primordial para convertirte en un buen jugador ¡enfocate en mejorar eso y veras como tu winrate aumentará muchisimo!
Recuerda que toda carta tiene una utilidad real y siempre podras sacarles ventaja si las estudias y analizas bien los datos que tienes a la mano, Muchas gracias por haber leído y espero que te haya gustado, no olvides seguirme si quieres ver mas contenido como este y nos vemos en mi siguiente post. ¡Saludos!
Understanding the weak points on battles where you can take advantage of your enemy is essential to become a good player, focus on improving that and you will see how your winrate will increase a lot!
Remember that every card has a utility in this game and you can always take advantage of them if you study them and analyze well the data you have at hand, Thank you for reading and I hope you liked it, do not forget to follow me if you want to see more content like this and see you in my next post. greetings!


Si eres hispano y quieres unirte a un clan haz click aqui

All game images are taken from the official game website and Splintercards, credits to whom it may concern.


!1UP Good work!
!PGM !PIZZA
You have received a 1UP from @underlock!
@monster-curator, @oneup-curator, @bee-curator, @neoxag-curator, @fun-curator
And they will bring !PIZZA 🍕.
Learn more about our delegation service to earn daily rewards. Join the Cartel on Discord.
$PIZZA slices delivered:
@curation-cartel(5/20) tipped @mvl2304
Thanks for sharing! - @alokkumar121

Congratulations @mvl2304! You have completed the following achievement on the Hive blockchain And have been rewarded with New badge(s)
Your next target is to reach 40000 upvotes.
You can view your badges on your board and compare yourself to others in the Ranking
If you no longer want to receive notifications, reply to this comment with the word
STOPCheck out our last posts: