The completion of project on the redesign if a car seat
Hello my co-needleworkers
Happy weekend to everyone in this amazing community, how are you all doing, i hope you all are doing great.
I am very happy to be here with you guys once more to share with you all the completion of my last post project. As i said before, it is a very special work that was giving to me by a friend of my customer.
I try my best to make sure this project is being completed so that the owner can pick it up not minding what happens to me, because i know with time i shall build up again.
Guess what, the finished of this project was wow, and it was picked up yesterday being Thursday. The owner was very happy about the outcome of the work, he even call me today again to say thank you for the good work weldone and their family and friends love it so much and one of is friend is bringing his own car seat for me to sew for him too.
The interior if the car change new and because of how this is, he added some money for me.
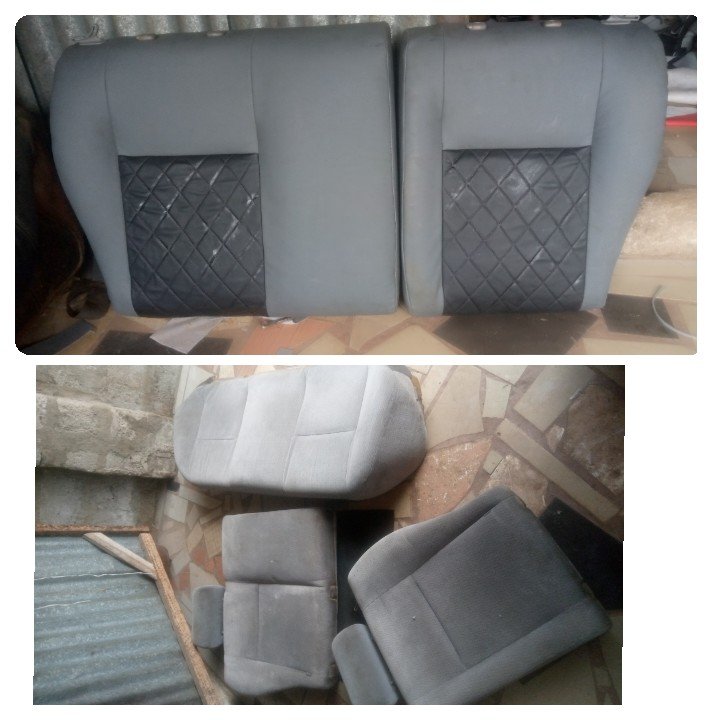
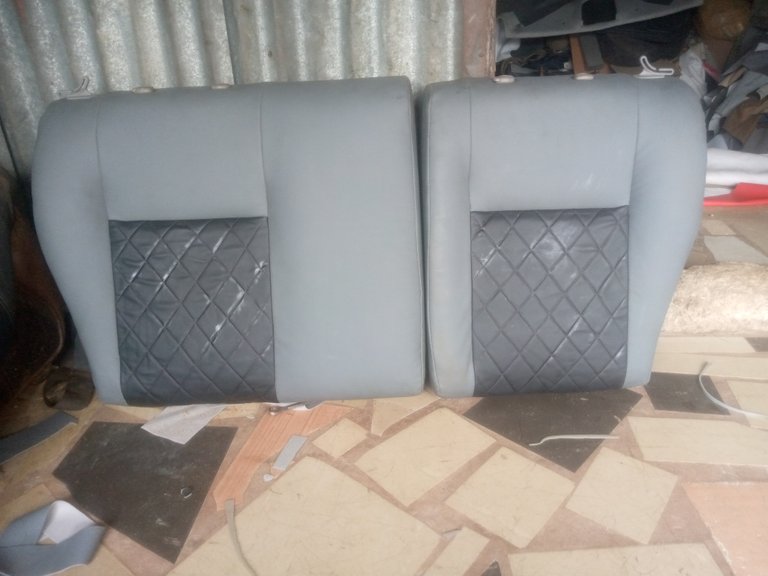
Here are the finishing work
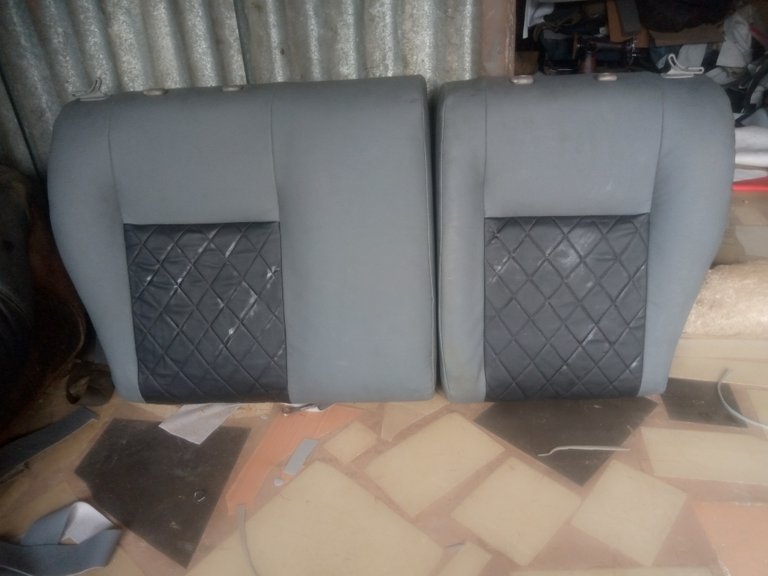
Wow, this are really beautiful indeed even without anyone telling me. So how do you see to that?
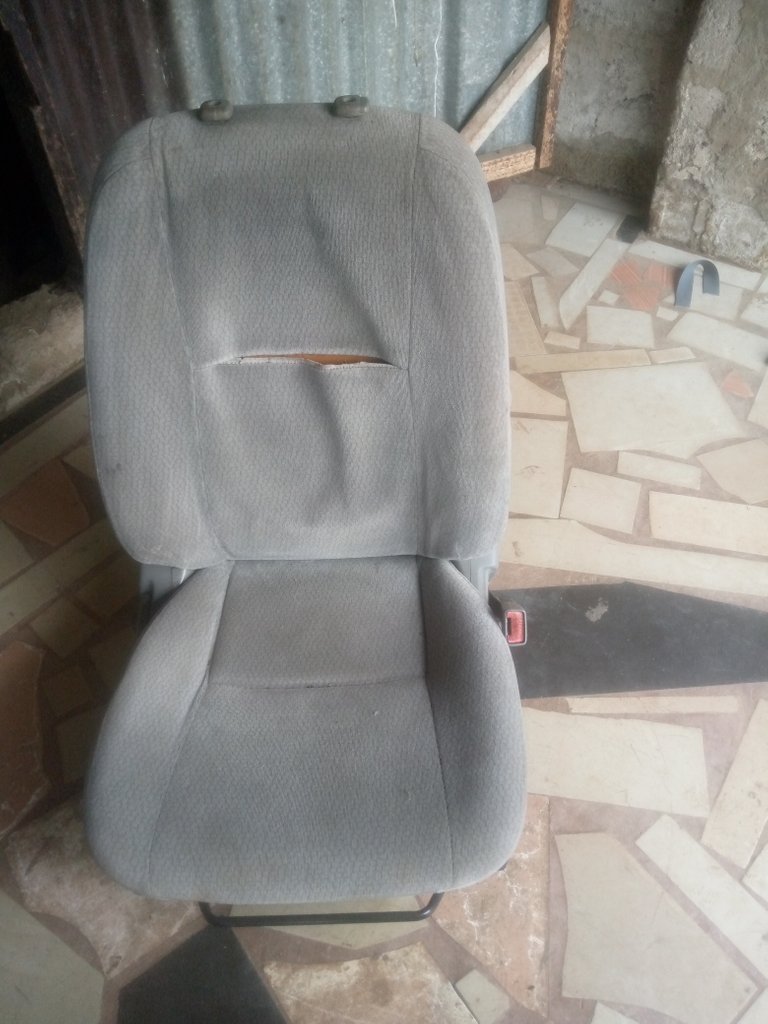
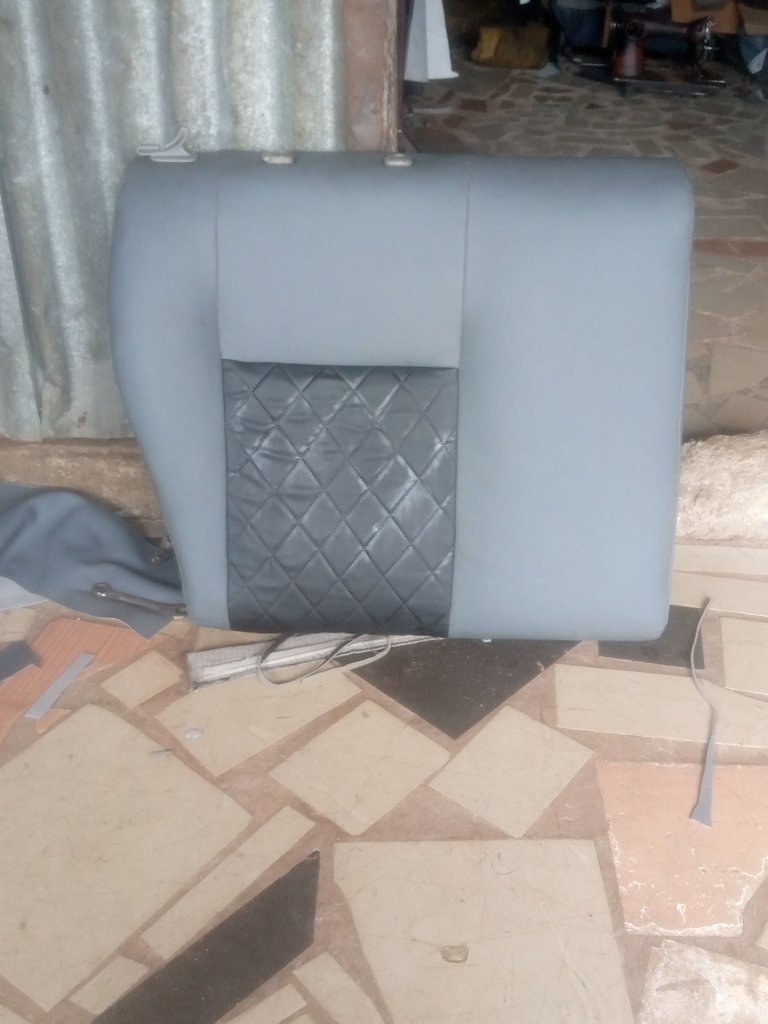
Here was the seat before

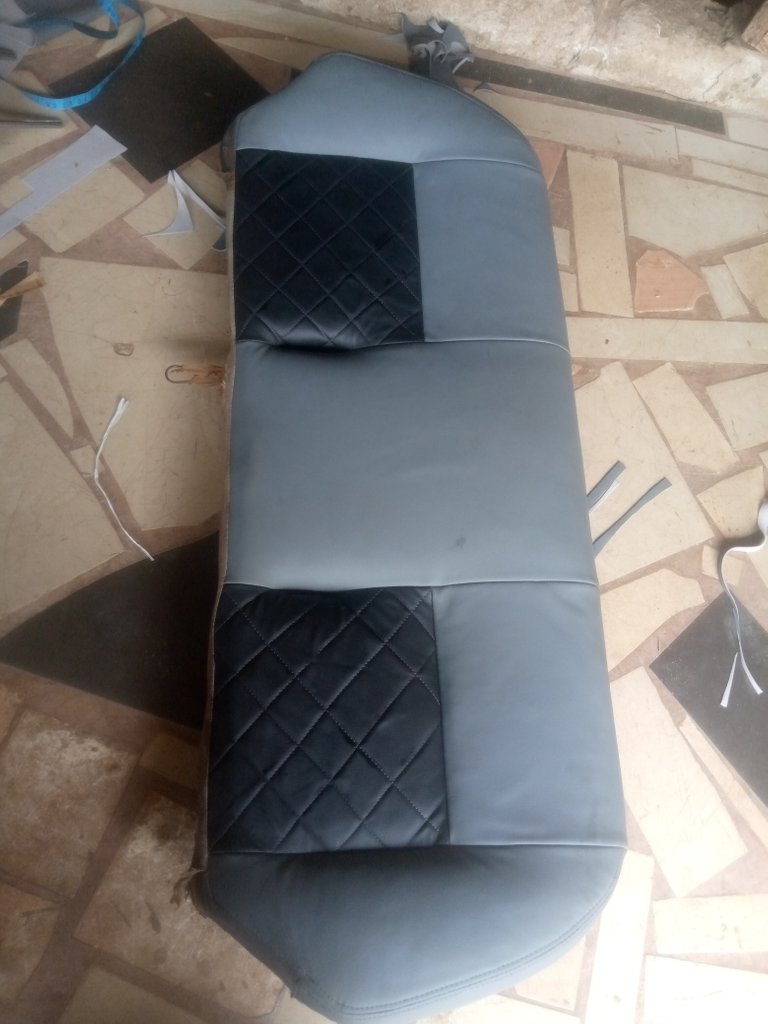
I have with you all some of the steps i follow to produce the two front seat and today again i will love to run through some steps i follow to achieve the back seat although the steps follow are the same.
To begin firstly has i mentioned before, you have to loose the seat from the car to where you wil be working on it. Ie workshop.
Here in the back seat, it was already separated has it was loose from the car.
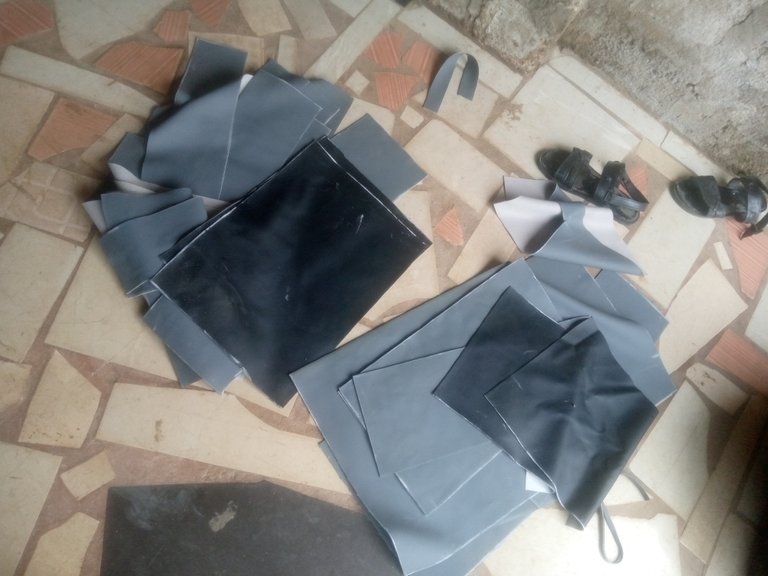
Tools/material used
- New fabric
- Sewing machine
- spanners
- pliar
- thread
- hand needle
- car roof material
- clips
- gum
- tape
- chalk etc
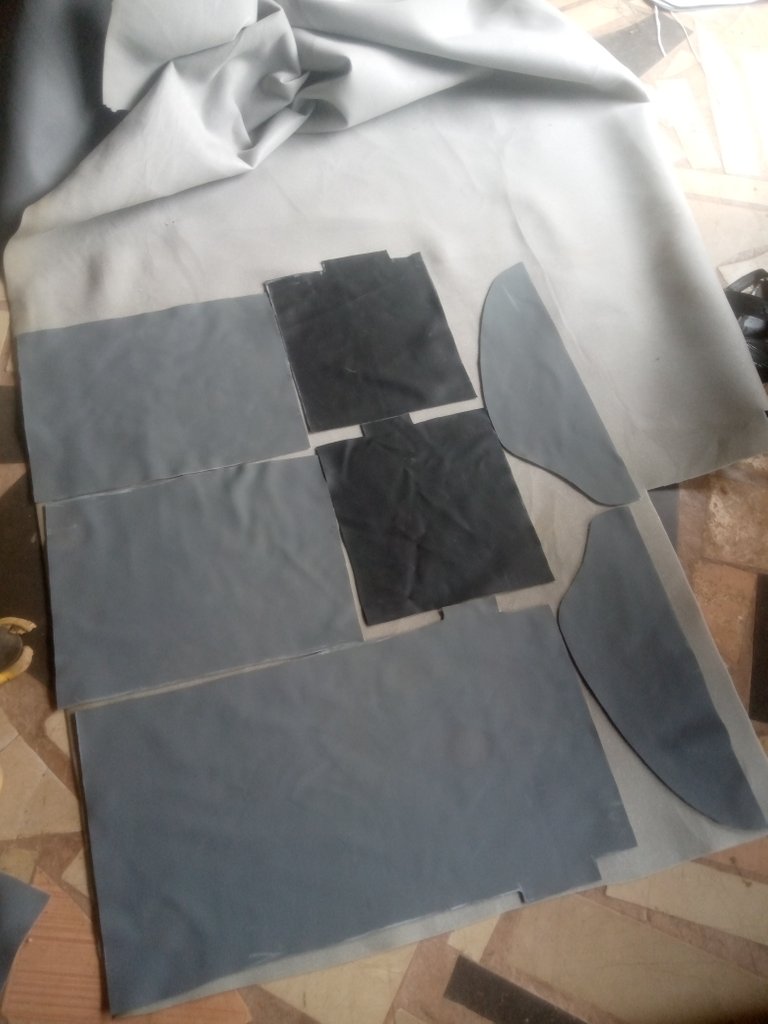
To get the work done, i first of all take the measurement of the seat consider the vertical and the horizontal distance of each joining on the old seat.

After i took the measurement, i then transfer the measurement to the new leather and the mark it out.

After marking it out, i then used scissors to cut out the new leather following the line i drawn on it.

Done cutting it out
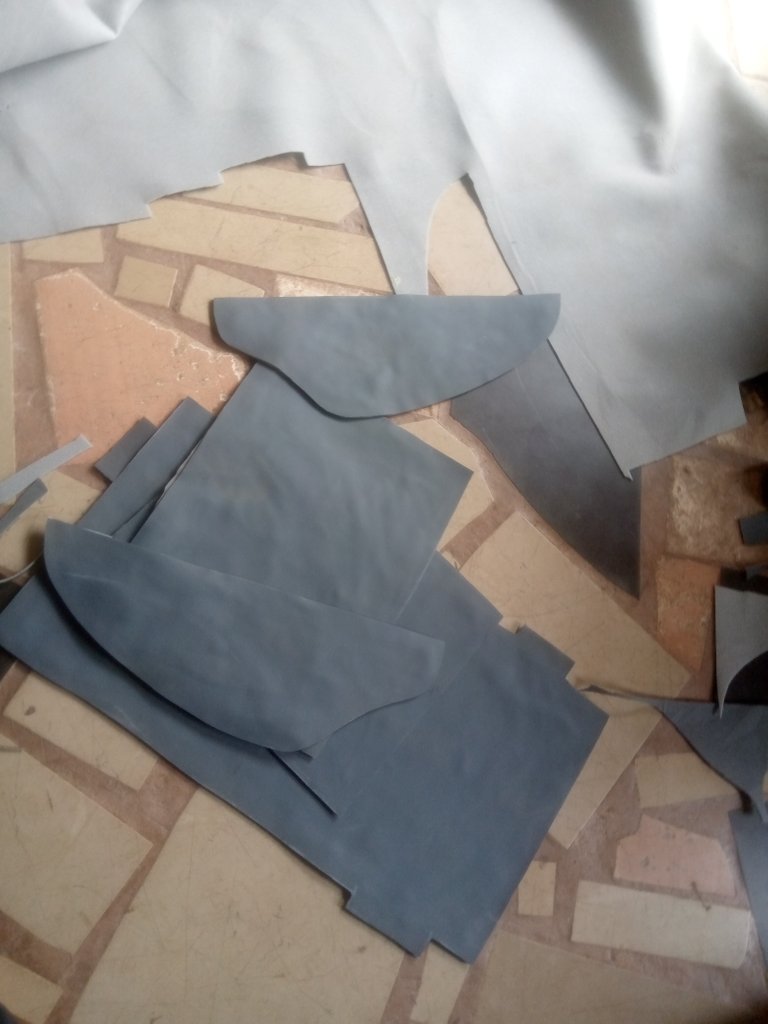
After cutting the new leather out, the next thing i did was to form the new pattern of the seat. In this step for people that are learning, it is advice to remove each pattern of the old seat and then place it on the new cut material, then trace it exactly. But to me since i am a master i see that has waste of time to me, so to me i just place the new leather on top of the old seat, then trace out the pattern without removing it out.
After i achieve my new pattern i then place it on a roof material just to make it think, smooth and stronger. After placing it, i then gum them together.

After that, i then cut it out.
Since i was ask to design the black part if the seat, i then use my sewing to sew the design out. See photo below
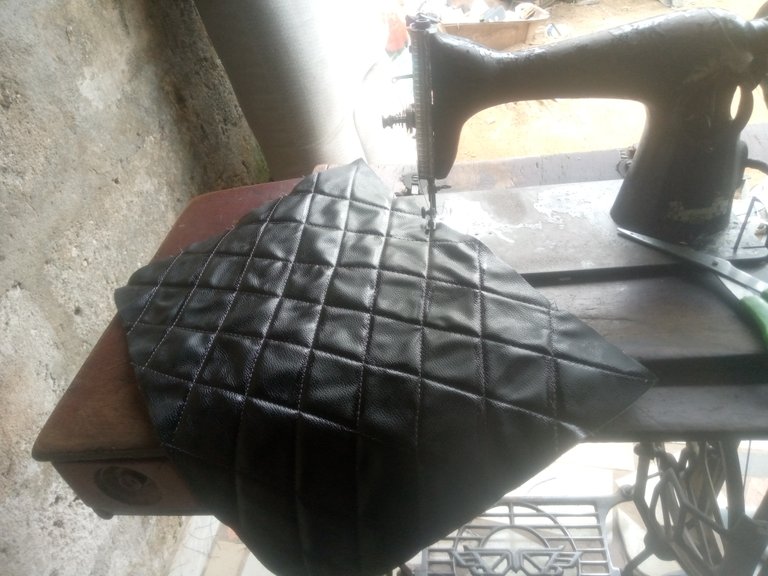

After that, i carefully join those pattern together with the help if sewing machine to form the new seat cover.
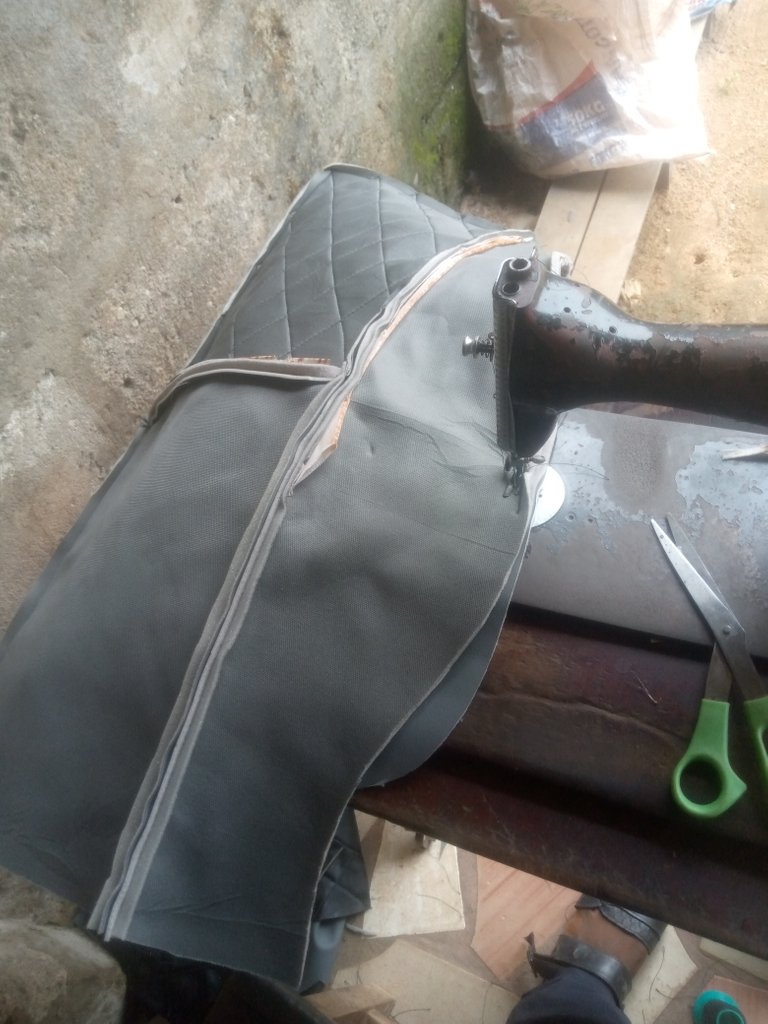
Done with the sewing.
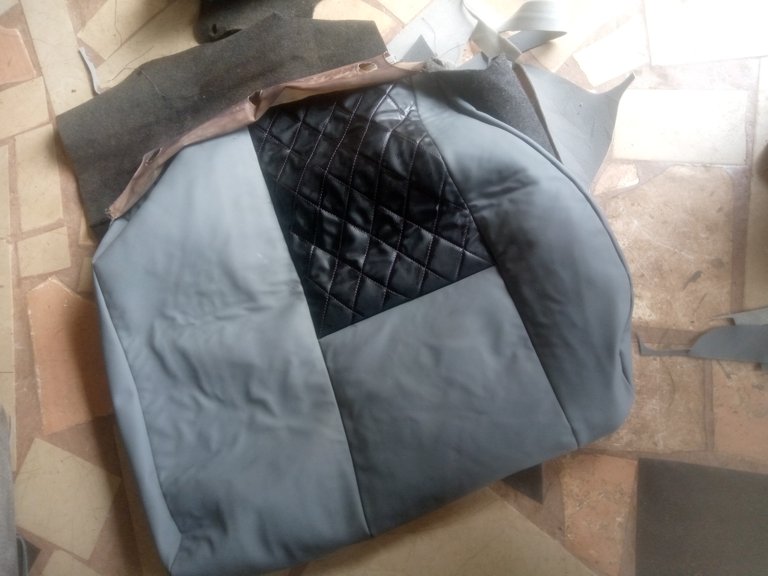
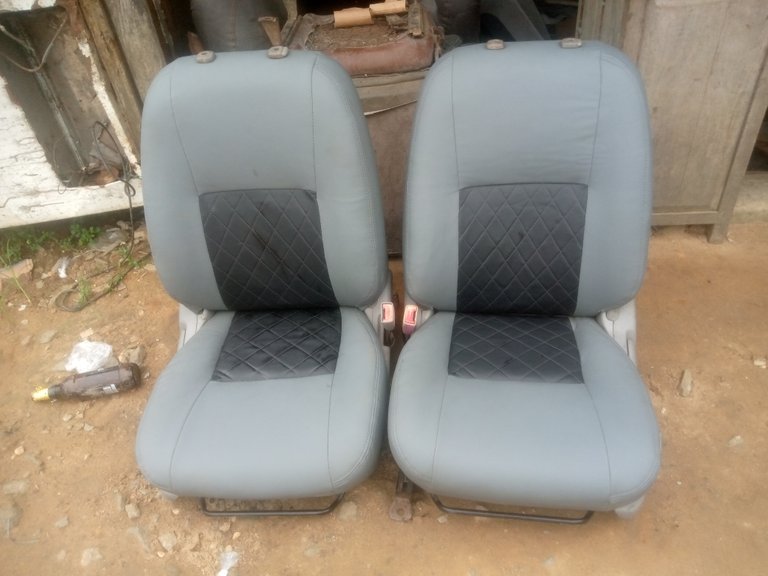
After seeing all the seat cover , i then clip the new seat cover to the frame if the seat.
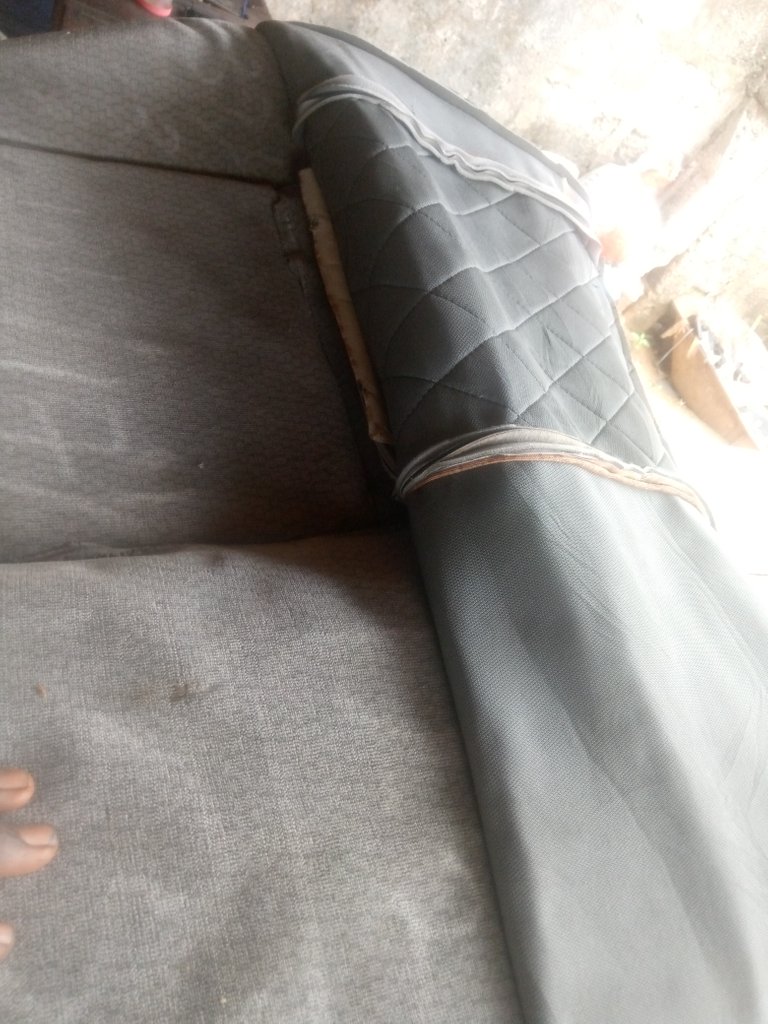
Here is the outcome of it.
I did the same to others
Hope this is a smooth work.
It took me 5 days to complete the work.
I will be happy to here from you guys all from the comments section
Thanks so much for stopping by especially to ;
NeedleWorkMonday Founder:
@crosheille
Administrator:
@marblely
Moderator:
@kattycrochet
Community Builders:
@neumannsalva
@lauramica
@romeskie
And all the members of this community, see you guys in my next publication.
Well done
Thanks dear
It such amicable work, your explanation is very clair and your hand work is so neat, I love it keep on and well done.
Thanks so much dear
So many hard works is needed its clear
Thanks for stopping by
Hello Moses. I love when you add that design with the seams to the upholstery, it looks great :) I hope your client has been satisfied, surely because this is a great job. Congratulations ❤️