Bicycle maintenance: Replacing your chain
Every now and then you need to replace the chain of your bicycle. You have to do this because the more kilometers you make, the more your chain will stretch. And yes, even a metal chain stretches.
Some cyclists say you have to replace your chain every X-thousand kilometers, but the degree of stretching also has to do with the power you provide. If you're using your bike a lot for climbing you will need to replace it earlier than when you only ride on the flat.
Why?
When your chain gets just a couple of millimeters longer it won't fall nicely in between the teeth of your chainring and cassette. This way the chain falls onto the teeth causing it to wear out faster. And replacing your chainring and cassette can be a costly thing.
I always have a spare chain so I can replace it on time to prevent higher costs.
When?
To determine if you need to replace your chain you can buy a simple tool; A chain measurer.
I've bought mine at Decathlon.
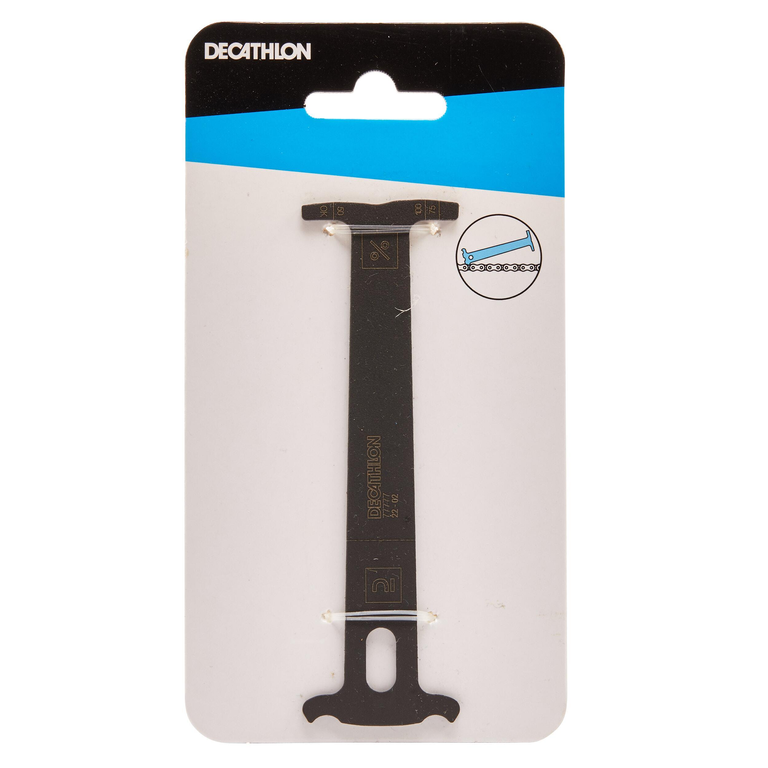
It works very simple. You put the rounded side of the tool in between two chain links.
The other side of the tool has percentages; 50%, 75% and 100%.
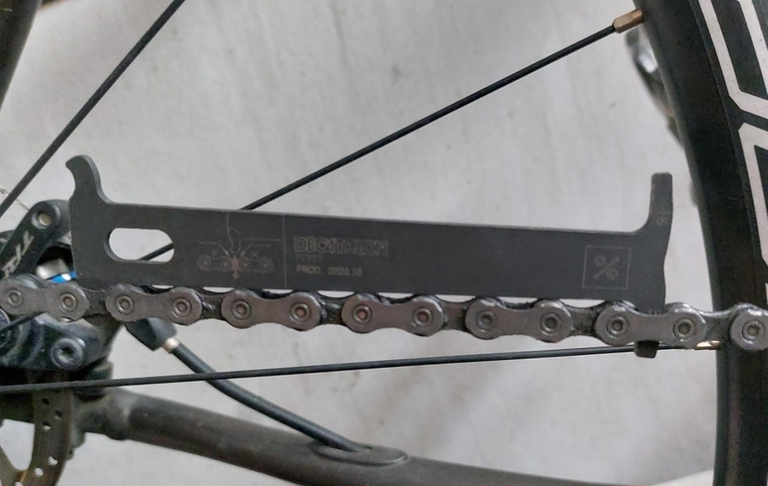
As you can see in the photo below the tool fits in between the chain links which means it's 100% worn out.
If it would fall in halfway it would be 75% and if it only falls when I use the other side it would be 50%. If it won't fall in on either side the chain is still good to use.
Replacing your chain
Replacing your chain is quite an easy job. You only need a few tools:
- A new chain (I prefer one with a quick link, but you can also buy one with chain staplers)
- A Chain Punch
- Chain pliers
Removing the old chain
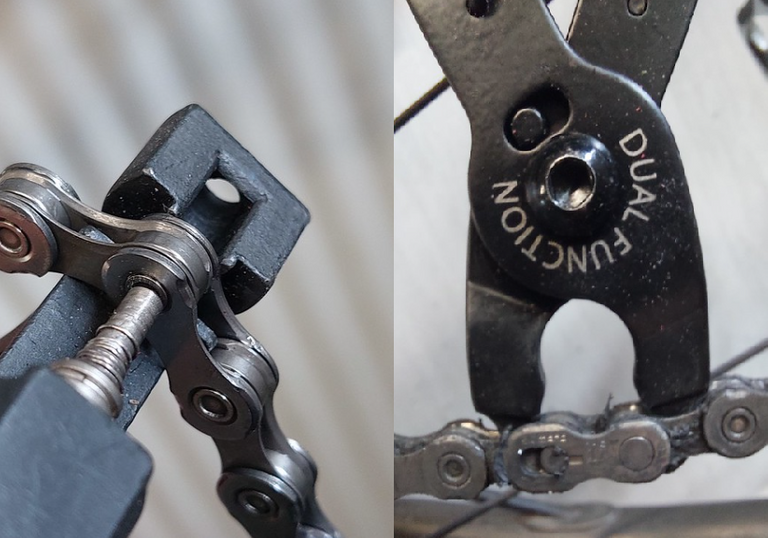
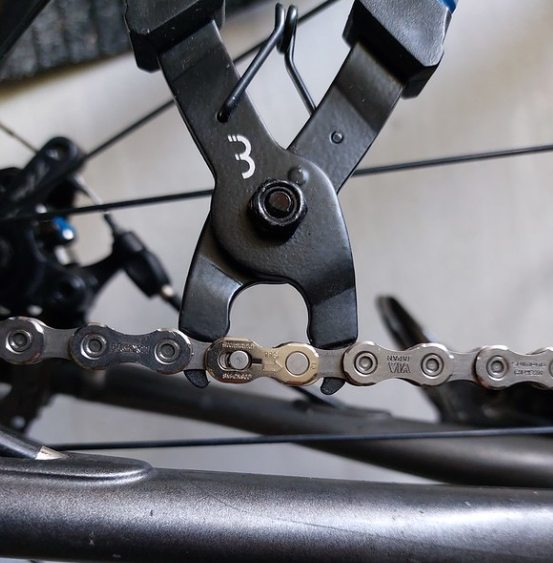
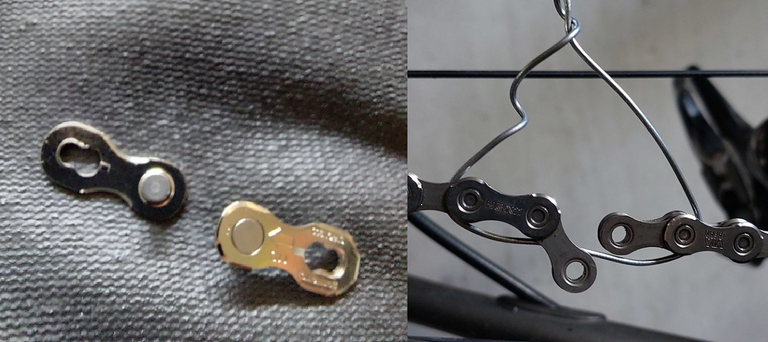
At first you need to remove the old chain. If you have a chain with a quick link you need to use pliers to 'break' the chain. You see the quick link in the image below on the right.
You can also do this with a piece of string by the way, but the pliers make it a bit easier.
If you don't have a missing link you need to use a chain punt (photo on the left).
Making your chain the right size.
The new chain often has a few chain links to many, so you have to shorten it a bit.
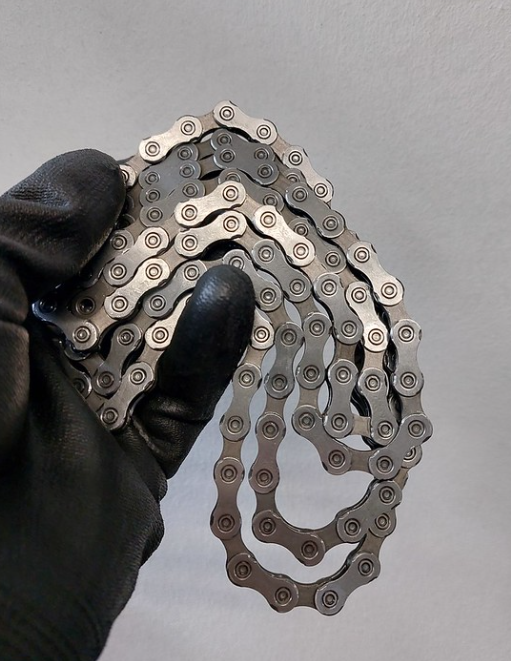
Here is the brand new chain that I just have removed from it's package.
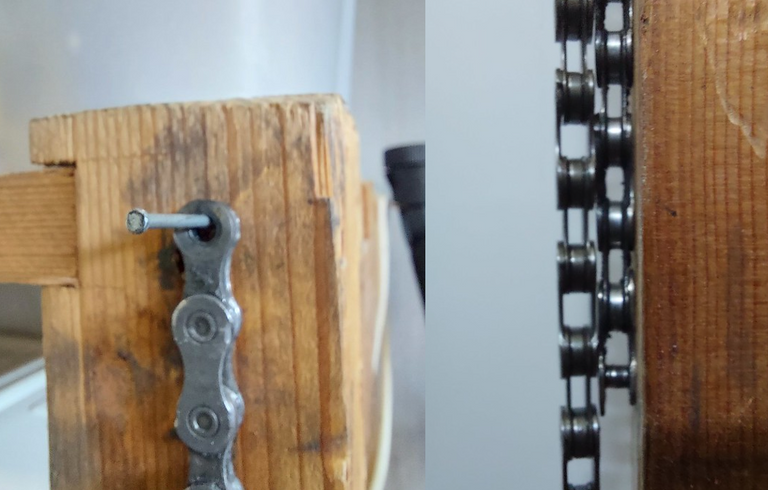
You can count the chain links, but that's quite a job. What I do is I hang my old chain on a nail.
Then I hang the new one on the same nail. On the photo on the right you can clearly see how stretched the old chain (on the right) is.
I mark the right chain link with a waterproof marker and use the chain punch tool to shorten the length of the chain.
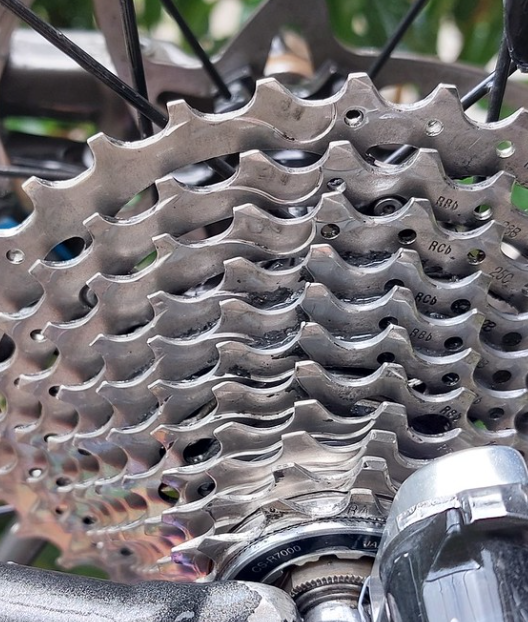
Cleaning the gears
When the chain is removed from the bike always clean my cassette and gears. This is much easier to do when the chain isn't on the bike.
Installing the new chain
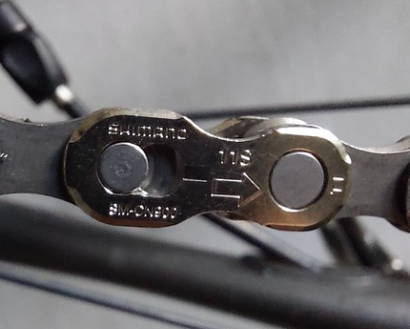
After cleaning the bike I install the new chain. I'm using a quick link for this, but you can also use a chain pin. Be sure the bike is in the smallest gear (both on the front as on the back).
I often use a piece of iron wire to keep the two loose ends of the chain together so I have my hands free to apply the quick link.
Then the quick link is on the chain you have to use the pliers to 'lock' it. You do this by pushing the two ends of the pliers away from each other. You really have use a bit of force. When you hear a click the quick link is locked.
Conclusion
Removing an old chain and installing a new chain is quite an easy job if you have the right tools. I have done it in 30 minutes. It will save you money if you do this yourself and also saves money because other bike parts don't wear out that quickly when you replace your chain
I hope this blog was useful to you.


FriendlyMoose
Creating blogs about photography, cycling, gardening, craft beer and more...

Every week I create a post with an overview of all the photography contests on Hive. You can find the weekly overview post by checking the #photocontests tag.
I also organise a weekly photography contest myself; the POB Photocontest. This weekly contests has a new subject every week and you can win POB tokens and Ecency points.
Check out the posts with the #pobphotocontest tag.

The Cycling Community is a community where you can share everything you like as long as it has to do with cycling. Share your rides, bike maintenance, news or tips and tricks.
Cycling posts will be upvoted by the community account.
You can support the Cycling Community by delegating some HP:
25 HP
50 HP
100 HP
250 HP
500 HP
That's a great tip! Taking care of your bike chain is essential to ensure a smooth and efficient ride. Having a spare chain and replacing it on time is a smart way to prevent unnecessary wear and tear on your chainring and cassette.
It surely is. Taking good care of your bike will save you money and result is smoother rides 👍
Niiice, useful info for everyone. I usually replace my chains @ around 3500 km and cassette is nearing 10k. Quite possibly i'll need a new cassette soon 😕
You're welcome.
I always try to buy my spare parts during black Friday or other sales. It can save you quite a lot of money.
But November might be a bit too far away to wait for replacing your cassette.
Yeah, gotta wait and see. There are individual cogs on Aliexpress, could be an option until getting a new k7.
Thanks @qurator & @ewkaw
This is a great bicycle repair guide thanks for sharing.
You're welcome!
Really useful and good to know. I was thinking you need a special tool to get the job done.
You only need the tools mentioned in the post. It's a really easy job.
Thank you - I just share this with my teenagers. The west and tear is different per person indeed. I observe that my son’s chain goes first. Never thought about his power until now. Makes sense. Thank you.
Good to see my post is informative 👍
Good luck with replacing the chains!
Thanks - I will leave it to my teenage son. 😀