PC Lüftertausch/ PC fan replacement
Mein Gaming PC. Wir sind umgezogen vom 28.12.23 bis 31.01.2023.
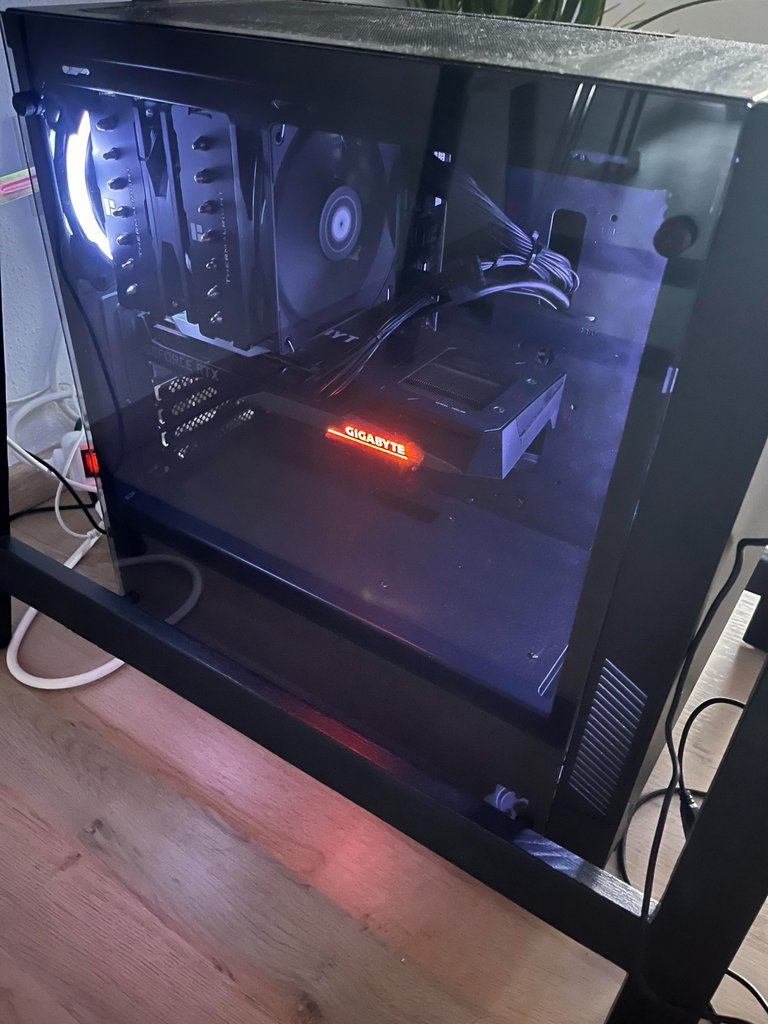
Mein Pc war einer der letzten Teile die ich selber noch gefahren habe. In meiner alten Wohnung ist er ja super gelaufen und hat alles funktioniert.
Beim Umzug bzw. bei den Straßen musste er was durchmachen. Ich habe ihn gestartet und es kam ein Blaues Bild von Windows. Nämlich der Bluescreen und das heißt nichts gutes. Meine CPU lief teilweise bei über 90 Grad. Ich denke der Cpu Lüfter hat einen Schlag bekommen. Ich wollte ihn ja schon länger wechseln, weil meine Freundin sagt, er ist so laut und ich ja durch @alucian das Mining angefangen habe. Bisher Mine ich nur BTG (Bitcoin Gold).
My gaming PC. We moved from 28.12.23 to 31.01.2023.
My PC was one of the last parts that I drove myself. It ran great in my old apartment and everything worked.
It had to go through a lot during the move and on the roads. I started it up and Windows displayed a blue screen. Namely the blue screen and that doesn't mean anything good. My CPU was sometimes running at over 90 degrees. I think the Cpu fan has taken a beating. I've been wanting to change it for a while because my girlfriend says it's so loud and I started mining through @alucian. So far I've only been mining BTG (Bitcoin Gold).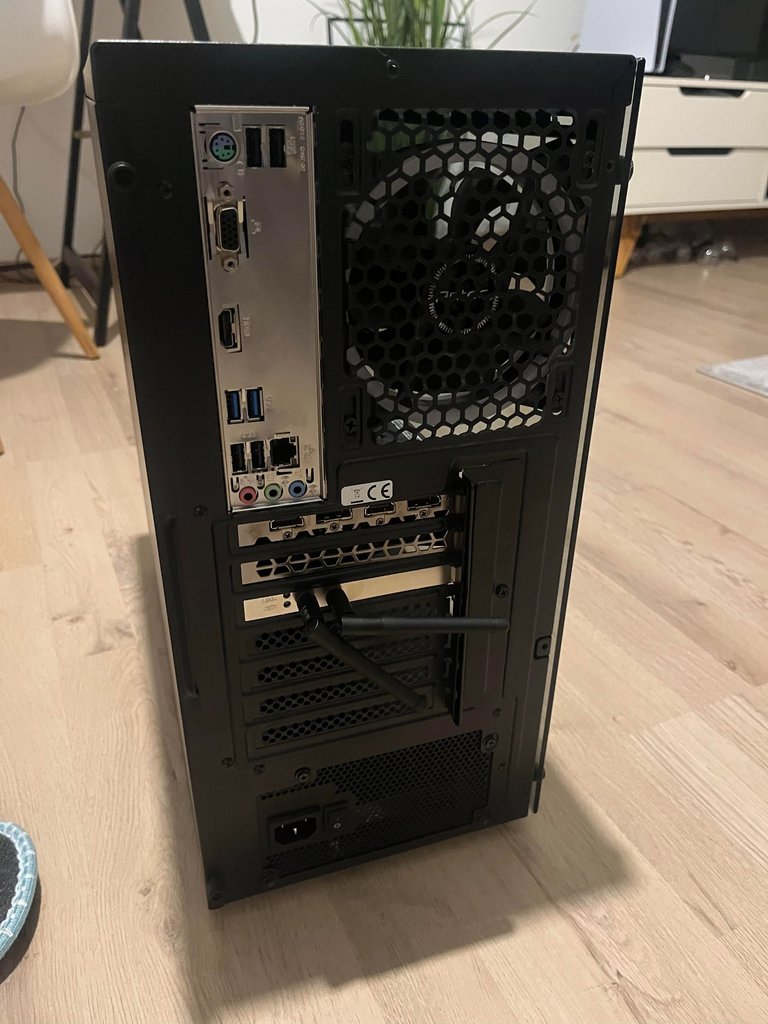
Das ist meiner von hinten. Habe immer wieder ein paar fotos geschossen um zu sehen wie er da steht. Mache ich aus Sicherheiten immer auch wenn ich es nicht bräuchte.
This is mine from behind. I've always taken a few photos to see how it stands. I always do this for safety reasons, even when I don't need to.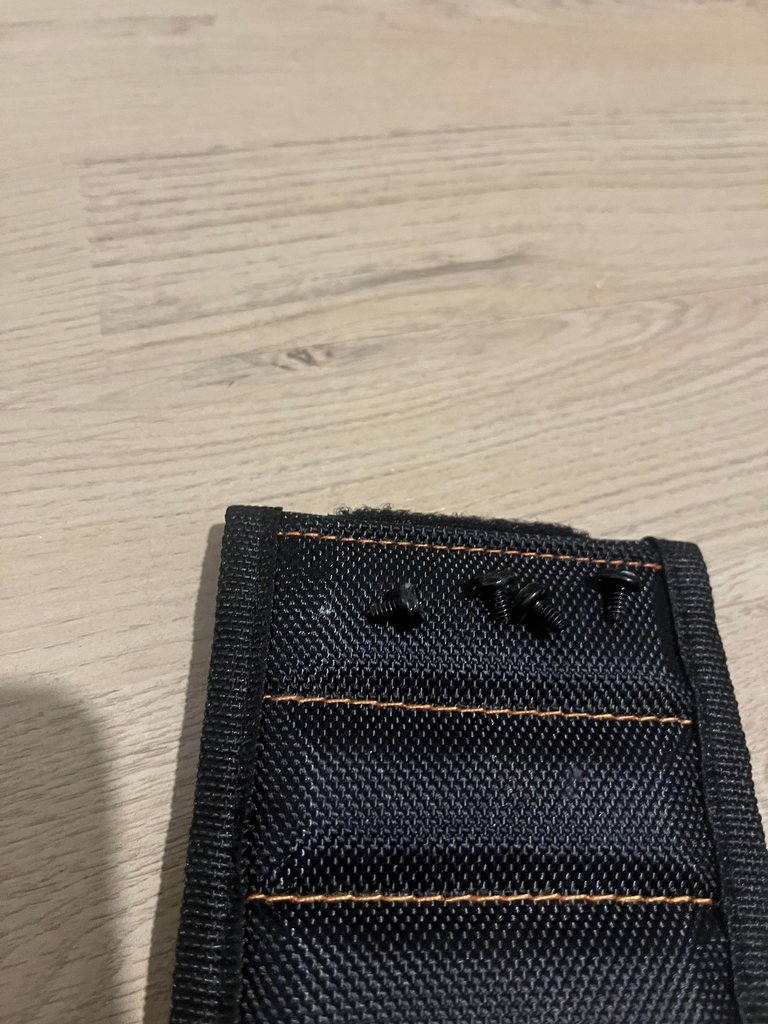
Zu Weihnachten habe ich ein Magnetarmband bekommen. Damit ich die Schrauben vom Gehäuse nicht verliere. Eine echt genial Idee. Egal was ich getan habe, ob Schrank aufbauen oder Lampenschirm installieren, dieses Teil war immer dabei und kostet kein Vermögen.
I got a magnetic bracelet for Christmas. So that I don't lose the screws from the case. A really brilliant idea. No matter what I was doing, whether building a cupboard or installing a lampshade, this part was always there and didn't cost a fortune.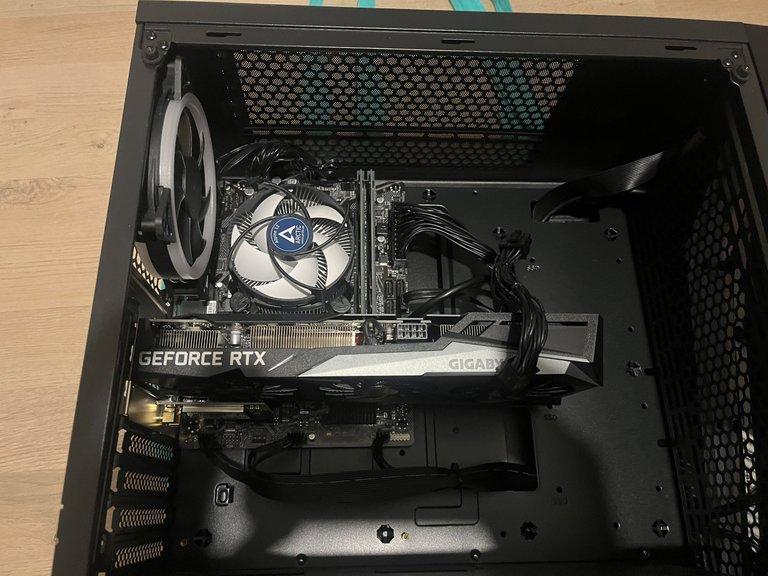
So sieht er von innen aus. Habe eine Glasfront draufgehabt. Die habe ich runtergeschraubt mit einem Schraubenzieher. Die Scheibe an einem sicheren Ort gelegen und mir das Teil von innen angeschaut.
Die Grafikkarte ist schon ziemlich groß. Es ist eine NVIDIA GEFORCE RTX 3060.
Ich dachte, Hey einfach den Lüfter von dort aus ausbauen. Denkste, das geht nicht so einfach.
Vorallem man beschädigt schnell was.
This is what it looks like from the inside. I had a glass front on it. I unscrewed it with a screwdriver. I put the glass in a safe place and looked at it from the inside.
The graphics card is quite large. It's an NVIDIA GEFORCE RTX 3060.
I thought, hey just remove the fan from there. Think again, it's not that easy.
Especially if you damage something quickly.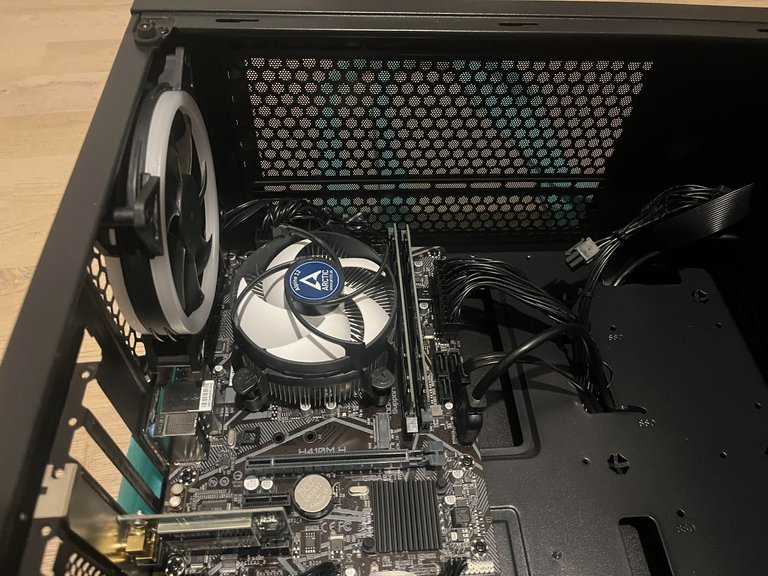
So nun ist die Grafikkarte ausgebaut. Aber das hat noch nicht gereicht.
Die zwei Arbeitsspeicher musste ich auch noch entfernen. Das war aber kinderleicht.
So now the graphics card has been removed. But that wasn't enough.
I also had to remove the two main memories. But that was child's play.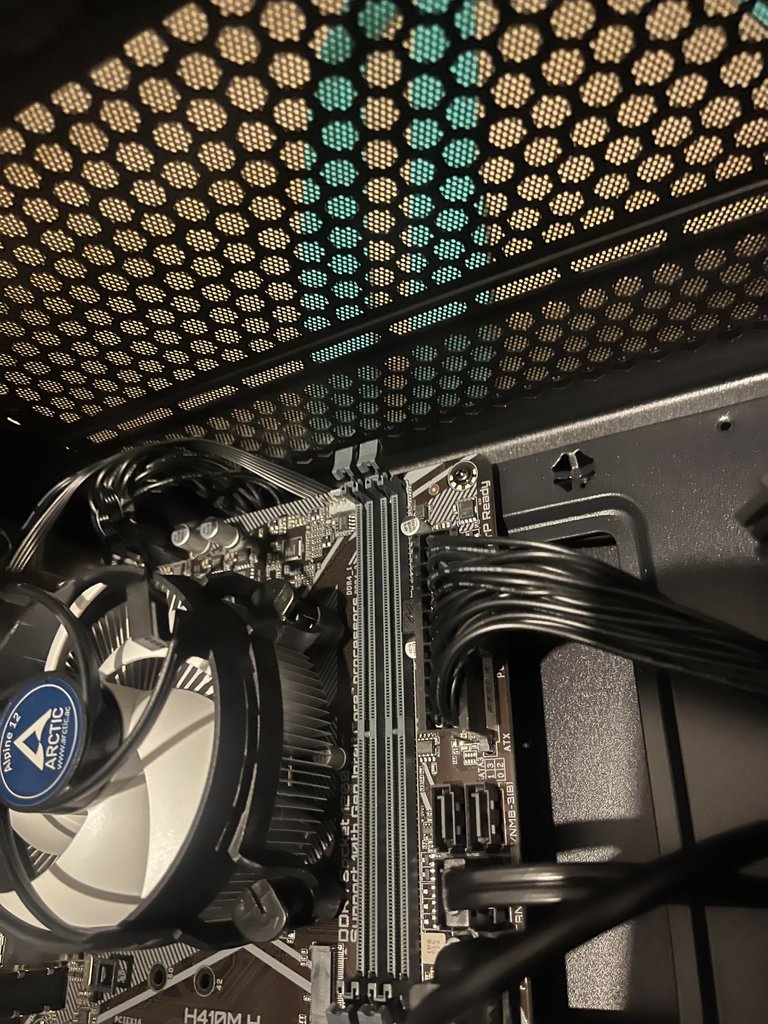
So die Arbeitsspeicher sind auch ausgebaut. Jetz kommt man schön an dem Lüfter ran. In jeder Ecke ist ein Plastik mit einem Schlitz. Ich habe einen Schlitzschraubendreher genommen und es aufgedreht bis es nicht mehr ging, dass merkt man ganz schnell. Ich habe das bei allen vier so gemacht. Der nächste Schritt war, es vorsichtig nach oben zu ziehen. Am Anfang ging es schwer, weil die Wärmeleitpaste ja auch daran klebt. Durch das hin und her bewegen hat es sich gelöst und schon war der Schrott Lüfter ausgebaut.
The RAM has also been removed. Now you can get to the fan. There is a plastic with a slot in each corner. I took a flat-blade screwdriver and unscrewed it until it wouldn't go any more, you notice that very quickly. I did this with all four of them. The next step was to carefully pull it upwards. It was difficult at first because the thermal paste was also stuck to it. By moving it back and forth, it came loose and the scrap fan was removed.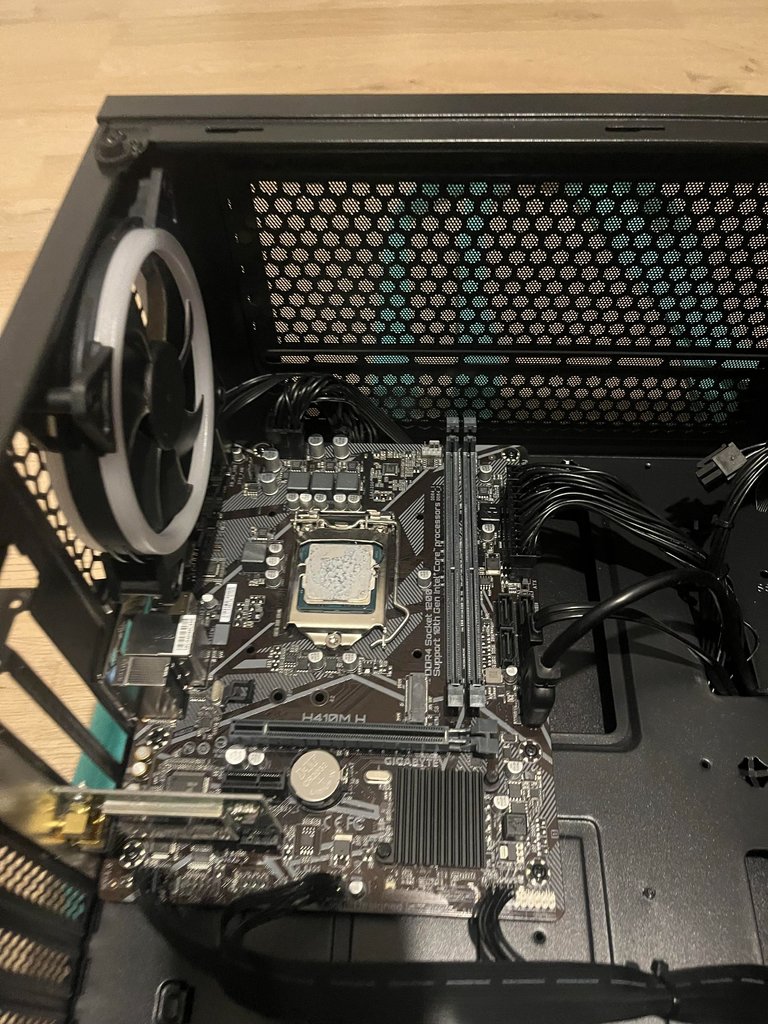
So sieht es aus wenn der CPU Filter ausgebaut ist. Auf der CPU ist noch die Leitpaste zu sehen. Die habe ich gereinigt. Ist wie ein Kaugummi runter gegangen und dann mit einem feuchten Tuch die Reststände entfernt.
This is what it looks like when the CPU filter is removed. You can still see the conductive paste on the CPU. I cleaned it. It went down like chewing gum and then I removed the residue with a damp cloth.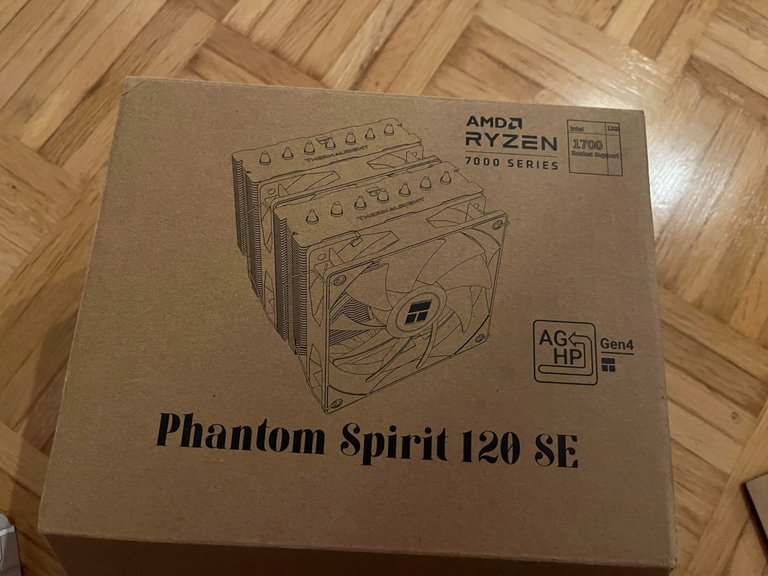
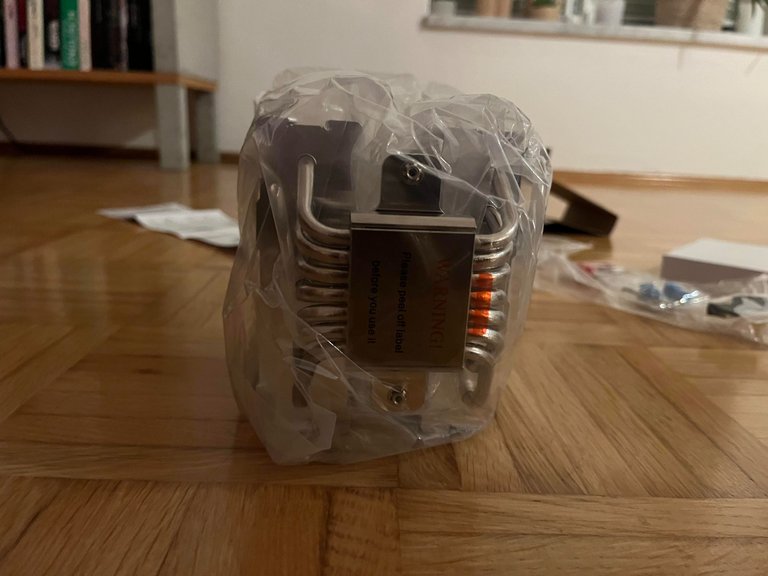
Das ist der neue Lüfter. Echt ein MonsterTeil. Er braucht viel Platz.
Hatte bammel obwohl ich nachgeschaut habe das er auf mein Mainboard Sockel passt.
Nun ging es endlich los.
This is the new fan. Really a monster part. It takes up a lot of space.
I was a bit worried although I checked that it would fit on my motherboard socket.
Now it finally started.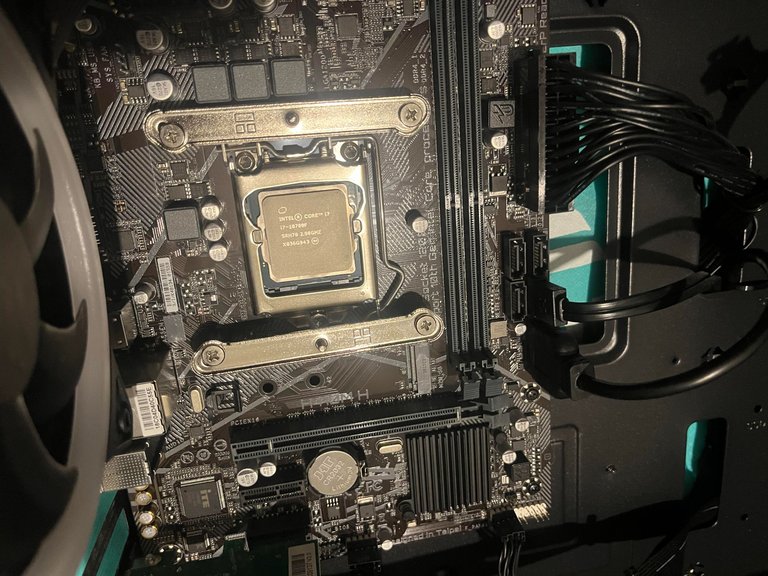
Ich musste die Rückwand vom Pc demontieren damit ich hinter dem Mainboard bin.
Warum? weil ich das Kreuz da drauf stecken musste damit ich die zwei Plättchen dranschrauben konnte.
I had to dismantle the rear panel of the PC so that I was behind the mainboard.
Why? Because I had to put the cross on it so that I could screw the two small plates to it.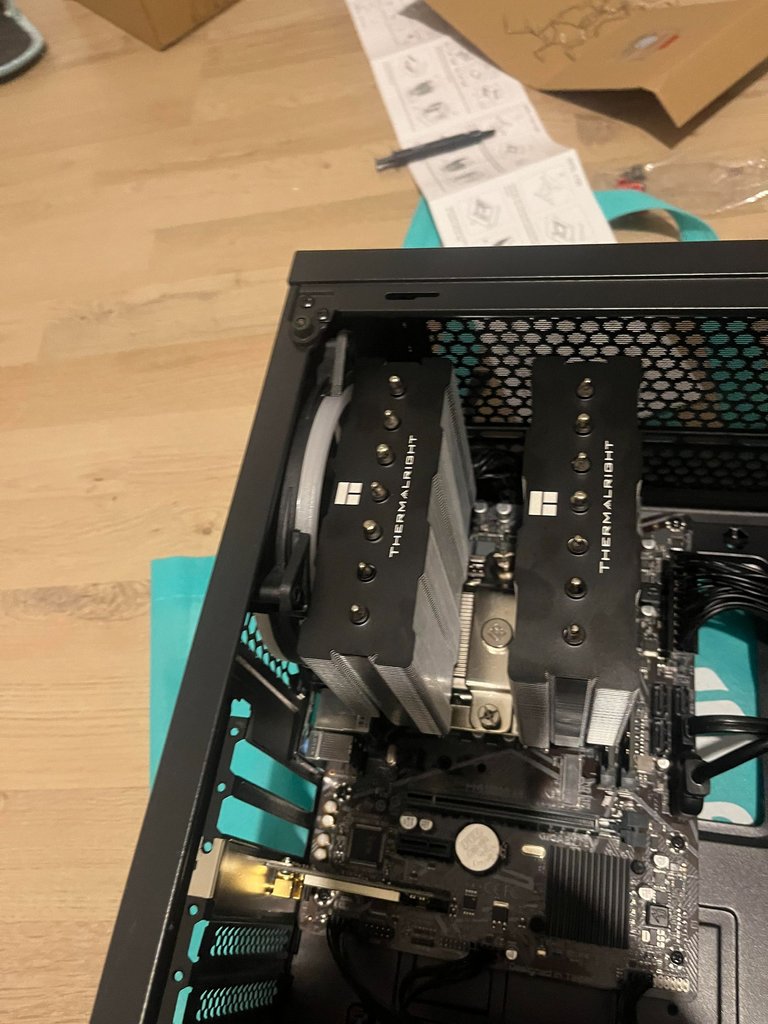
So ich habe es ohne Paste mal getestet ob es wirklich drauf geht.
Hat alles funktioniert. Habe dann eine kleine Erbse Paste draufgemacht und dann den Lüfter draufgesteckt und die zwei Schrauben Oben und unten angezogen.
So I tested it without paste to see if it really works.
Everything worked. I put a little pea paste on it and then put the fan on and tightened the two screws at the top and bottom.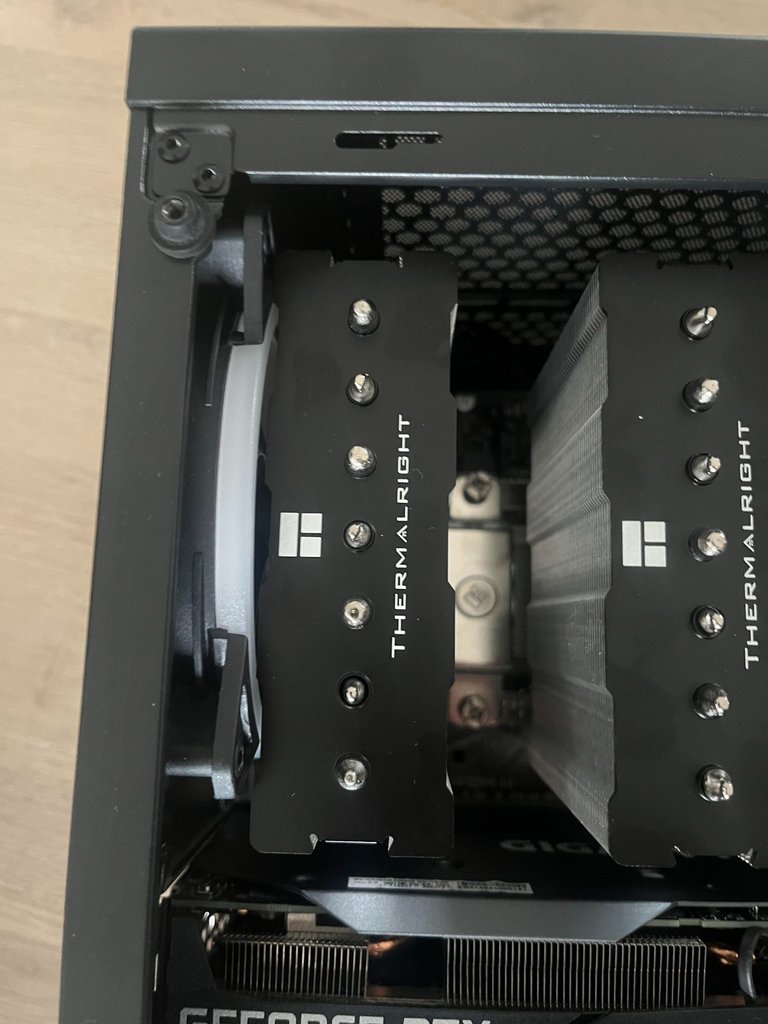
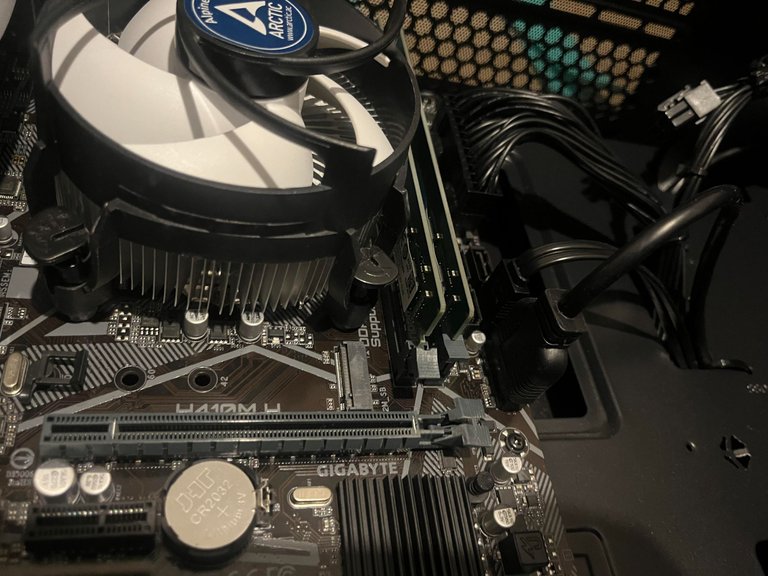
Schaut wie eng es dort ist? Noch genauer geht es ja kaum😄
Look how tight it is there? It could hardly be more precise😄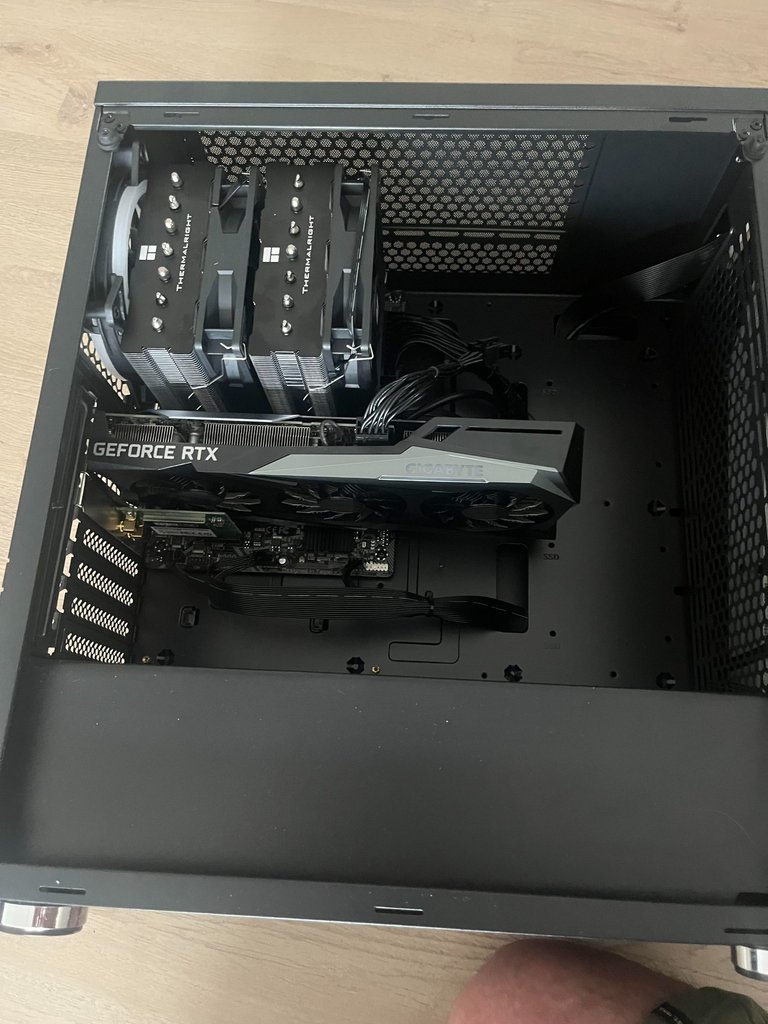
Als nächste kamen die Lüfter. Die mussten zwischen den Lamellen eingespannt werden damit die halten. Kabel habe ich auch angeschlossen. Vorher musste ich die Arbeitsspeicher draufmachen, weil man nach den Lüfter nicht mehr hinkommt.
Zum Schluss habe ich die Grafikkarte wieder eingesteckt und gestgeschraubt.
Habe nochmal alles Überpruft und ich meinte ich habe nichts vergessen😀
Next came the fans. They had to be clamped between the slats so that they would hold. I also connected the cables. I had to put the RAM on first because you can't reach it after the fans.
Finally, I plugged the graphics card back in and screwed it down.
I checked everything again and I didn't think I'd forgotten anything😀
Die Glasscheibe und die Rückwand wieder angeschraubt. So das Ding war eingebaut und ich konnte den Pc starten. Der Lüfter ist echt genial. Er ist leiser und macht seine Leistung. Er kann aber auch ganz schön laut werden, wenn er arbeitet. Im großen und ganzen war es eine schöne Erfahrung für mich so ein Teil auszubauen und wieder einbauen. Man sollte viel Zeit mitnehmen und Geduld. Nur so hat man bei so einem Teil gute Chancen das er wieder funktioniert.
Ich muss mich auch bei @alucian bedanken. Er hat mir ein paar tipps gegeben, damit ich nicht gleich losstürme und den Pc auseinander nehme. Wenn ihr fragen habt oder sonstiges Problem, er hilft gerne weiter so gut es geht.
I screwed the glass pane and the rear panel back on. So the thing was installed and I could start the PC. The fan is really brilliant. It is quieter and does its job. But it can also get quite loud when it's working. All in all, it was a great experience for me to remove and reinstall such a part. You should take plenty of time and be patient. Only then do you have a good chance of getting such a part working again.
I also have to thank @alucian. He gave me a few tips so that I don't immediately rush off and take the PC apart. If you have any questions or other problems, he will be happy to help as best he can.
Die Bilder stammen alle von meinem Handy.
Das Englische habe ich mit Deepl übersetzen lassen.
0
0
0.000
Sehr Geil! Schaut richtig Schnieke aus so und ich finde nichts, das Du irgendwie Falsch gemacht haben könntest. Jetzt dürftest Du bereit für Übertacktungen sein, falls dir die Leistung mal wirklich nicht mehr reichen sollte.
Auch schön Beschrieben was Du da gemacht hast und wie. Dachte sogar, Du müsstest das Mainboard auch noch ausbauen um den Kühler zu installieren, aber zum Glück haben die modernen Gehäuse so ein Loch hinten dran, damit man sich das Sparen kann.
Ich denke auf Dauer hat sich die Mühe auf jeden Fall gelohnt.
Beste Wünsche in eurer neuen Bude übrigens.
Salve
Sascha
Danke dir
!PGM
!ALIVE
@alucian! You Are Alive so I just staked 0.1 $ALIVE to your account on behalf of @ dragon-ti. (1/10)
The tip has been paid for by the We Are Alive Tribe through the earnings on @alive.chat, feel free to swing by our daily chat any time you want, plus you can win Hive Power (2x 50 HP) and Alive Power (2x 500 AP) delegations (4 weeks), and Ecency Points (4x 50 EP), in our chat every day.

BUY AND STAKE THE PGM TO SEND A LOT OF TOKENS!
The tokens that the command sends are: 0.1 PGM-0.1 LVL-0.1 THGAMING-0.05 DEC-15 SBT-1 STARBITS-[0.00000001 BTC (SWAP.BTC) only if you have 2500 PGM in stake or more ]
5000 PGM IN STAKE = 2x rewards!
Discord
Support the curation account @ pgm-curator with a delegation 10 HP - 50 HP - 100 HP - 500 HP - 1000 HP
Get potential votes from @ pgm-curator by paying in PGM, here is a guide
I'm a bot, if you want a hand ask @ zottone444
!WITZ
lolztoken.com
sagt der Erste Pi. Der Zweite sagt ka und der Dritte sagt chu.
Credit: quekery
@dragon-ti, ich habe dir im Namen von @thehockeyfan-at einen $LOLZ Token gesendet
Verwende den Befehl !WITZ oder !LOOL, um einen Witz und ein $LOLZ zu teilen.
.(8/10)