Custom handmade beanie for my client
Hello lovely family Diyhub. Welcome to my blog. It's really been a while I explore new stitch with you all. My brand was launched this month as a crochet artist, and lot of orders has been coming in. Brand name: [Hooked by Zalibee]. While working on some nice projects, I promise to update you all on the process.And Today, I will be guiding you all on how I made this beautiful beanie hat for my client.
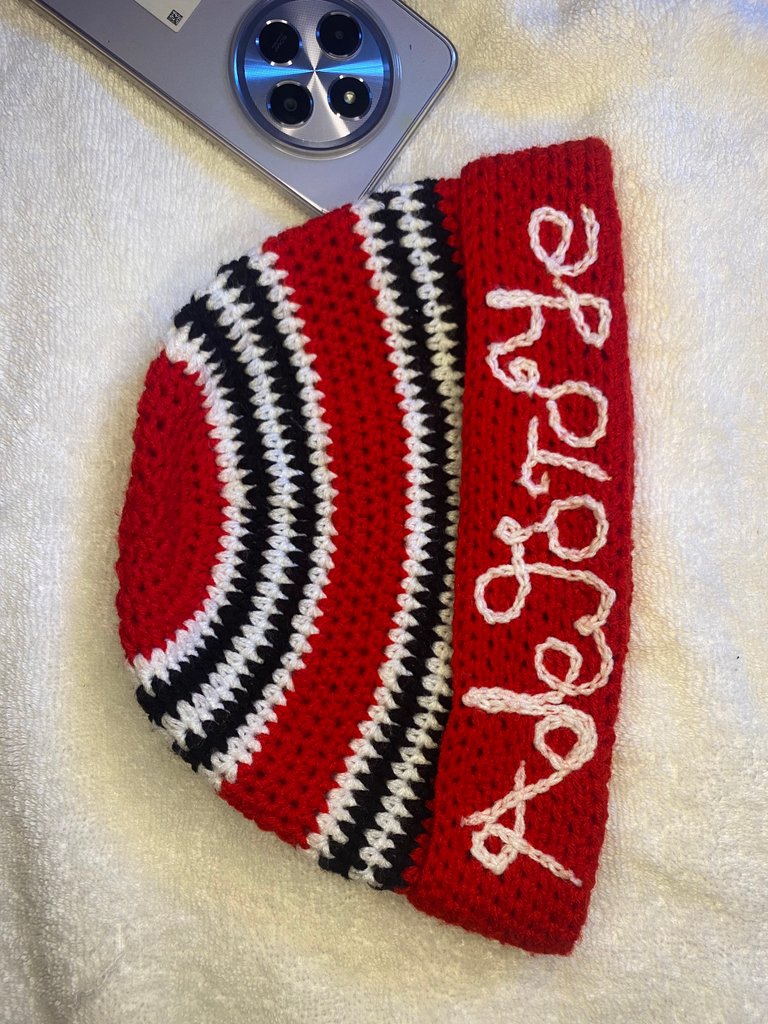
"Uh uh. Mind you this can't be found in the store. Yeah this baby, was customised @HookedbyZalibee.
This beanie colour combo was an inspiration from a Nigeria music artist "odumodublvck". And I will be giving a step by step guide on how I achieve this.
Materials used
- 3 different colours of yarns.
- 4.00mm hook.
- Measuring tape.
- And a stitch marker.
Below are the step by step process
Note: there are words you will be coming across more often during this guide. Which are: Chain, Half double crochet,and Slip stitch. And for this project red is the main colour so I will be starting with red.
STEP 1:I form a magic ring, and inside the magic ring, I place 10 half double crochet. Then I slip stitch in the first half double crochet and that's the end of row 1.
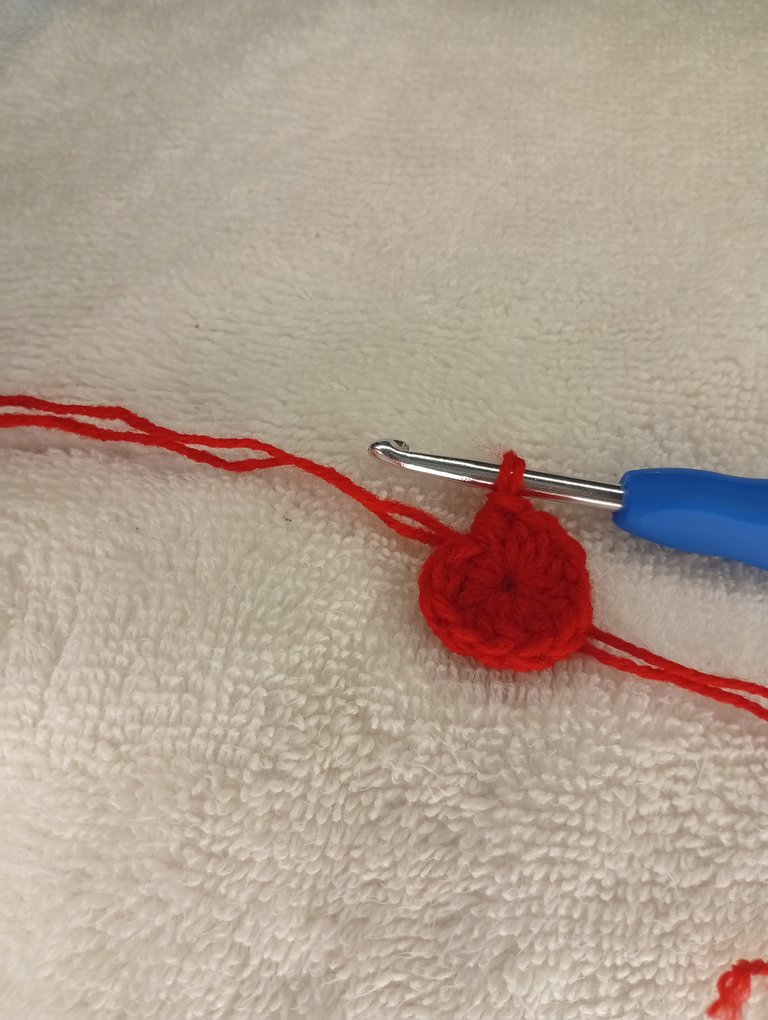
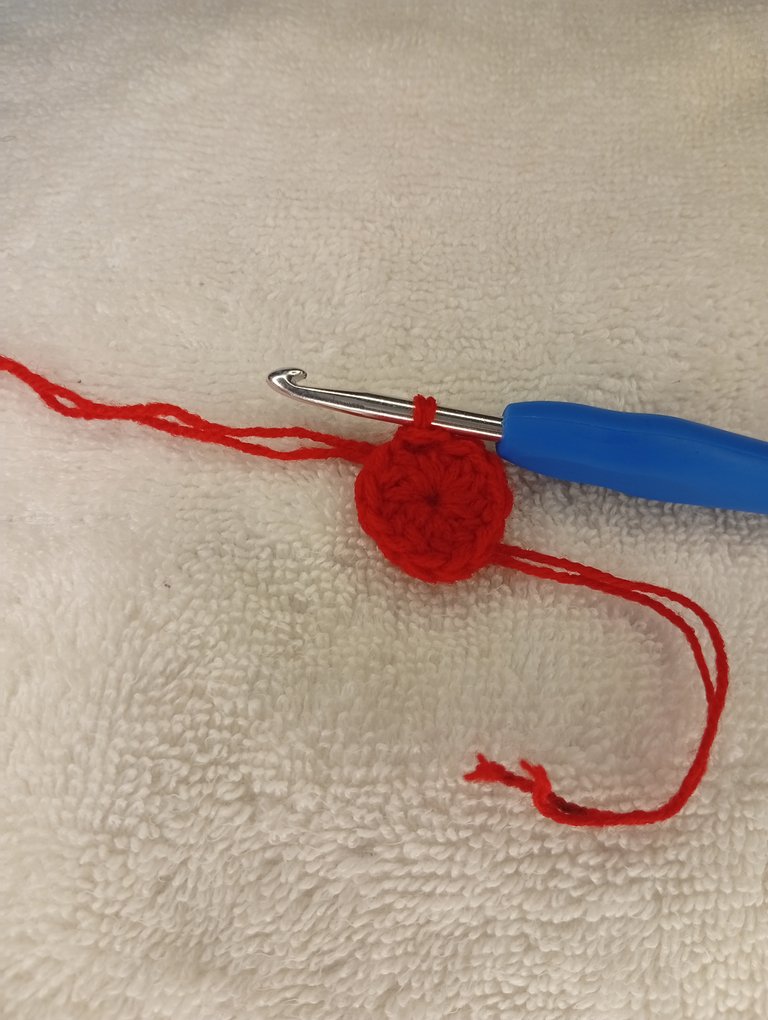
STEP 2:For row 2, I chain up 1, and into the same stitch space where i made a slip stitch, I place 2 half double crochet. And in the next stitch, I place 2 half double crochet. I continue to place 2 half double crochet in each stitch until the end of that row.
I slip stitch into the first half double crochet and that's the end row 2.
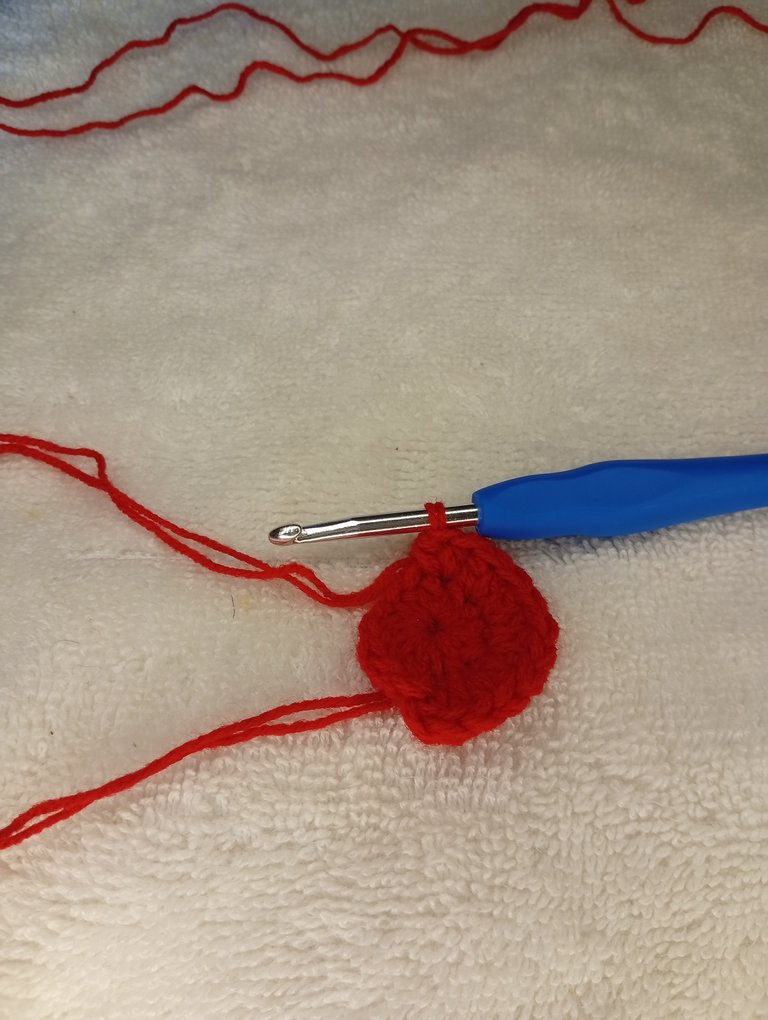
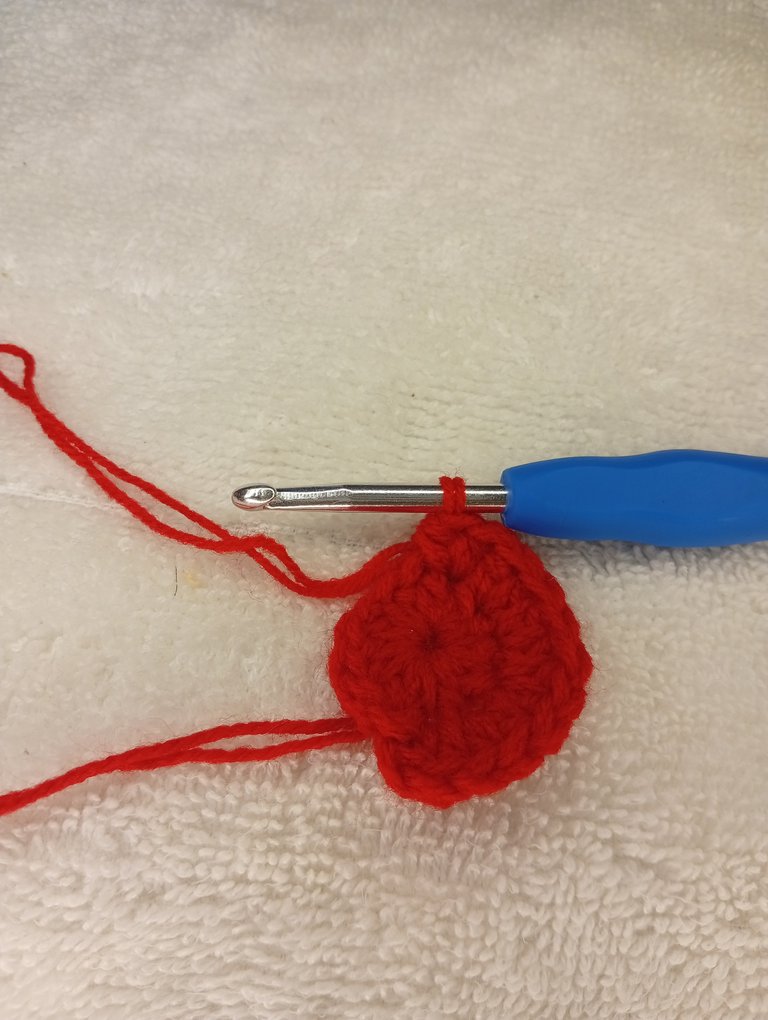
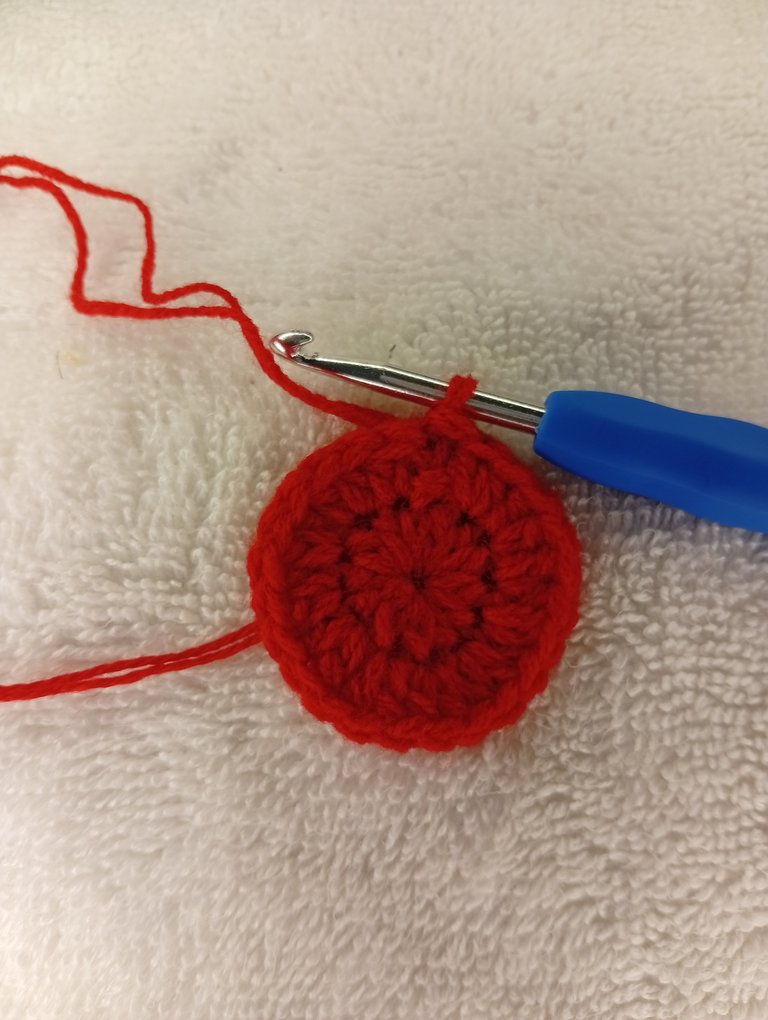
STEP 3:To start row 3, I chain up 1, and in the first stitch, I place 1 half double crochet. In the next stitch, I place 2 half doubl. 1 half double crochet in the next stitch. Then 2 half double crochet in the next stitch. I continue that process of 1 half double crochet in a stitch and in the next stitch 2 half double crochet all around that row. I slip stitch into the first half double crochet and that's the end of row 3.
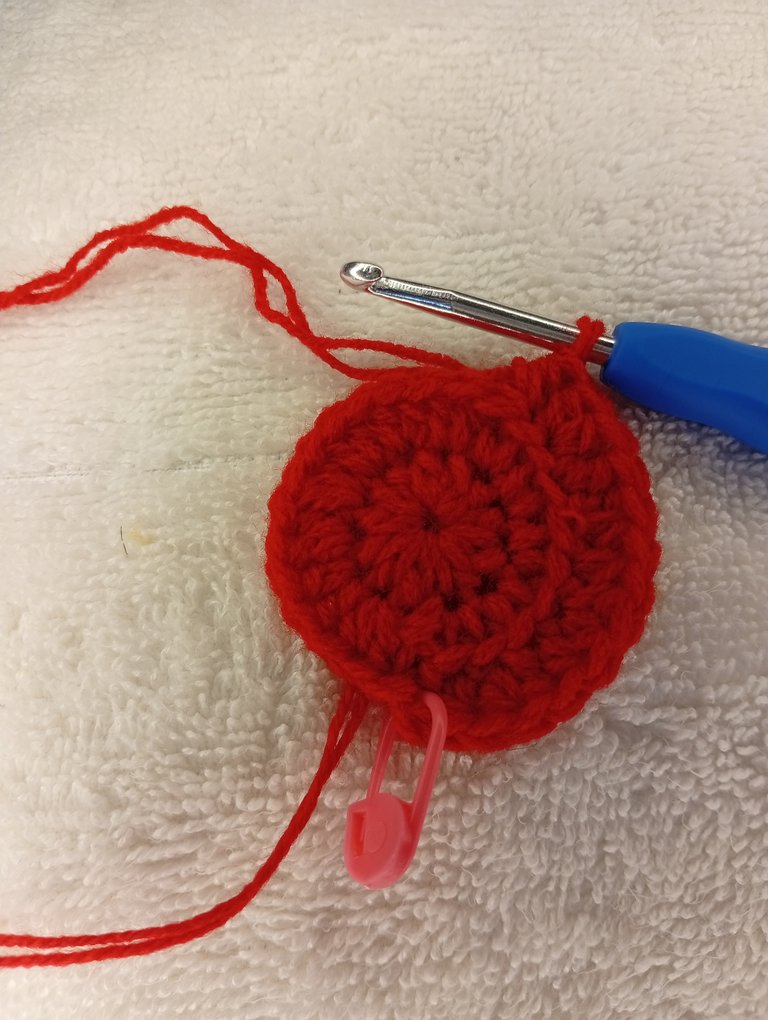
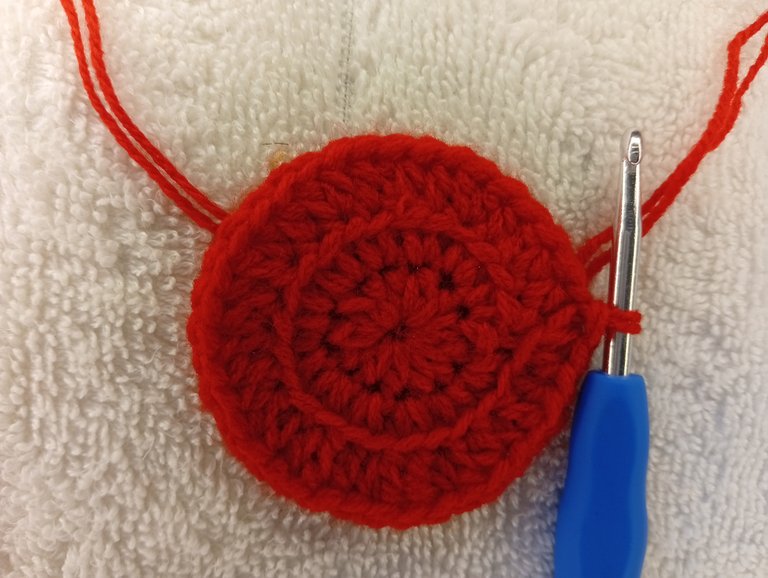
STEP 4:For row 4, I chain up 1, into the first 2 stitch, I place 1 half double crochet in each. In the next stitch, I place 2 half double crochet.
I continue with 1 half double crochet in 2 stitches each and 2 half double crochet in the next stitch all around that row. I slip stitch into the first half double crochet and that's the end of row 4.
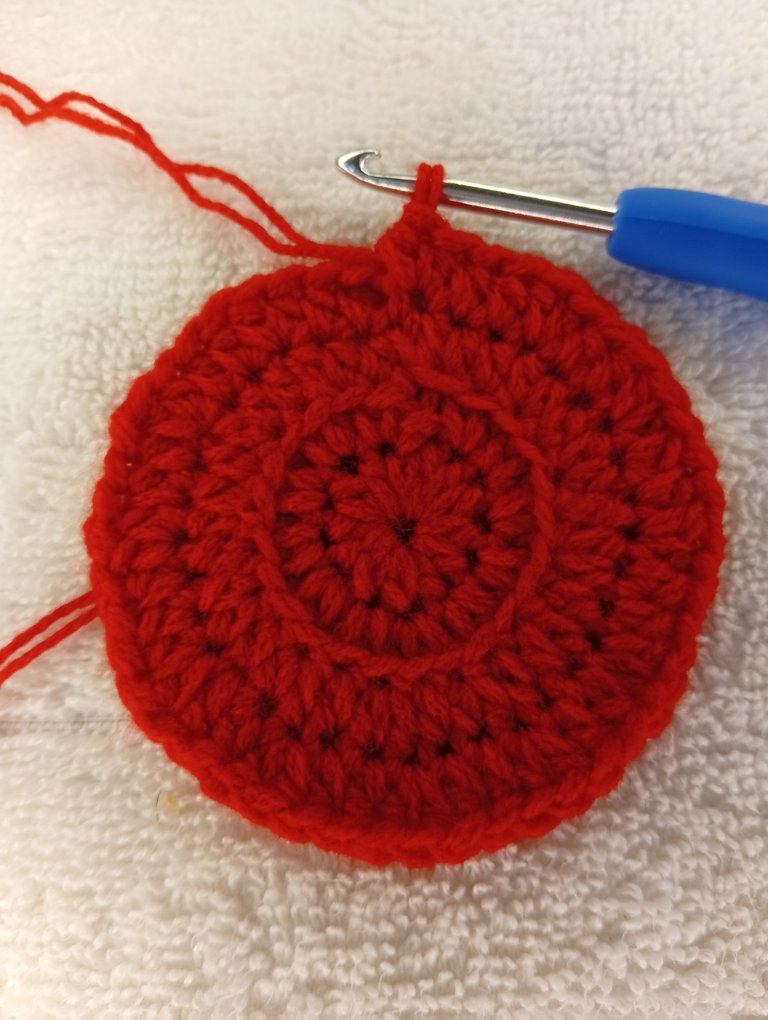
- In row 5 I repeat the same process but, I place 1 half double crochet in each of the first 3 Stitch. Then 2 half double crochet in the next stitch and I repeat that all around until the end of that row.
STEP 5: I change the colour of my yarn. I chain up 1, Into the first 4 stitches, I place 1 half double crochet in each of the stitch. In the next stitch, I place 2 half double crochet. I continue with 1 half double crochet in 4 stitches, and 2 half double crochet in the next stitch all around the row. I slip stitch into the first half double crochet and that's the end of row 6.
I change my colour of yarn, and begin row 7. In the first 7 stitches, I place 1 half double crochet in each and in the next stitch, I place 2 half double crochet. And i continue that until the end of row 7. Ending it with a slip stitch in the first half double crochet.
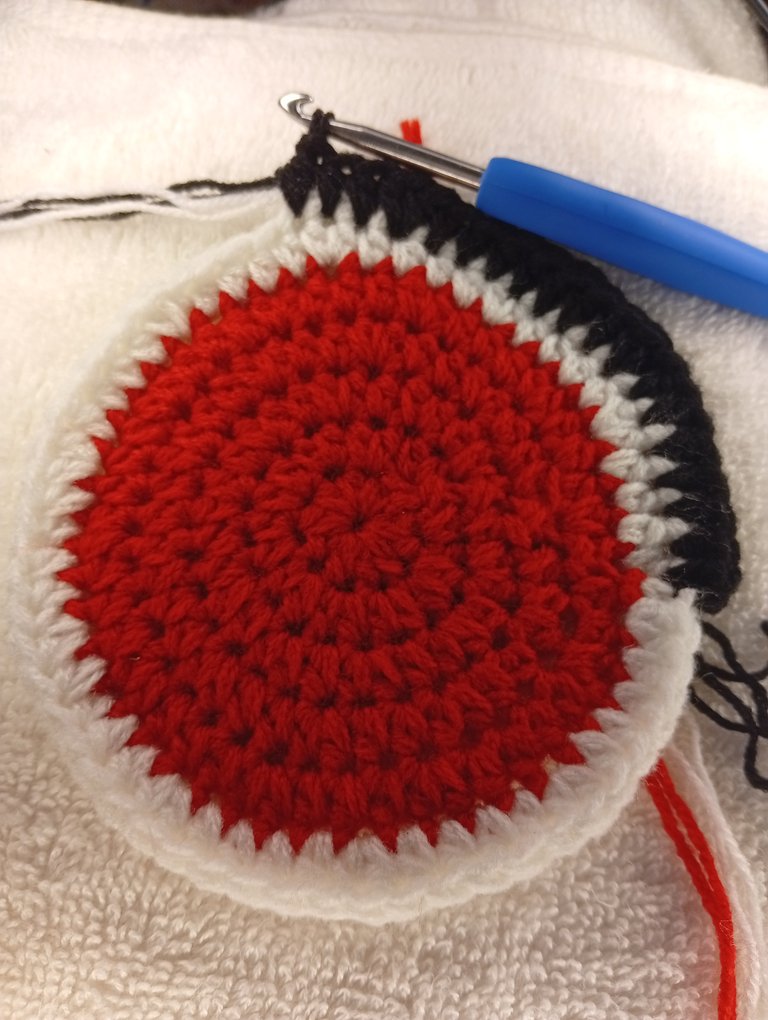
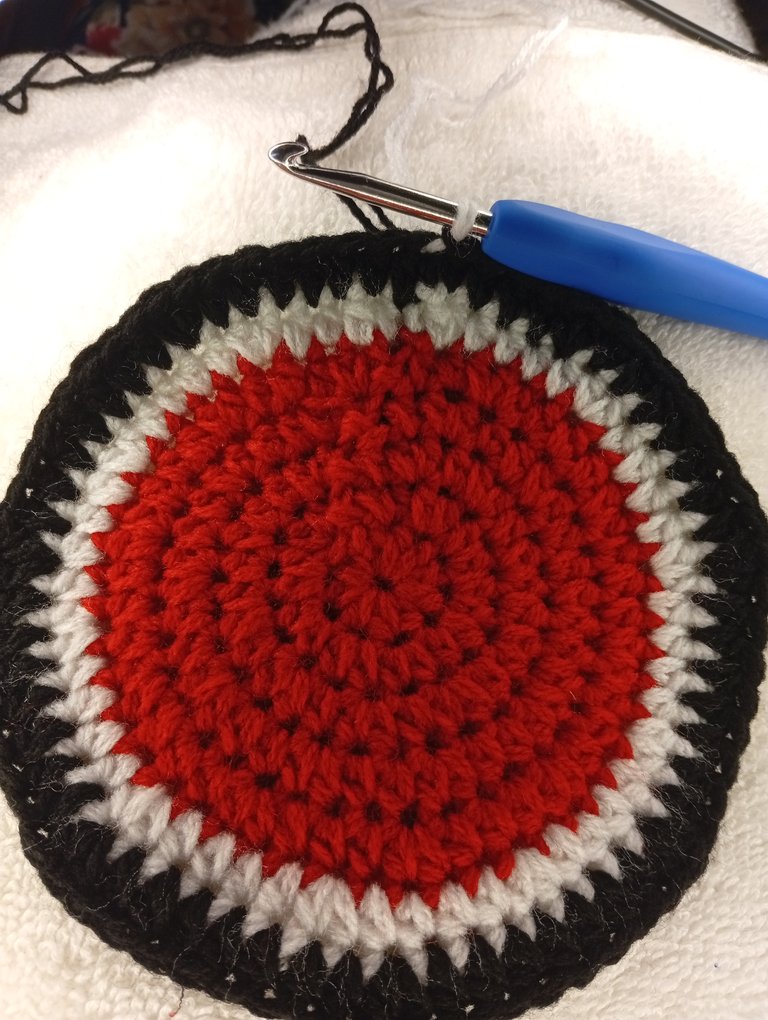
STEP 6: I change my yarn colour. For row 8 to 10, there will be no increase. So I place half double crochet in all of the stitches around then I slip stitch in the first half double crochet.
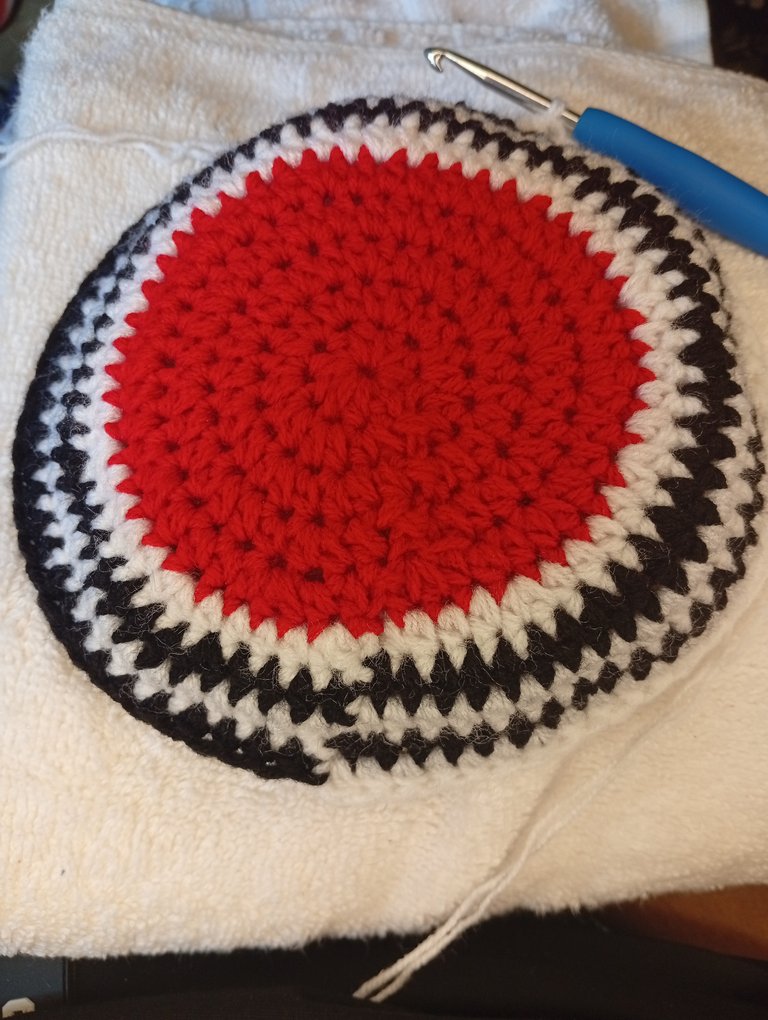
STEP 7:For row 11, I change my yarn to the main colour which is red. Then I place half double crochet in each of the first 8 stitches then in the next stitch, I place 2 half double crochet. In the next 6 stitches, I place half double in each, then in the next, I place 2 half double crochet. I continue to repeat half double crochet in 6 stitches and 2 half double crochet in the next stitch all around until the end of that row. And that's my last increase for this project.
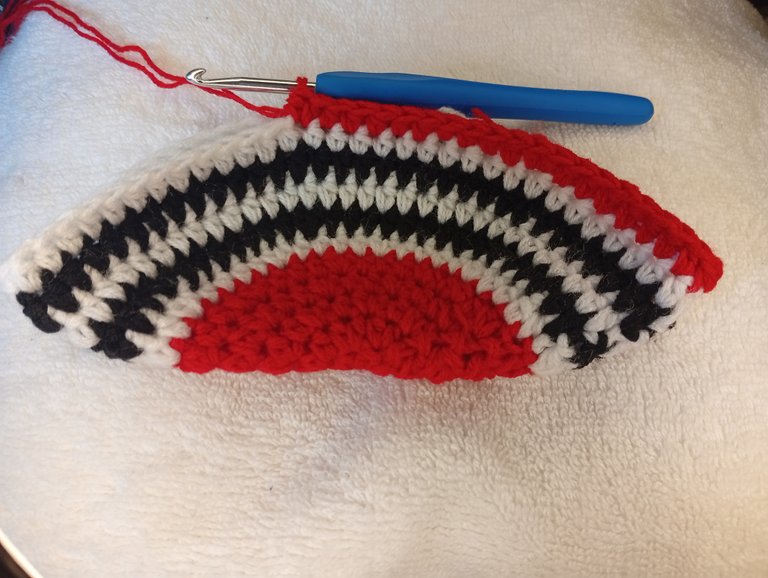
STEP 8:Row 12-14 is the same process as row 8-10.
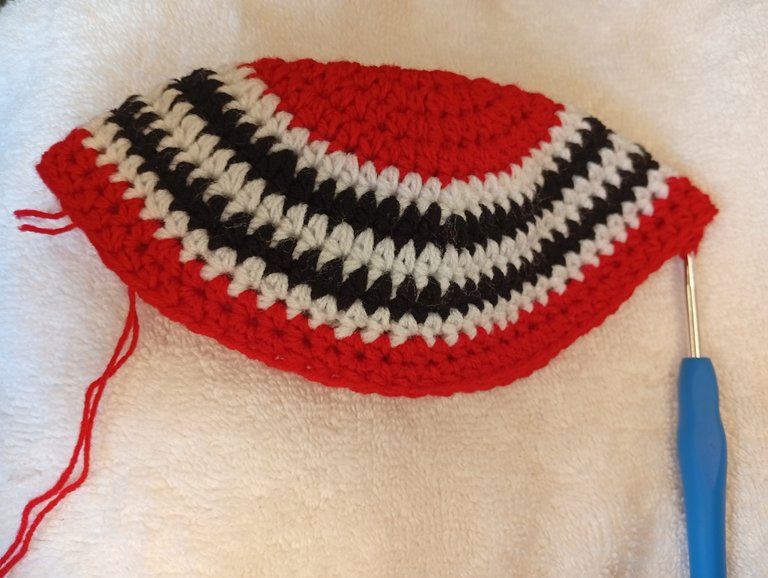
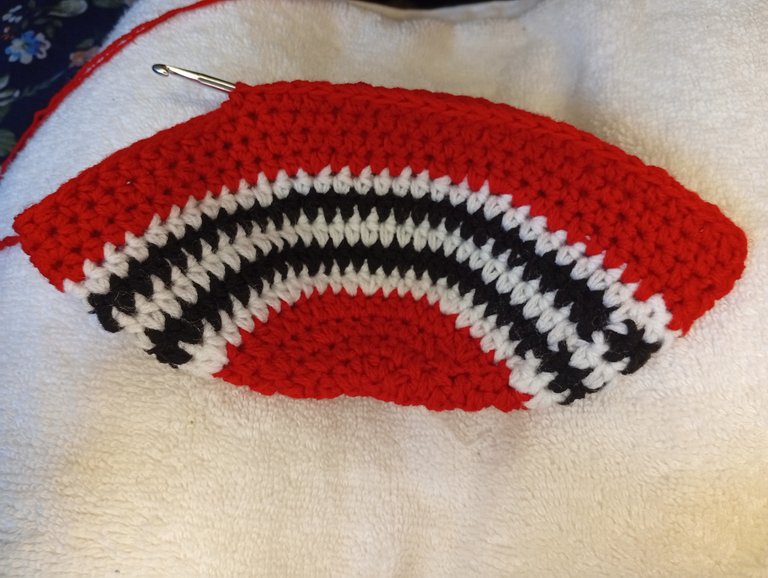
STEP 9: Then I continue the same process as row 8-10. But for row 15-19, I change my colour of yarn to black and white.
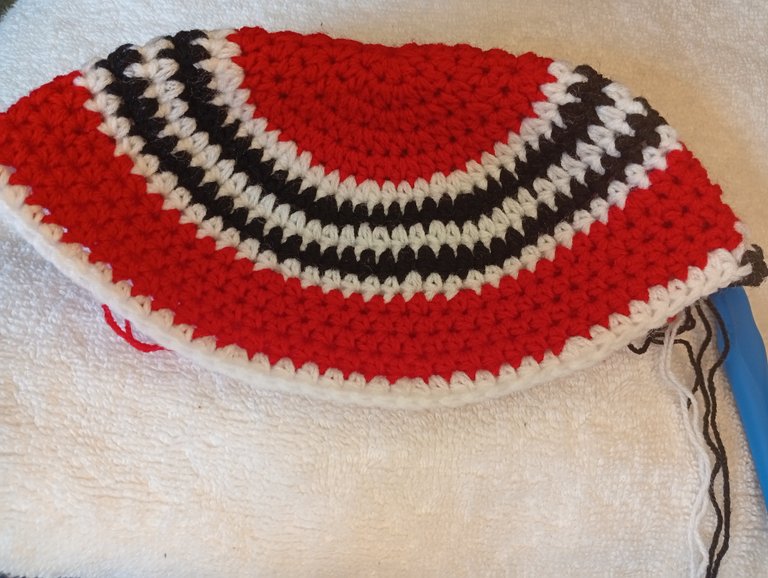
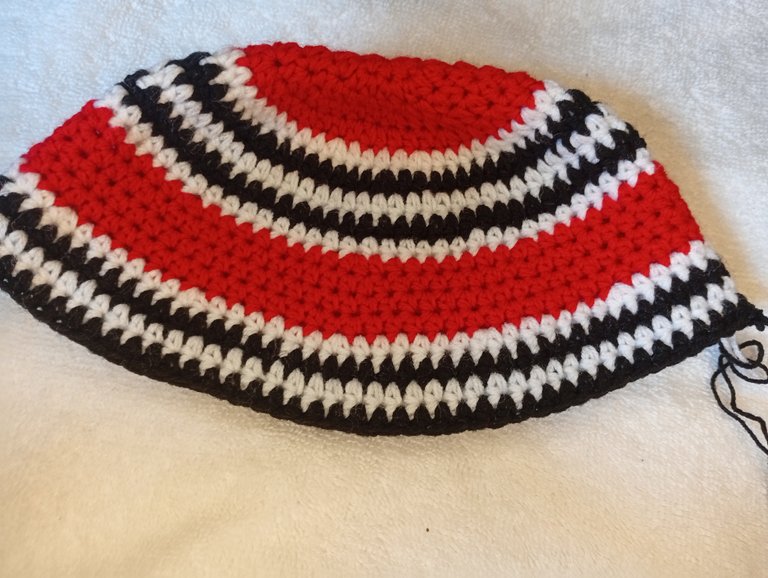
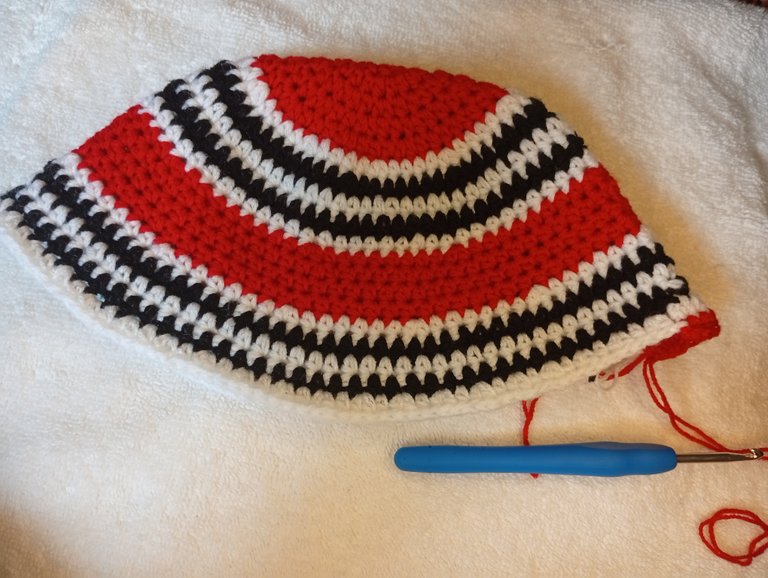
STEP 10:I continue the same process since there is no more increase,I continue with my rows until I have enough rows to fold.
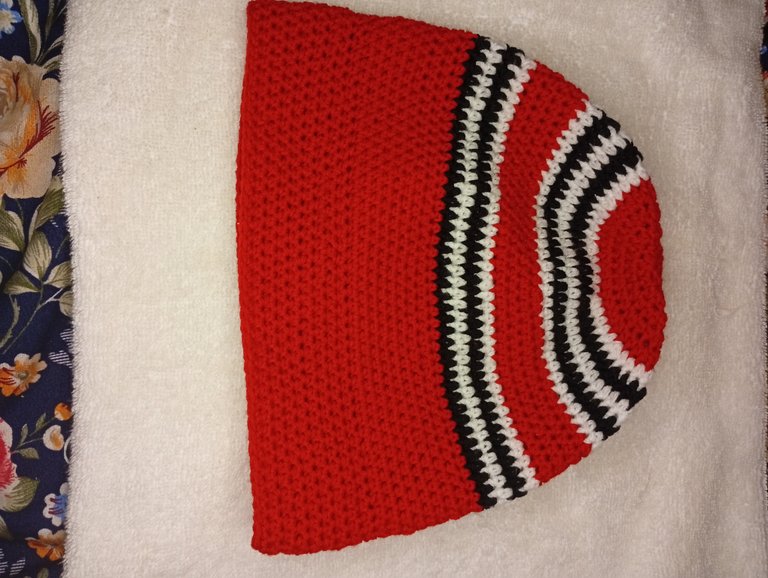
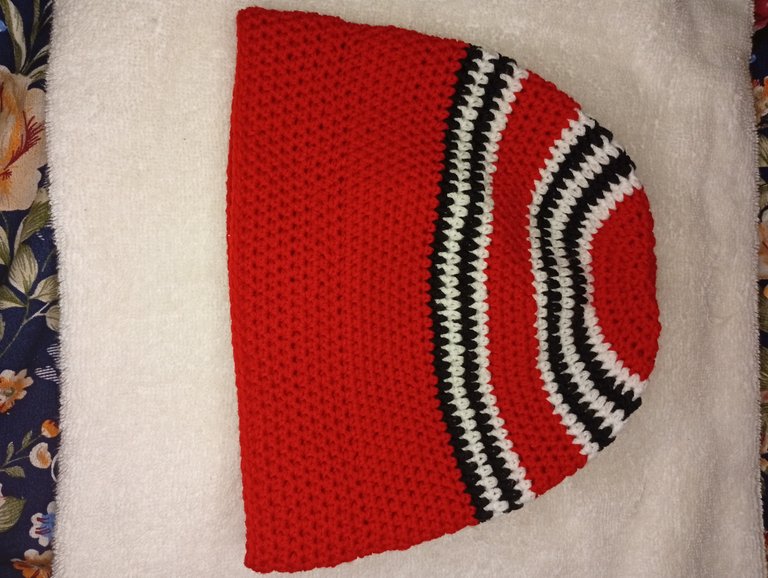
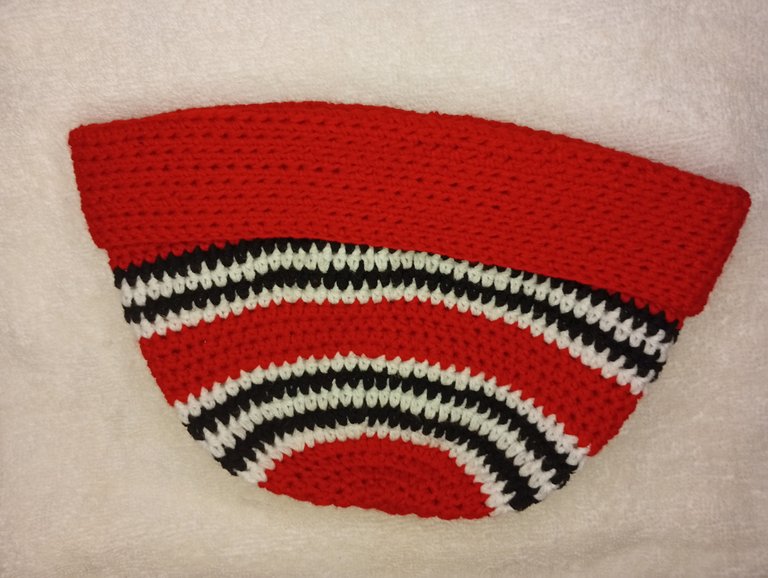
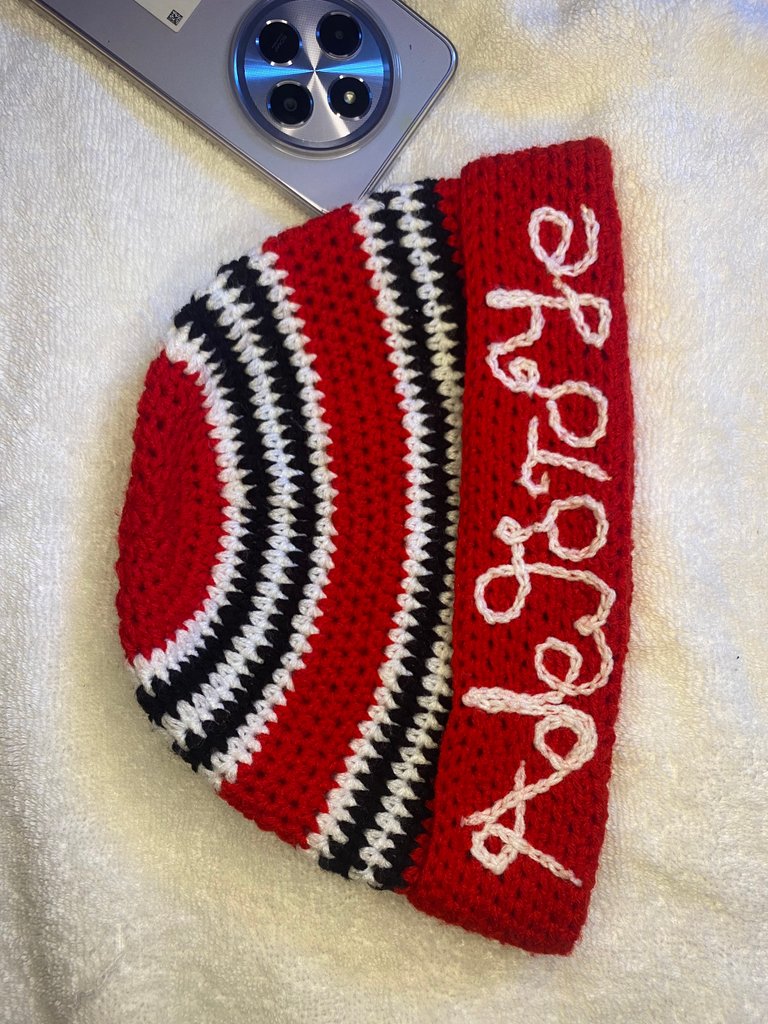
THIS IS HOW THE FRONT OF MY PROJECT IS LOOKING
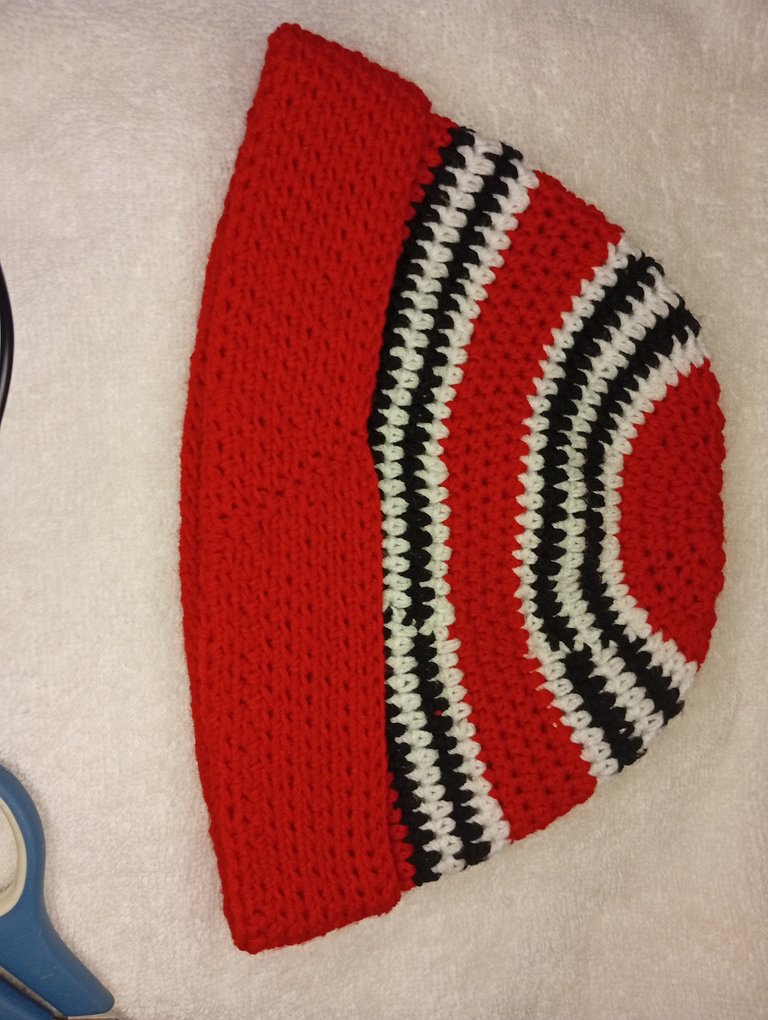
AND THIS IS THE BACK
My client requested his name to be customised on this project. NAME:"ADEGOROYE"
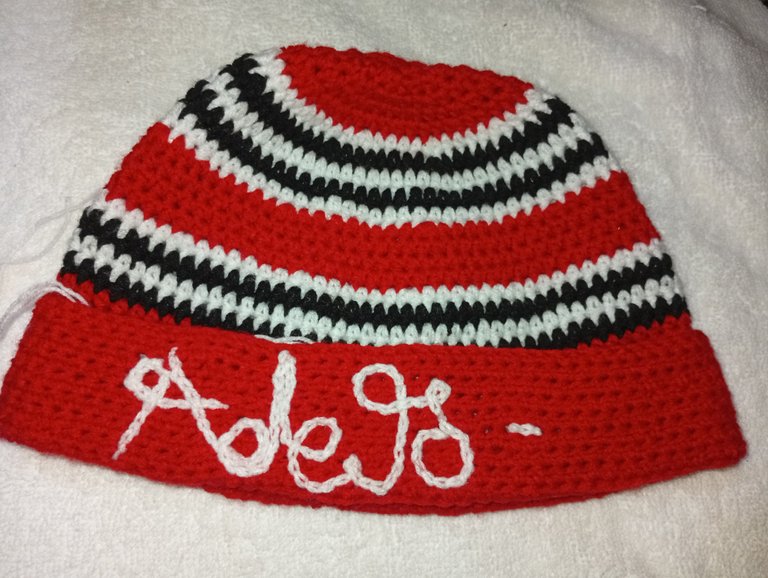
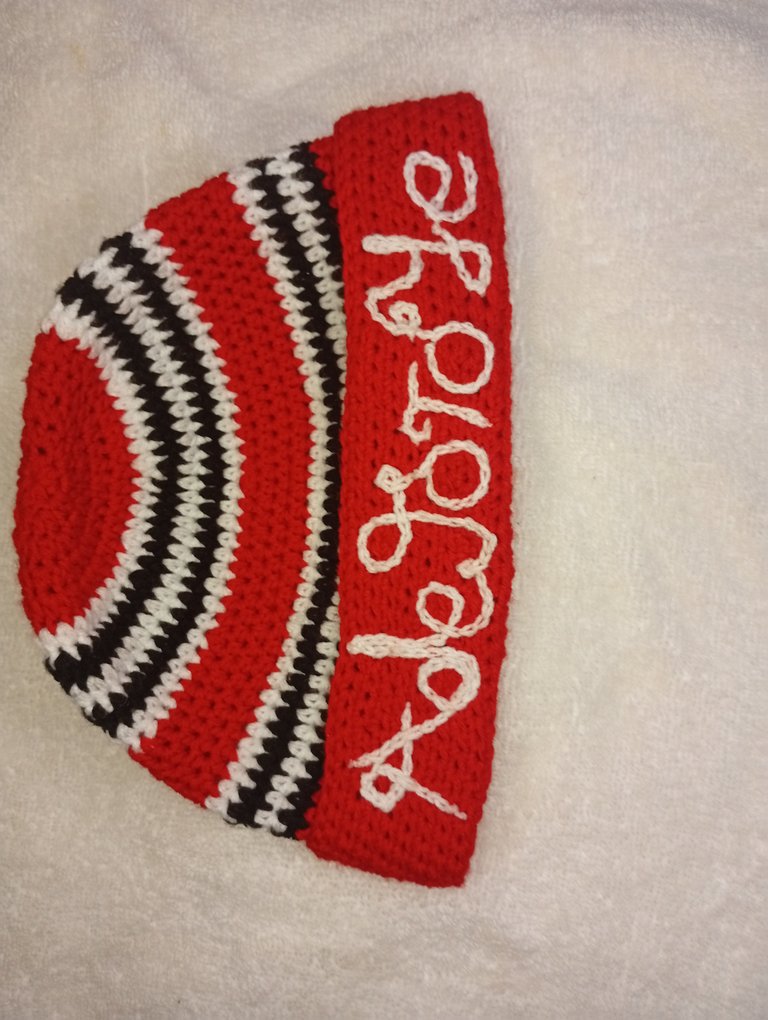
AND I HOPE I DID JUSTICE TO IT?
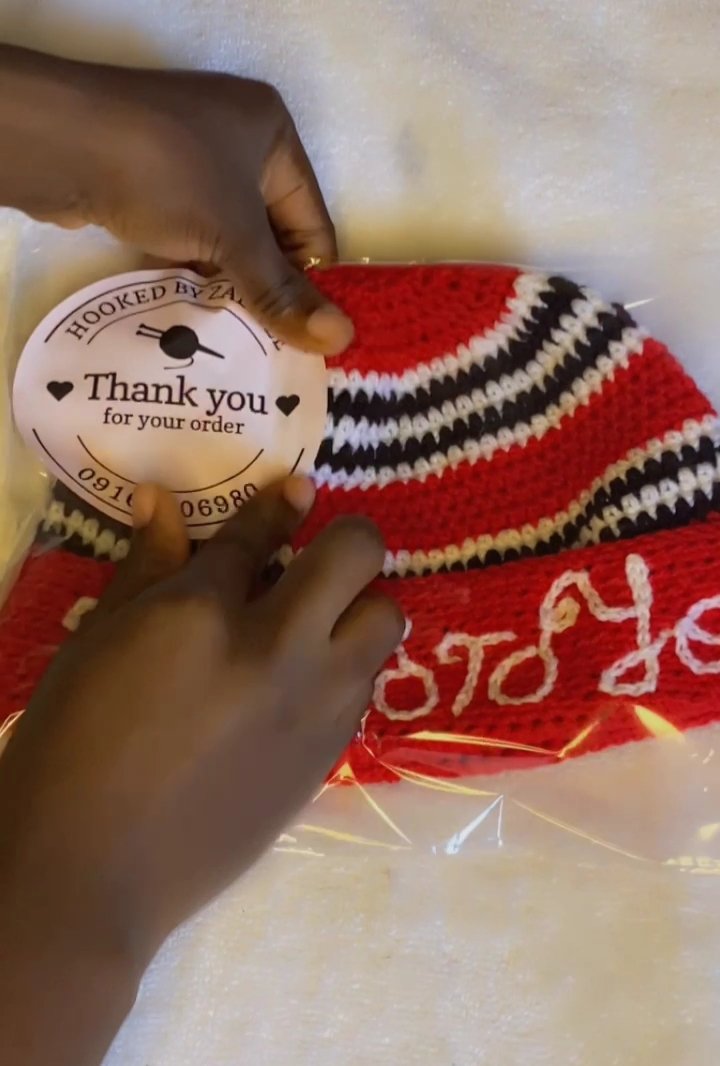
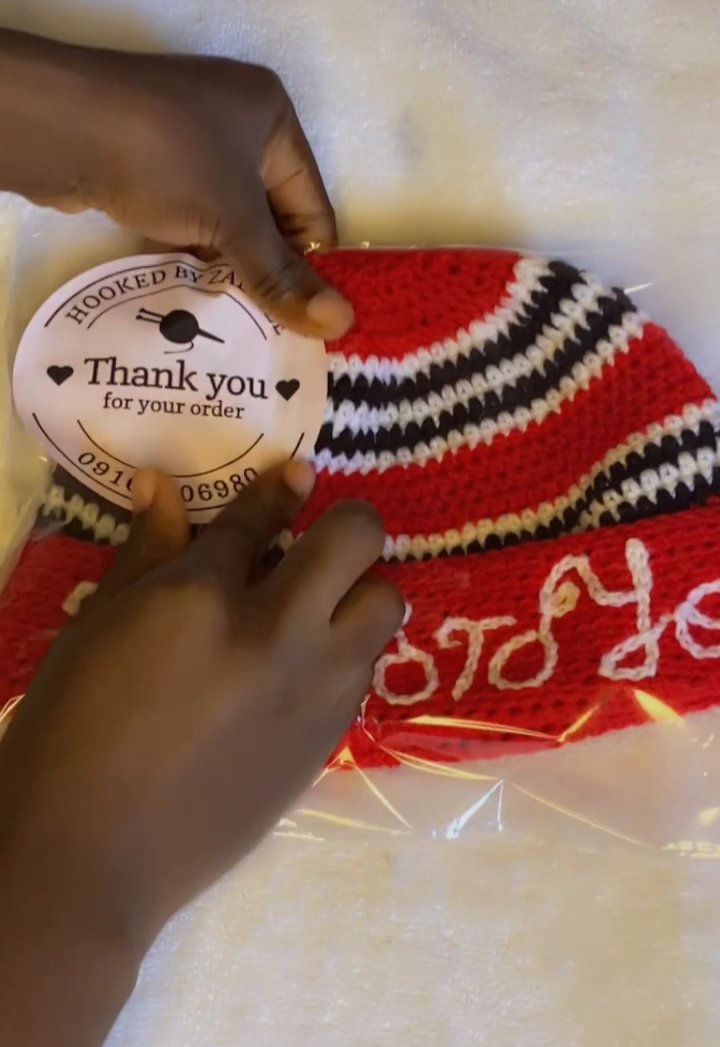
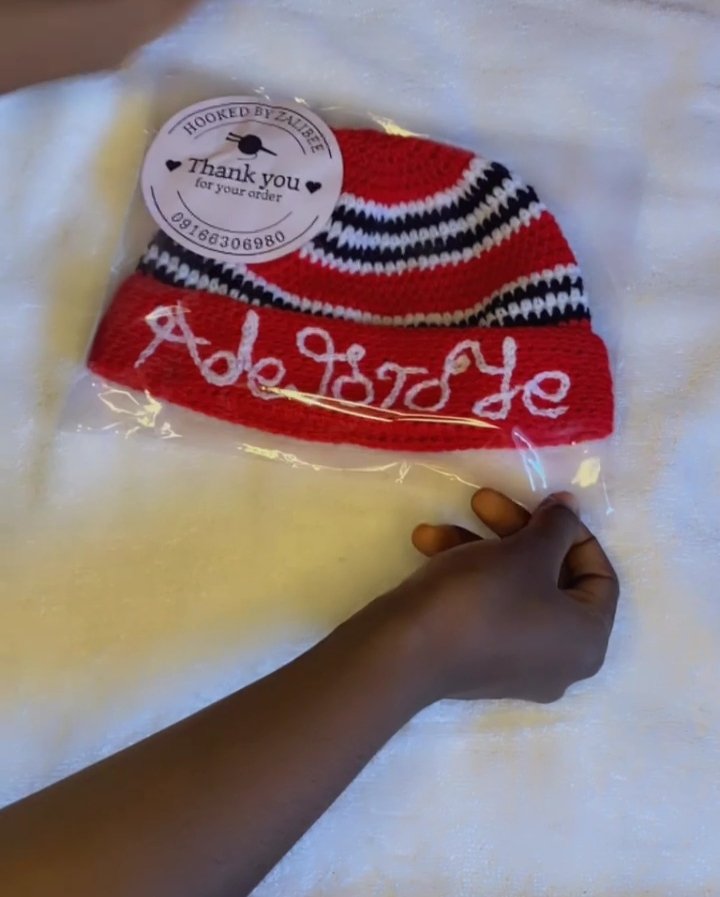
PACKAGING MY CLIENT'S ORDER
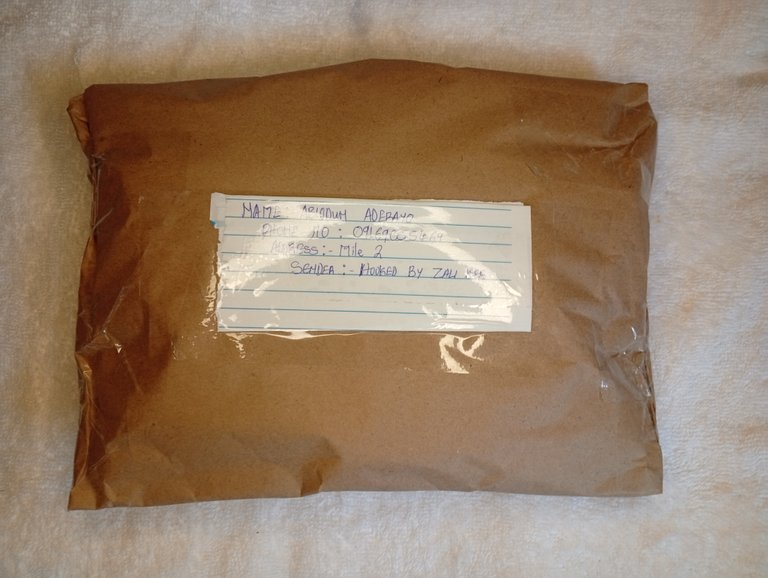
READY FOR DELIVERY
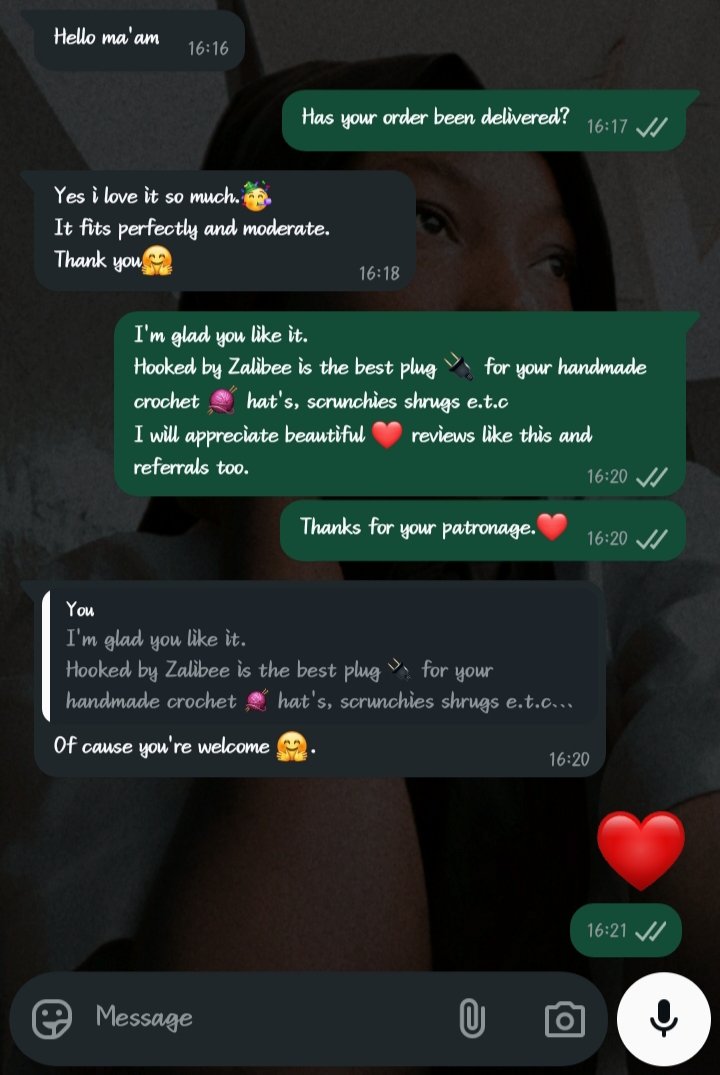
CUSTOMER'S REVIEW
We have come to the End of this project. I hope you all enjoy the guide. And thank you for passing by. Your opinion will be appreciated in the comment section.
See you soon.😎😘
ALL PICTURES ARE MINE.

Awwww, congratulations 👏🎉, my Lady, on your newly launched brand. Awesome beanie, I wish you great success as you continue to grow your business.
Thank you so much aunty @funshee.
I'm grateful 🥲😘.
You are welcome 🤗 anytime
View more
View or trade
LOHtokens.@zali.bee, You have received 1.0000 LOH for posting to Ladies of Hive.
We believe that you should be rewarded for the time and effort spent in creating articles. The goal is to encourage token holders to accumulate and hodl LOH tokens over a long period of time.
Thank you very much for your contributions to the Sam hangout fund.
Your work is top quality. Clean, and very cool. No surprise that your client really likes it. Nice work
selected by @stevenson7
Thank you 😌
This is really cool! Love it
😌😌 thank you so much. I'm glad you do.🥰
Congratulations @zali.bee! You have completed the following achievement on the Hive blockchain And have been rewarded with New badge(s)
Your next target is to reach 2000 upvotes.
You can view your badges on your board and compare yourself to others in the Ranking
If you no longer want to receive notifications, reply to this comment with the word
STOPThis is really unique, awesome and colourful
Thank you so much 🫠😍
que belleza, te quedo genial
what a beauty, it looked great on you
Thank you dear 😌😍
Wow, this is beautiful you know. Been a while I saw someone do crochet.
“Hooked by Zalibee”, that's a nice and unique one. Wish you the best in this endeavour of building your brand.
Thank you so much.🫠