DIY Shorts
Hello dear creative Hivers, I hope you are all having a lovely day wherever you are. Wishing everyone a great and productive week ahead.
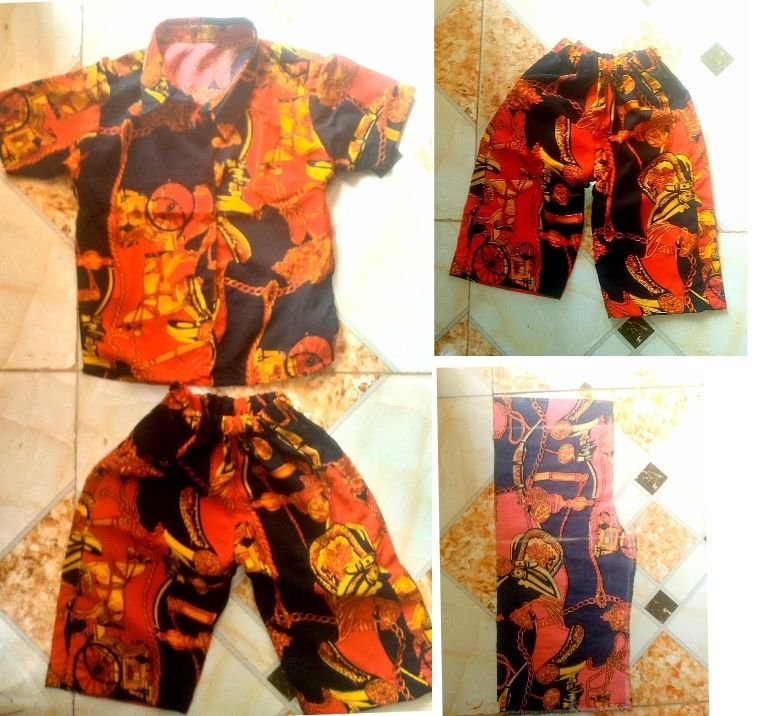
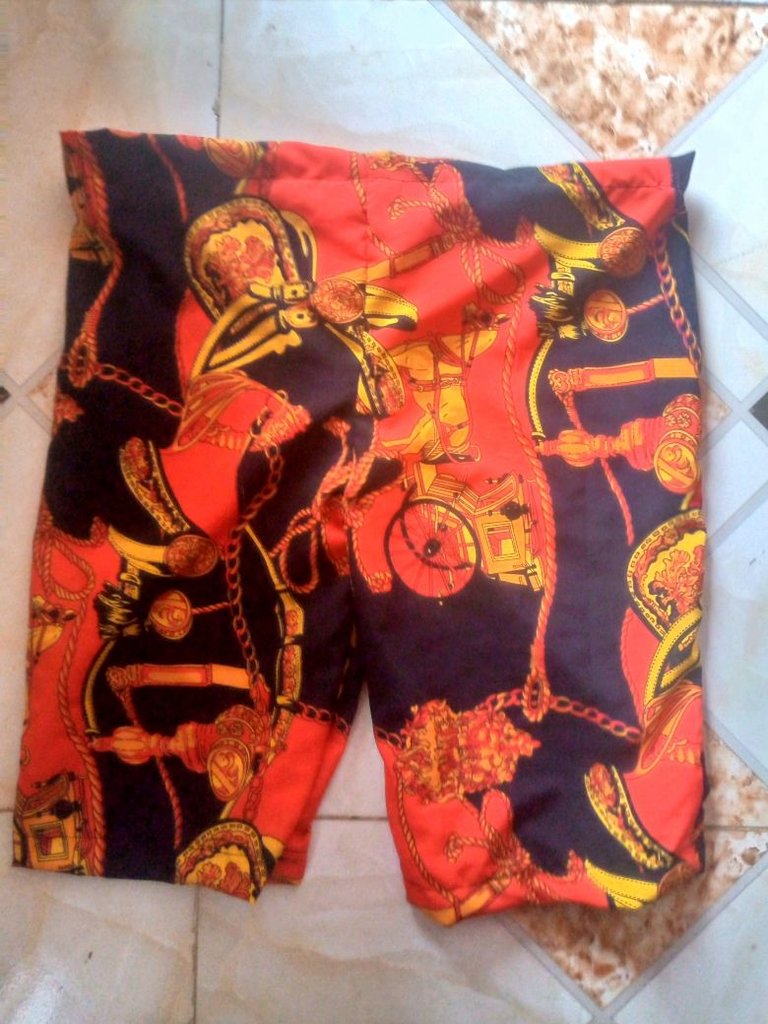
We've got very beautiful weather over here, a sunny and bright day, perfect to get the hands busy with some DIY project, but first, I will be sharing with you a recent sewing project I worked on, a shirt and shorts.
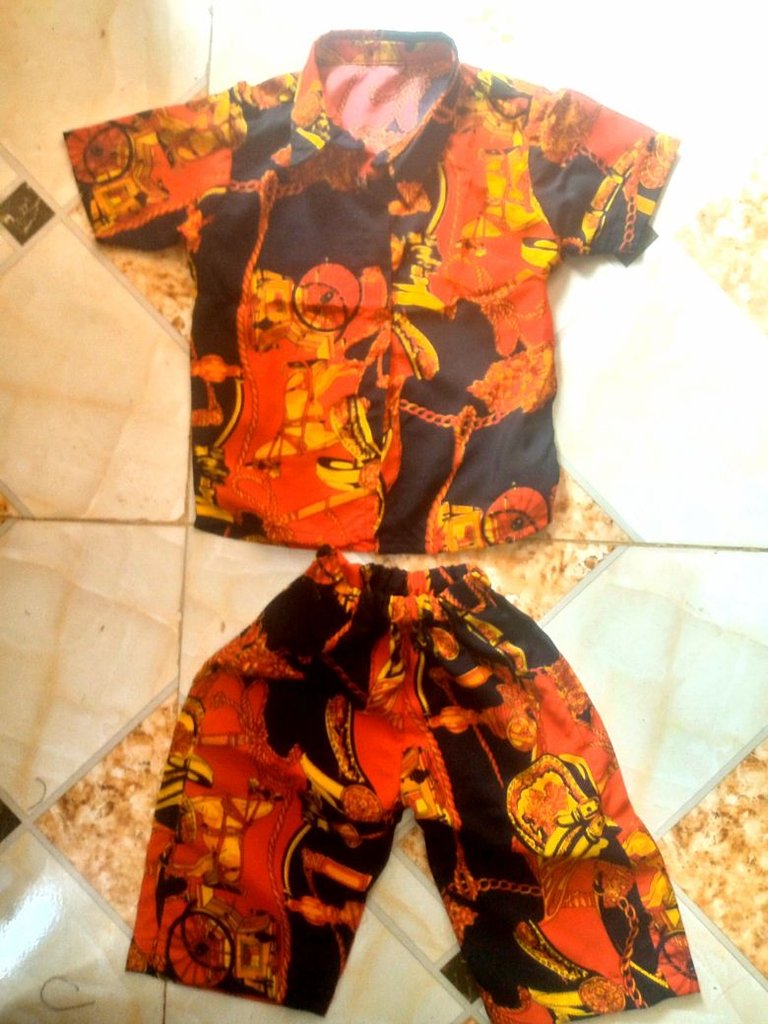
Today's DIY post, is about the short-making process for a little 8-year-old. Wanna check out how I made the shirt, you can check out
https://peakd.com/hive-153850/@glorydee/creative-sunday-diy-shirt
The short process I will be sharing can be copied to make your own shorts irrespective of your size, as both adults and children can wear shorts. Anyone with a little sewing knowledge can recreate theirs with the steps I will provide in this post.
So without further ado, let's get right into the making process.
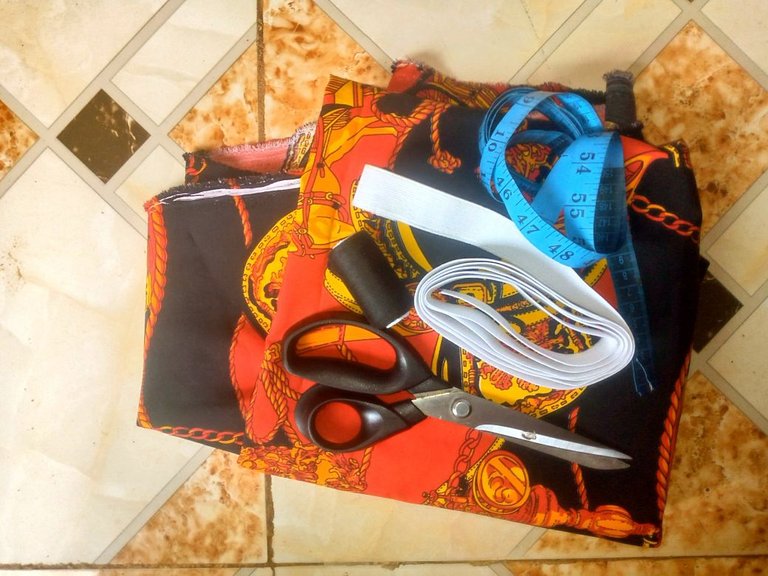
Materials Used
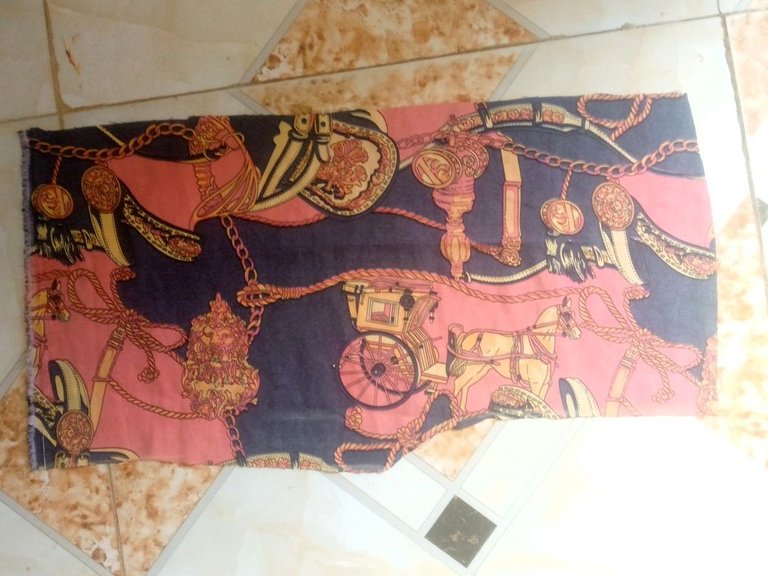
Soft crepe fabric
elastic band
Matching coloured thread
Cutting And Sewing Process
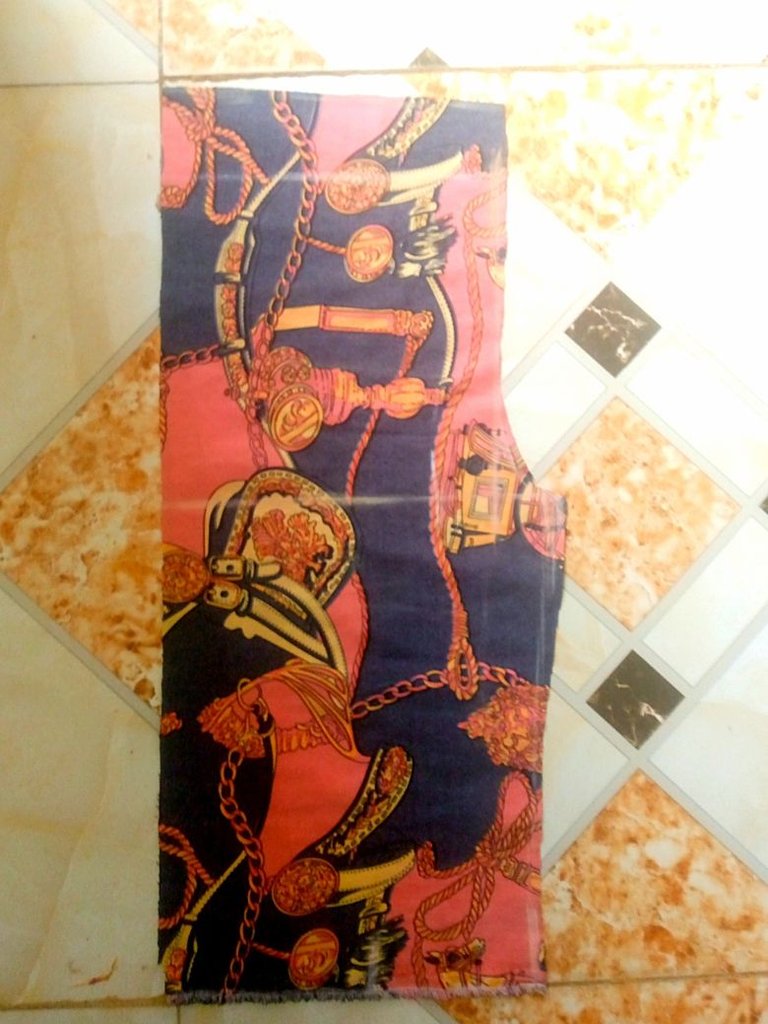
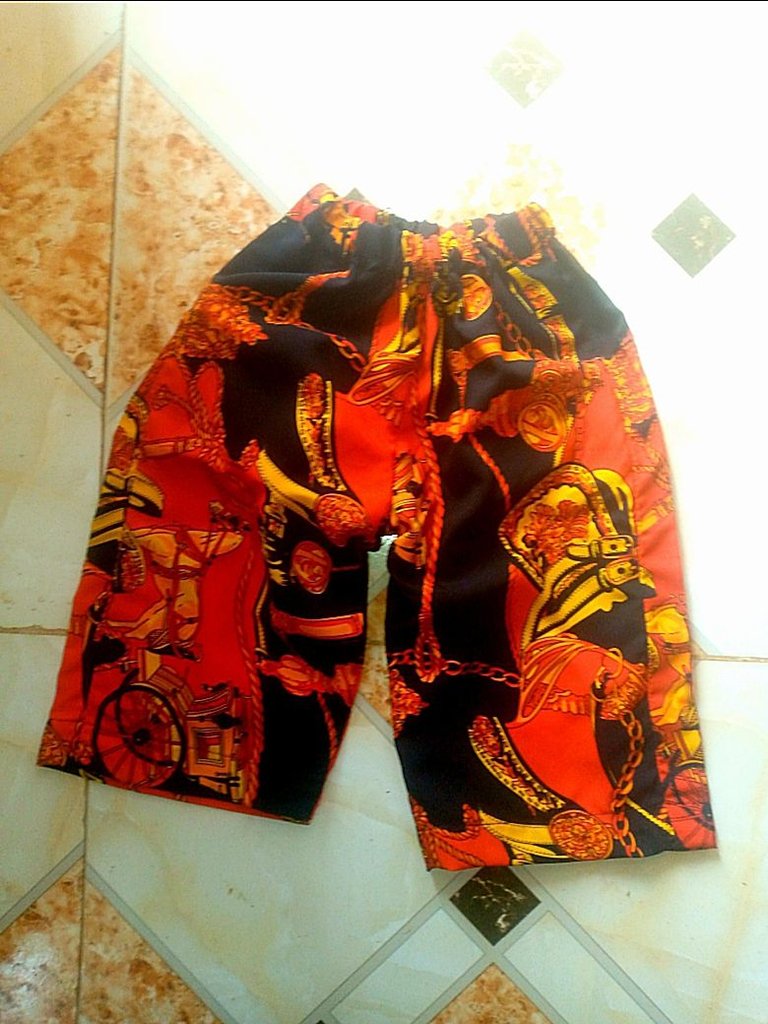
- I started by drafting the front part of the shorts, drafting the waist, hip crotch depth, and length of the shorts, which stop just above the knee for this little boy.
- Next, using the front cut-out pattern, I extended it by 2 inches to cut out the back pattern, the back short pattern is usually bigger than the front because this the where the seam allowance is, and also so it stays in the right position on the side.
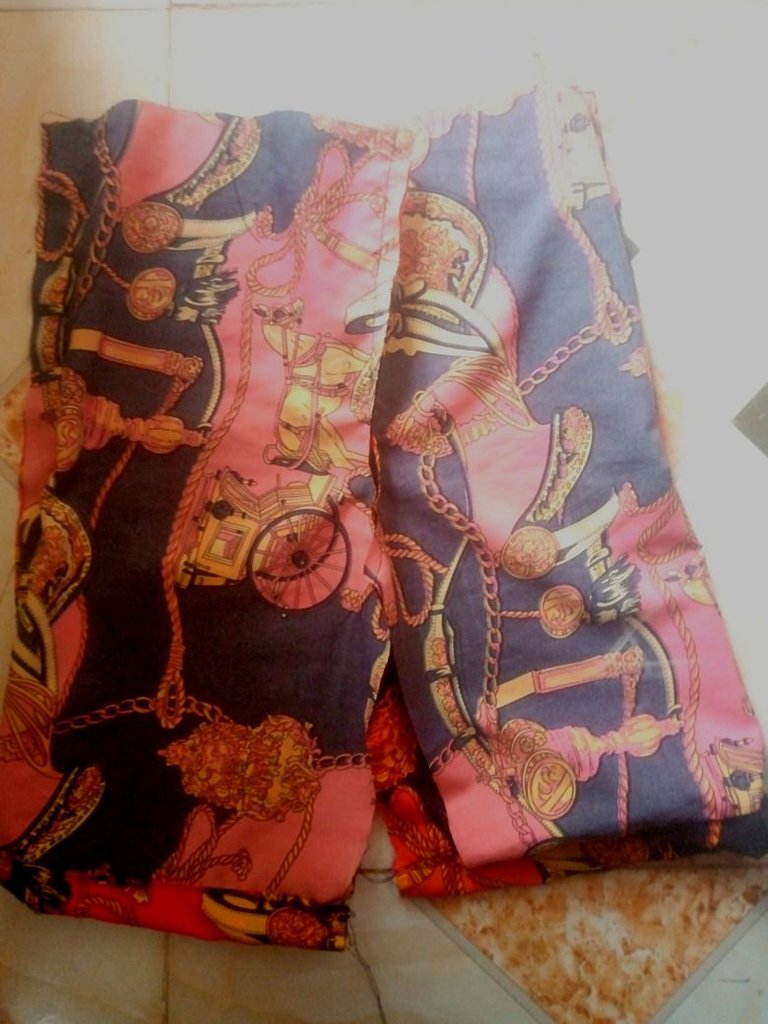
Continuing, I sewed the front and back crotch area as both the front and back patterns have two pattern pieces each.
Then I joined the sides of the shorts, using about one inch allowance on both sides
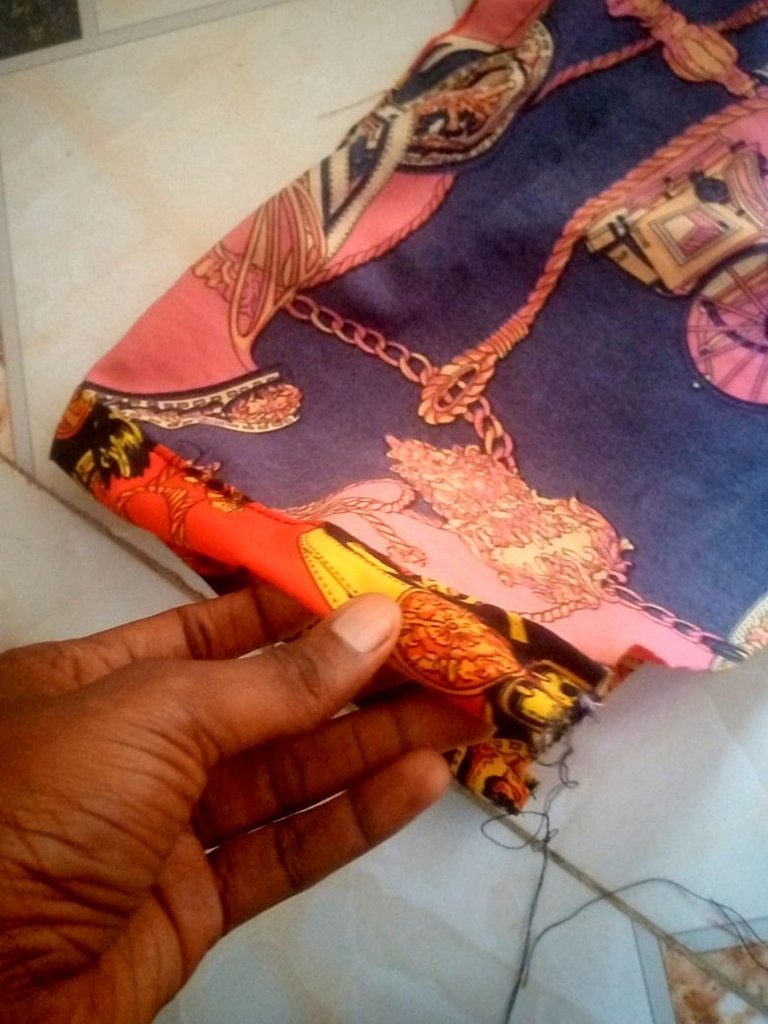
- It also folded the hem of the short shorts on both short legs.
- I also sewed the inseam area of the shorts.
- Then finally, I folded the waist, creating a case for the elastic, I passed the elastic band through it to gather and firm up the waist area.
And that completes the making process of this short.
I hope you found each step easy to follow, In case of further explanation, I will be more than happy to do so in the comment section.
All images used in this post are mine
View or trade
LOHtokens.@glorydee, You have received 1.0000 LOH for posting to Ladies of Hive.
We believe that you should be rewarded for the time and effort spent in creating articles. The goal is to encourage token holders to accumulate and hodl LOH tokens over a long period of time.
Thank you very much.
The short came out well
Thank you
The fabric looks so nice
And I guess this is just a perfect style for it
Like these shorts so colorful and cool 😎😎
Thank you
cool👍 the colors are striking and the motifs are also attractive, it is really suitable for children
It is nice and pretty good. Love its design. It looks fabulous. You did a fantastic job! Keep up the good work!
selected by @rezoanulvibes