A Learning Experience: From OpenSSL to a Python Certificate Generator
Hey everyone,
A recent announcement from Let's Encrypt about issuing their first certificate for an IP address sent me down a bit of a rabbit hole. For some reason, I had always assumed that TLS/SSL certificates had to be tied to a domain name. It turns out I was wrong, and it led to a fun learning experience.
The Basics: OpenSSL and SAN
After a bit of research, I learned that you can indeed create a certificate for an IP address by using a Subject Alternative Name (SAN) extension. The process involves creating a simple configuration file that specifies the IP address as an alternative name and then using the standard openssl command-line tool to generate the certificate.
A basic configuration might look something like this:
# example san.cnf
[req]
default_bits = 2048
prompt = no
x509_extensions = v3_req
distinguished_name = dn
req_extensions = v3_req
[dn]
countryName = XX
stateOrProvinceName = N/A
localityName = N/A
organizationName = Self-signed certificate
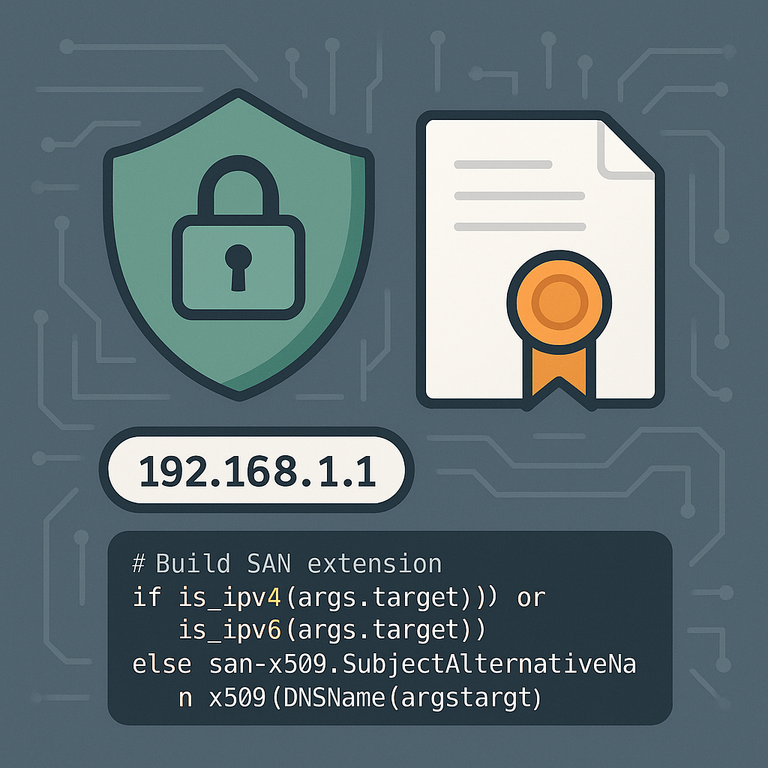
commonName = 192.168.1.1
[v3_req]
subjectAltName = @alts
[alts]
IP.1 = 192.168.1.1
You then feed this into openssl to generate your key and certificate files. It's straightforward, but also a bit manual.
openssl req -x509 -nodes -days 365 \
  -newkey rsa:2048 \
  -keyout self-signed-key.pem -out self-signed-cert.pem \
  -config san.cnf
Taking it Further with Python
Of course, I couldn't just stop there. This seemed like a perfect opportunity to build a more robust tool and really dig into Python's cryptography library. So, I created san.py, a command-line utility to make this process much easier.
My script automates the entire process and adds several features:
- It can generate certificates for IPv4, IPv6, or standard DNS hostnames.
- It supports both RSA and Elliptic Curve (EC) key generation.
- It includes options for setting certificate validity, specifying output directories, and more.
The core of the script uses the cryptography library to build the certificate programmatically, which was a great way to learn how x509 certificates are constructed.
# Build SAN extension
if is_ipv4(args.target) or is_ipv6(args.target):
    san = x509.SubjectAlternativeName(
        [x509.IPAddress(ipaddress.ip_address(args.target))]
    )
else:
    san = x509.SubjectAlternativeName([x509.DNSName(args.target)])

certificate = build_certificate(private_key, san, args.days, args.target)
You can find the full script and usage instructions on my GitHub Gist: https://gist.github.com/TheCrazyGM/7a90b038be0da792d8f27f3abd3b2145
Why Bother with IP Certificates?
You might be wondering why you'd want to self-sign a certificate for an IP address. It's actually quite useful for internal and non-public services:
- Securing Inter-Service Communication: You can encrypt traffic between two servers on a private network (like a database and a web server) without needing to set up internal DNS.
- Development Environments: It's perfect for enabling HTTPS on local development servers, allowing you to test features that require a secure context in an environment that mimics production more closely.
- Securing Internal Dashboards: For internal monitoring tools or dashboards that are only accessible via IP address, this provides a quick and easy way to encrypt the connection.
This was a fun project that started with a simple "I didn't know you could do that!" moment. It's a great reminder that there's always something new to learn.
As always,
Michael Garcia a.k.a. TheCrazyGM
I love how you build tools on the fly as you learn and integrate new understanding, very cool. I like the potential applications of this, especially encrypted communication on an internal network. Thanks for sharing your adventure! 😁 🙏 💚 ✨ 🤙