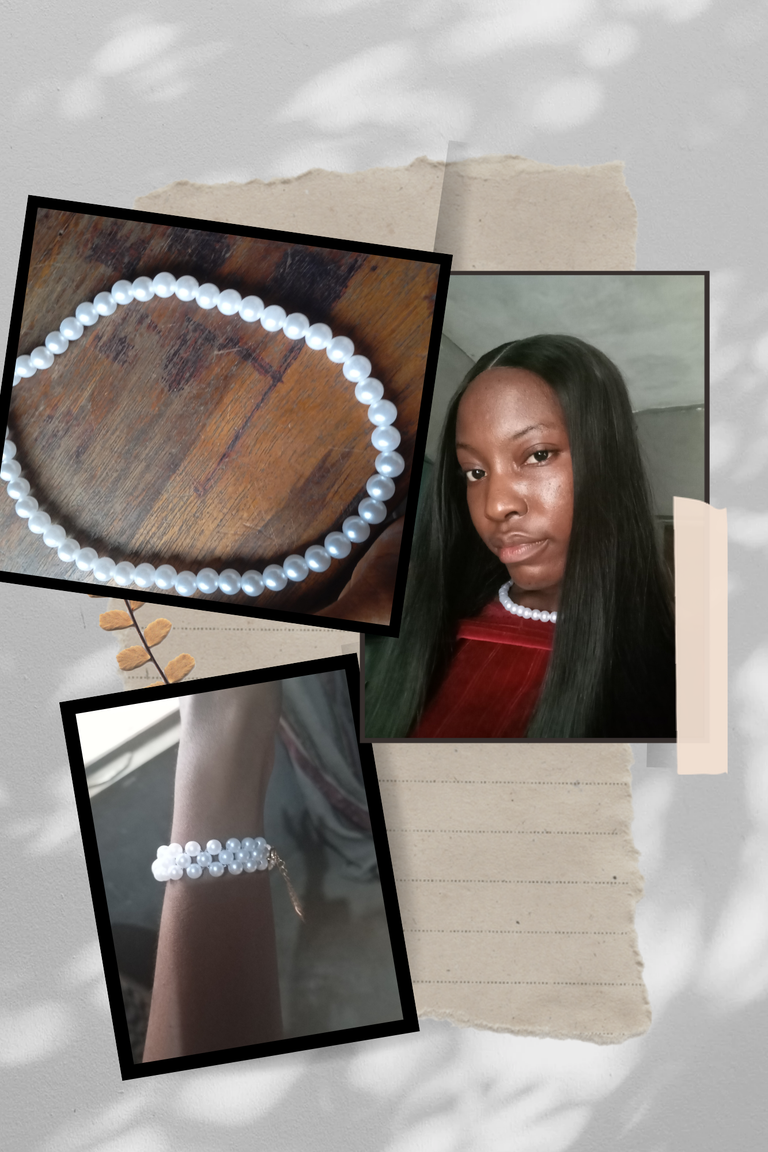
Simple and elegant pearl necklace
Hello, welcome to my blog. I will like to share how I made this DIY bead necklace and bangle.
Materials
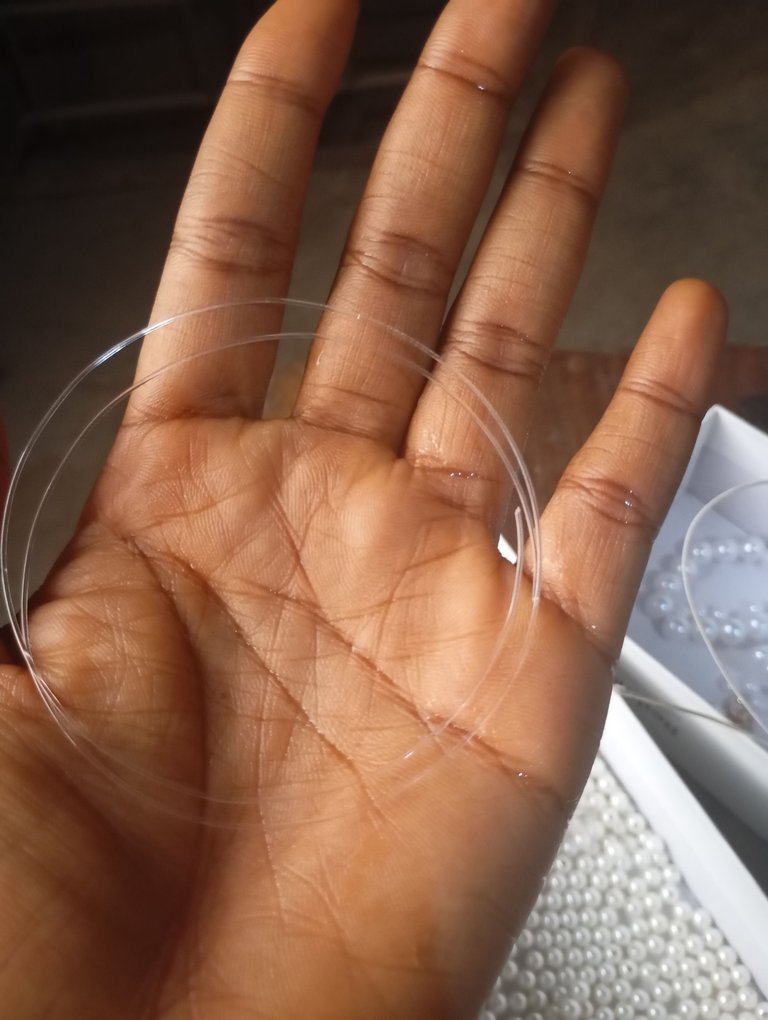
• 0.7mm fishing line
• Scissors
• Stopper
• Hook
• 6 mm pearl beads
• 8 mm pearl beads
Procedure
- For the necklace I will be using 8 mm pearl bead, I cut out a minimum amount of line, not too tight and not too free. I measure it round my neck.
- At the end of my line using my stopper I put my hook in place making sure it's tight enough to carry my bead. I begin to put my beads through the line. Occasionally checking round my neck if it suits perfectly.
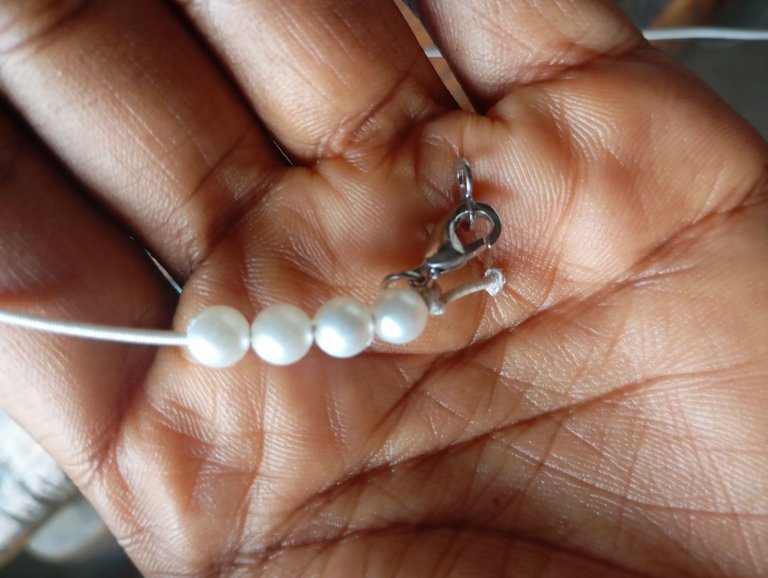
- I close the other end of my line with the end of my hook. I make sure it's tight enough so it won't easily cut. My pearl necklace is ready to to be rocked and it can go with beautiful gowns for dinner or for service. One thing I love about this pearl necklace it is easy to make and it looks classy and demure. Stands out whenever it's rocked and makes you look elegant.
Without further ado let's drive into the bangle.
I will be using 6 mm pearl bead and one 8 mm pearl bead.
Procedure
- I cut out the length of fishing line I will be using. The hook for my bangle is different from the one I used from the necklace.
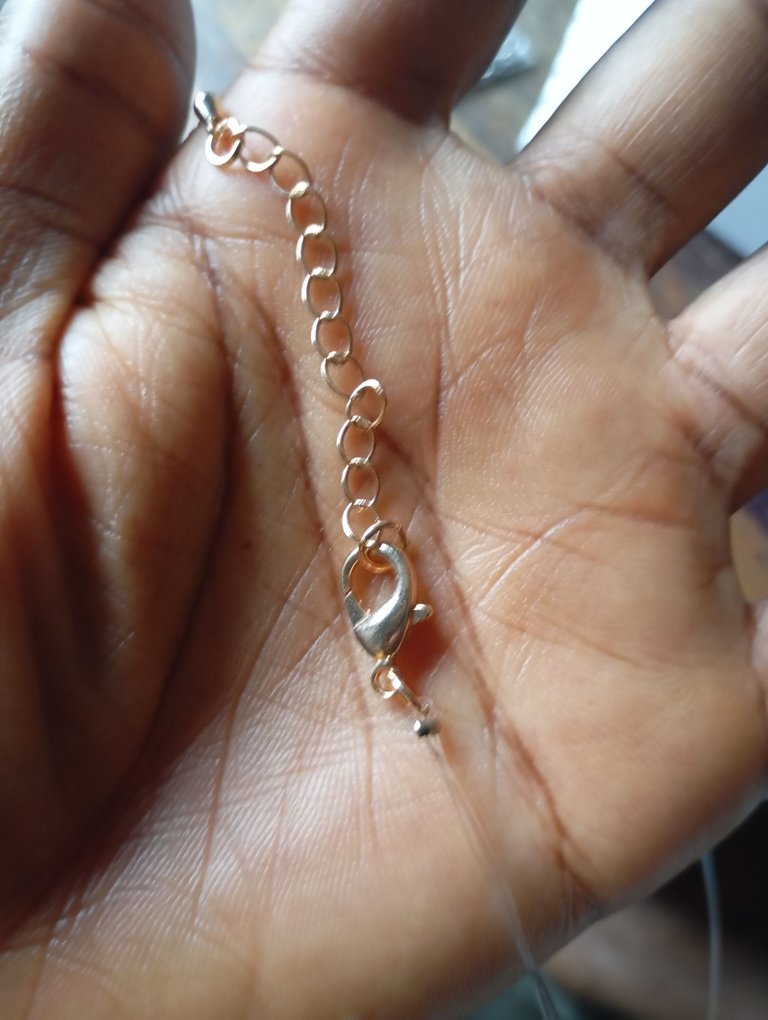
I will be using this kind of hook so I could easily adjust anytime I want to. Anyone with a bigger wrist than mine can actually try it on and it will fit perfectly.
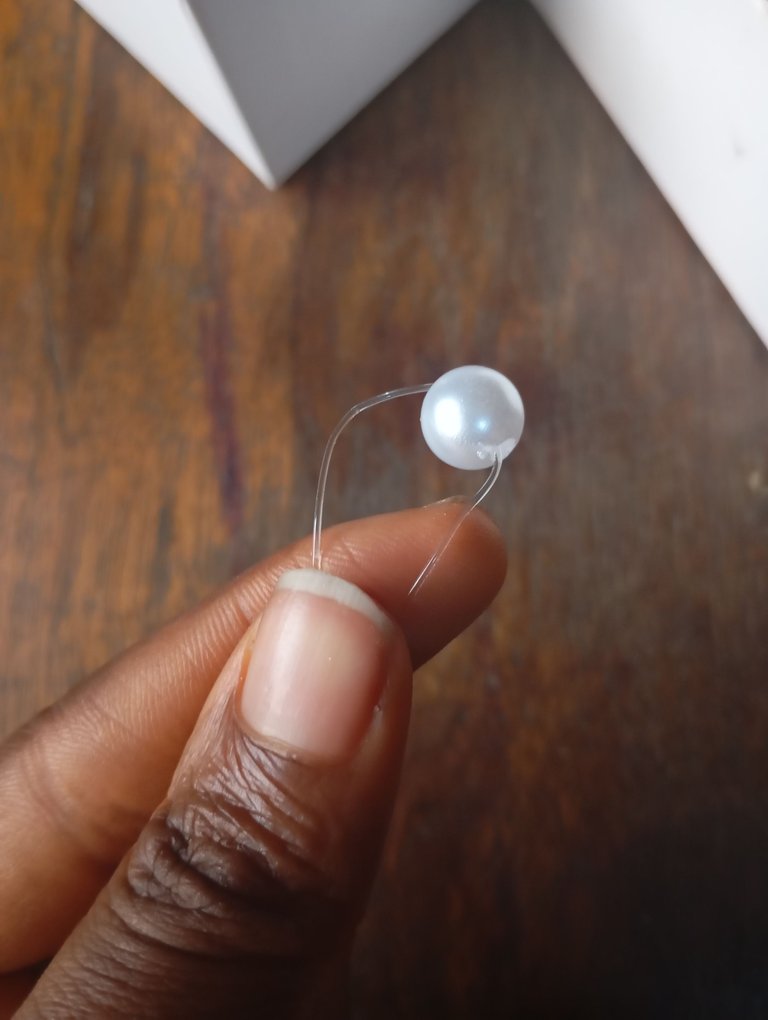
- I put my 8 mm pearl bead to my line
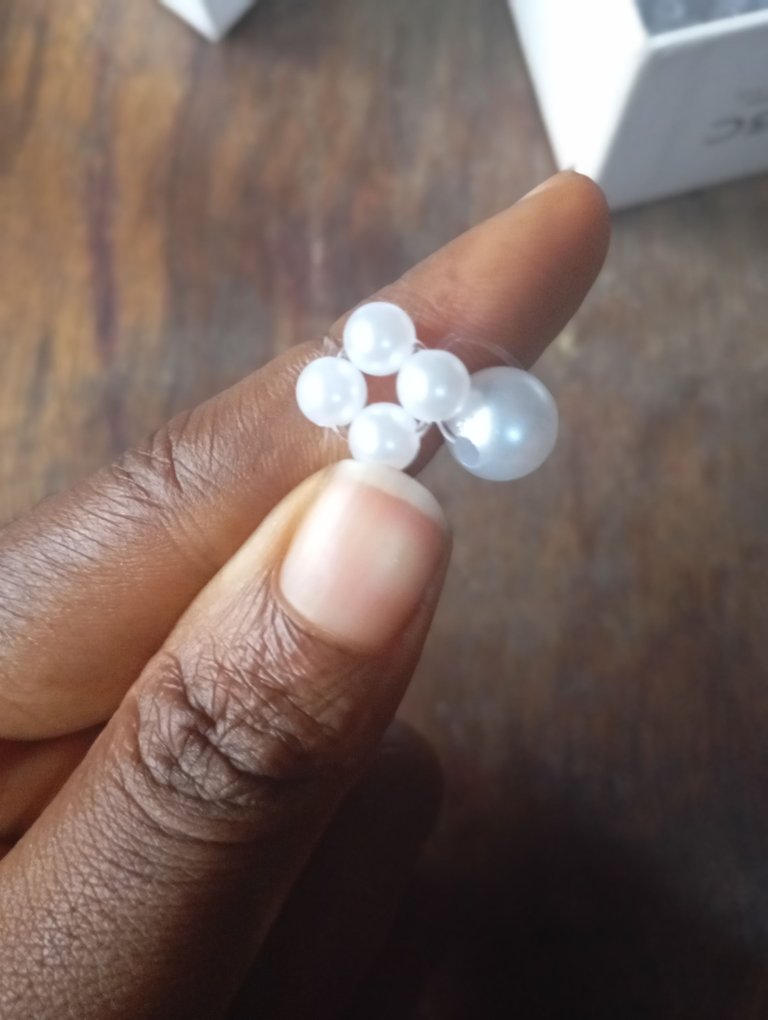
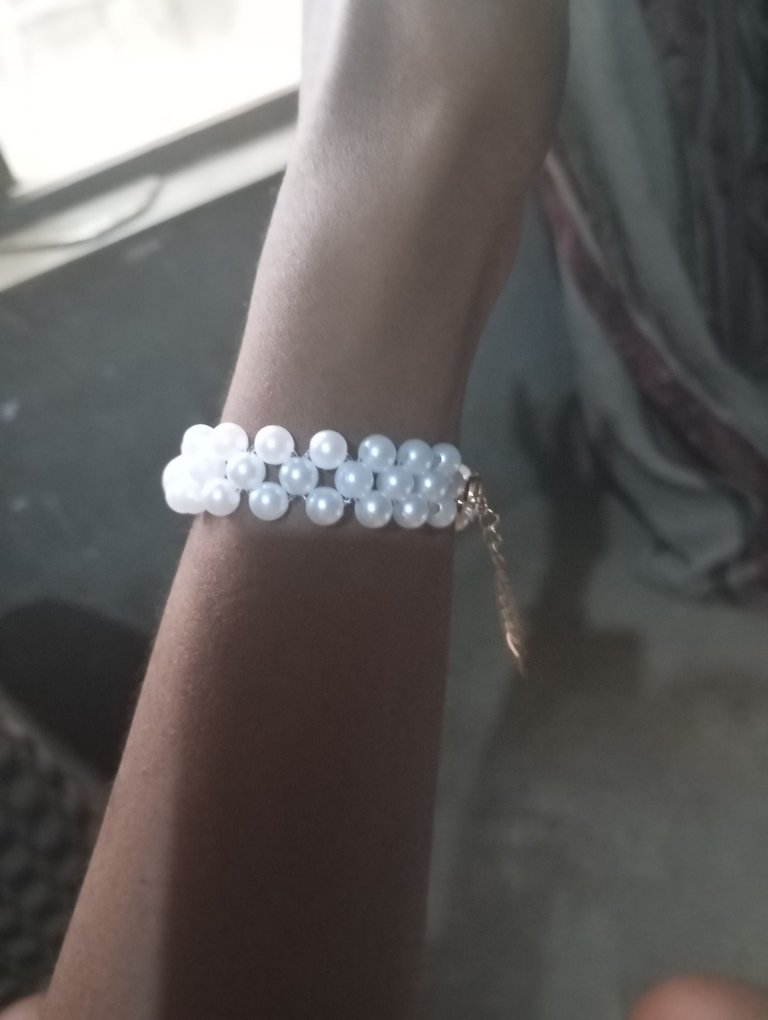
3 I cross over my both lines with a 6 mm pearl bead. On my left line I add one 6 mm pearl bead. On my right line I add 6 mm pearl bead. Cross over my both lines with another 6 mm pearl bead forming this beautiful flower design.
- I build up my line with the bead just the same way. On my left line 6 mm pearl bead while in my right line 6 mm pearl bead then crossing over with another 6 mm pearl bead.
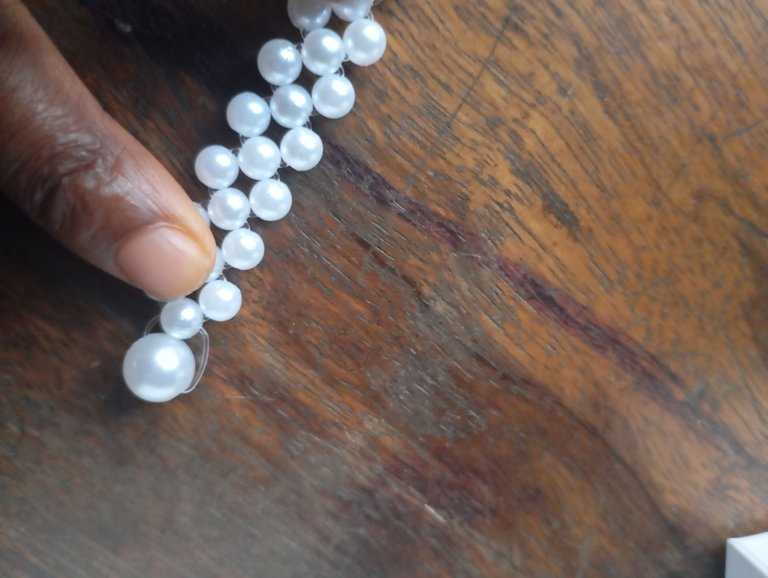
After building up the other end. I close up my line with a hook. Tightened it up and fixing a stopper at the end to make it more tight. I cut off my excess fishing line with my scissors before I begin the other end.
Cutting out another fishing line. I cross over with my 8 mm pearl bead and begin to build up using the previous procedure of crossing over with 6 mm pearl bead. On my left line I add 6 mm pearl bead, on my right line I add 6 mm pearl bead then cross over with 6 mm pearl bead to form a beautiful flower design.
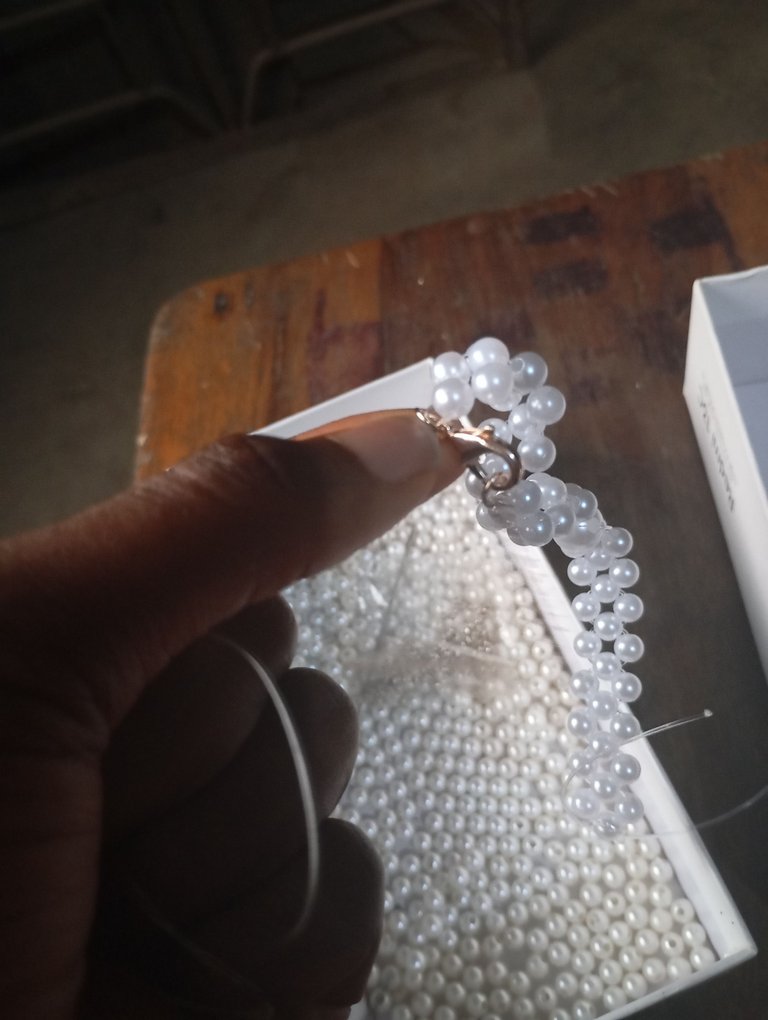
- I close up my line with a hook making sure it's tight enough and can't easily get loose. Fastening with a stopper and cut off excess with my scissors.
My pearl bead necklace and bangle are now ready to be rocked anytime any day.
Thank you for reading, will you be trying out this awesome piece?
Your pearl necklace is so beautiful and it looks really nice on you. You did a wonderful job. Well done.