Valentine Around The Corner // Beaded Heart Keychain ❣️
Hello, everyone 😊 I hope you are having a pleasant Sunday. Mine is being great and fun, and I'm here to share part of the fun with you. I have always wanted to make a beaded heart keychain. When I thought of what to share in today's #creativesunday, I thought of making two, one for my husband and one for me for the coming Valentine's. I decided to bead the heart now since I'm likely to be very busy in the coming weeks.
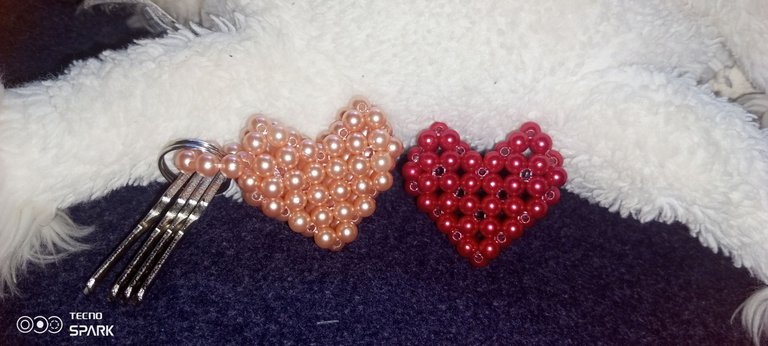
Making the heart shape is quite easy and fun; you can make one for yourself or for your friends. So come along and let me show you how.
Materials used:
I used pearl beads of size 4, fishline 0.5, And scissors.
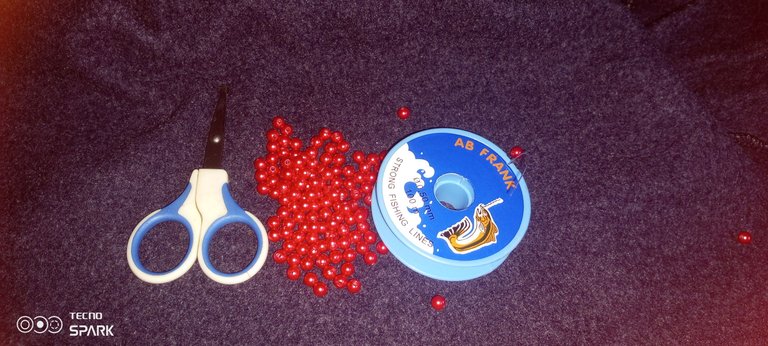
Step 1:
I put four beads on a 100 cm fishline and then crossed both lines with the fourth bead.
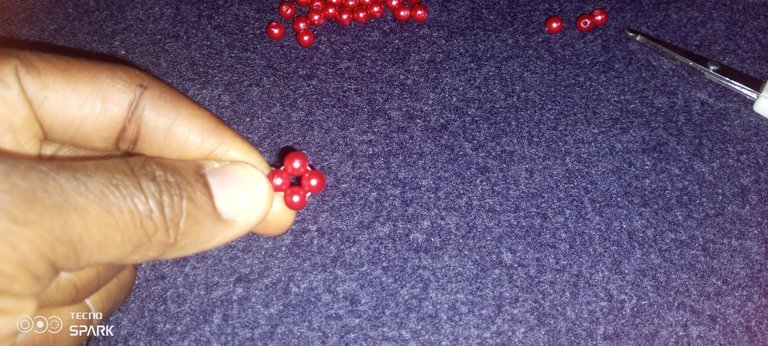
Step 2:
I put one bead on the left fishline and one bead on the right fishline and then crossed both lines with one bead.
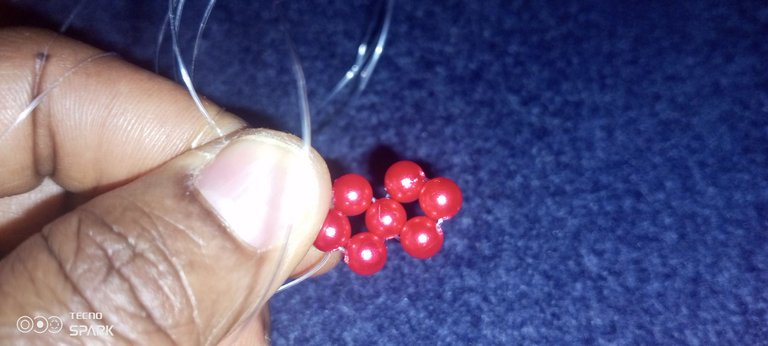
Step 3:
I put one bead on the left fishline and one bead on the right fishline and then crossed both lines with one bead.
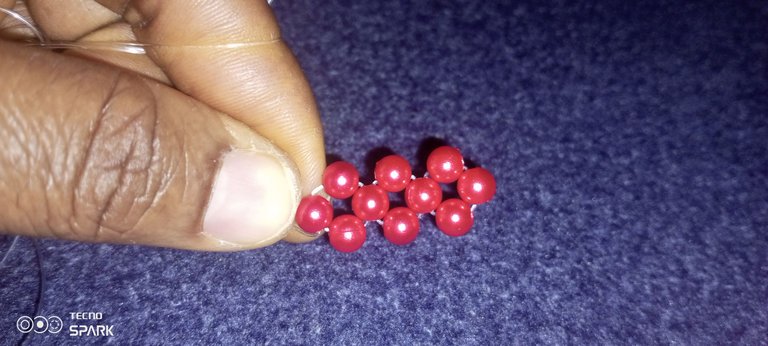
Step 4:
I put one bead on the left fishline and crossed both lines with one bead.
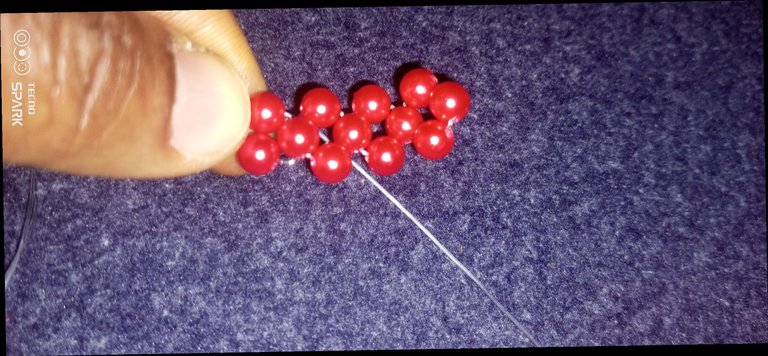
Step 5:
I put two beads on the left, crossed both lines with one bead, and then passed my right fishline to the next bead, as marked below.
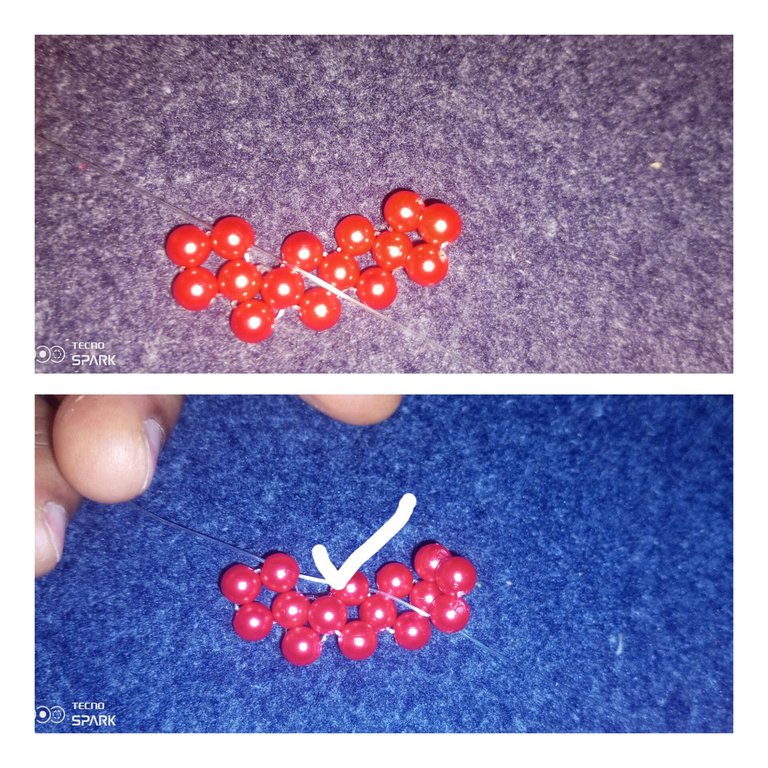
Step 6:
I put one bead on the left fishline and then crossed both lines with one bead and then passed my right fishline to the next bead.
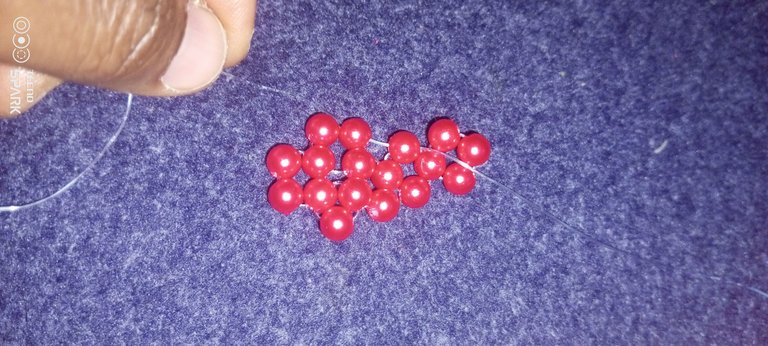
Step 7:
I put one bead on the left fishline, crossed both lines with one bead, and then passed my right fishline to the next bead.
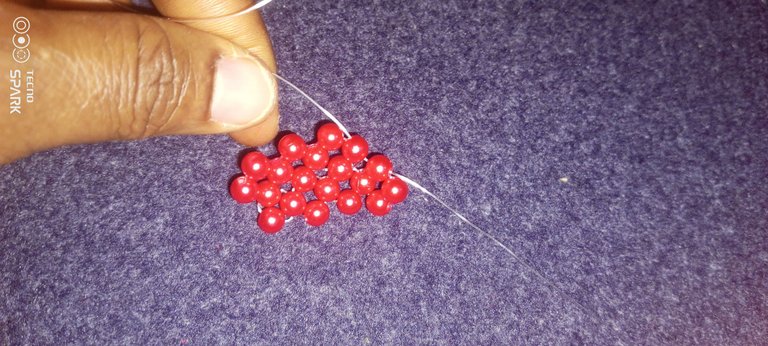
Step 8:
I put one bead on my right fishline and then crossed both lines with one bead.
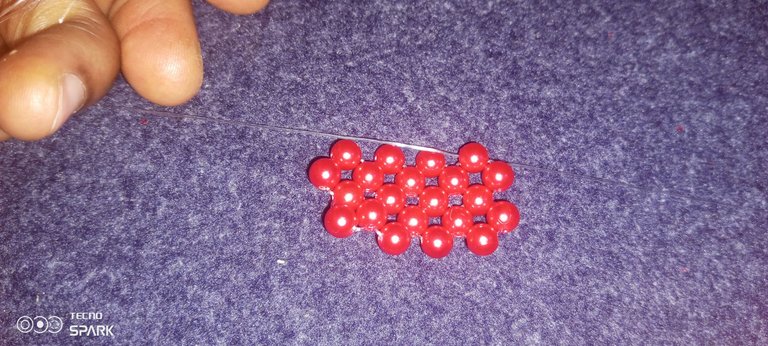
Step 9:
I put two beads on my right fishline and then crossed both lines with one bead.
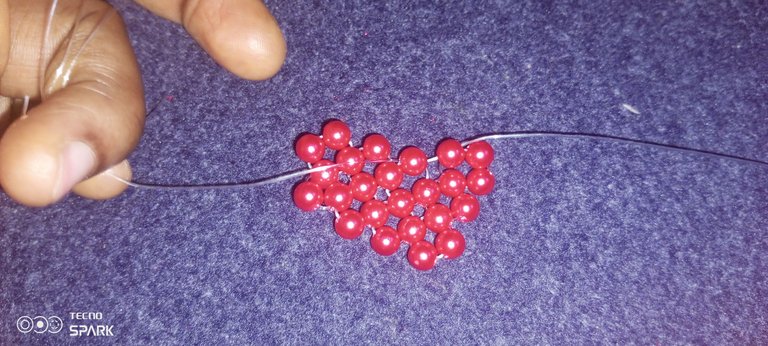
Step 10:
I put two beads on the left fishline and crossed both lines with one bead.
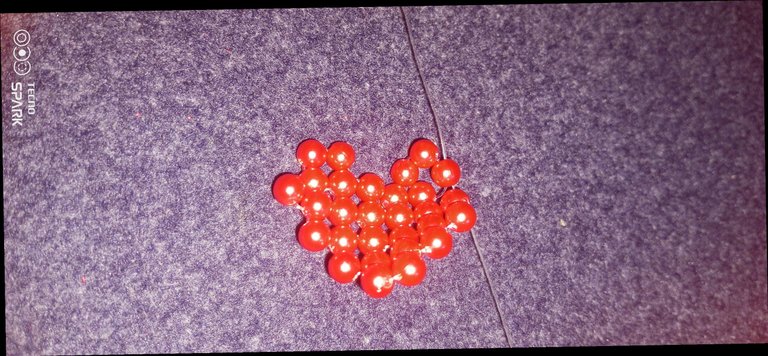
Step 11:
I put one bead on my left fishline and then crossed both lines with one bead. I tied the knots and trimmed off the excess fishlines. This gives me one-half of the heart.
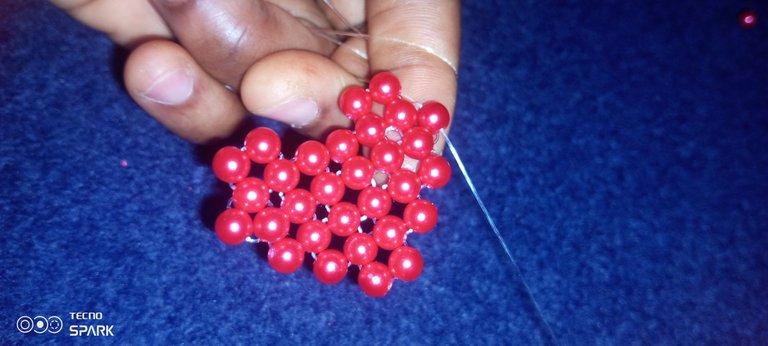
Step 12:
I repeated all the steps above to make the other half of the heart. Only this time, I doubled my fishline so that I could use the excess to join the two halves of the heart.
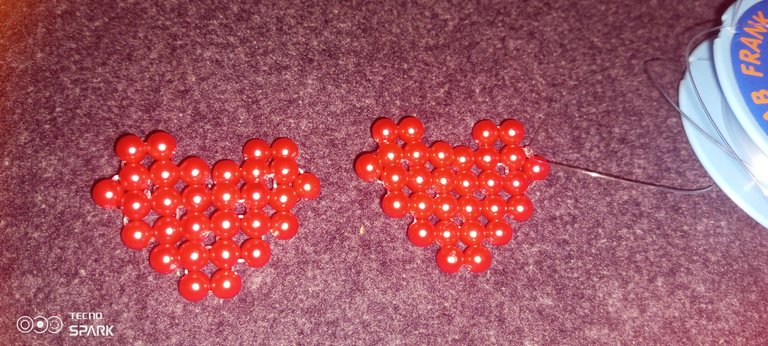
Step 13:
This is the last step; I simply join the two shapes to give me a heart ❤️.
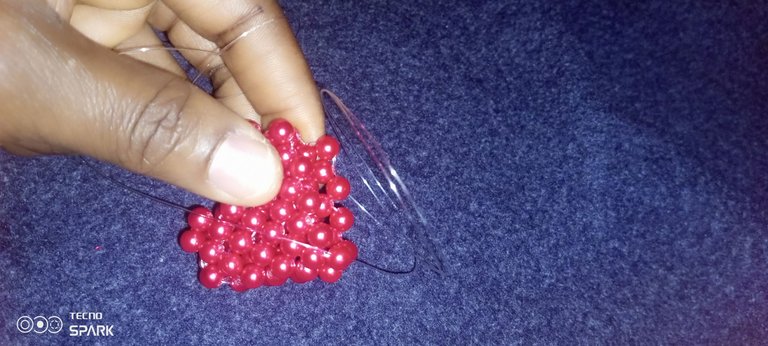
Here is the final look. What do you think? Do you like it? And oh, to attach the keys, as you're seeing, I simply cut a little fishline; I put three beads on the left, followed by the keys and the three beads on the left. I tied the knots and trimmed off the excess fishlines.
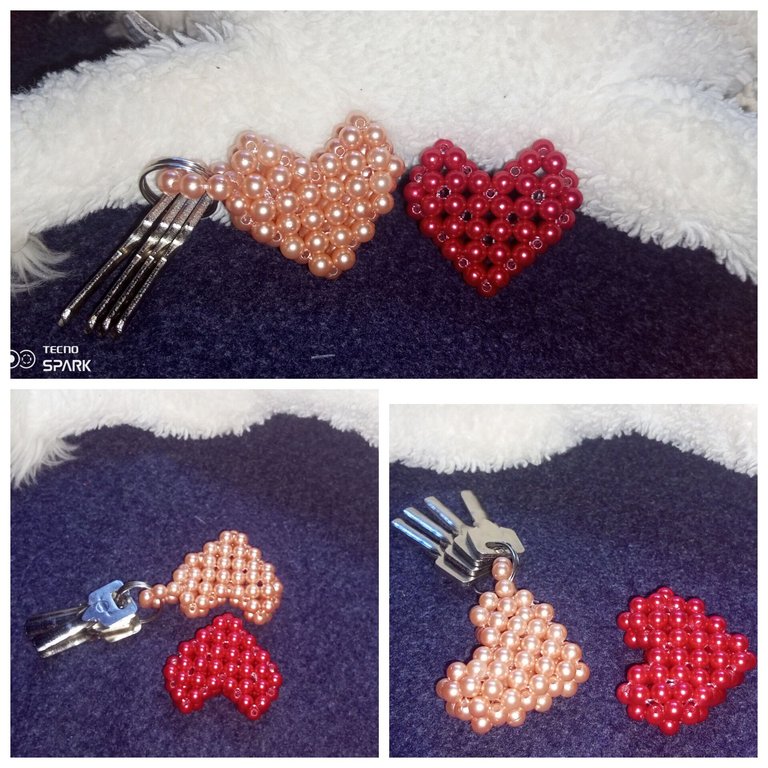
One for me and one for my husband. Guess which of the colors my husband is going for?
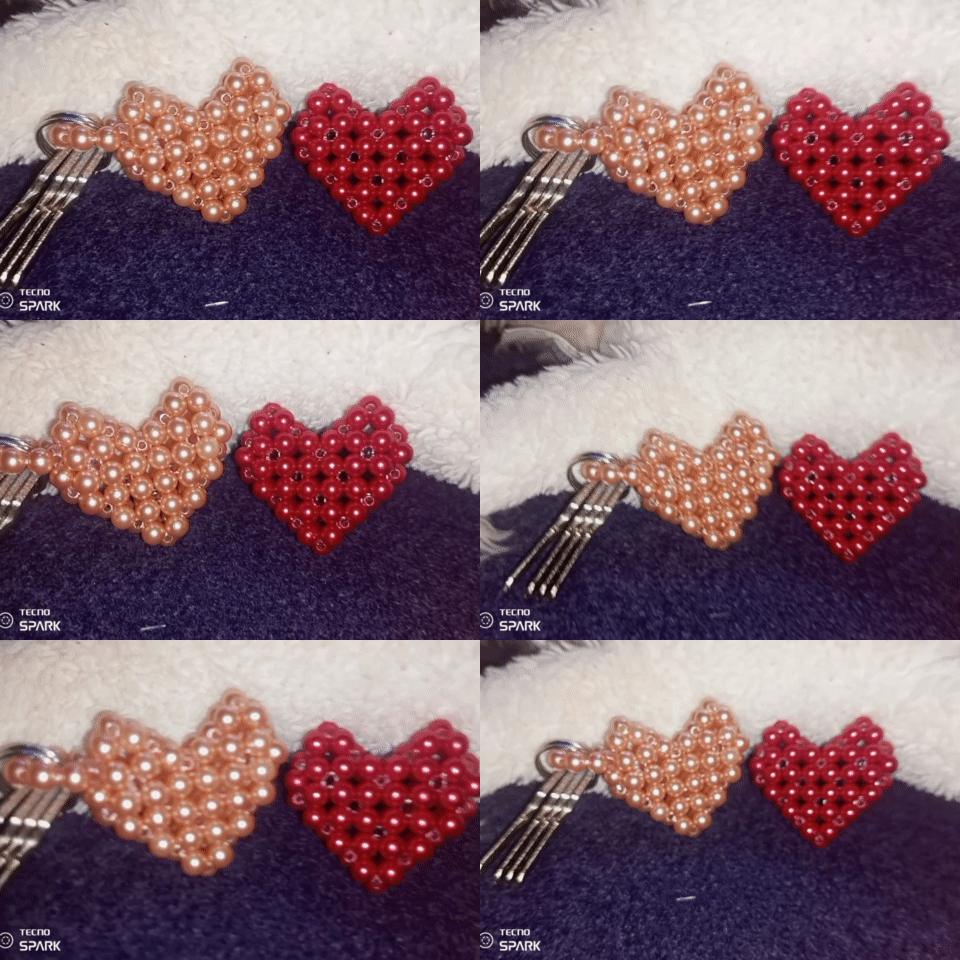 Thank you so much for your attention and support. I wish you a blissful Sunday.

All images are mine.@funshee❣️✍️

A beaded heart keychain wow, its nice and from the steps you have mentioned it doesen't look hard to make. I will give this a try👍
Thank you very much, Pete, I'm glad 😊 you like it. !LUV
It's very simple, do give it a try.
@pete2000, @funshee(3/5) sent you LUV. | tools | discord | community | HiveWiki | <>< daily
Your beaded heart keychain looks so lovely. So kind of you to make for yourself and for your husband as well. Well done and thanks for walking us through the creative process.
Thank you very much.
It was such a fun, simple process, and I'm glad to share it.
Now that I realize it, it's true... February 14th is only a few days away.
What will you surprise us with on that day?
Hehe, I'm still thinking about it, let's wait and see what I come up with. 😊!LUV
@neblomax, @funshee(2/5) sent you LUV. | tools | discord | community | HiveWiki | <>< daily
Thank you very much 🙏
Omg
Funshee this key holders are cute and beautiful. The red one is a perfect Valentine gift to a loved one
Haha, thank you very much, dear.
I'm glad they came out adorable 😍.
@funshee, you're rewarding 4 replies from this discussion thread.