DIY Toddler Jumpsuit
Hello Hive!
I hope you are all having a good day. The weather has been pretty cold lately, making most of us enjoy the warmth of our home, instead of staying outdoors. People who work at home, like myself, would be the most grateful.
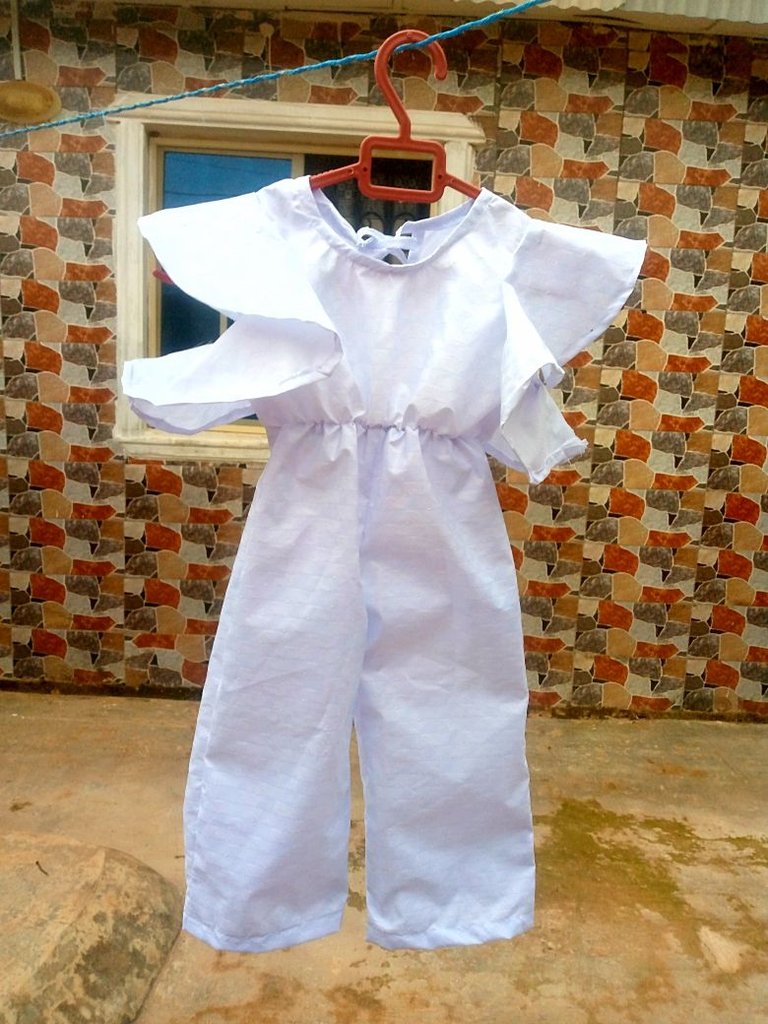
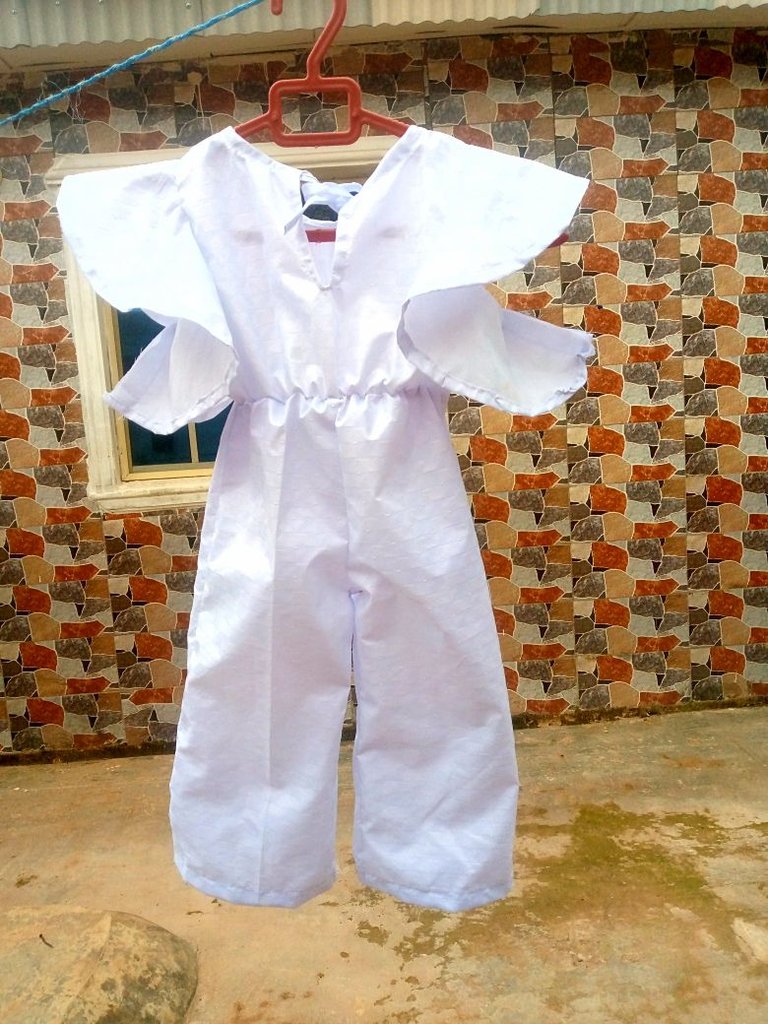
Taking advantage of this warmth and time indoors, I decided to make a beautiful jumpsuit with flare sleeves for my neighbour's daughter, and thought to share the simple and interesting process with you. I had previously made an A-line dress for her grandma, and had some leftover fabric, so instead of discarding it, I decided to put it to better use, making this jumpsuit so she can pair beautifully with her grandma to church this Sunday. She is 2 years old, the right size that fits with what is left.
You can easily replicate the steps I will provide in this post to recreate yours as well. So without further ado, let's get right into the making process.

Materials used
White guinea fabric ( You can make use of any fabric of your choice
White coloured thread
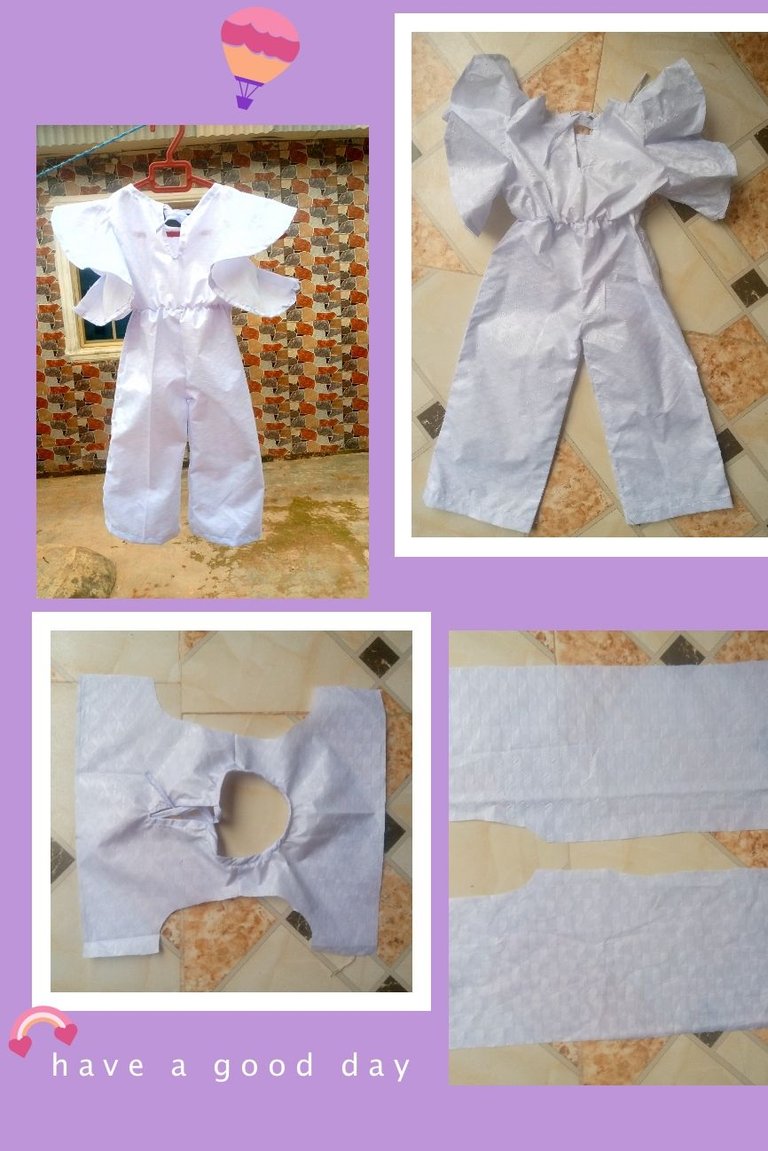
Cutting And Sewing Process
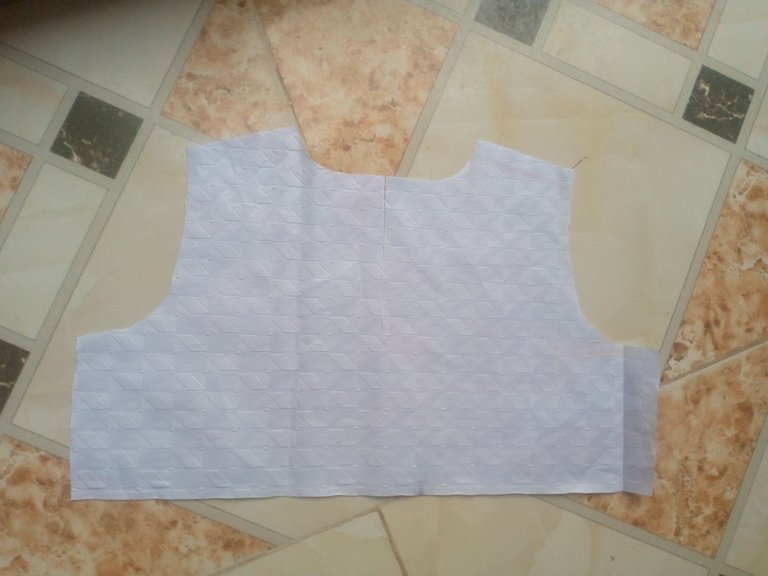
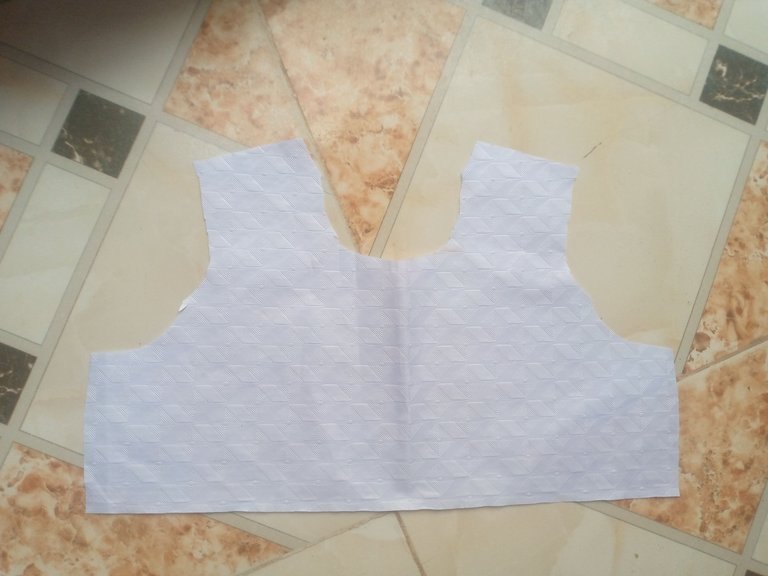
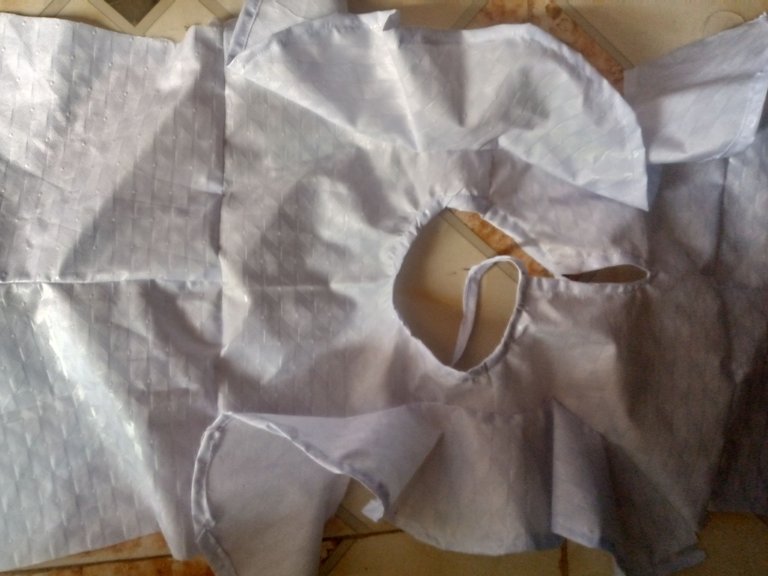
- I started by drafting the front pattern using a basic bodice pattern, which has a round neckline, i also added ease allowance, so the jumpsuit will be free on her body, and also so that she can wear the jumpsuit for long as children grows so fast.
- For the upper backside of the jumpsuit, I also created a round neckline with slits at the center, so it can be easily worn by her.
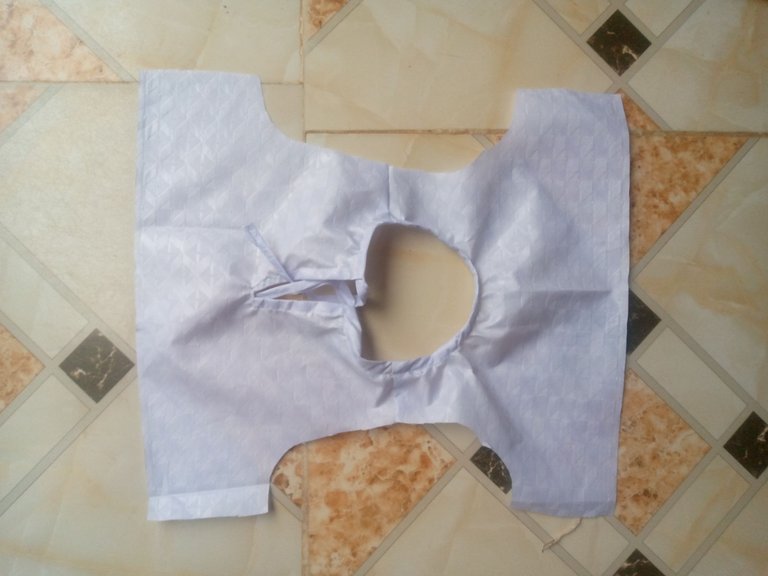
- Continuing, I joined the front and back by the shoulders, and also piped around the neckline and the center slit, extending the ropes so they could be tied at the back as well.
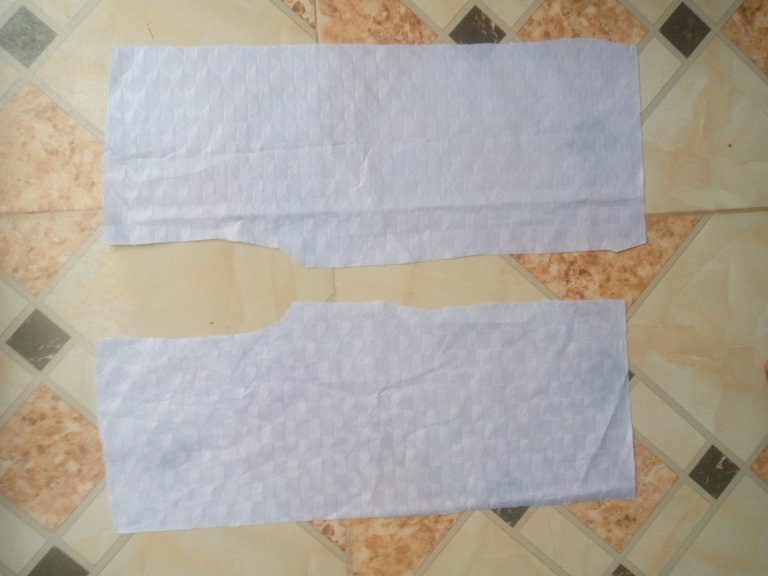
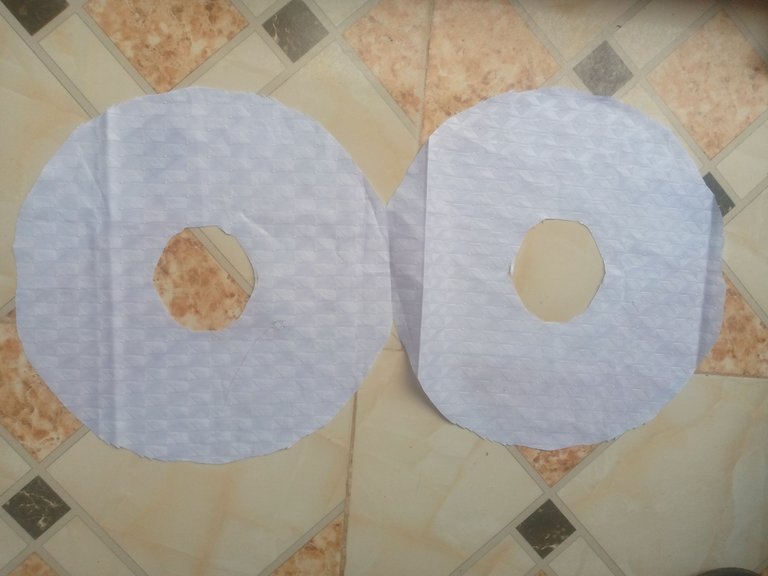
- For the lower part of the jumpsuit, I cut out a trouser pattern
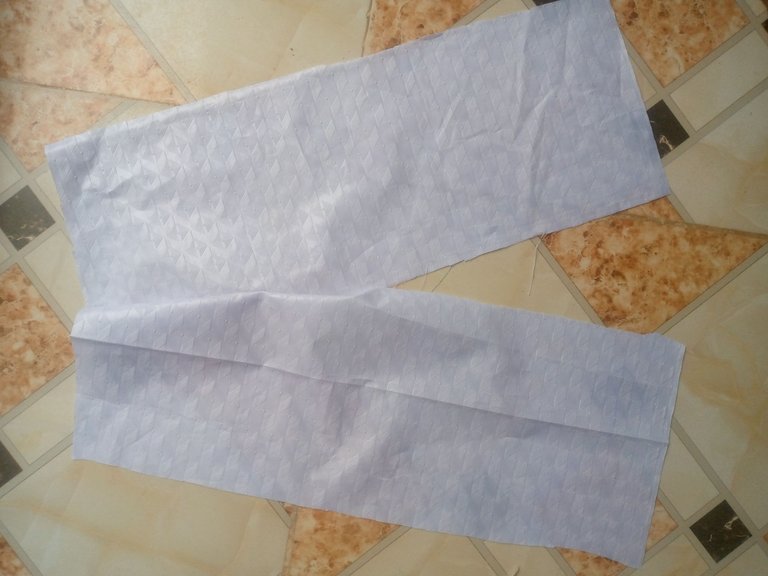
- Then, I joined the crotch area of both the front and back trouser patterns,
- I also cut out the flare sleeves pattern, which I joined to both armhole areas of the jumpsuit bodice.
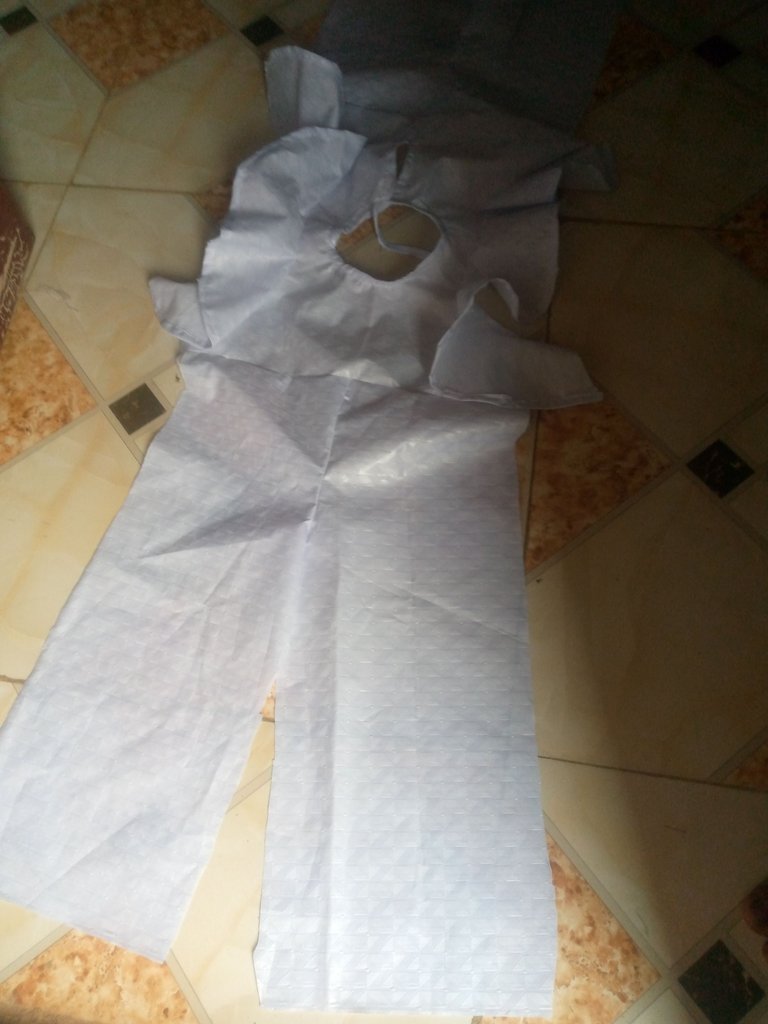
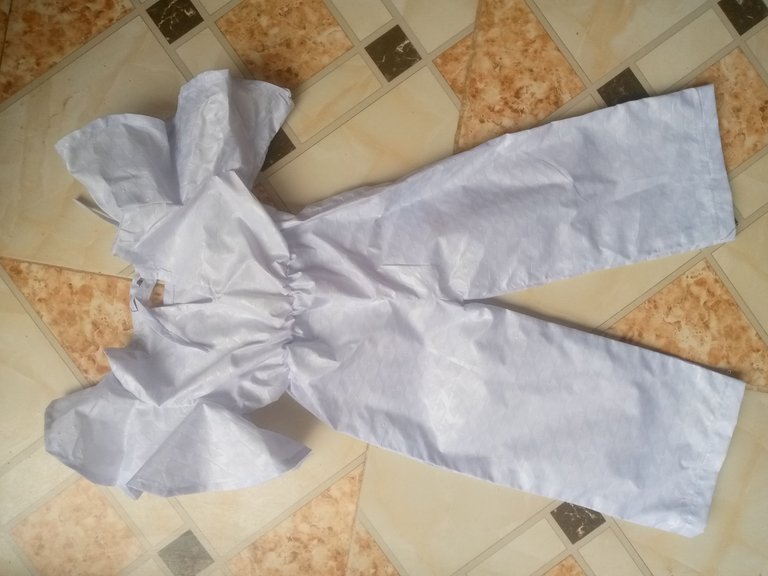
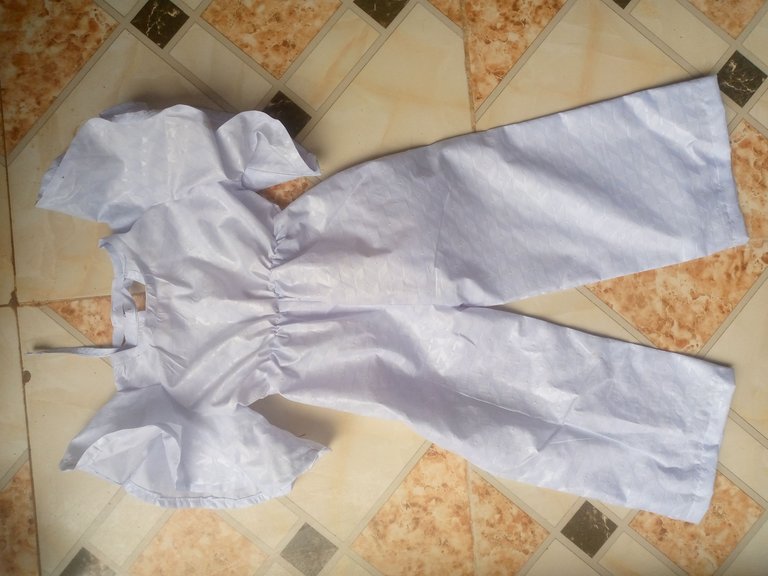
- Moving on, I sewed the waist area of the upper front bodice to the lower trouser pattern and did the same to the backside as well.
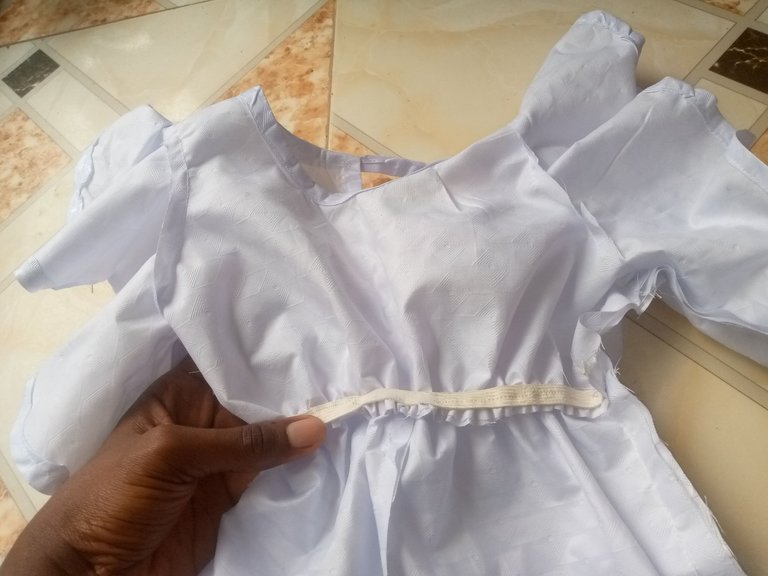
- Next, I sewed one side of the jumpsuit, then I sewed an elastic around the joined waist area, and also sewed the other side of the jumpsuit. The elastic helped make the jumpsuit firm around her waist for more fit.
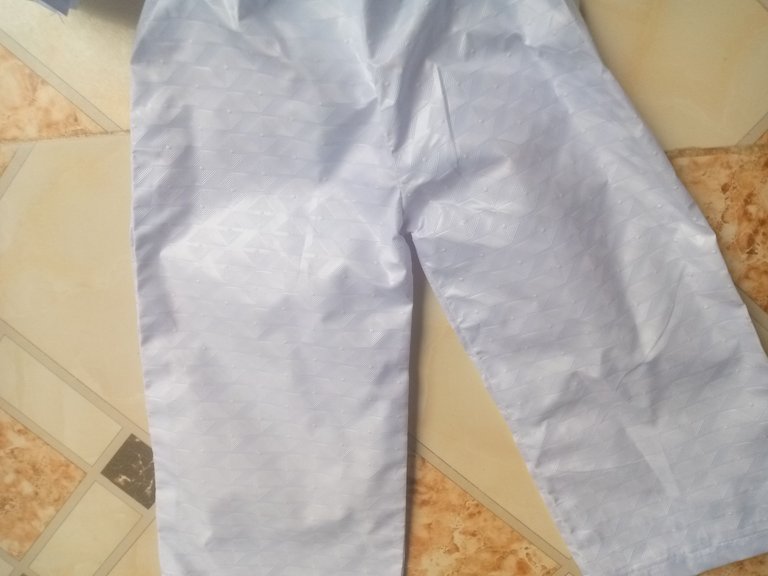
- Finally, I sewed the trouser inseam area and hemmed the base of the jumpsuit neatly.
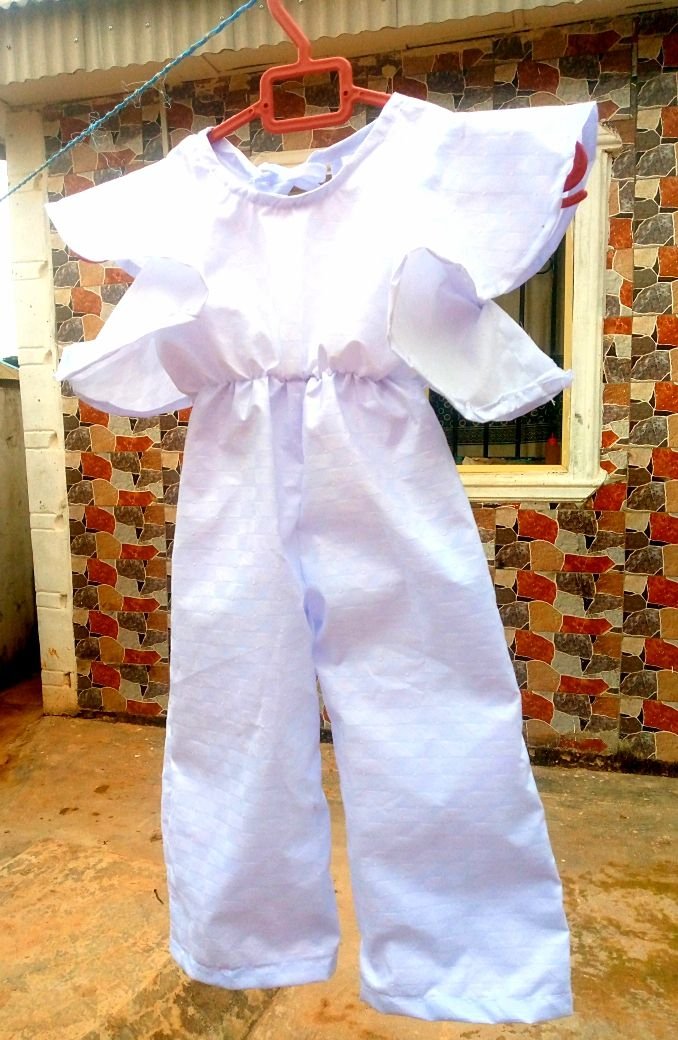
And that completes the making process of this beautiful jumpsuit. She sure will look so cute in it. Feel free to add your own touches to this design. You could add pockets, rose flowers for a pop of colour, change the sleeve design, or use a different fabric to pipe the neckline; however you want to give it that unique look, but since my neighbor attends a white garment church, she preferred an all white outfit, which still looks stunning to me.
All images used in this post are mine
View or trade
LOHtokens.@glorydee, You have received 1.0000 LOH for posting to Ladies of Hive.
We believe that you should be rewarded for the time and effort spent in creating articles. The goal is to encourage token holders to accumulate and hodl LOH tokens over a long period of time.
It is beautiful, elegant, and stylish. It looks great. It is good to see how you made this. Well done! Keep it up!
selected by @rezoanulvibes
Thank you💕
It looks simple but good.