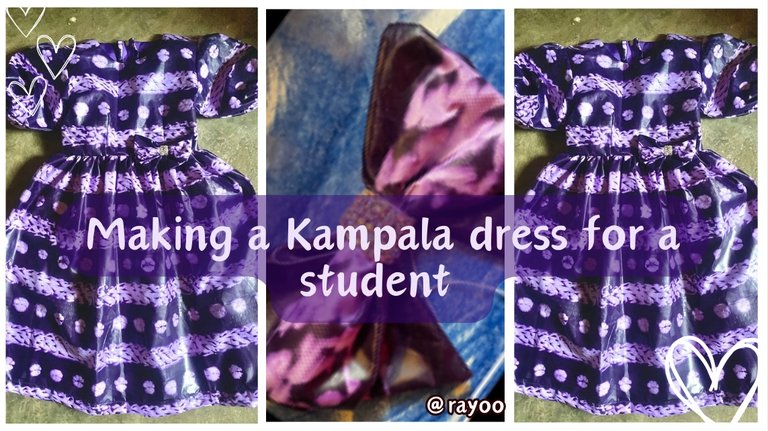
Making a Kampala dress for a student
Hello, my fellow needleworker! Hope you are having a a nice week. Today I'd like to share with you a dress I made for one of my students at the school where I teach.
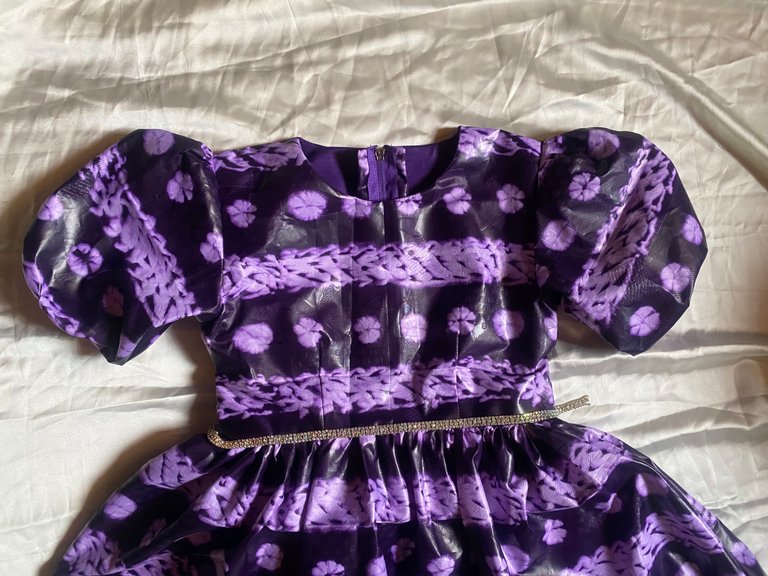
After learning that I was a seamstress, she came to me with a fabric and asked if I could make a dress for her church anniversary. She didn't have a specific design in mind and she told me to make anything cute. I had no idea what to make, so I decided to just make a simple gathered dress with a bow to make it cute.
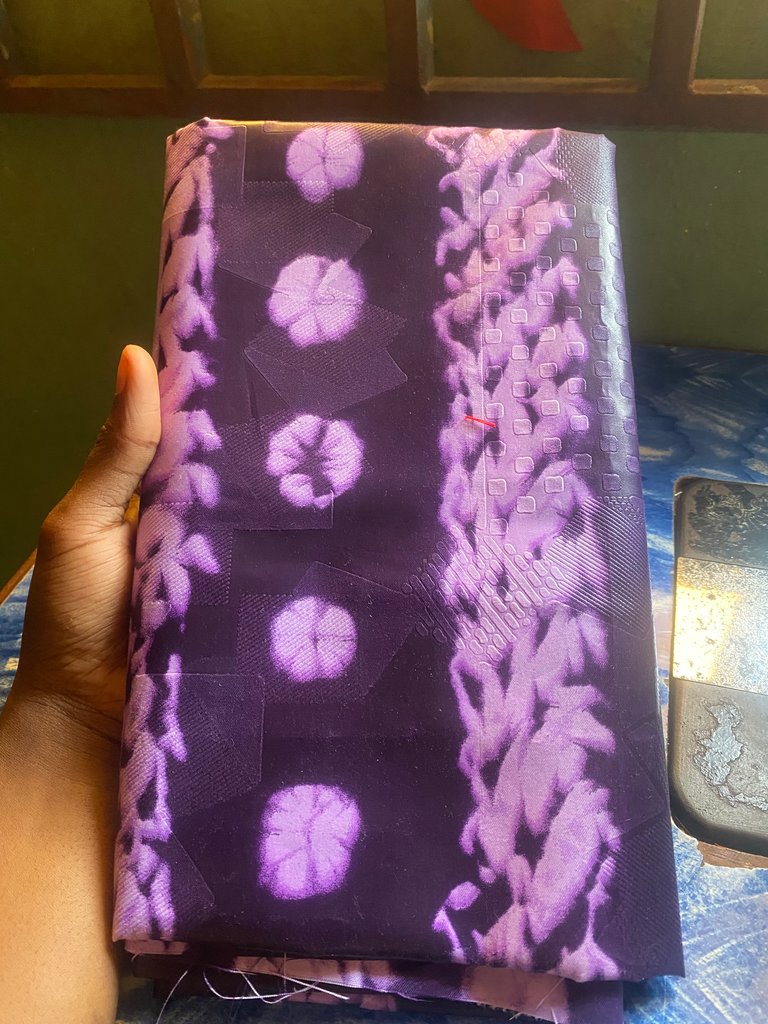
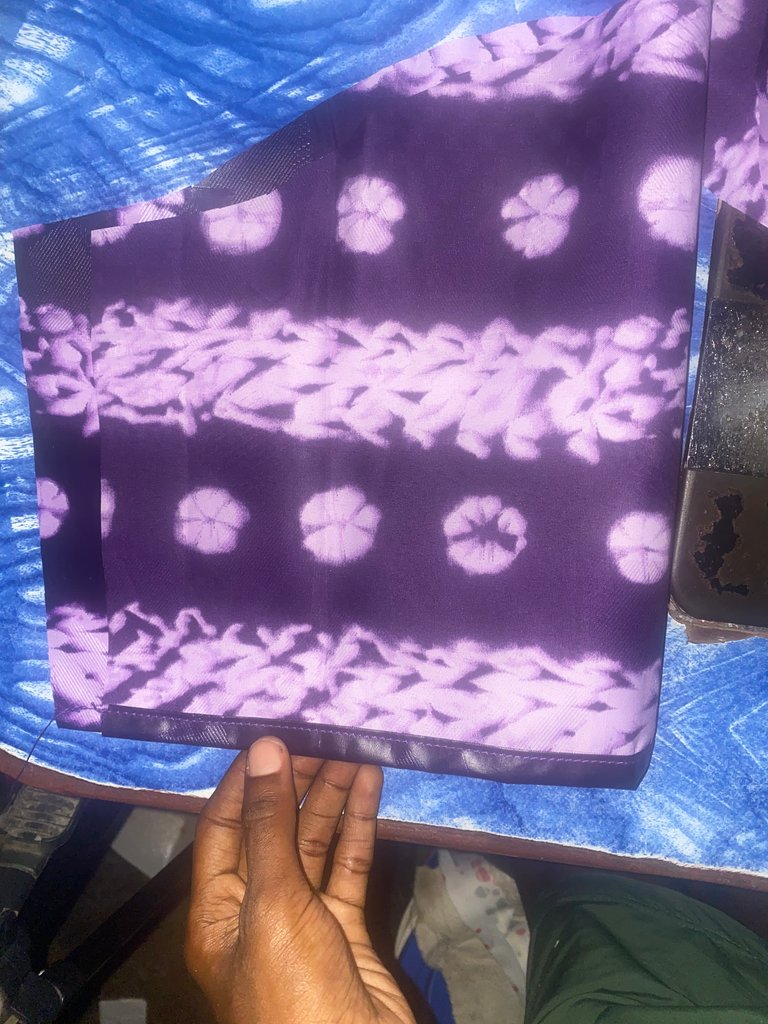
The fabric used is a Kampala print fabric, inspired by the traditional Kampala fabric, which originates from Uganda—hence the name Kampala which is its capital city. Kampala fabric often has a unique and steady texture, as the base fabric is made from the inner bark of the mutuba trees, then it is hand-painted, embroidered, or sewing appliques to create beautiful patterns and motifs. However, Modern technology allows Kampalas to be made easily and more affordable with Kampala-inspired prints. However, the original Kampala is quite expensive and eco-friendly.
The fabric used is a Kampala-inspired print. It has a steady texture but is a little light. This is great if you want to make a dress or cloth that has volume and structure.
Making this dress was pretty easy and It took me less than 4 hours to make. I made this dress a while back but was waiting to receive a picture of her wearing the dress which she didn't. So sad I couldn't get a picture of her in the final look.
Materials used:
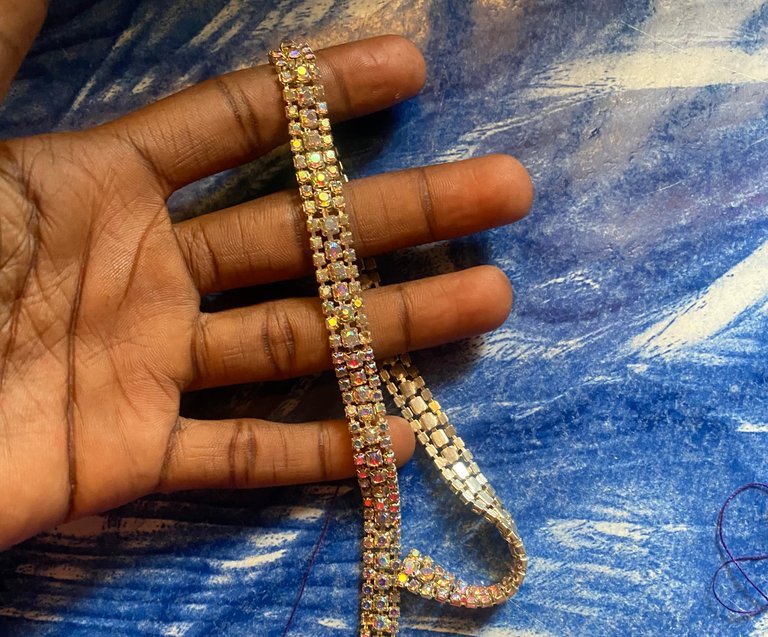
Kampala print fabric, lining, thread, zip, half-inch elastic band, and rhinestone cord.
**Let me work you through the process:
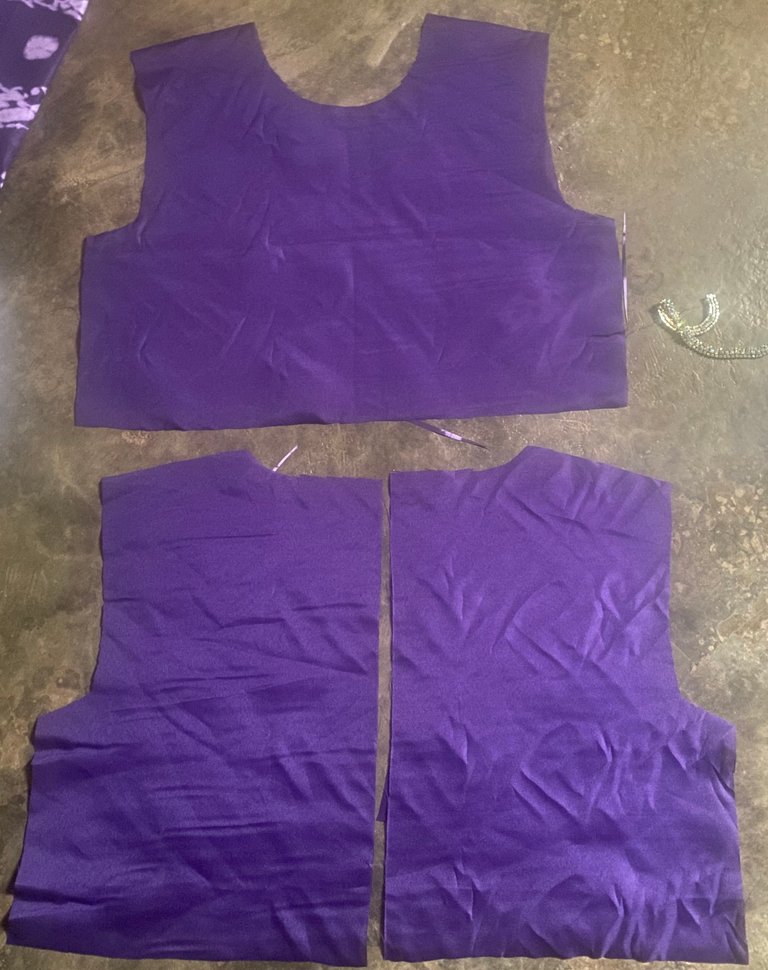
Step 1
I cut the bodies which are the upper part of the dress and the respective lining.

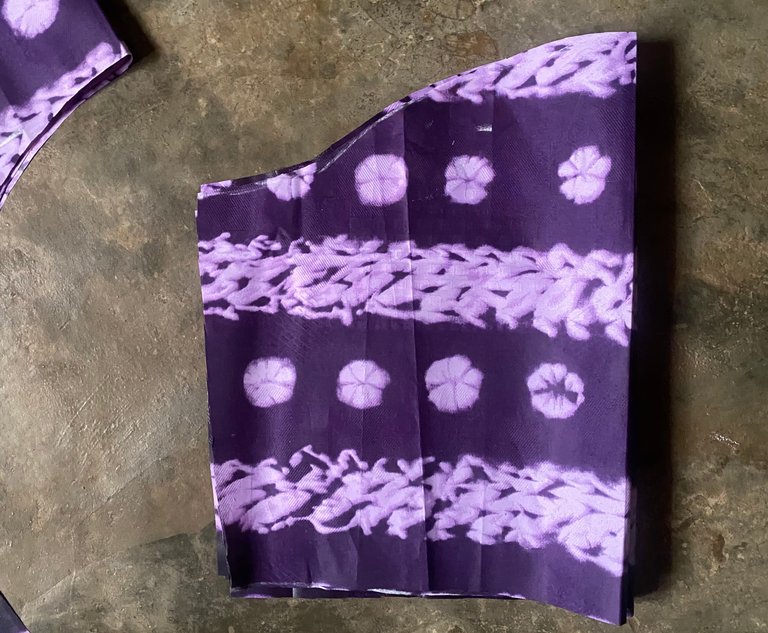
Step2
I cut the sleeves
Step3
I sew the bodies pieces together with their respective linings.
Step4
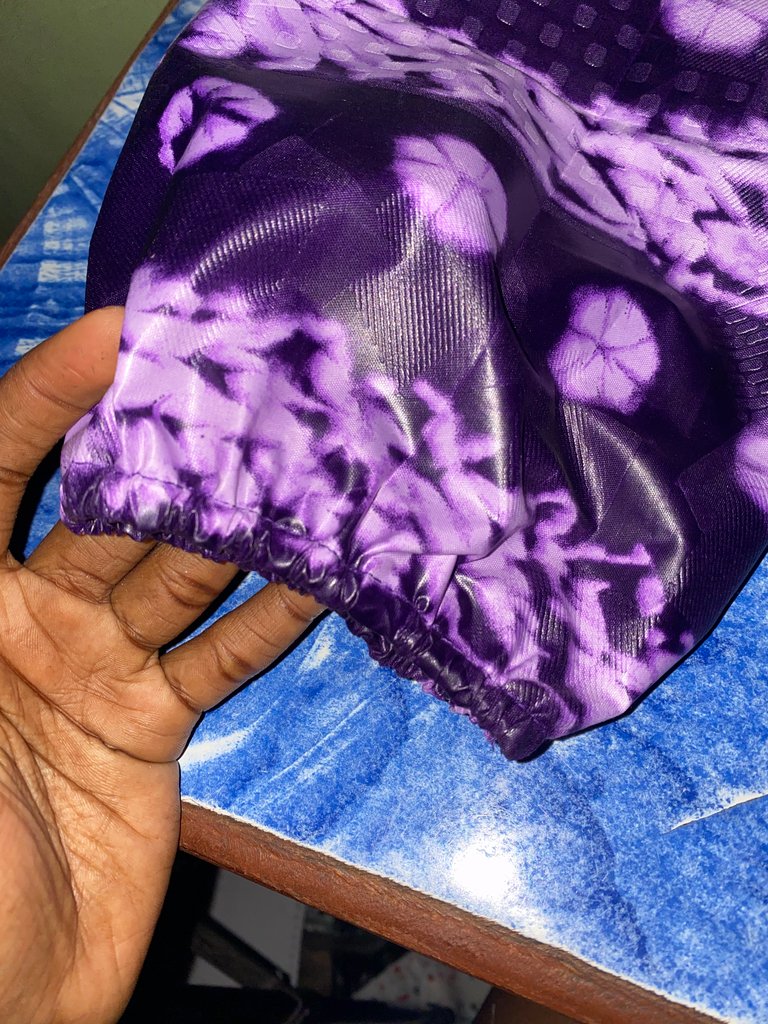
I fold the hem of the sleeve and insert the elastic band.
Step 5
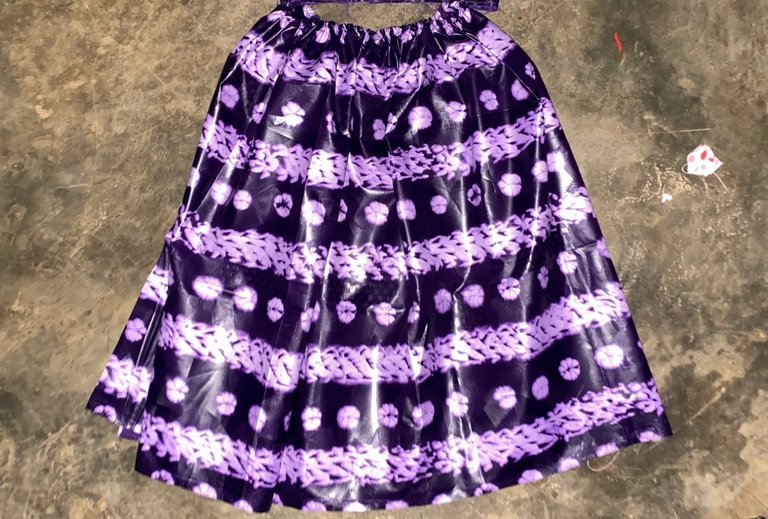
I cut and gathered the skirt which is the lower part of the dress.
Step6
I sew the sleeves to the armhole of the bodies and the waist of the bodies with the gathered bottom
Step7
I sewed a zip to the back opening.
Step 8
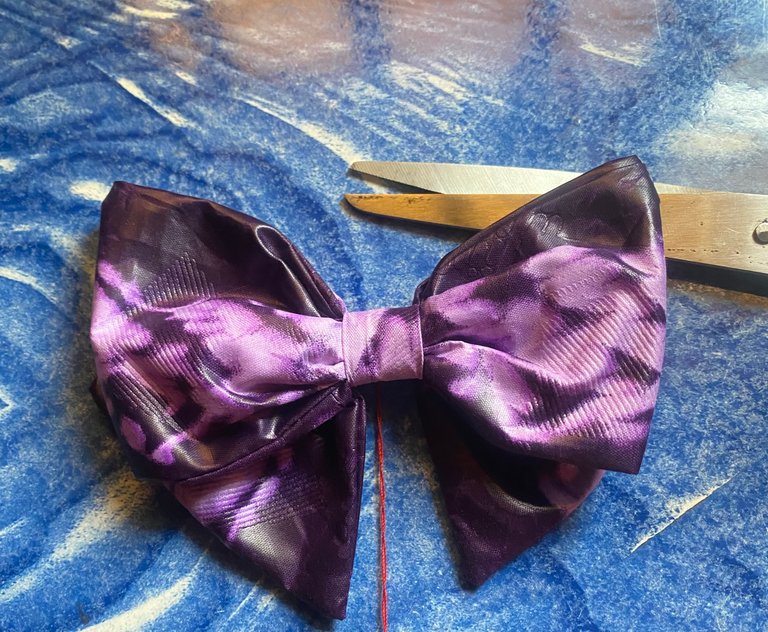
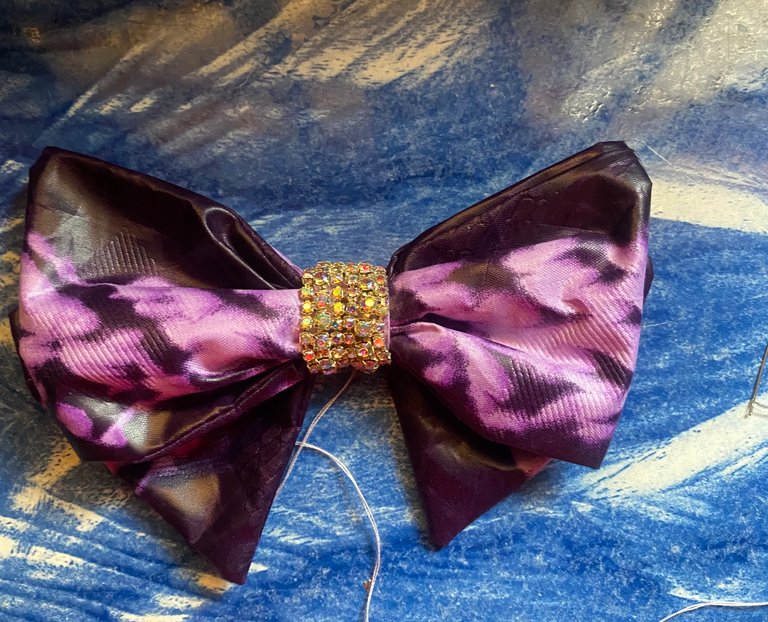
I contemplated whether to put the rhinestone cord around the waist or simply make a bow.
step 9
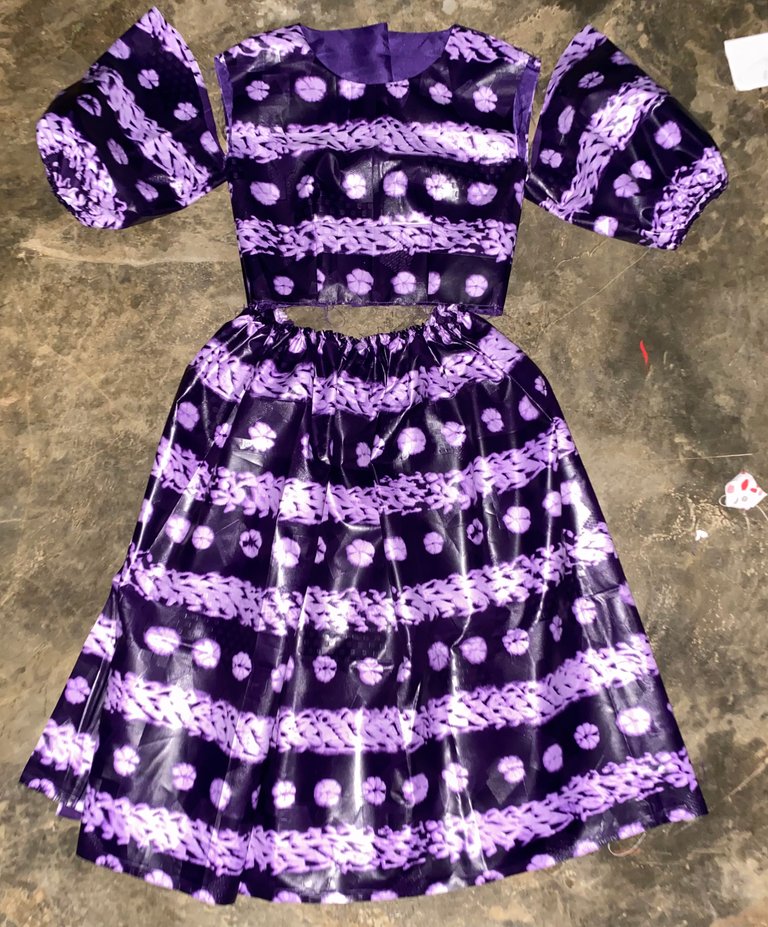
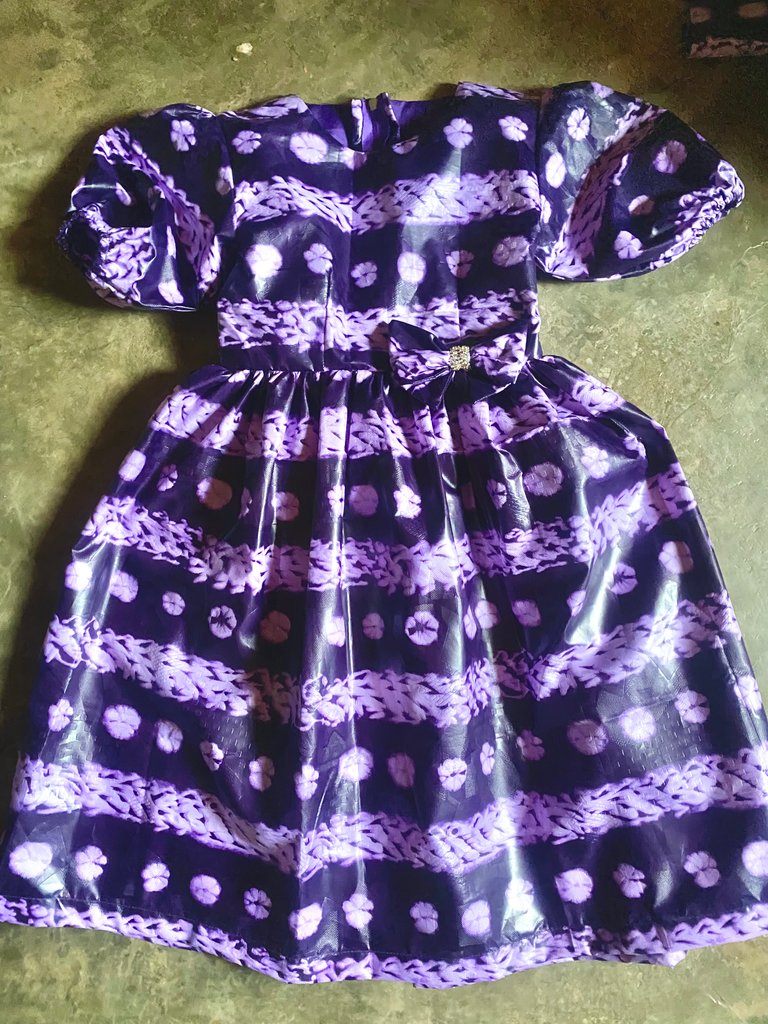
I went with the idea of making the bow because is easier, less stressful, still cute, and can never go wrong.
Here is the final look! Although I was unable to get a picture of her wearing it, I hope you like the dress and find the tutorial helpful. I'd love to hear your thoughts in the comments.
Thank you for visiting my blog ✨❤️
All images are mine. Thumbnail by Canva
So nice of you to make a dress for your student. The dress is beautiful and you did an amazing job with the bow. Good job!
Thank you
Wow, Kampala dress, it looks beautiful, the fabric is nice, well-done
Thank you :)
The dress look so beautiful, I love the style, thank for sharing your Kampala dress steps.
Thank you:)
Do beautiful! I love the shiny feel to the fabric, the applique and bow addition are just perfect. Well done dear
Thank you, I'm glad you like it 🙂
It's so kind of you to bless your student without creative skill, the dress is really cute like she wanted.
Thank you, I'm glad you like it 🙂