Make a Bubble gum top with me: lesson learnt from underestimating.
This isn't the first time or the 99th time I have underestimated a project. But I think I have learnt my lesson, finally.
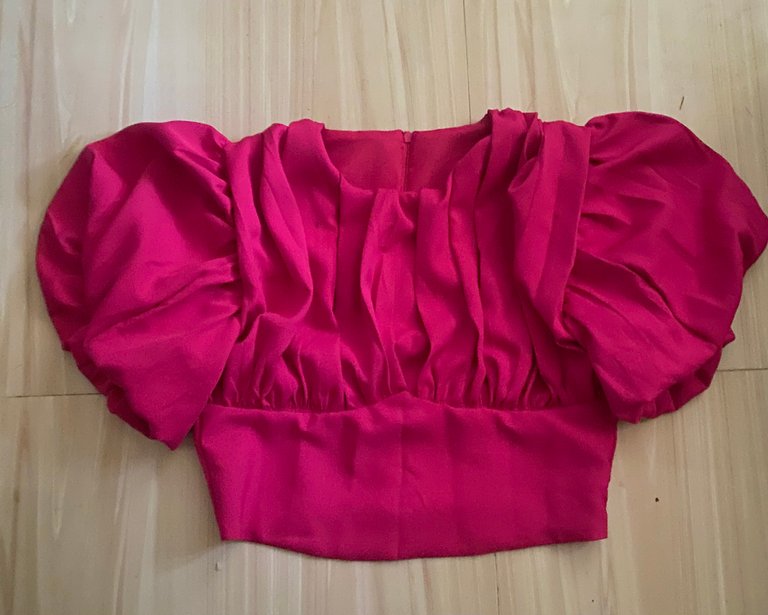
Hi, my fellow needlework! I hope you all are staying creative on hive. Today, I love to share with you a top I made for a friend. I named it Bubble gum because it has voluminous gathers and it in colour pink.
To cut the long story short. I'm someone who loves deeply, which means I find it hard to say no to people I care about. This is one of my bad habits.
Stella just wanted a regular crop top she could wear to an outing, but I promised her I would make her something a little extra and nice, I sent her a picture of the reference top and she liked it. Since I had made this top before, I felt like it would be an easy project. But I totally forgot the stress I went through while making it.
Since it was a simple top, I believed that I would be able to finish it a night before the deadline. And that was one of the stupid mistakes I have ever made.
I thought this top would take me 4-5 hours to make but my disappointment, it took over 8 hours to make. I made quite a lot of mistake and also the machine was not even cooperative. You know that annoying feeling when you are sewing impatiently and the machine is not in the mood to work and you have to pass the thread over and over again like 100 times? That was exactly how I felt.
Regardless, I made the top whether the machine like it or not. So how love ti take you through the process.
Materials
- 1-2 yards of crepe fabric
- Lining
- Thread
- Zip
THE PROCESS
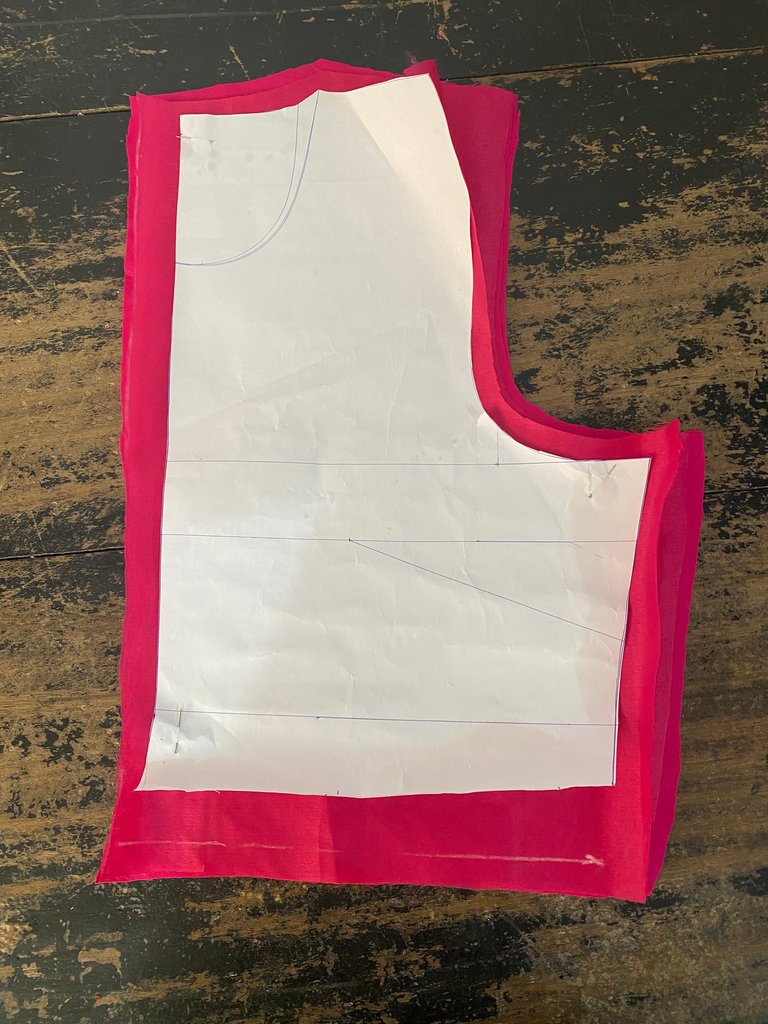
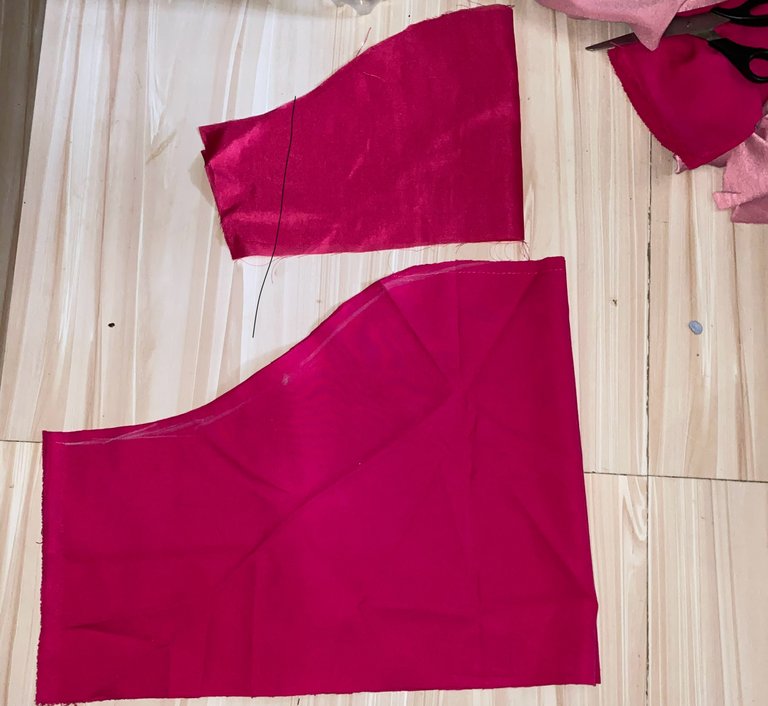
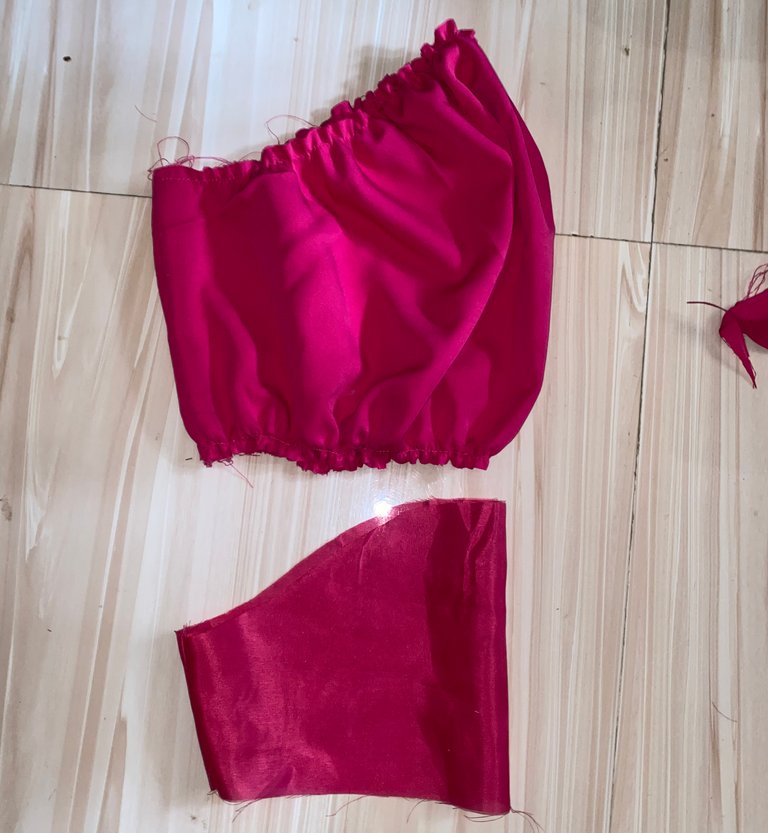
I cut the front and back piece of the top
Because it is gathers and to create the bubble effect, I cut the lining the exact measurement but the main fabric I cut it wider than the normal measurement. The back has no gathered so I cut it as the exact measurement.
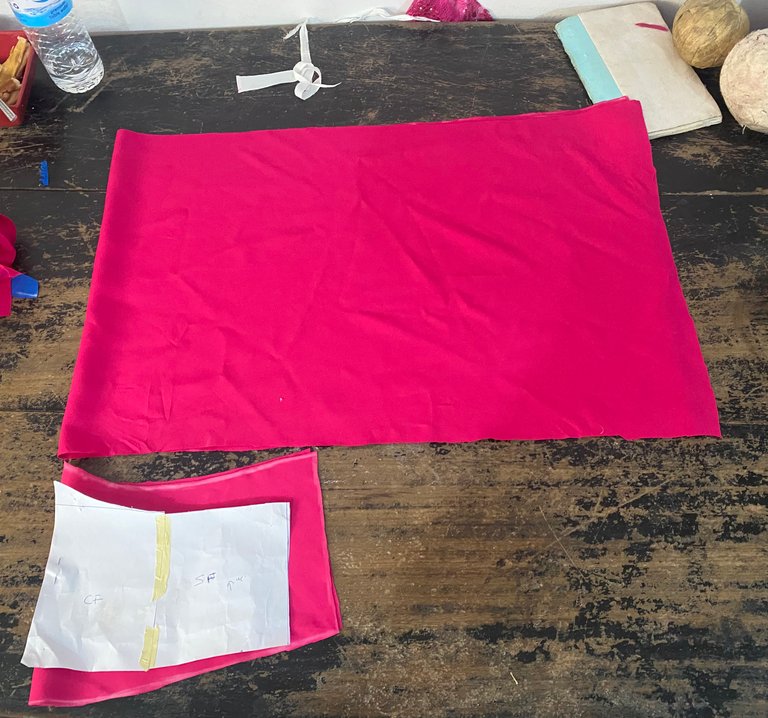
the back
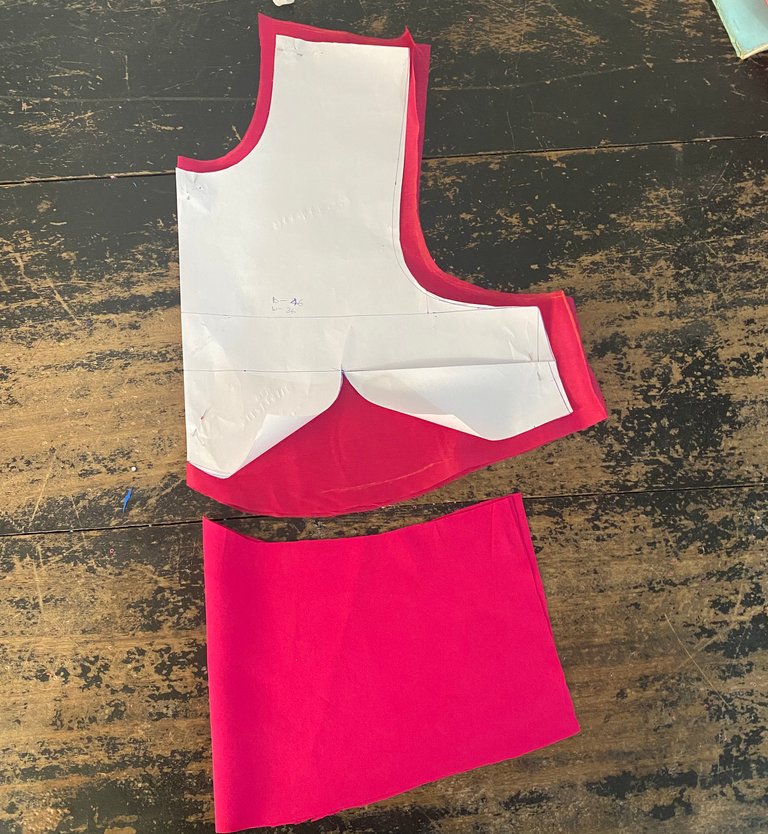
I cut the sleeves as well, the main fabric longer and wider than the lining which is the normal measurement.
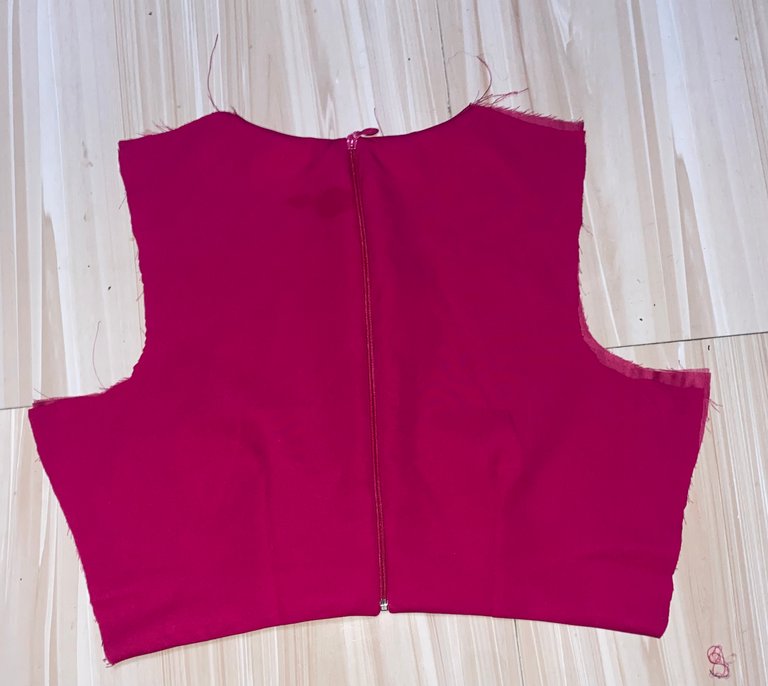
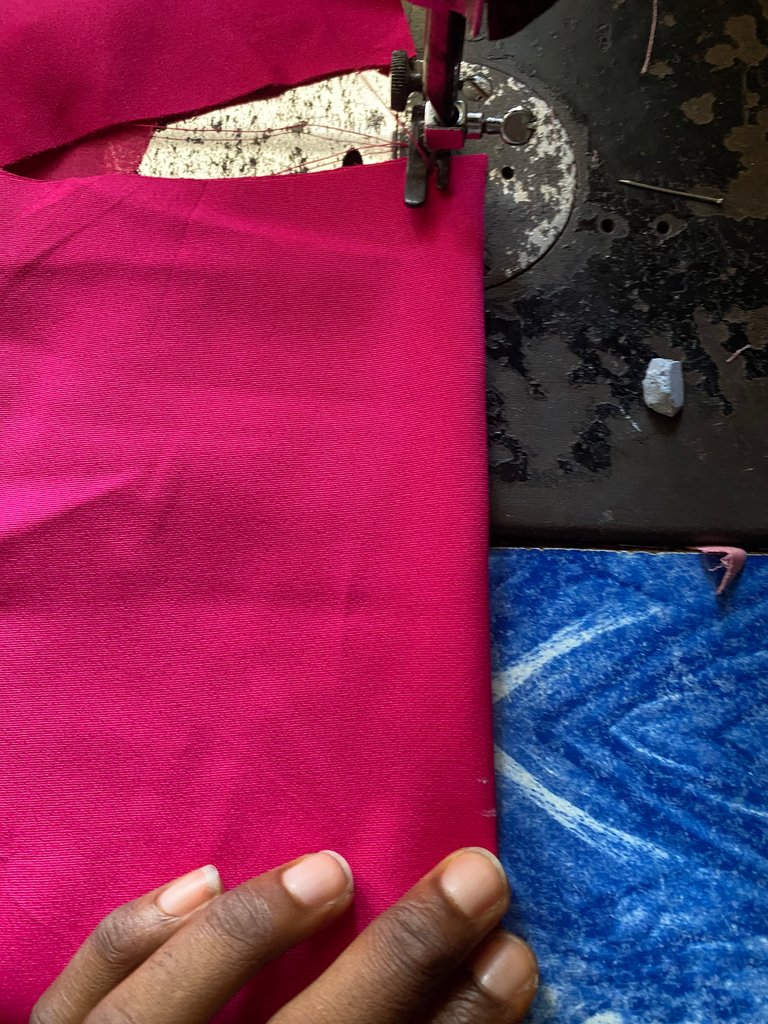
I started by sewing the back first.

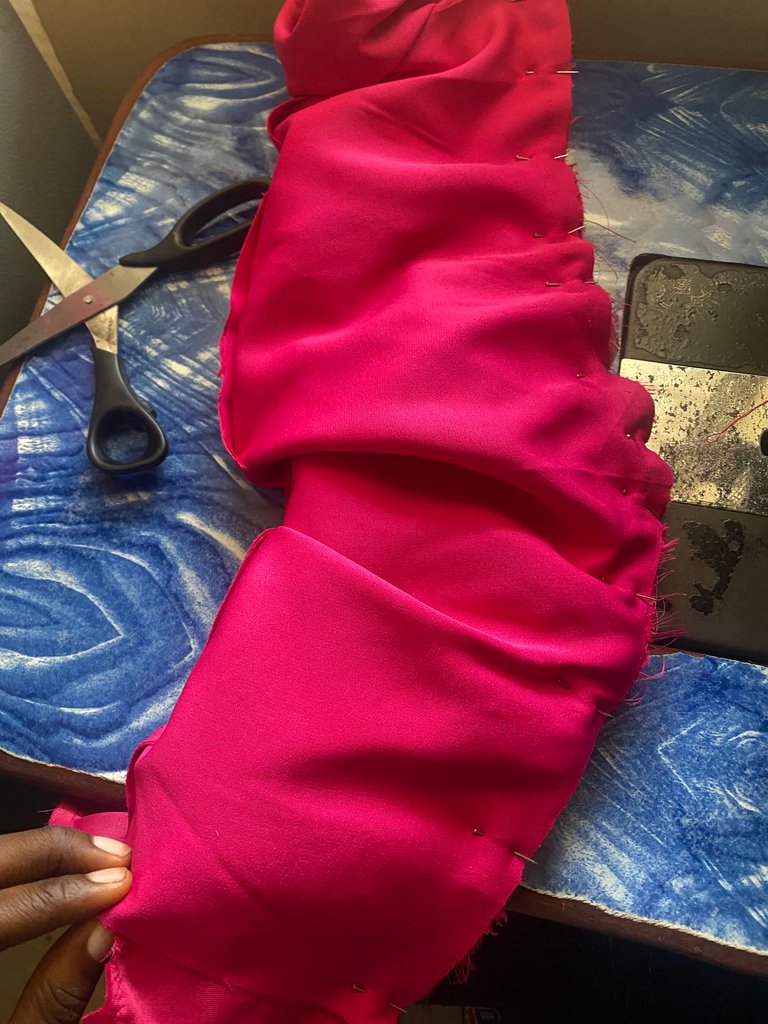
I gathered the front main fabric and pinned the lining to it around the neckline
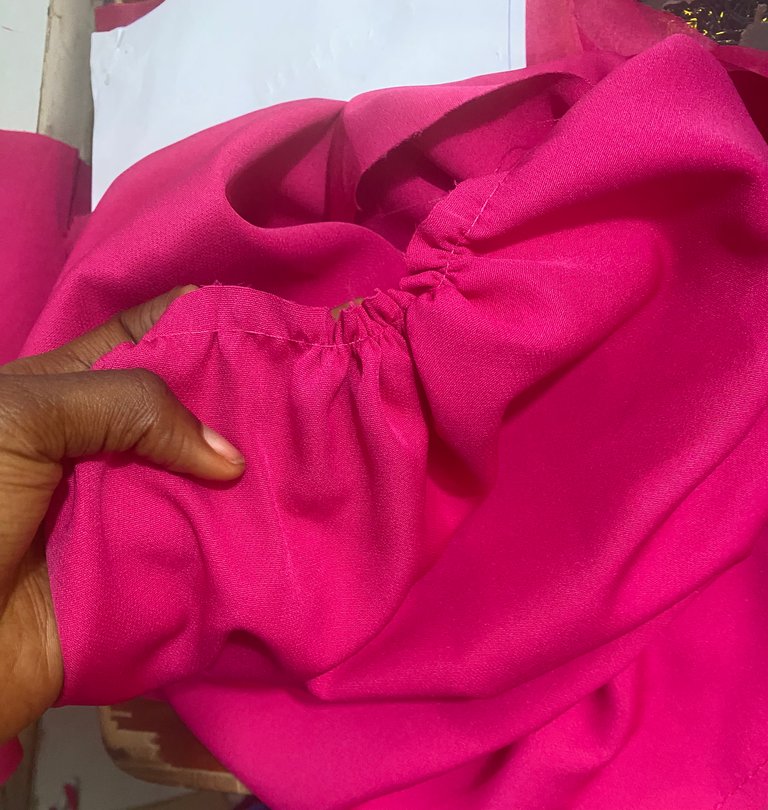

After sewing the neckline, I cut the excess and I turn it to the right side and pinned the rest of the lining
I sew along the edge to secure the lining and the gathered fabric and I cut the excess.
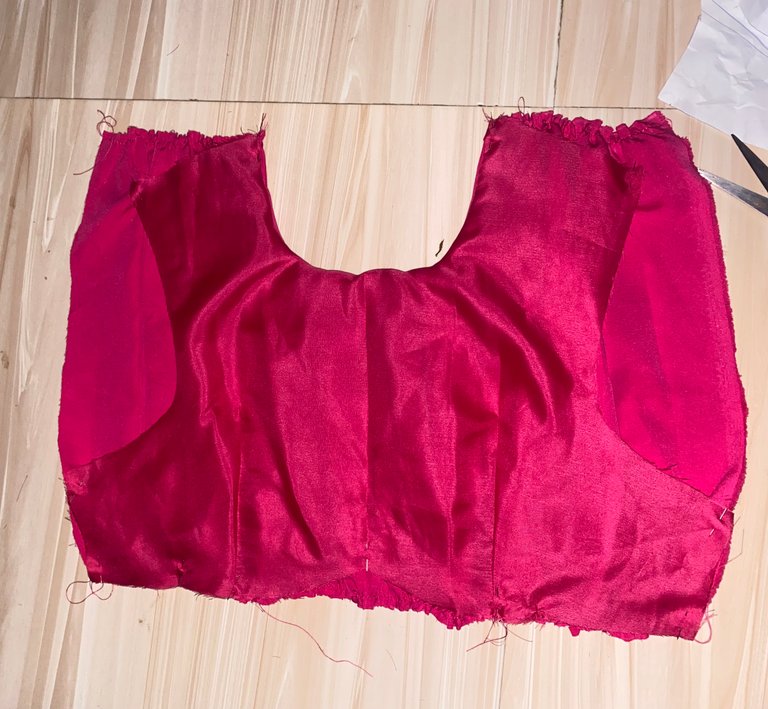
I join the band
I gathered the sleeves and sew
I sew the front, the back, and the sleeves together.
This is the final result, I hope you like it.
Have you ever underestimated a project? Share your thoughts in the comment section.
Thank you for reading my blog
All images are mine
We admire your hard work and resilience, despite the challenges you encountered while making this blouse you were able to complete it against all odds. Well done and cheers to more creative ideas.
Thank you so much @diyhub for your encouraging comments every time i post, it really means a lot . Thank you
It looks so nice. I love the color and the designe. Thanks for sharing.
Thank you so much
Congratulations @rayoo! You have completed the following achievement on the Hive blockchain And have been rewarded with New badge(s)
Your next payout target is 2000 HP.
The unit is Hive Power equivalent because post and comment rewards can be split into HP and HBD
You can view your badges on your board and compare yourself to others in the Ranking
If you no longer want to receive notifications, reply to this comment with the word
STOPCheck out our last posts: