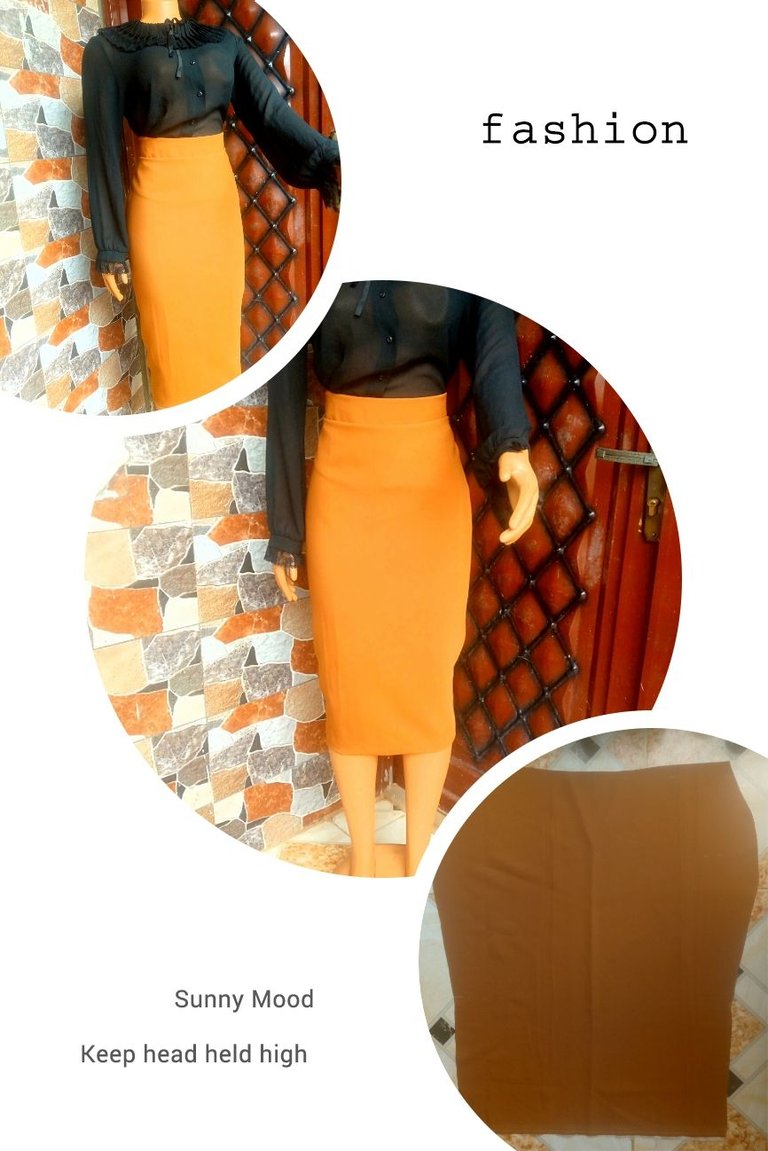
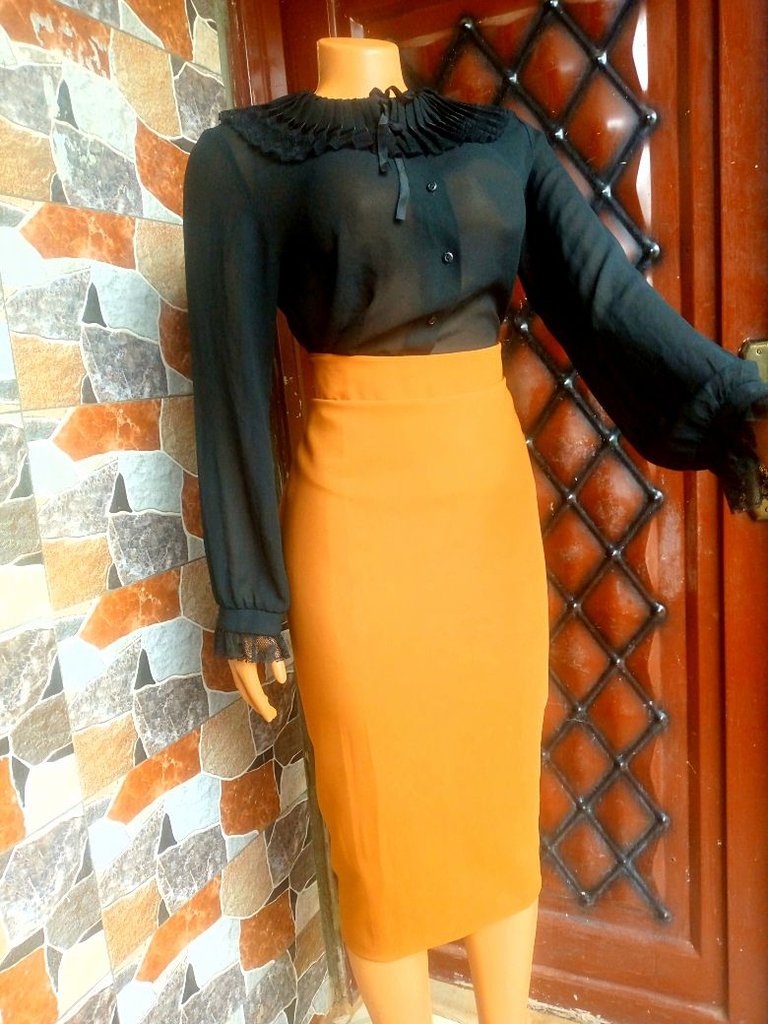
A Beautiful and Special Pencil Skirt for My Mum
Hello, dear lovely creators on Hive, I hope you are all enjoying the weekend. The weekend should be all about fun, right?
Just when I thought I would spend my day chilling and resting my sore back from having a stressful week, my mum's call this morning jolted my memory. Having a very busy schedule this week, I totally forgot to make the straight/pencil skirt I had promised my mum. I know her call was to know when I would be arriving at her place.
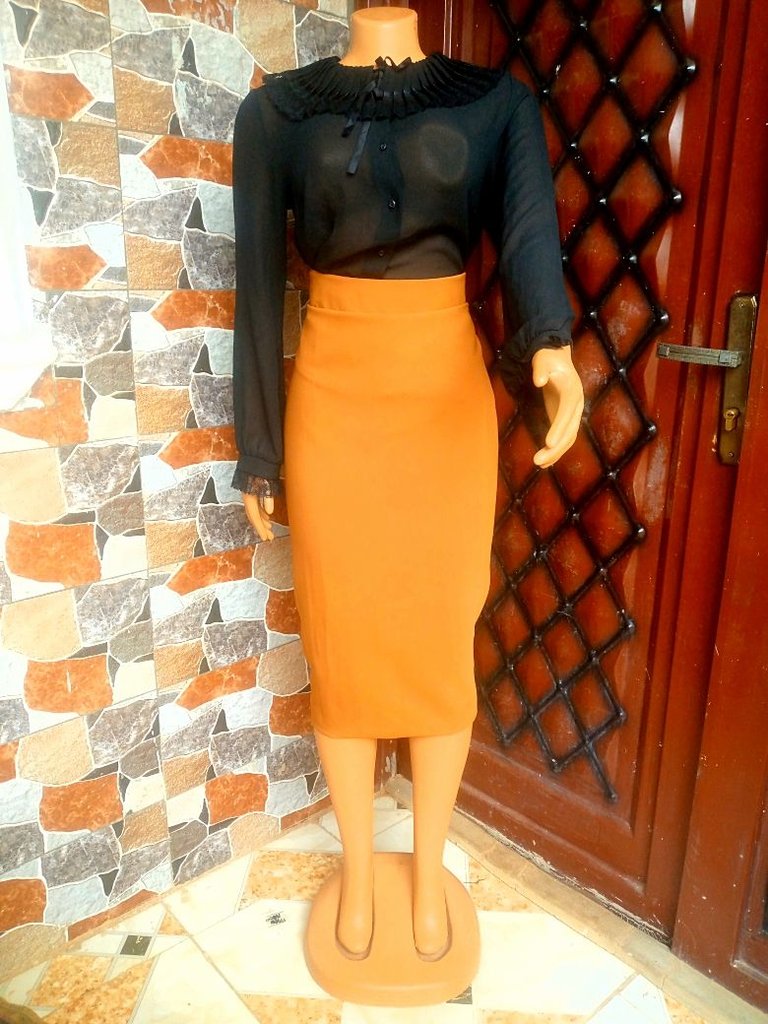
She would be attending a women's conference tomorrow and would be one of the host speakers; their dress code was to come in formal wear, so Mum decided she would be wearing a shirt and blouse. getting my tired self up after letting her know I would be coming by evening and ending the call, I was relieved it was a skirt and not anything too tasking, probably the reason it escaped my mind, as I had been more focused on a more challenging project during the course of the week.
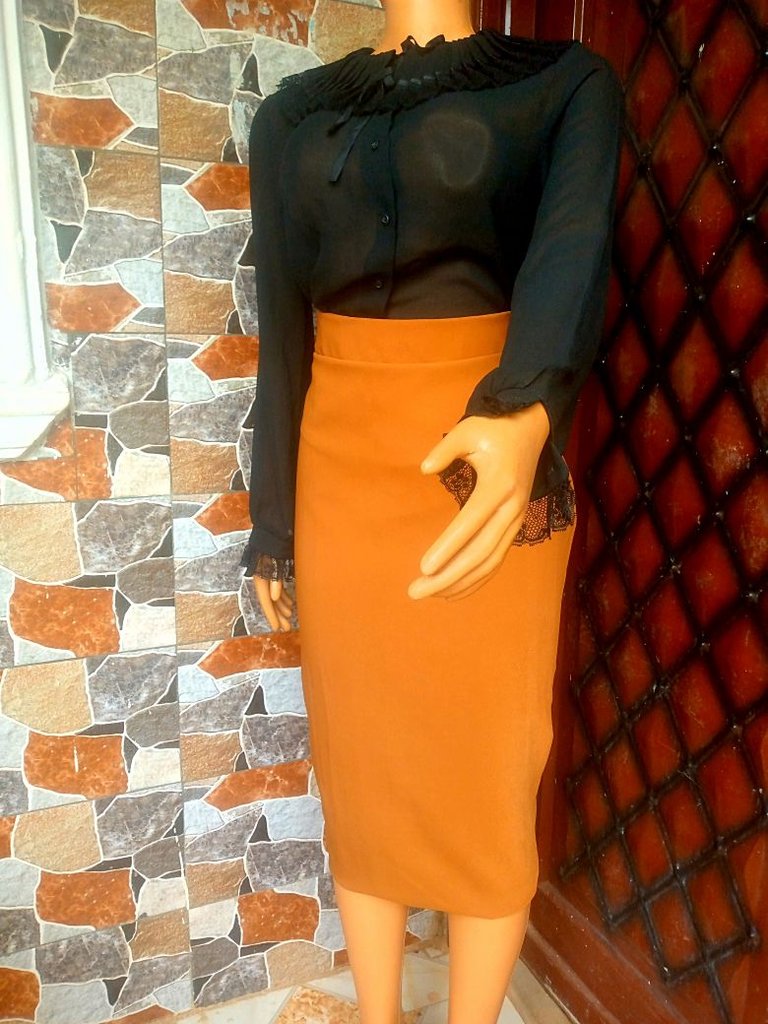
So I thought to share with you all today, how you can make a pencil skirt easily, using any fabric of your choice.
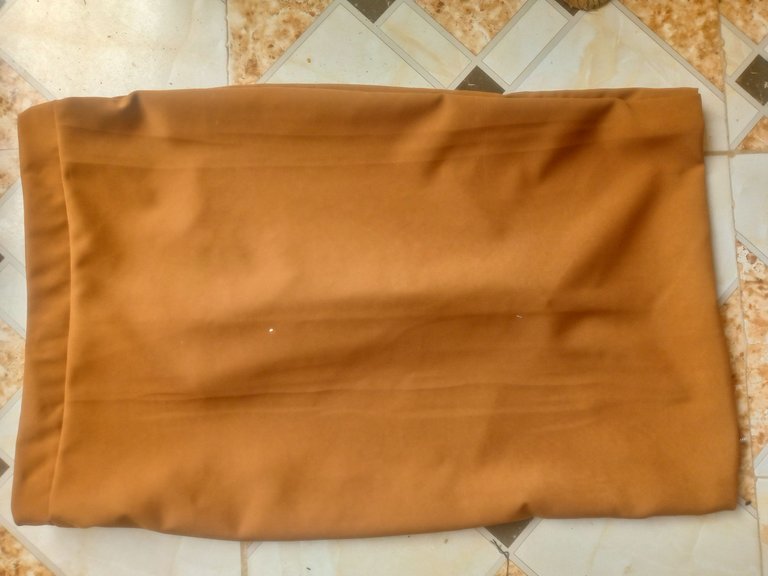
Materials used
Crepe Fabric
Matching coloured thread
Zipper
Stay
Cutting And Sewing Process
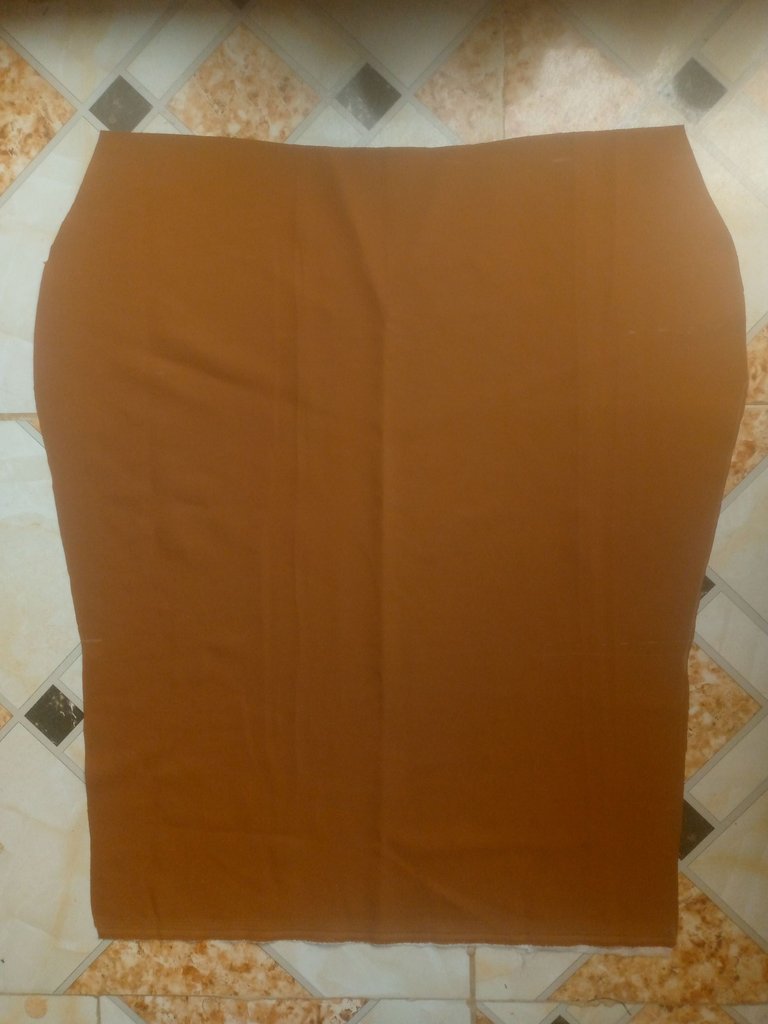
- I started by drafting the front skirt pattern on fold, by dividing her waist and hip measurements by 4, I also determined thr length of the skirt, my mum likes a three quarter skirt, so that is the length I used for her.
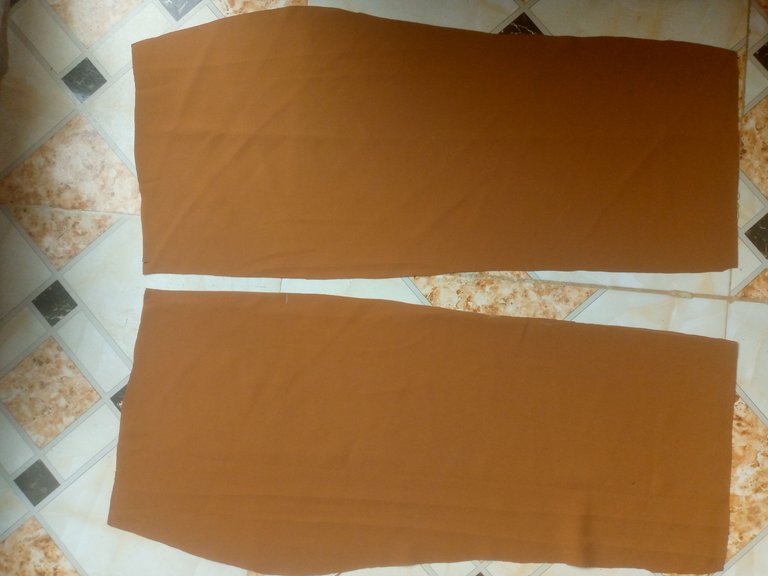
- Next, using the front pattern, I traced and cut out the back skirt pattern, making alterations around the center back, here I added extra zipper allowance of about one inch, which makes the back pattern two pieces.

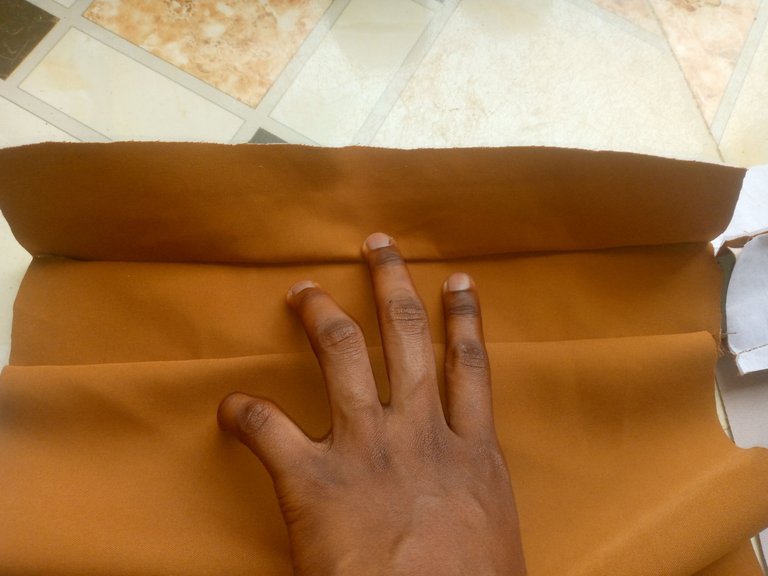
** Continuing,I also cut out waist band differently for the front and back, and ironed stay/interfacing to make them firm properly around the waist.
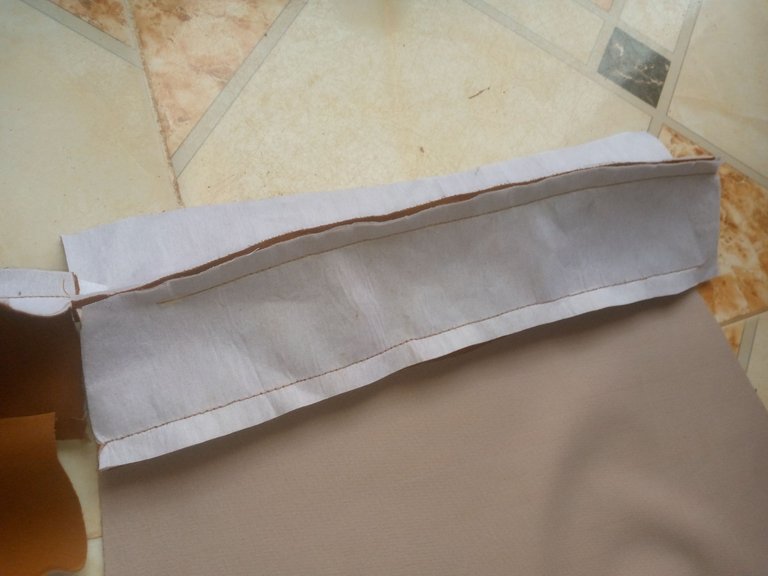
- Starting the sewing process, I sewed the waist bands to the front and back patterns
- Then I sewed the back patterns, leaving allowance for the zipper and slit ends.

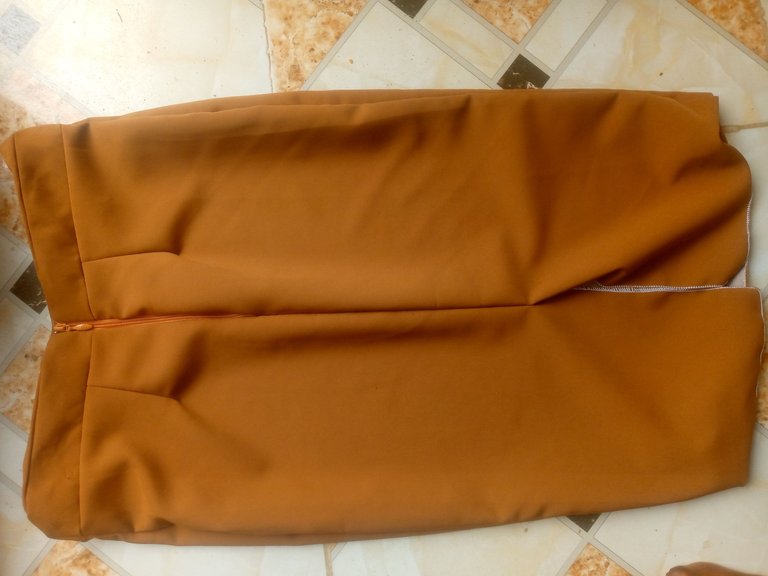
- Next, I sewed the sides of the skirt
- Then finally, I sewed in the zipper and hemmed the skirt neatly, and that completes the making process of this pencil skirt.
I hope you found this skirt's step-by-step process helpful. Remember, you can try making yours with any fabric of your choice.
All images used in this post are mine
This post has been manually curated by @bhattg from Indiaunited community. Join us on our Discord Server.
Do you know that you can earn a passive income by delegating to @indiaunited. We share more than 100 % of the curation rewards with the delegators in the form of IUC tokens. HP delegators and IUC token holders also get upto 20% additional vote weight.
Here are some handy links for delegations: 100HP, 250HP, 500HP, 1000HP.
100% of the rewards from this comment goes to the curator for their manual curation efforts. Please encourage the curator @bhattg by upvoting this comment and support the community by voting the posts made by @indiaunited.
So beautiful.🧡
Thank you so much 🥰
Sending you Ecency curation votes.😉

This is incredible and awesome
It looks beautiful.
The pencil skirt is truly beautiful and sleek. Another beautiful piece from you friend, well done and thanks for sharing.
selected by @ibbtammy