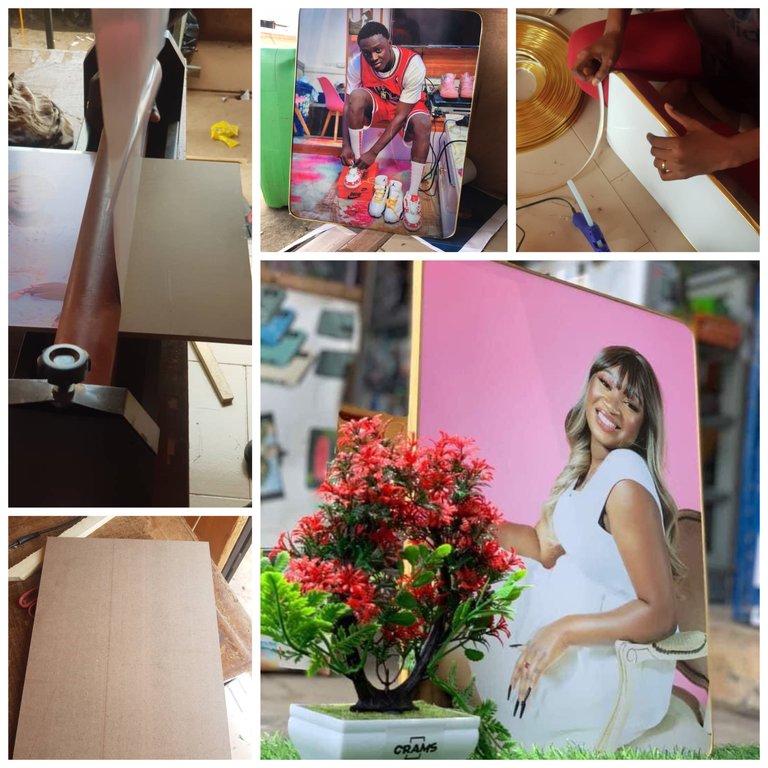
Join me let’s learn in 8 steps on how to frame a photo.
Greetings !!!!
Over the past week i visited my friend who does photo frames and sells them to his customers. He could also customize your own picture and frame it for you. So I took a liking to what he was doing and I decided to keep visiting him often, perhaps I could also learn how to be able to do it one day. It turns out it’s not complicated as how people think it is. So I’m here today to share with you on how to frame your photo.
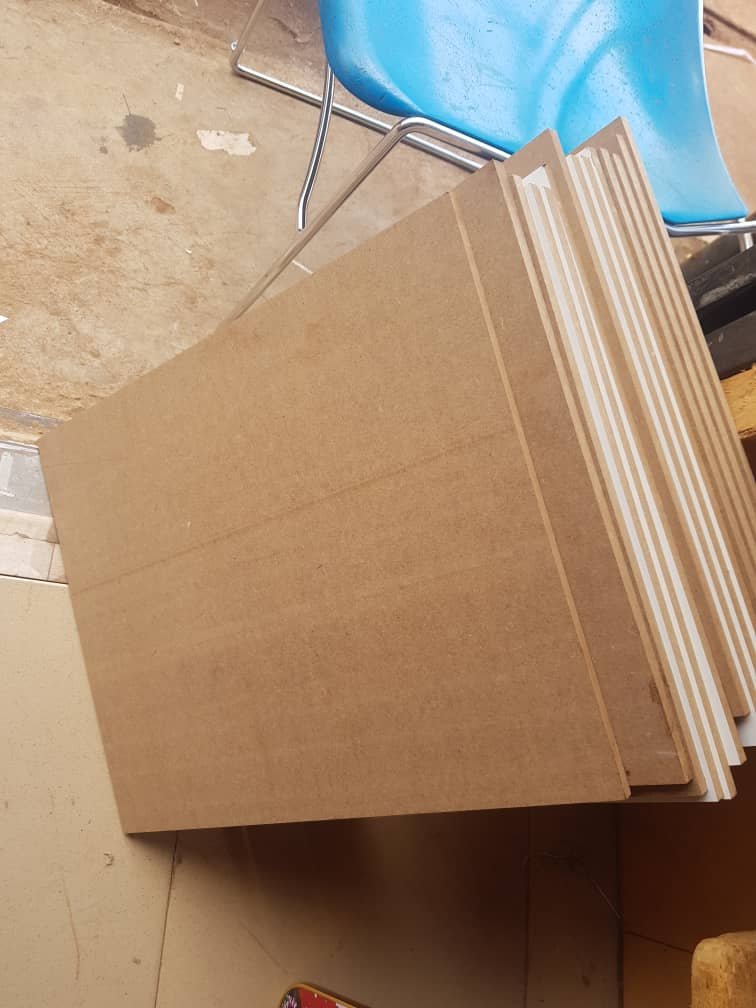
To start off, you need quite a few materials some of which include The frame or Board on which the picture is going to be mounted on, it could be 15 by 19 board or any size depending on your choice, you also need the picture already printed out in sticker format (it has a special machine) , edge cutter, lamination board, coil, for covering the edges, tape measure, hook and an electric glue gun. Now let’s begin with the whole process.
Step 1
For the very first step, you need to select the right board size in other to achieve the perfect frame. And the quality of the board is also key.

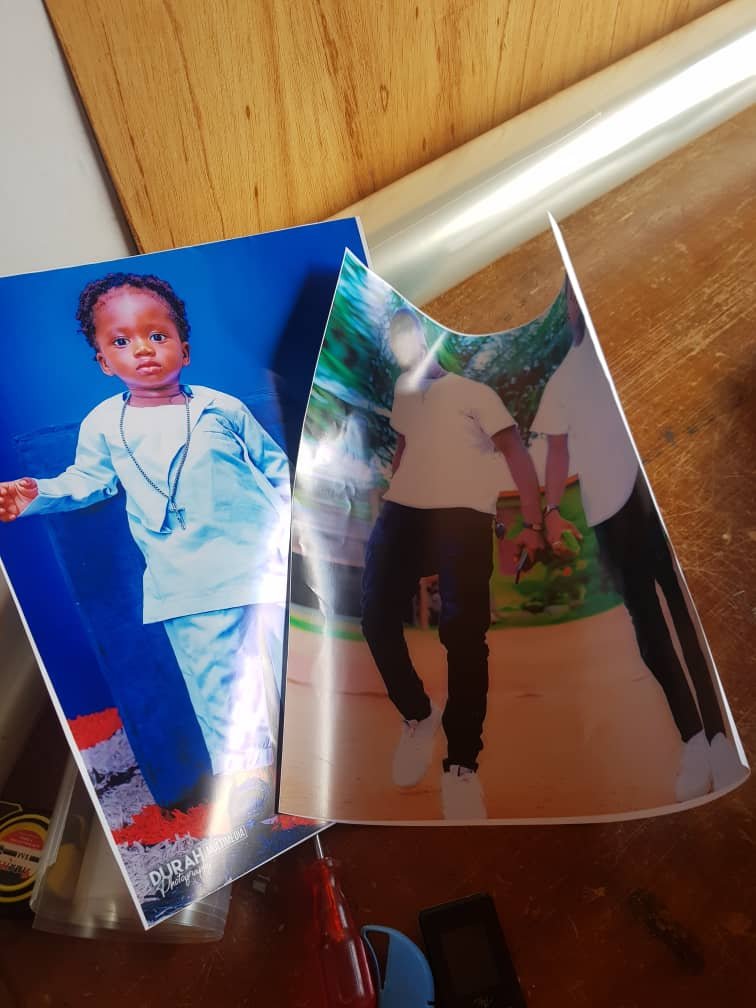
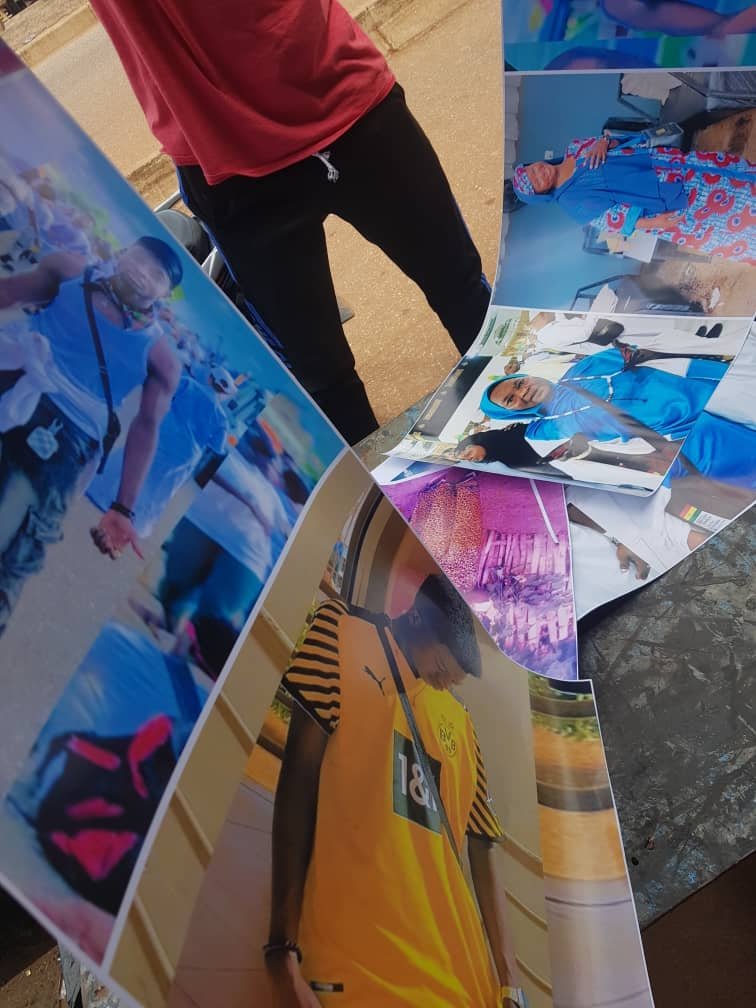
Step 2
Make sure you have the image or photo you want to frame already printed out. It has its own machine for that. Unfortunately we don’t have it, so we send the pictures to be printed and then we go for them.
Step 4
Once you are set with both your Board and photo, you need to perfectly align them together and place it through the laminating machine for it to be laminated on the Board.
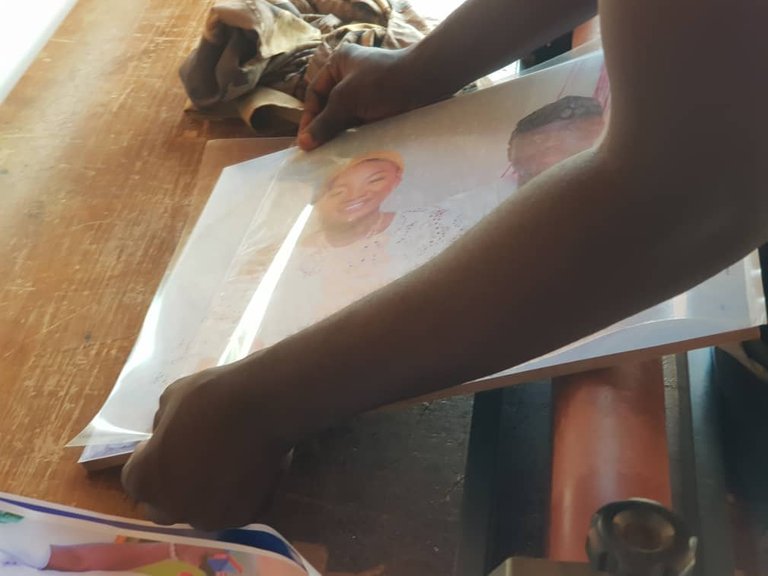
Step 5
The next step is to place a white rubber like material on the photo and pass it through the laminating machine once more. Doing this gives the piece a smoother appearance.

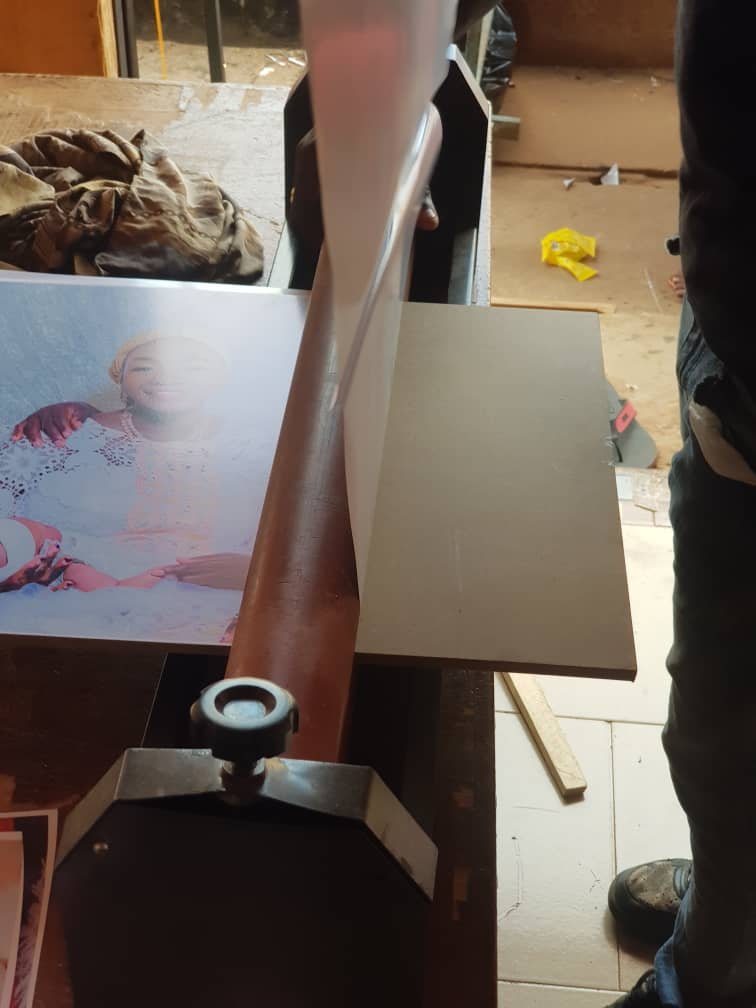
Step 6
Now it’s time to trim and cut the edges using the edge cutter. This part it a bit delicate and requires you to take your time when cutting the edges out. You wouldn’t want to ruin the photo would you?

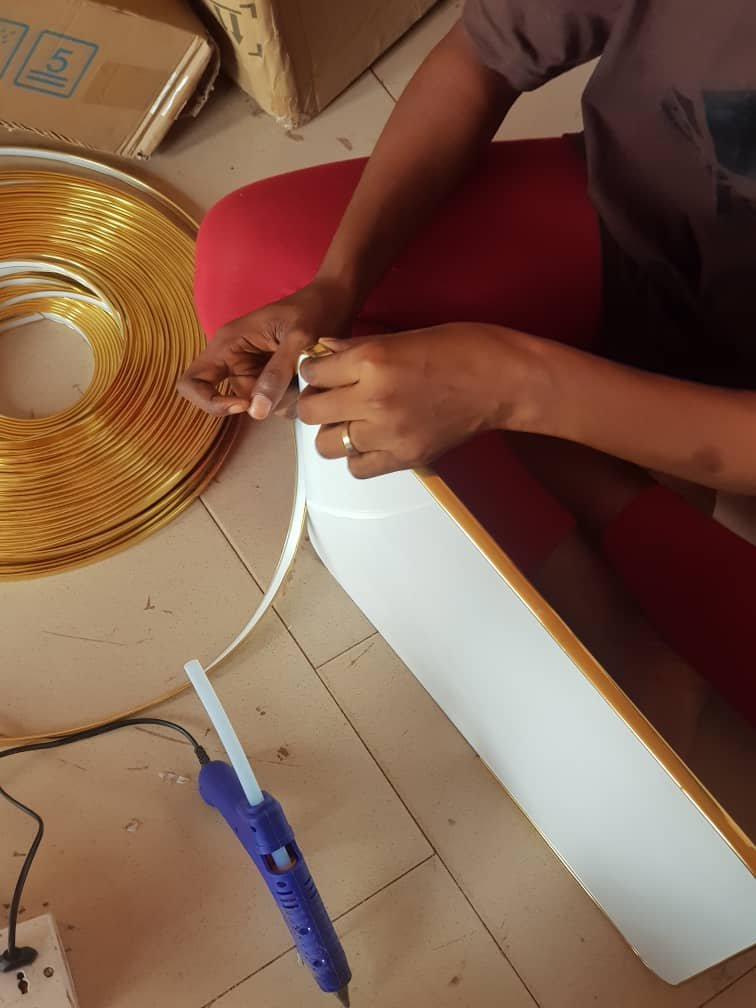
Step 7
Now the frame is almost done. What’s left is to place the gold coil all around the frame, but first you need to apply the electric glue all round the surface before you can place the coil on top. This prevents it from removing in the future.

Step 8
For the final step, you need to place a hook right in the middle of the back of the frame, so it’s advised you use a tape measure to help you to put it in the right spot.


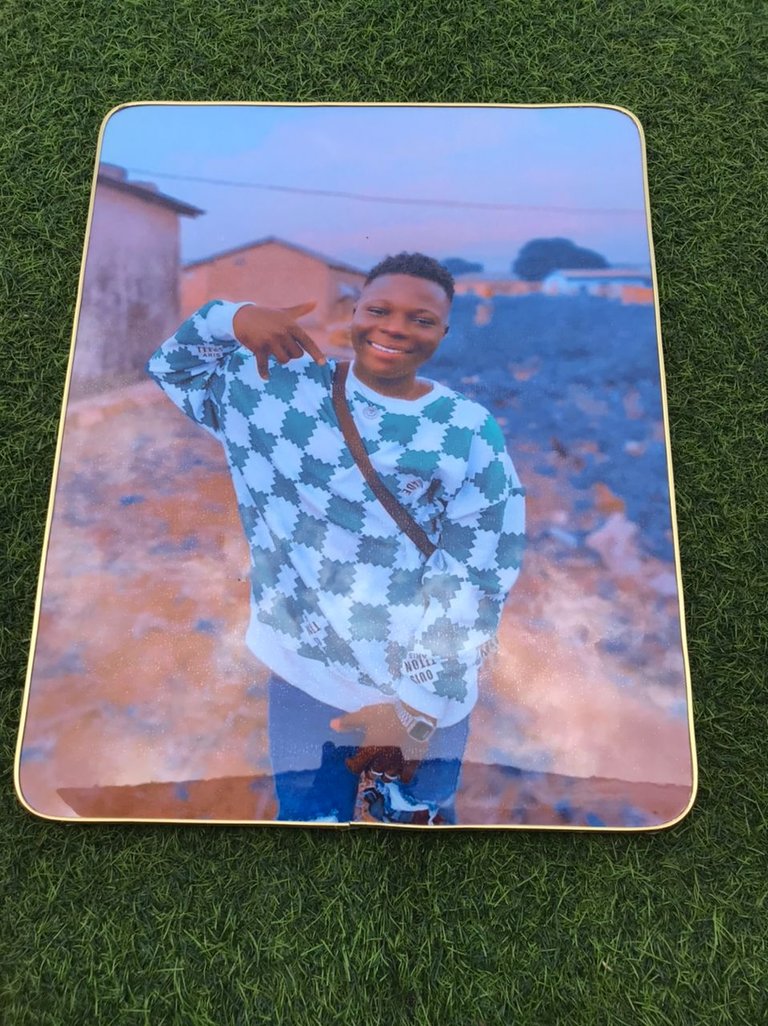
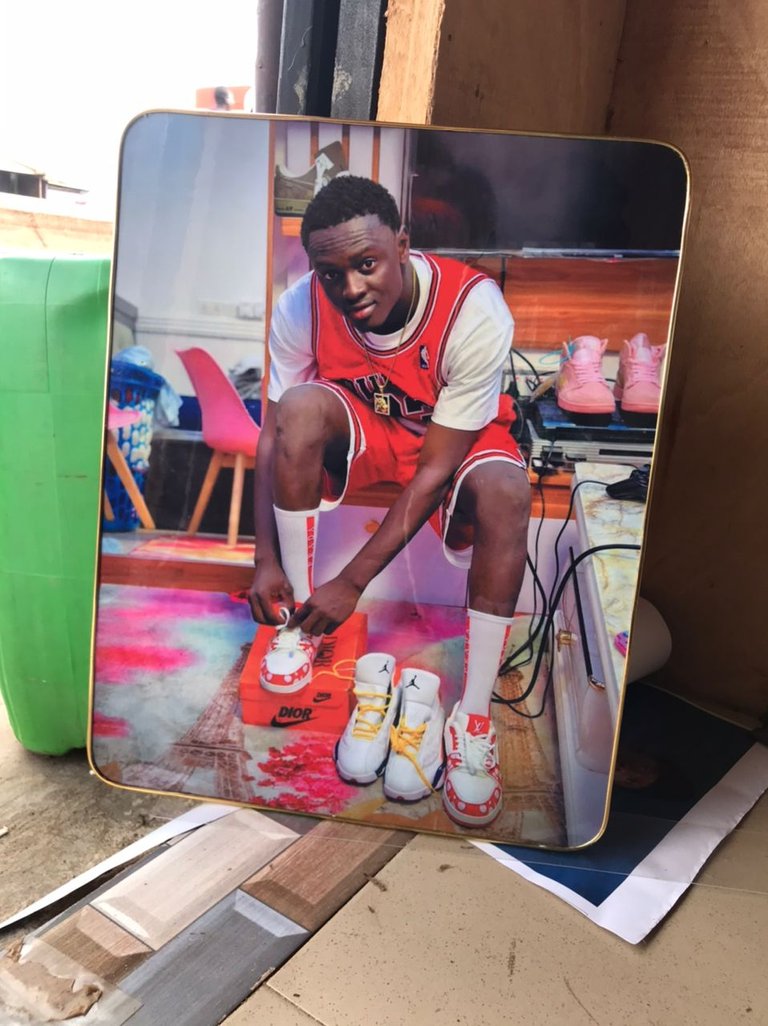
Now that’s how you frame your photo in 8 steps, I hope you enjoyed the process it was fun to learn how to do it. And I hope you have too. Here are some of the finished pieces enjoy and see you soon.


Nicely
This is something I'd love to learn
!diy
Thank you 😊 bro.
The frames help the photo to have a lasting value. They look great too.
Can I get it for free?😂
😂😂. Rich man like yourself and you want free
Me rich?🤣🤣🤣🤣
You are dreaming
Yeah you are very rich 🤑.
You can query your personal balance by
!DIYSTATSThis is so beautiful 😍😍😍
Thank you.
Oh nice is nice and fairly simple to execute bro. Is it easy?😅
Is that Serwaa Amihere I see in there? 👀
Naa. That’s not serwaa.😂😂