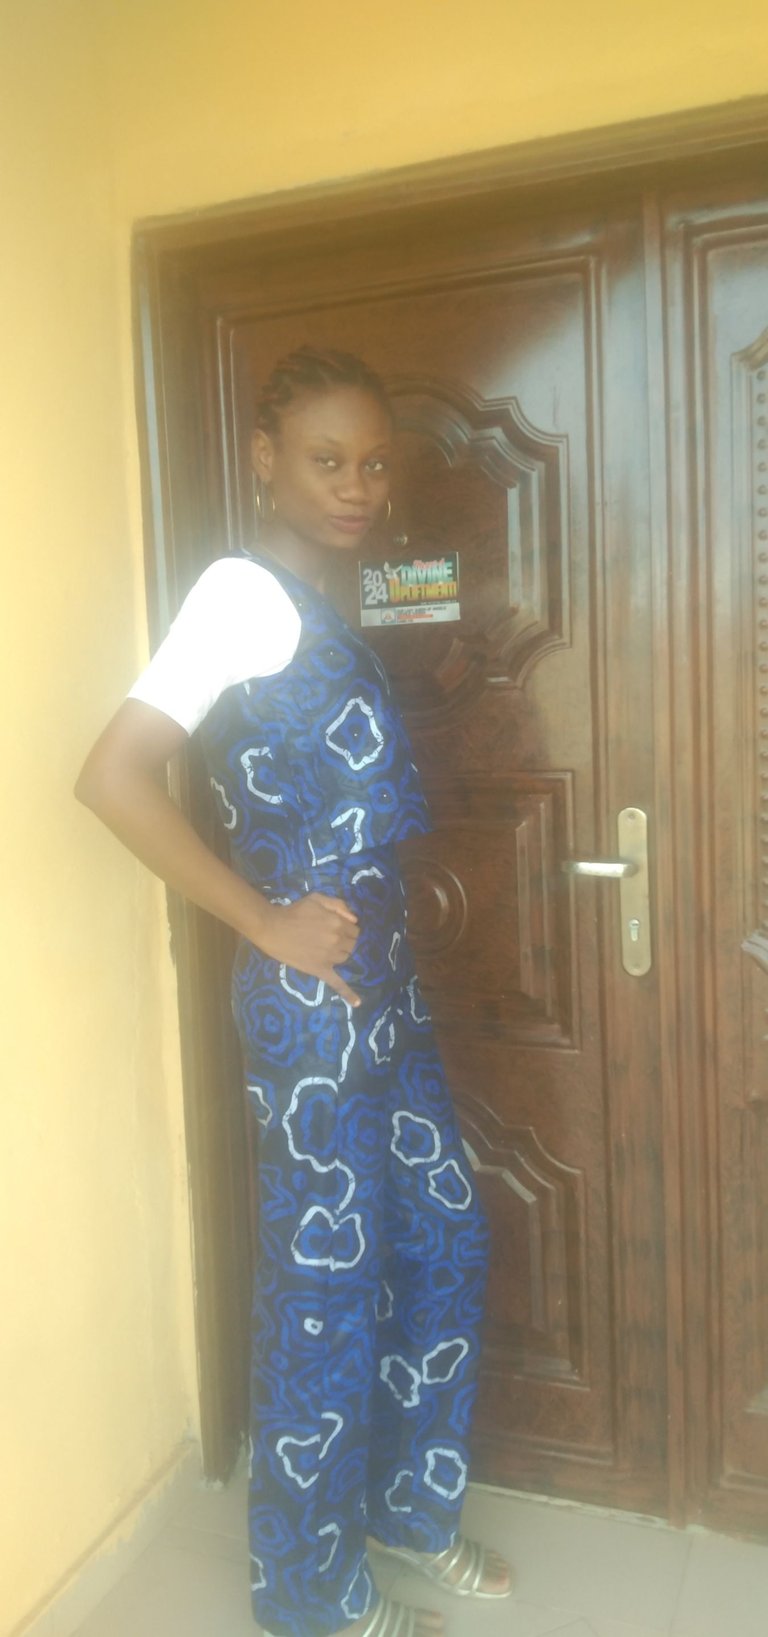
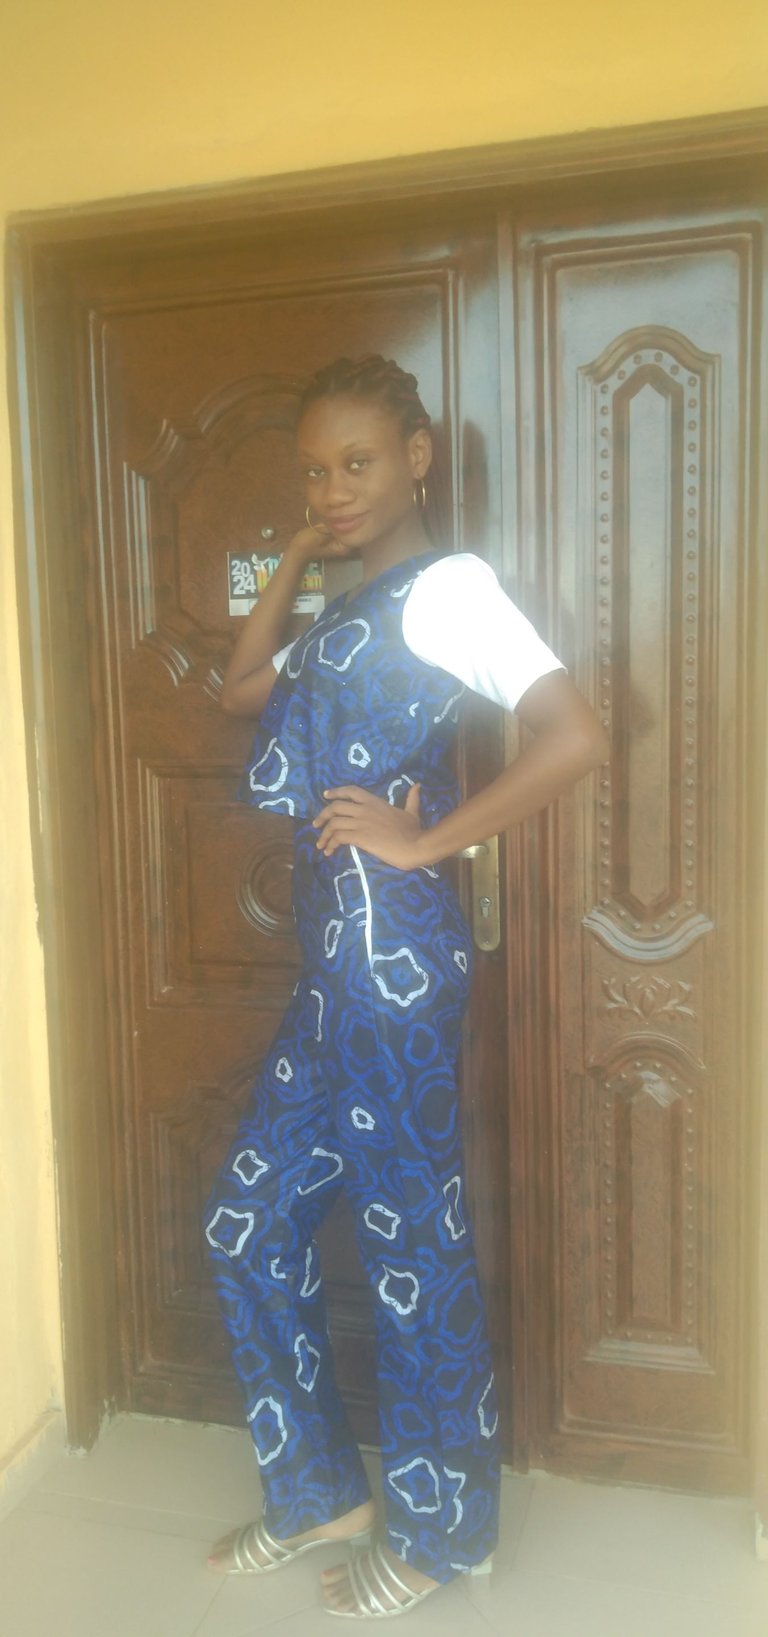
Palazzo trouser and top
Hello everyone on this great platform, I welcome you all to my blog
If there is one thing I cherish doing, it is doing what I love. I always tell myself, life is too short to be found doing what does not make me happy. Throughout last week I was very sick and confined to my bed, I couldn't do anything, not even to go my work place, the moment I gathered the strength to pedal on my sewing machine, I sew myself a palazzo pants and top. As I sat down to cut it, my sis was looking at me in amazement.
Let me take you through the process
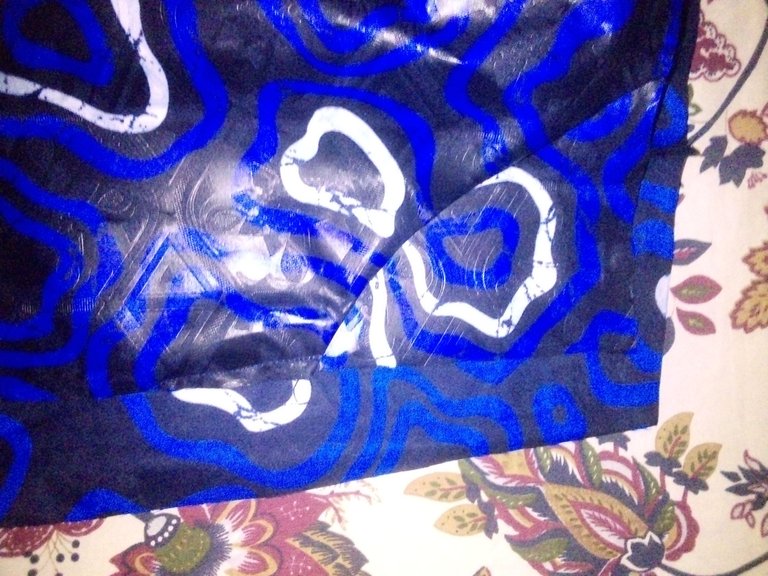
I already have my fabric (Campala) of 2 and 1/2 yard at home so I decided to cut it. I cut the trouser first to see what I can do with the remaining fabric. The frontal part is what I chalk out first
Whatever you chalk for the thigh is what you use downwards because it will be a free pant.
The pocket is 6 inches when folded, when not folded that will be 12 inches or as you prefer in terms of wideness. In length you make it 10 or 11 inches joining allowance included to allow the hands to enter it.
The crotch is the hip divided by 4, anything you get add 1 inch, do not forget that when you place the band(around the waist) the crotch will be extended a little bit, so when you make your final measurement it will be increased, you need to be careful of not making it too long to avoid a shapeless trouser.

The band is into two places, 3 inches twice, for folding it in, 3 inches will be outside .
Shape out the waist and hip. Take note that the waist is the band. For the notching of the trouser on the fabric come down by 5 inches and 3 inches wide.
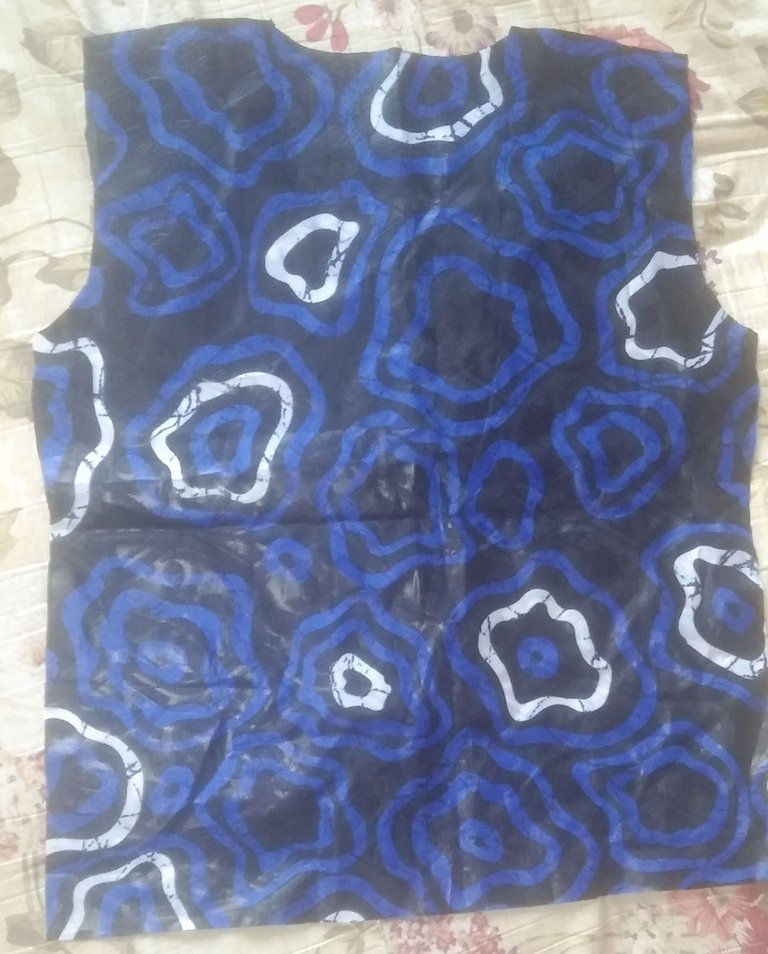
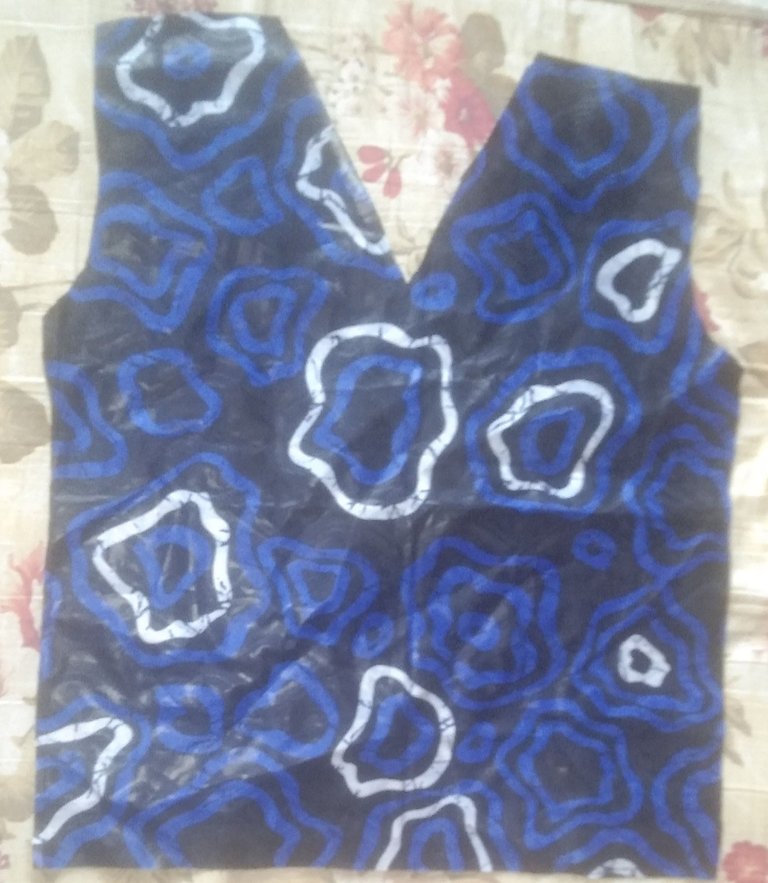
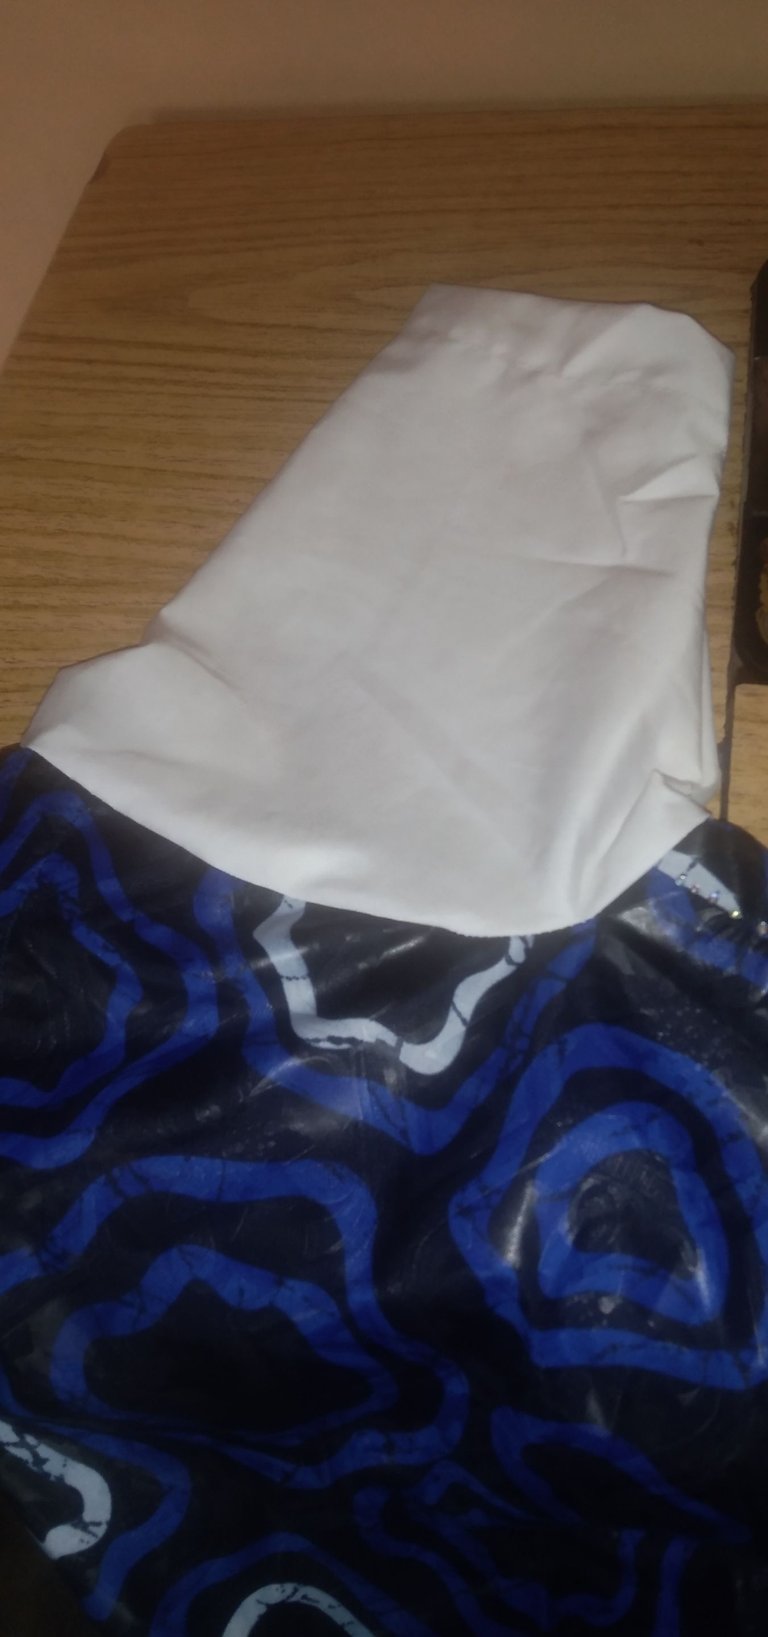
I cut the top using bust 34 inches, waist 26 inches. I made the front a v-neck. Then I fix the hemming. In the process of managing the clothes I realized it was difficult to put the top on, I had to loose it and add some joining, this I have seen my boss do,"she says as a fashion designer you don't condemn clothes, you must always find a solution".
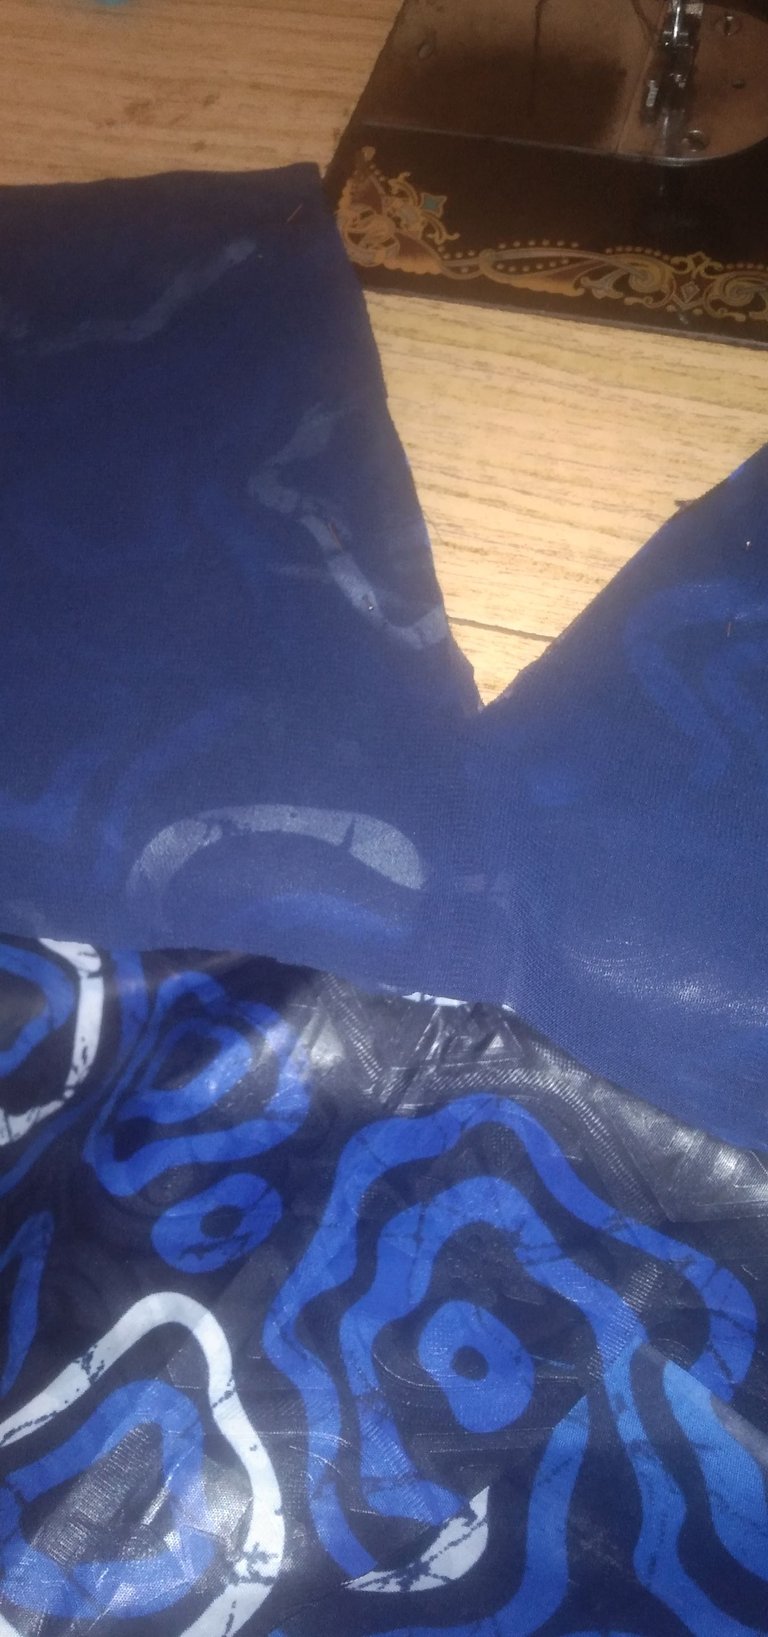
I cut the sleeve,a straight sleeve
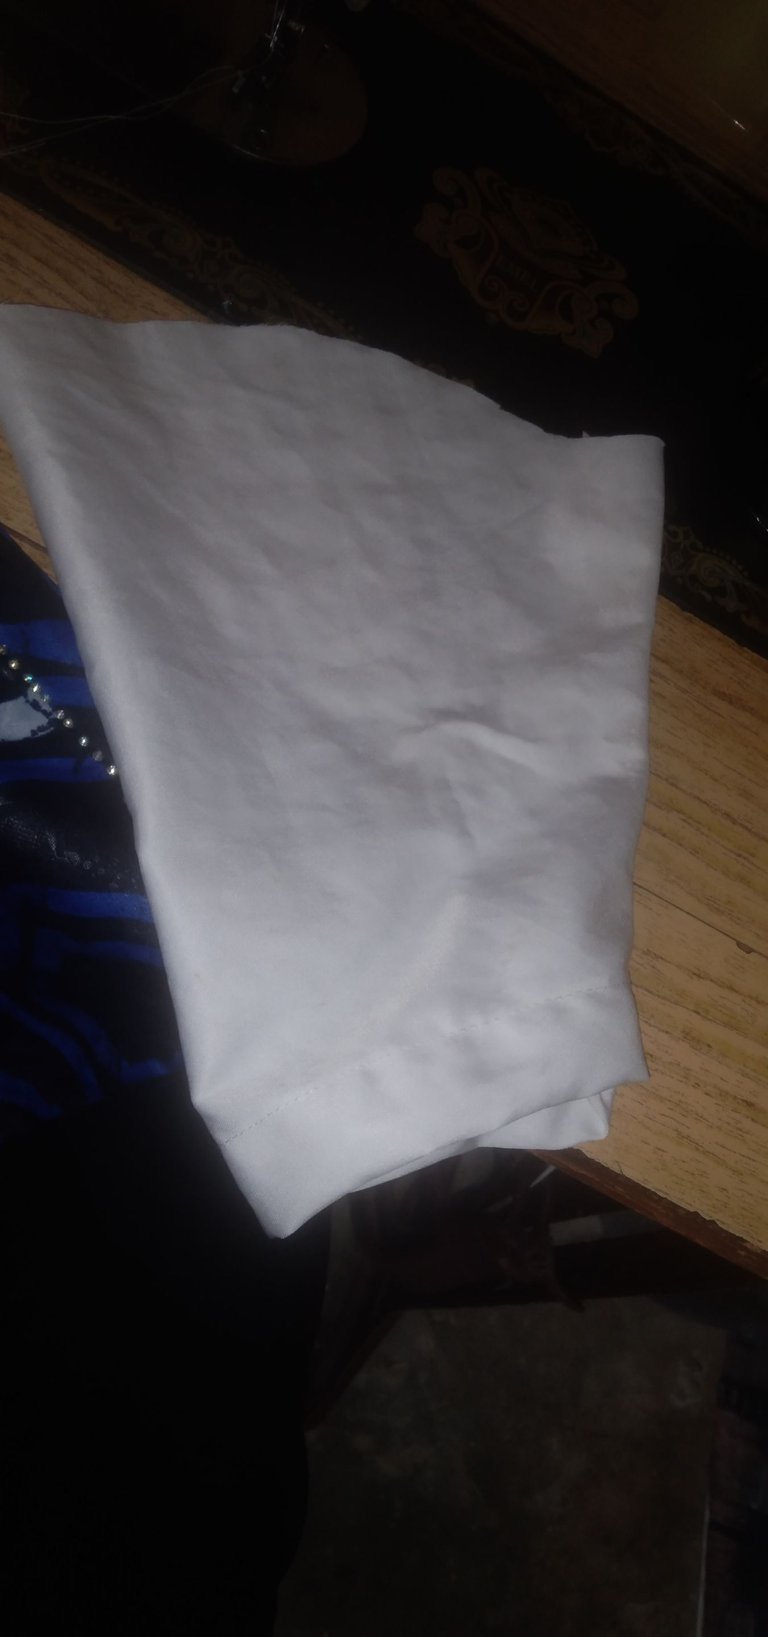
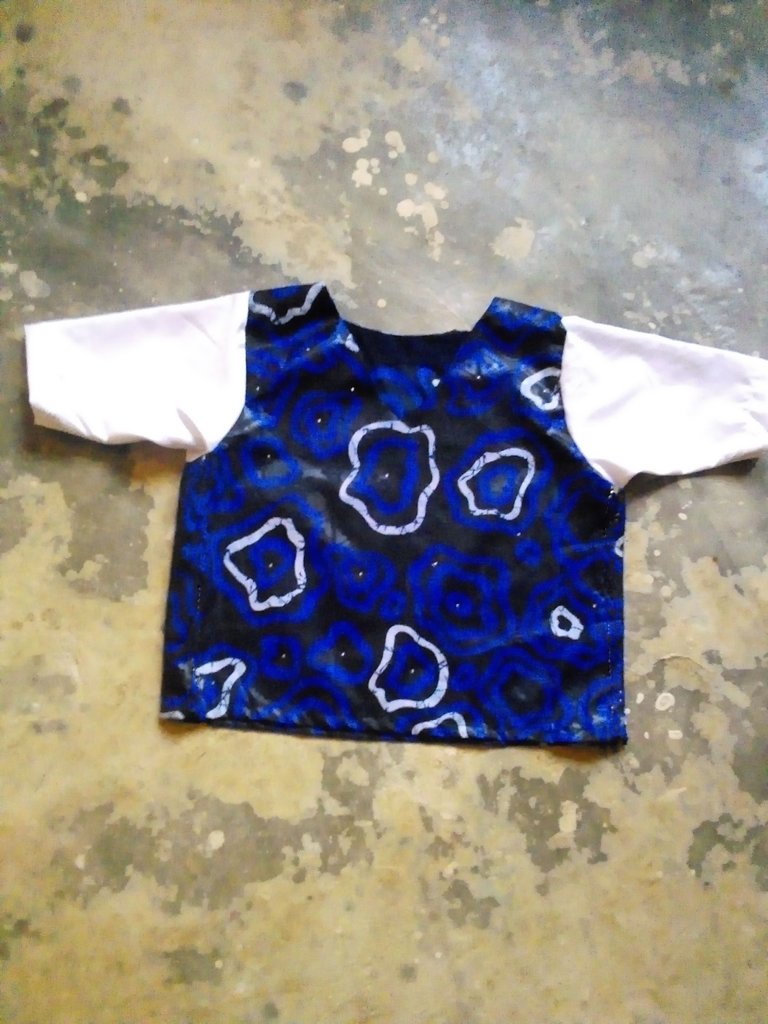
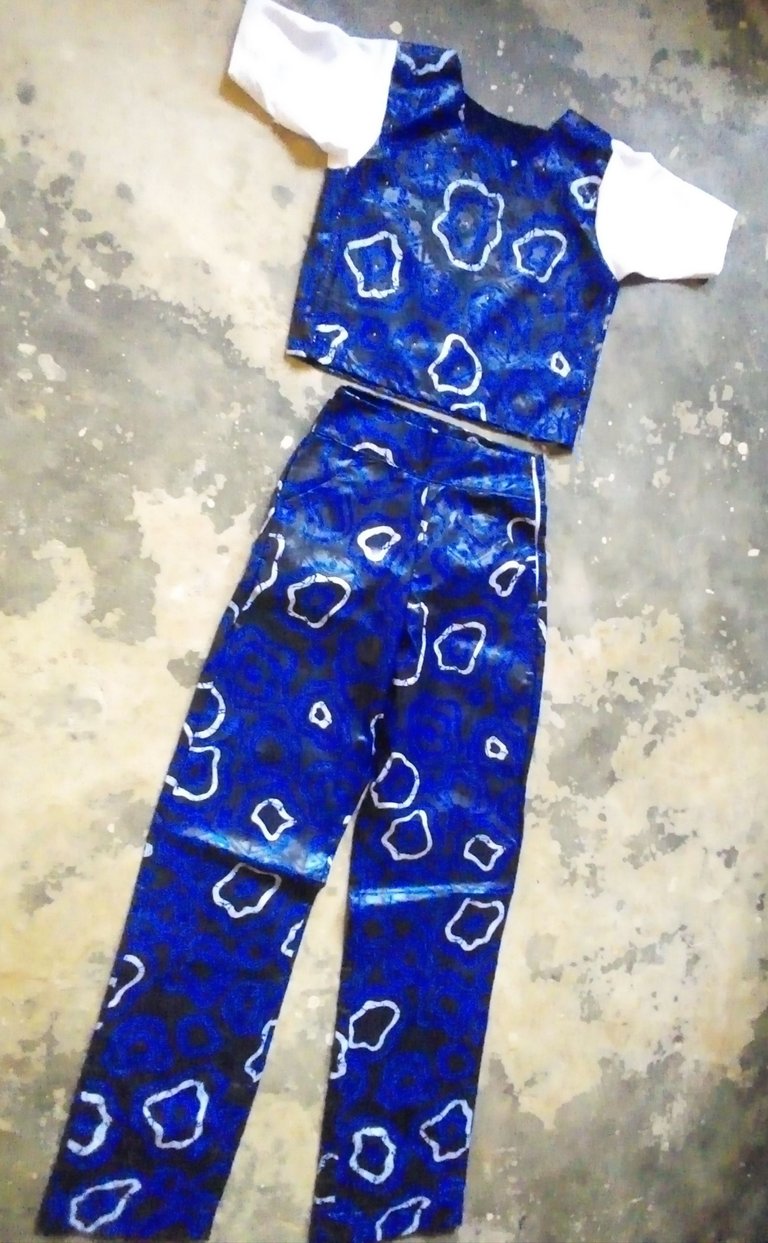
The outcome
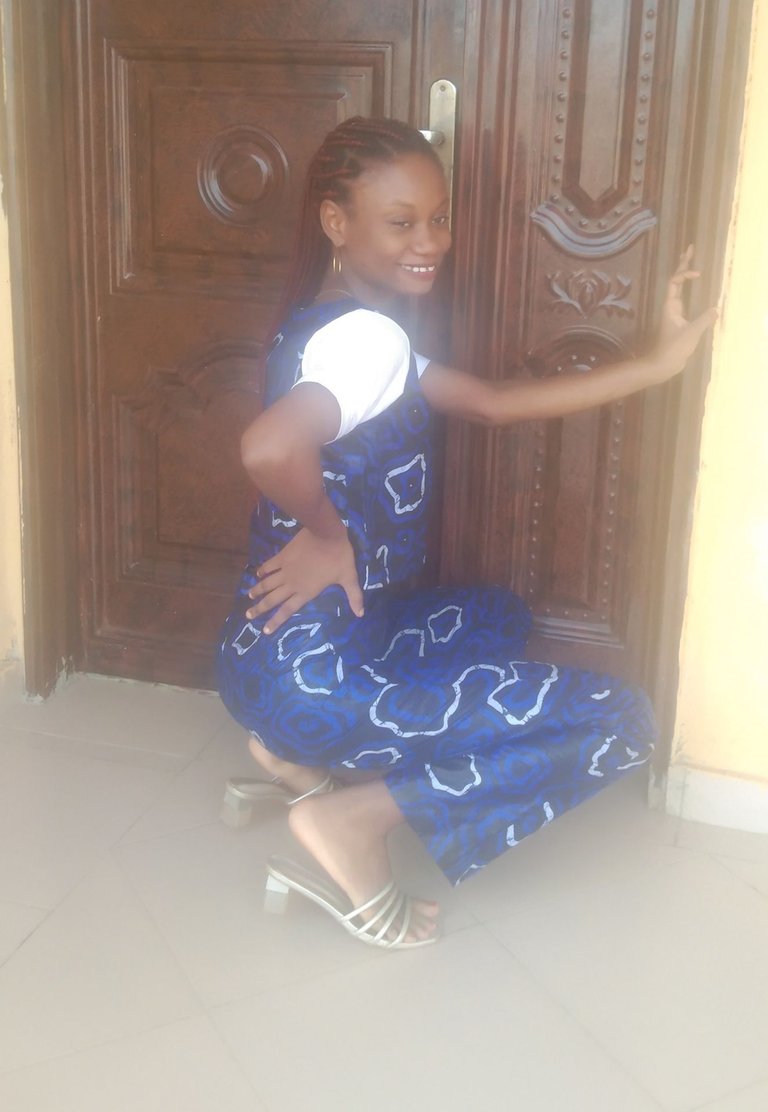
All pictures are taken with my vivo 1906
That is us a great feat. Albeit, we'd recommend using a better camera to truly capture it. Well-done
Thanks
!discovery 27
!diy
This post was shared and voted inside the discord by the curators team of discovery-it
Join our Community and follow our Curation Trail
Discovery-it is also a Witness, vote for us here
Delegate to us for passive income. Check our 80% fee-back Program
You can query your personal balance by
!DIYSTATSThanks so much @stevenson7
You're welcome 🙂
🙏🙏🙏
I love love love love this 💕💕💕😘😘😘 and also remembered when I made my first ever pant. You got this right, perfect and beautiful.
Thanks Sis for the lovely comments. It was indeed interesting making this.
Wao! I love the process you took to make this cloth, it's indeed a good design. Plus, I love the material of the cloth and your colour combination.
I am glad you love it. Thanks so much for the comments.
You are welcome 🤗
👍