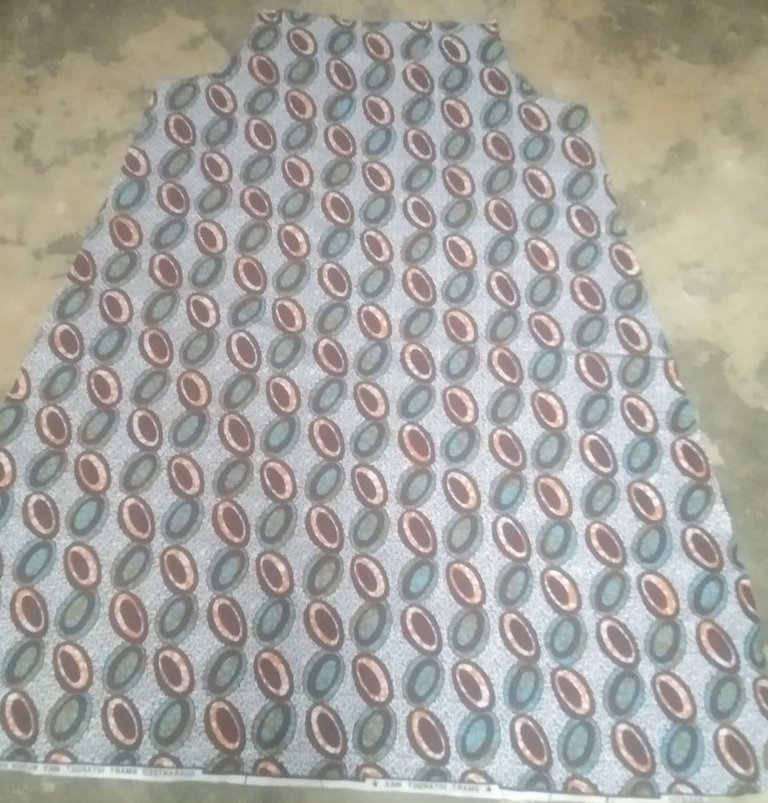
A tutorial on a flare gown with dull face design.
Hello everyone, I welcome you all to my blog
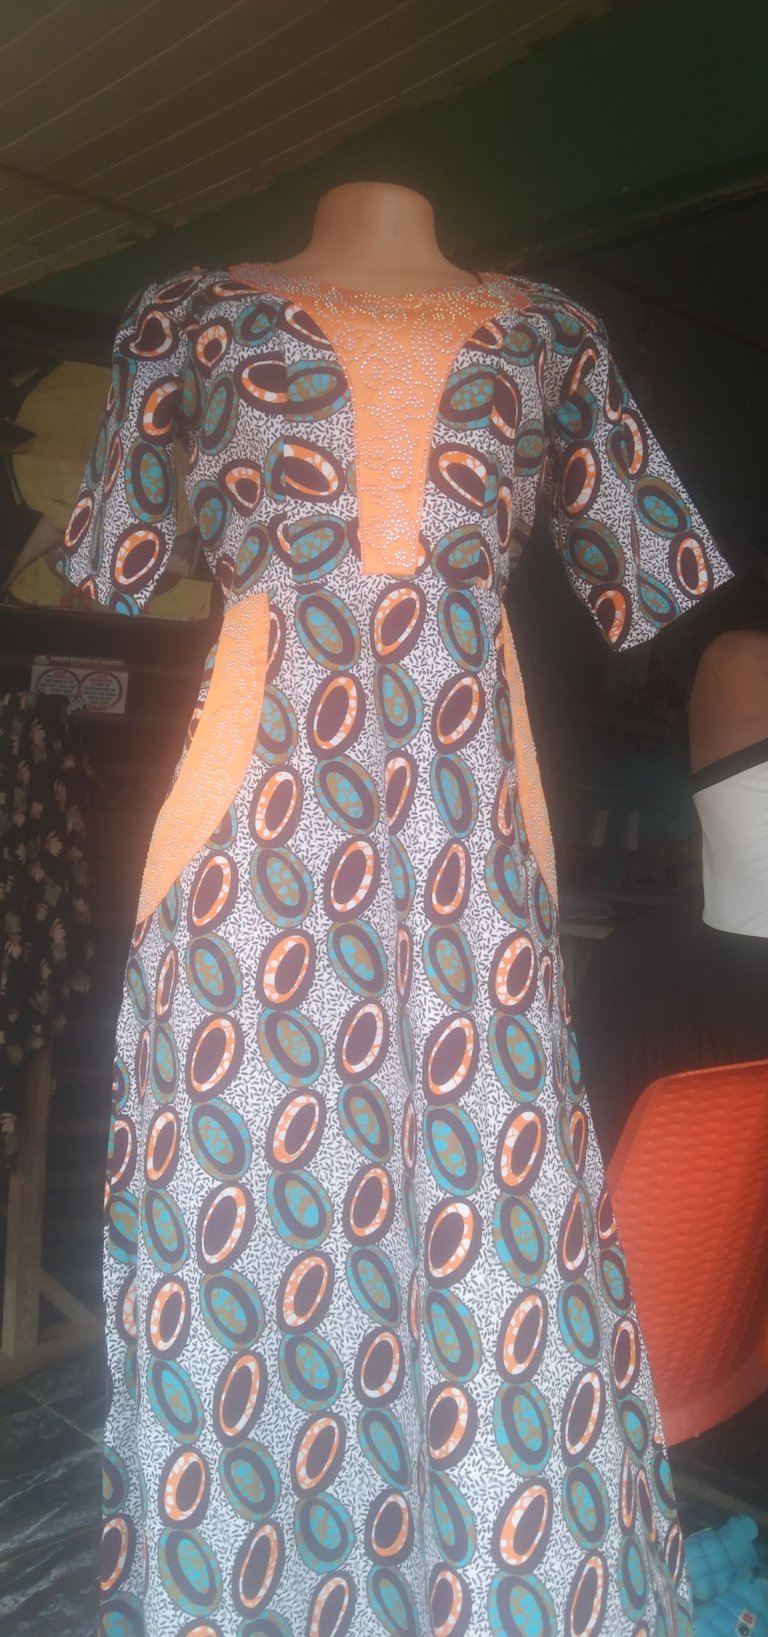
I will like to share with you how I made a flare gown
My customer wants a flare gown with a touch of dull face as a design at the pocket region and the frontal bodice
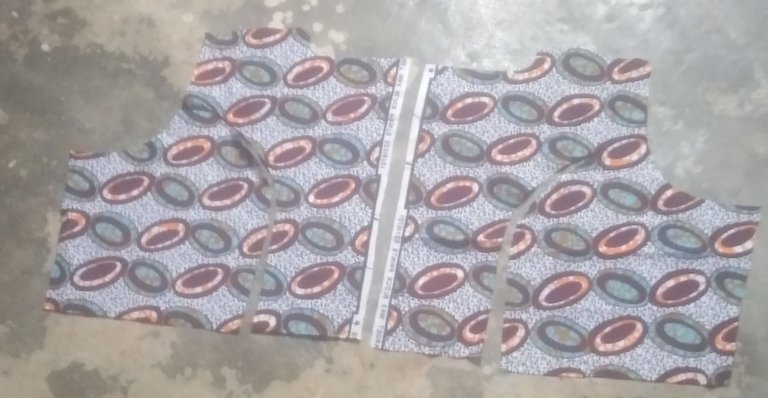
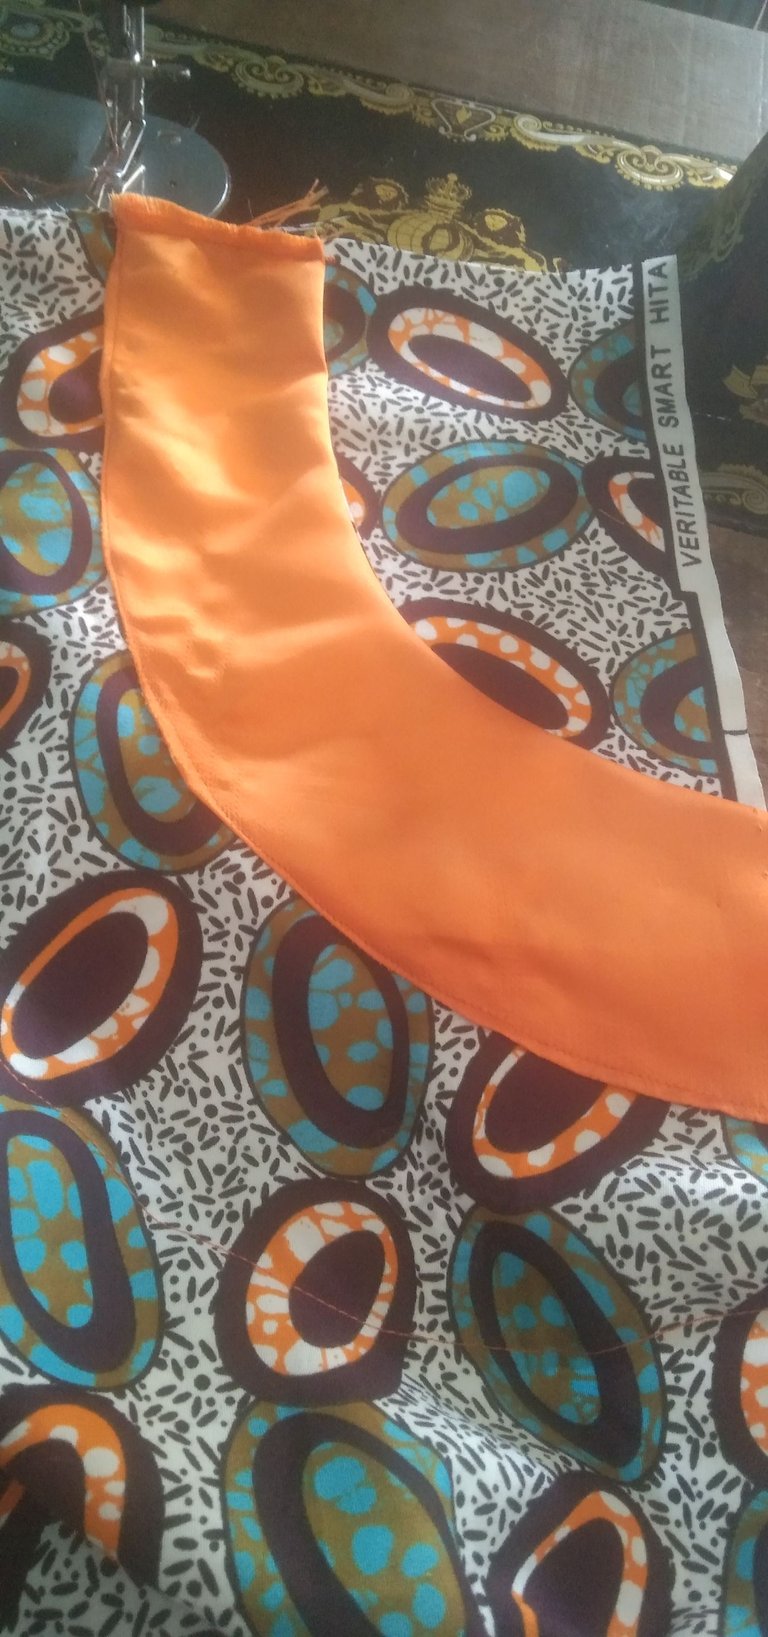
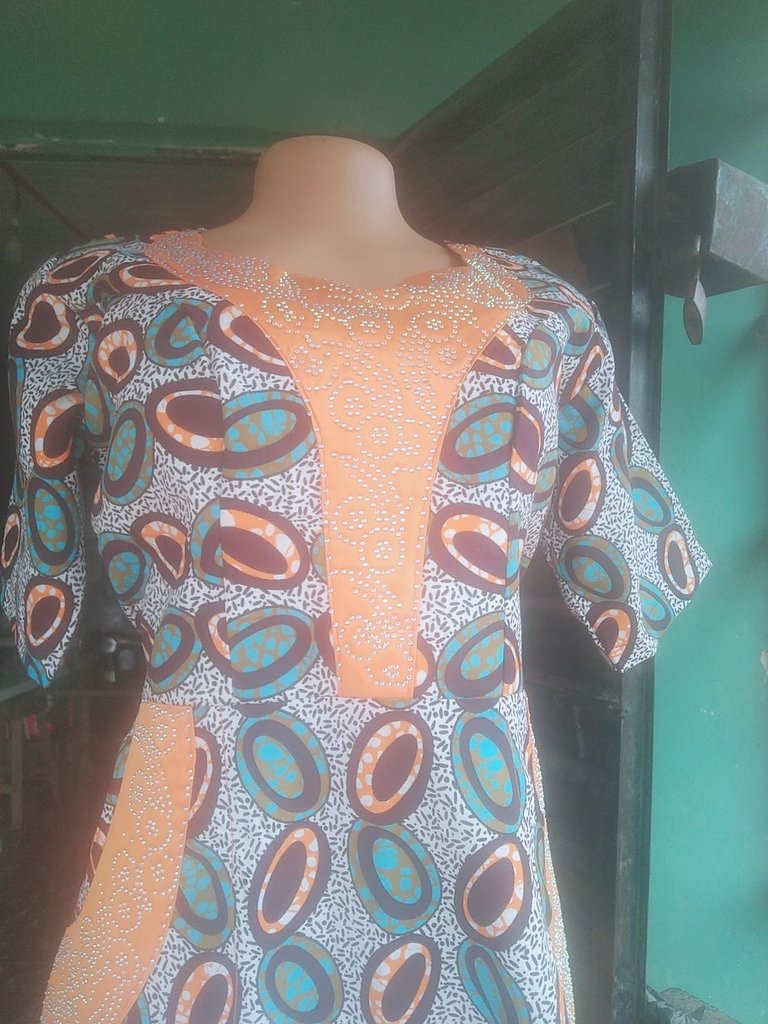
The first thing I cut was the frontal bodice with a princess dart bustier, looking at the style, a princess dart will fit better.
Materials needed
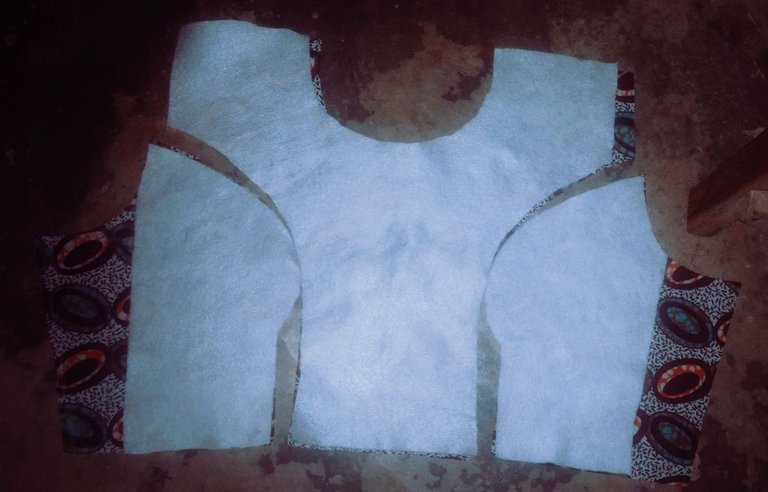
Wadding (for padding)
Linen 1/2 yard for the upper bodies(this is more economical and depends on how well the customer is willing to pay
Measurement
Bust 40
Waist 36
Underburst 12
Half length 15
Sleeve length 10
Roundsleeve 14
Nipple (np) to nipple-8 inches
Back-9 inches
Calculations
Her bust is 40 inches, 40 divided by two gives 20, 20 + 8 inches, 8 inches is the allowance, this gives 28, so I am using 28 in two places, one for the front and the other for the back and I am cutting the front first.
I chalked out the bust which is 40 inches and I added 8 inches allowance like I typed earlier, waist and underburst all on a straight line accordingly, the bust point(which you can also call the nipple to nipple point) which is 8 inches divided by two gives 4 inches, I marked 4 inches on the bust point,then on the Underburst 3.5(three and half),on the waist 3.5 too
I measured another 2 inches on the underburst and extend to the half-length, then joined the lines. From the bust point come down by 1 inch and join it to the 2 inches which I have already measured. On the armhole, use 1.5 (shared into two, 0.75 inches upward and 0.75 inches downward)
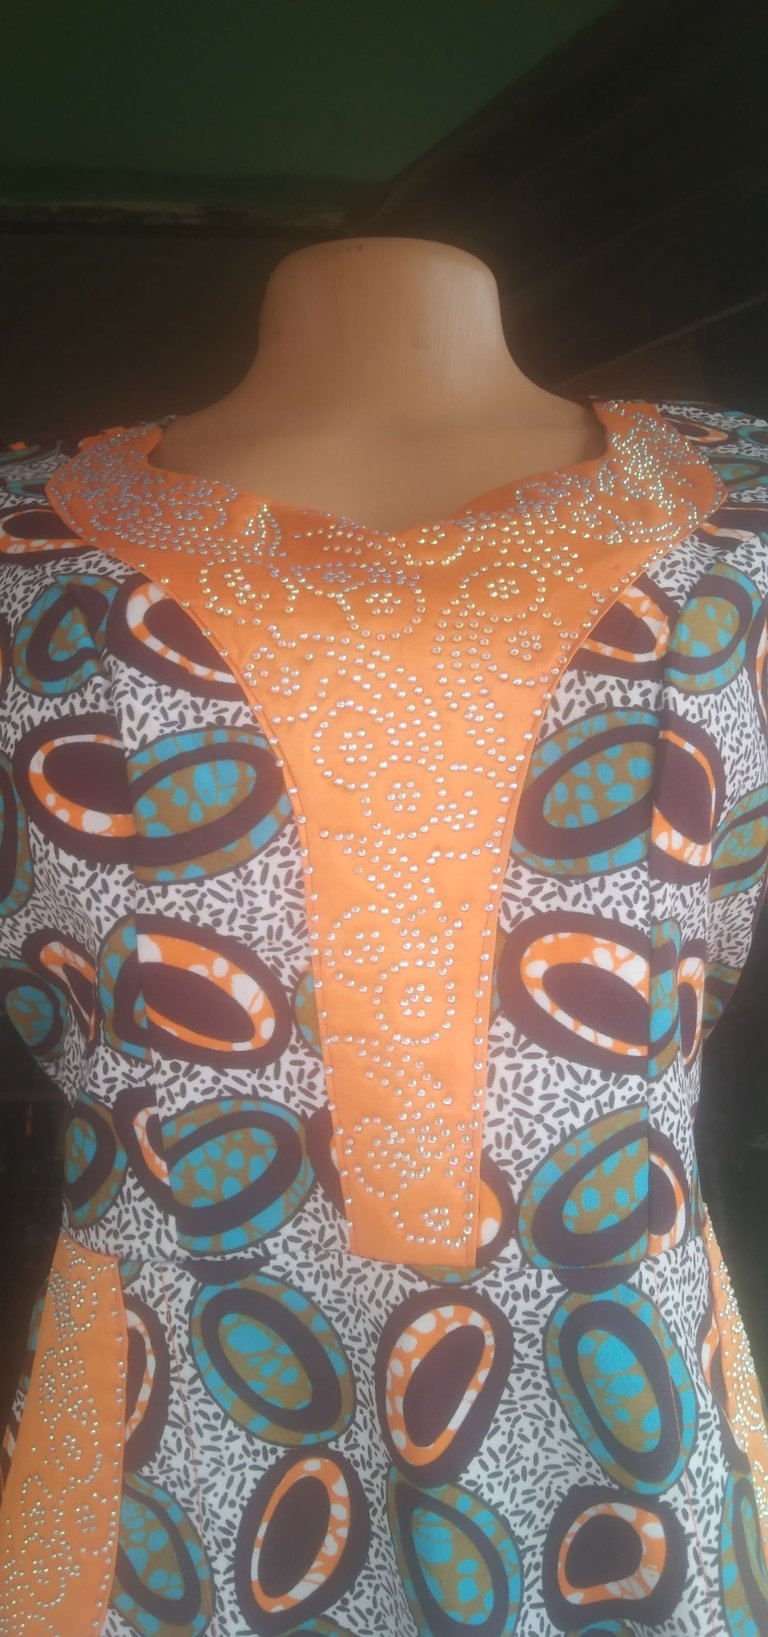
Neck width -3.5 inches, neck depth 5 inches, after chalking it, I cut it.
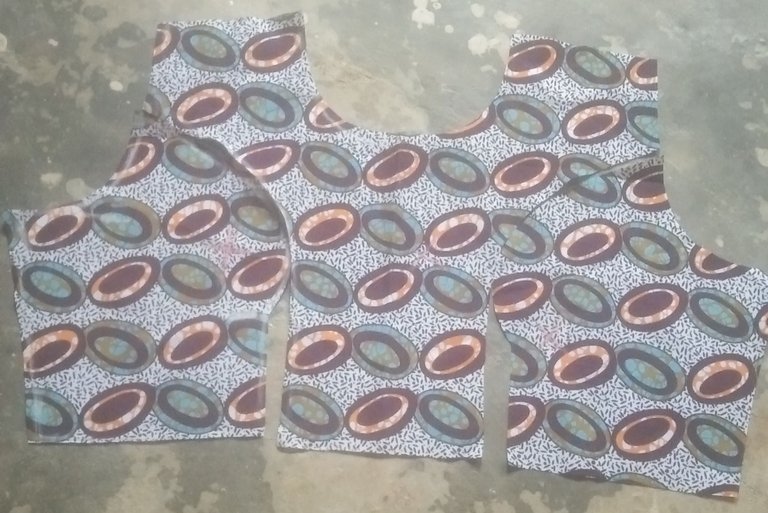
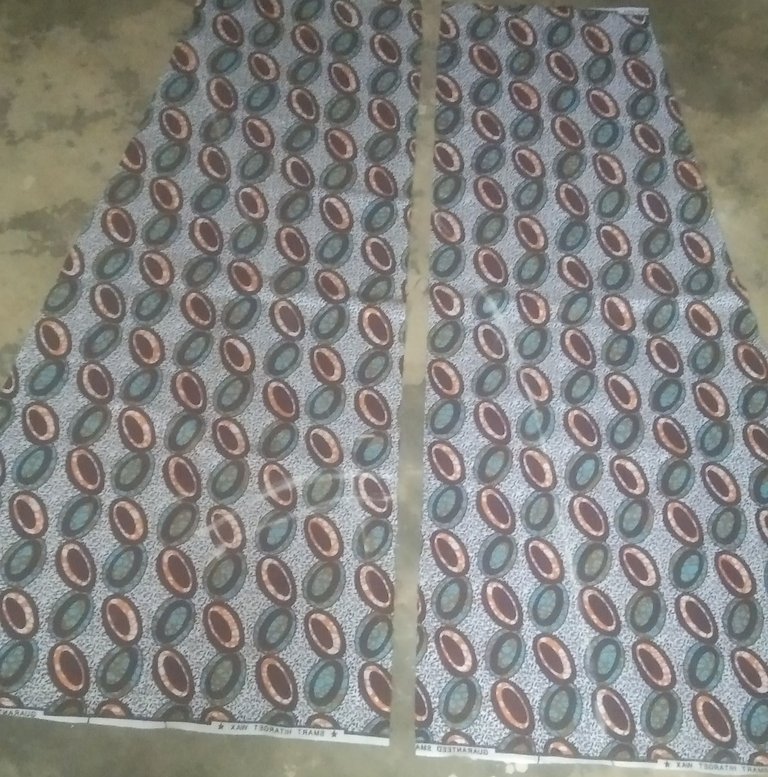
I then proceed to the back which I will be using princess cut also but not with a curve like the front. I use the same measurement of the bust, waist and underburst, the next thing I did was to place the frontal bodice on the dull face to cut the one I will use, and I cut the linen.
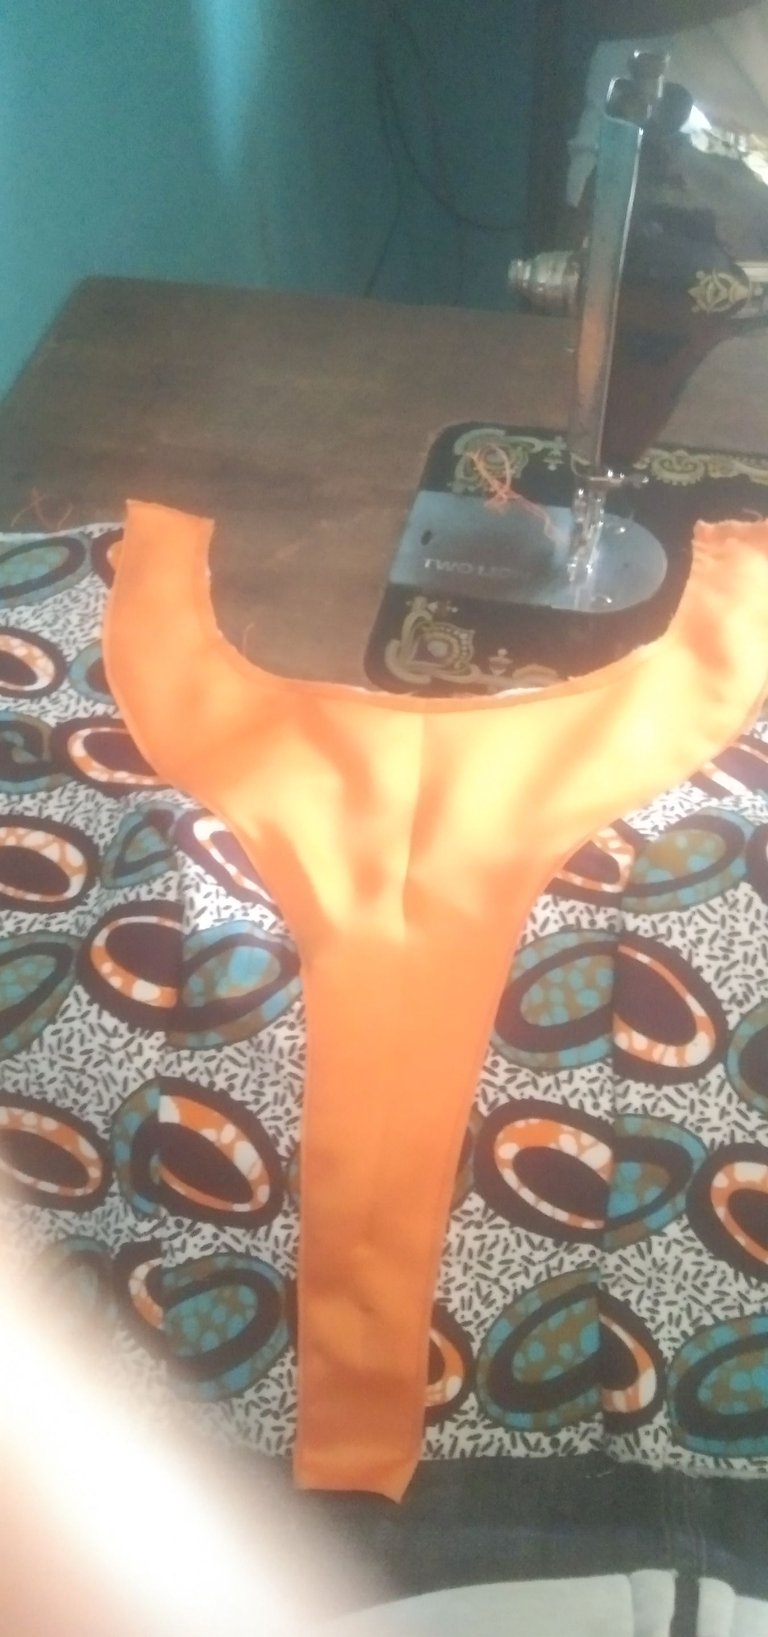
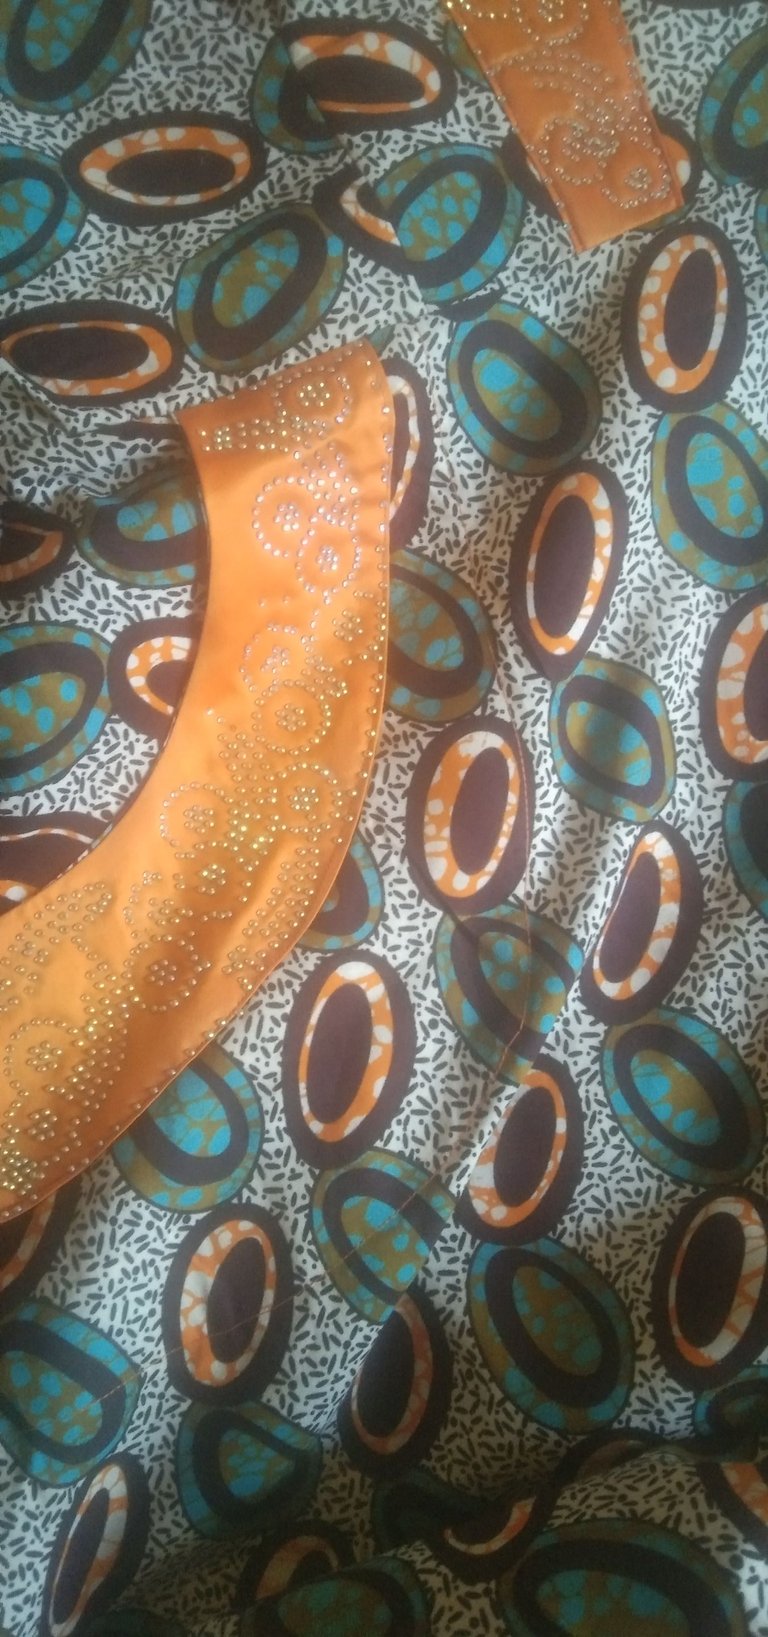
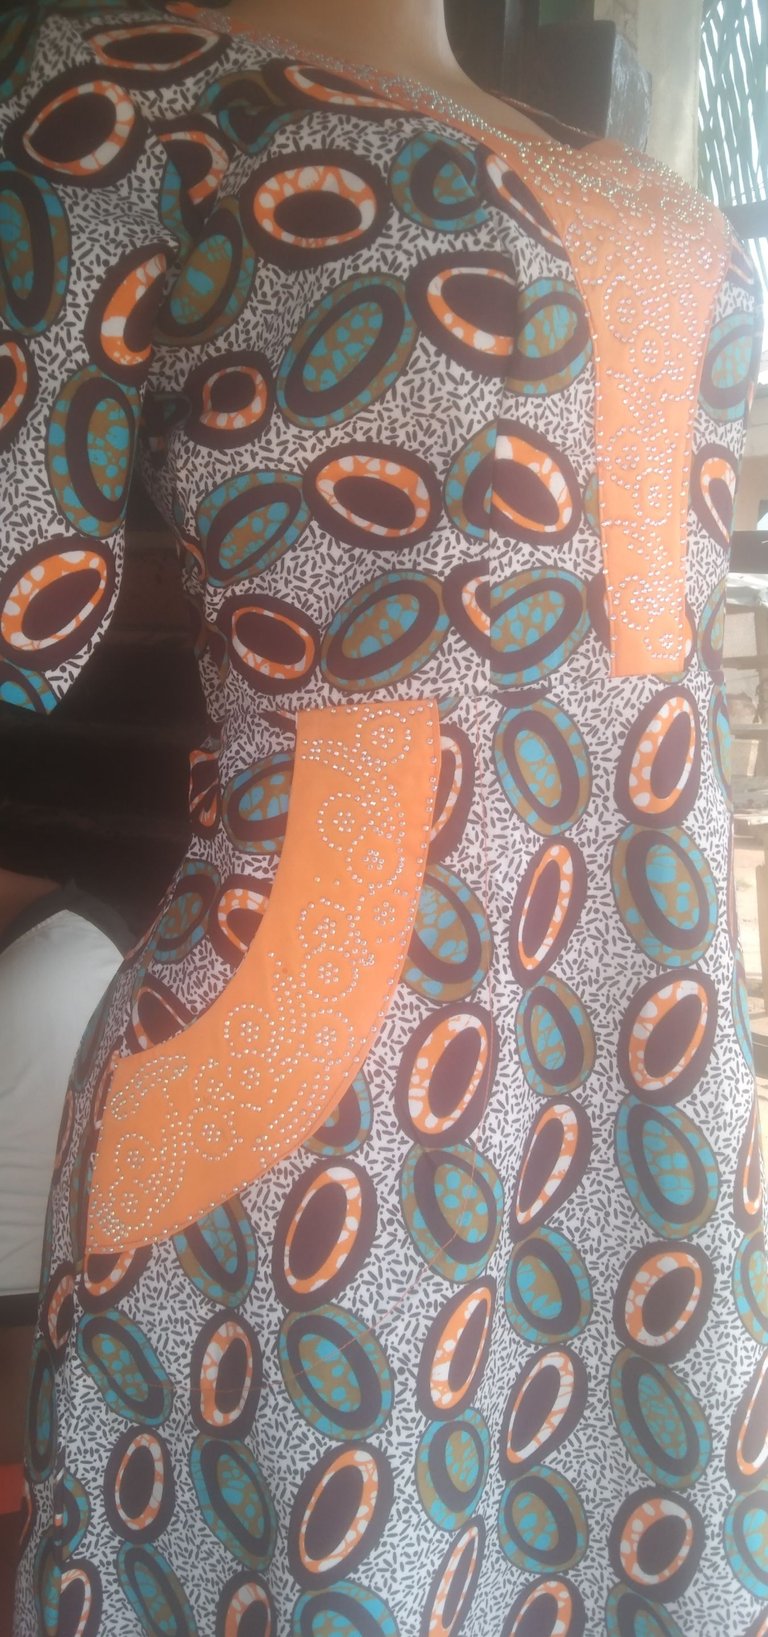
For the skirt length, it is a flare, it has pocket, so I cut the pocket, 6 inches long and 6 inches wide, this depends on how you wants yours to be, you can make it wider or smaller, then I cut the dull face for it.
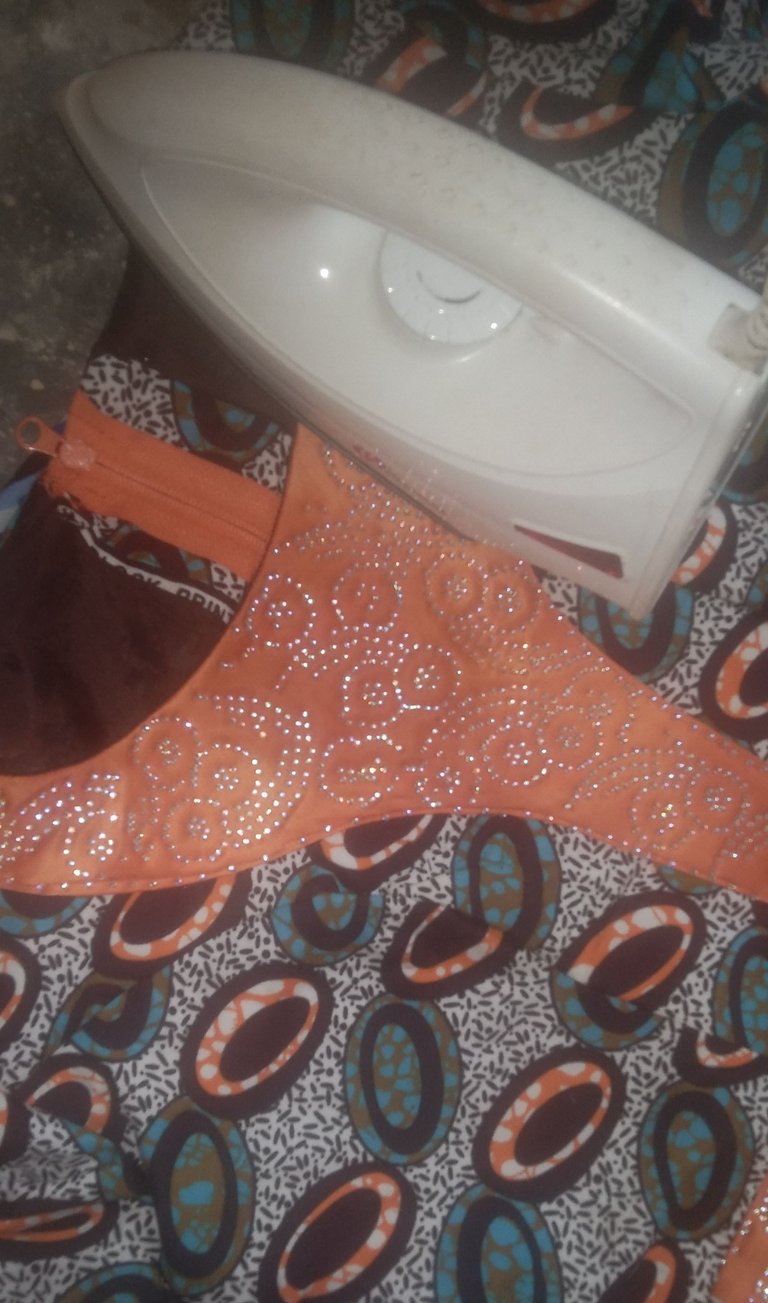
When I was done sewing I put stone on the dull face with my iron(a stoning machine will be faster but I do not have one yet) so I make use of the iron, unless I want to go to another place and use their stoning machine
I placed it on mannequin to snap
Thanks for checking on my blog
All pictures are mine
It is beautiful. This dress is nicely designed. Good to see how you make this. Thanks!
Thank you for the nice comments. ❤️
Wow!
You made the stoning design yourself?
Absolutely beautiful
I love the touch of orange attached to it
Yes I did sis, though it took my time, but it came out well. The orange is bright so I decided to use it. Thanks so much for your comment
That’s impressive
You’re welcome
Love this tutorial, you did a very nice job, thanks for sharing. 👏👏👏❤️
I am glad you love it. Thanks so much for stopping by
Hello, it is a job that you explain in detail, it reads simple but in practice it should not be so much, in the end your product has yielded a result that I find beautiful.
Thanks for stopping by