How To Cut a Bustier.
Hello,
It's a beautiful Monday and I hope you having a great day.
There is joy in lifting others, this is because no man is an island of knowledge, while learning my tailoring skills, I've had a lot of people who taught me different methods of cutting, and that really helped my skill and so I find joy in sharing my knowledge to anyone who reaches out to me.
Last week Friday, an online friend reached out to me to teach her how to cut a breast pad (off-shoulder)and since sharing my knowledge is a way of life, I decided to look for a very small piece of fabric to share my knowledge with her online and here too so that it can be of help to anyone too.
Materials needed for this project;
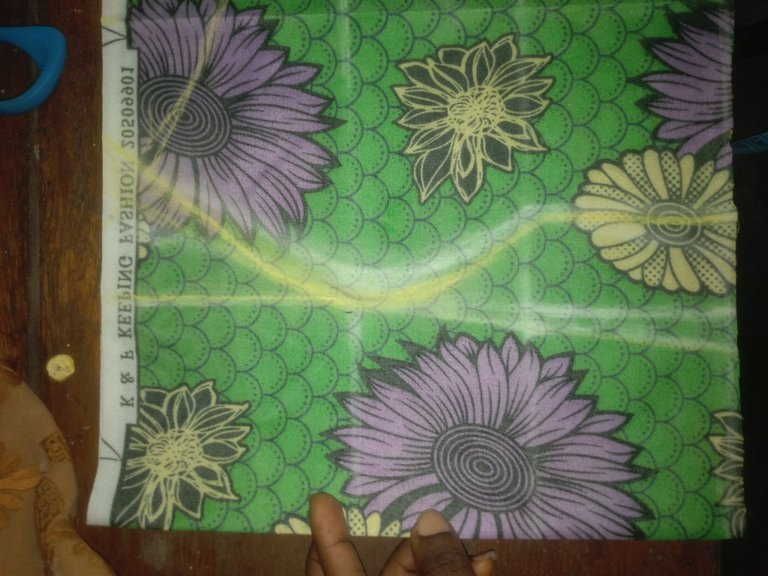
African print
Breast pad
Scissors
Tape measurement
Lining
The first step is to get the measurement of your client. For this project, I worked with a bust measurement of 33 inches.
I divided it by 4 inches and added 10 inches for the dart manipulation and seam allowance.
I deducted 5 inches away from my half-length measurement since it was an off-shoulder.
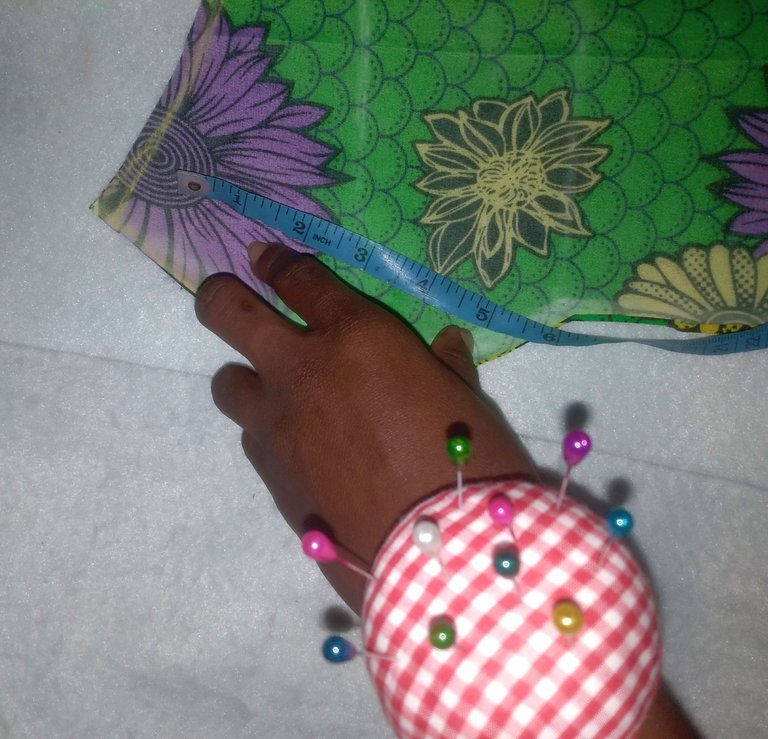
I folded my fabrics and inserted the bust span measurement, her bust span is 7 inches, so I divided the bust span by 2 which gave me 3.5, and then added 0.25 to the measurement which gave me a total of 3.75 inches, which was what I marked on the fabric.
On the right hand, I came out with 1 inch for the bust tightening, and for the armhole, I went in with 2.5 inches and then I marked.
For the underbust, I used 0.5 for the left side tightening and then I used 1.5 inches for the waist tightening.
I joined the dots together and marked them using my drench curve and made my bust curve on the bust point as seen in the picture.
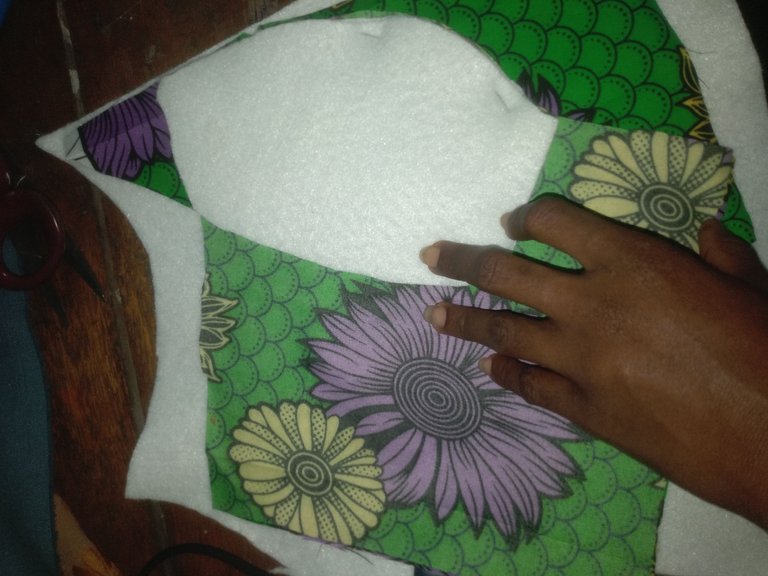
I went ahead to cut it out, I place the pieces of my breast pad and made the cut, and did the same for the lining.
After cutting, I ensured I secured the pad to the fabrics using my pin, so it doesn't shift from its original position.
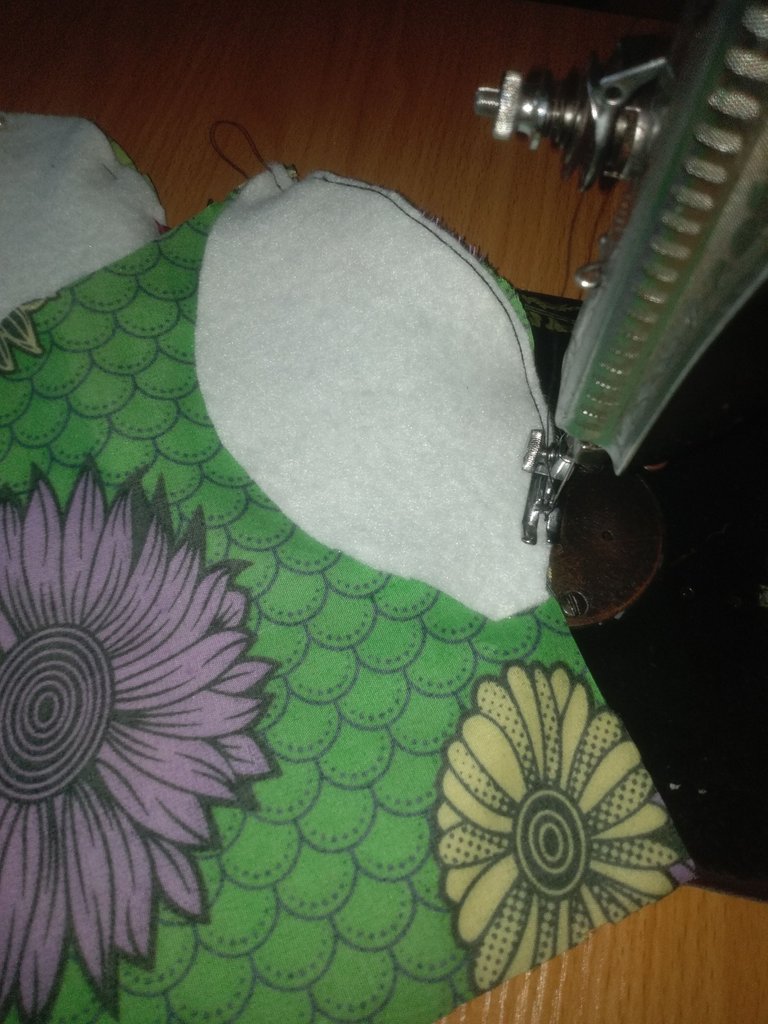
When I proceeded to sew around the pad carefully.
Joining the mid part and the sides together, I did for both sides.
I proceeded to give it a very good press so that the cup comes out nicely.
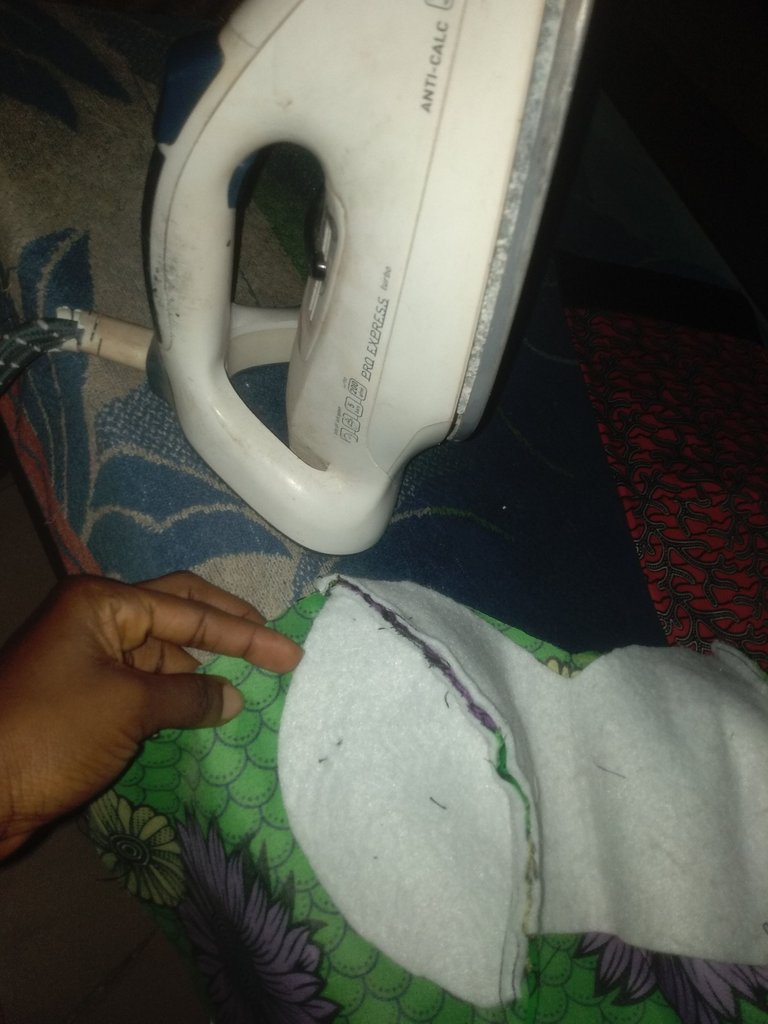
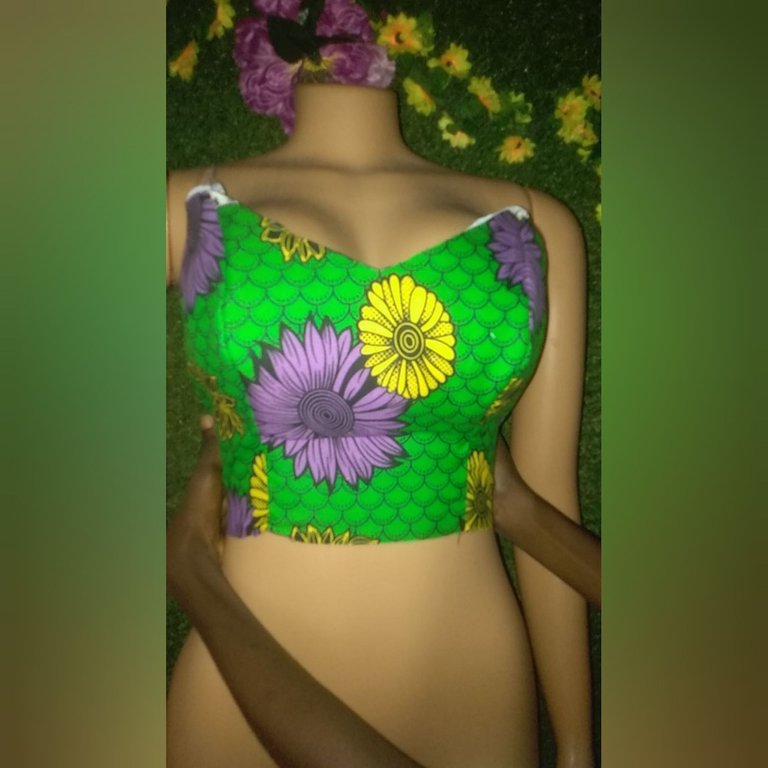
After ironing, here is what it looks like, though it is still a work in progress in that, after making the pad, I was inspired to continue the project as a very fancy peplum top.
I would go ahead to turn the neckline with my lining and finish up the project but that would be displayed in my next tutorial 🙊.
My focus today was on how to achieve a very good padding and I hope you enjoyed reading.
P.s
My friend was so excited she learned something that day and she promised to try it out on her own.
All images used are mine, cut and sewn by me.
The contour came out well, bustier pattern gives this outcome and looks great on we ladies.
Well done on being a good teacher.
Thank you, sis.
!LUV
@glorydee, @amiegeoffrey(2/3) sent LUV. | connect | community | HiveWiki | NFT | <>< daily
! help(no space) to get help on Hive. InfoIt came out well, you have a kind heart to share your knowledge with others. Well done.
Thank you so much.
This is beautiful and the underbust sits well.
My problem is that I tend to get confused once I learn a particular thing from different people. I just mix up their different ideas until I make a mess of the fabrics 😄😄😀😂
Oh, I understand how it feels. Well, watch out for that person whose tutorial is so easy to understand by you and just focus on their method.
That way you learn better and feel free to ask me questions too whenever you feel confused.
Really, if you I bombard you with question now you will understand how I can be a bit disturbing 😂😀😍
Thanks dear. That's kind of you
Haha, I don't mind 🤗🤗🤗
I loved your phrase: sharing knowledge is a way of life, and whoever teaches has the opportunity to keep adding even more knowledge. I congratulate you for that.
Best wishes to you.
Thank you so much for the Best wishes and you are so right, knowledge is power only when it is shared.
This is lovely! How wonderful of you to share your knowledge. That’s what I’m all about too. No need to keep what we have learned to ourselves, why not share the growth and love and help those along the way who are interested in learning. Nicely done and kudos to you ~ 😉
Thank you for the kind words, I've learned that we rise by lifting others and I would keep sharing my knowledge with anyone who cares to learn.
You’re welcome. Yes! I love that! That’s the way it should be ~ 😊
You really did a good work here dear friend. Nice one
Thanks a bunch
You're welcome
Lovely how you could share your knowledge! :)
I think it is very exciting too in the process of learning yourself, once you realize that you are already able to teach others what you have learned.. And I guess bustiers are never easy since they really have to fit perfectly!
Yeah, I noticed the more I share knowledge the more I understand it better haha.
Bustiers aren't easy as they truly have to fit perfectly.
Thanks for the visit, it is much appreciated.
You are most welcome💕
Oh! This is beautiful. I can only imagine the entire dress🥹
Please where is the entire dress😩
I will make sure to tag you when I publish it.
Thanks for the visit.
I will be expecting it then.
The pleasure is mine💕