Searching for Stability
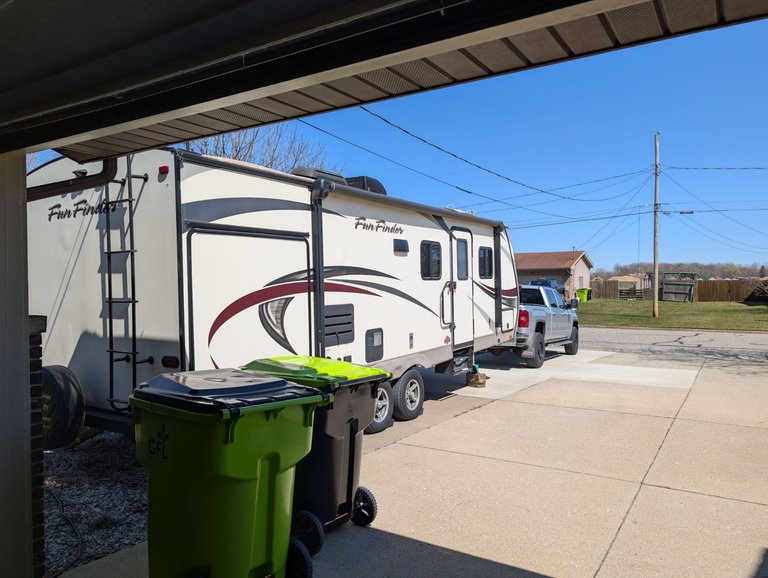
It's hard to believe in just two weeks @mrsbozz and I will be taking our first camping trip of 2025. It feels like it has been a lot longer than half a year that we packed the trailer away for the winter. While there is a lot to love about our travel trailer, there are some things that we find annoying.
Most specifically, the way it rocks and moves around while you walk in it. For example, if I get up in the middle of the night to go to the bathroom, the whole thing bounces almost like a trampoline. I don't think our old trailer was like that, but I honestly don't remember for sure. Plus, that old camper was about ten feet shorter than this one. I think a lot of it has to do with the suspension on our trailer. I have noticed it sits a lot higher than our friends trailer. I've also noticed the axles are much closer together on our trailer than our friends.
As you can imagine, it has been a labor of love trying to find something to make the "wobble" a little less noticeable.
After trying different leveling techniques, and investing in some Xchocks which do help with some of the movement, but not all of it, I decided to take on a DIY project and make a set of stabilizers that I have seen online.
I don't know if they are going to work, but I am willing to give it a shot. You might remember a while ago I was talking about how I took on some woodworking projects this past weekend. One of them was a cedar planter box, and the second was these trailer stabilizers. I made the comment before that the building materials I purchased came to something like $275 USD. I would guess about $50 of that went towards the materials for this project.
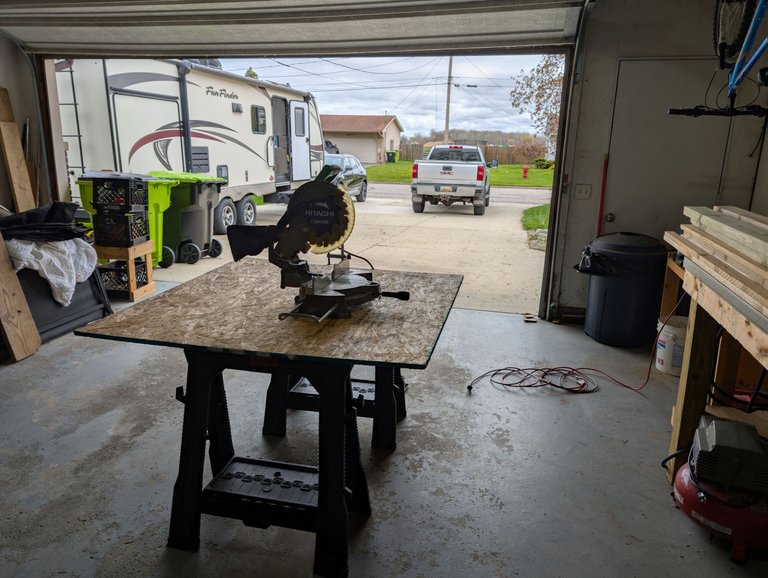
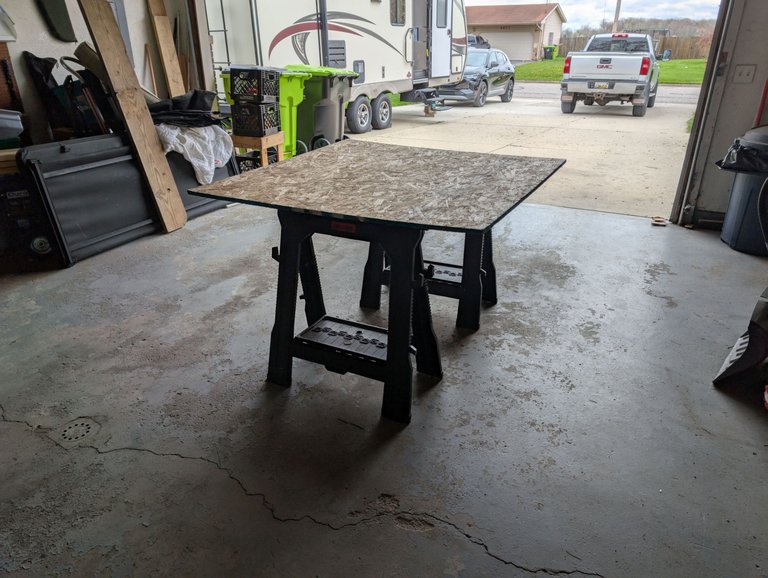
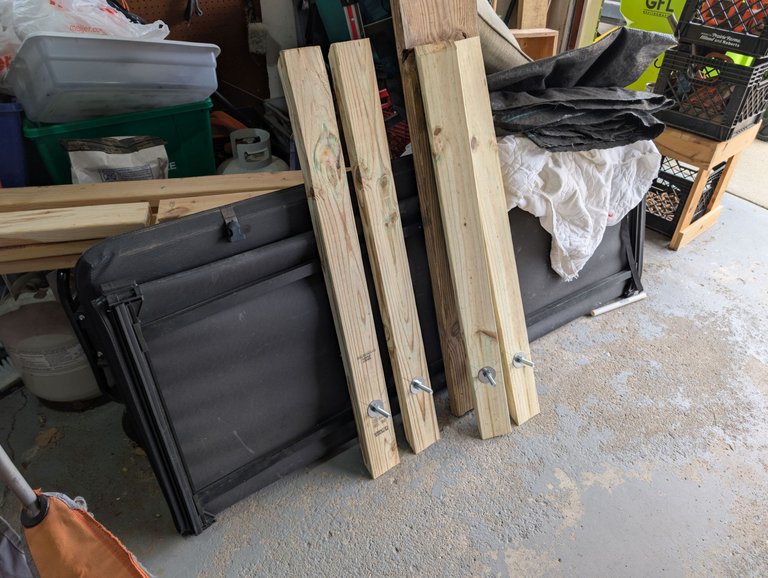
This was probably about the easiest project I attempted this past weekend and it only took a little bit of work and materials to accomplish. I grabbed two pressure treated (because they are outside in the elements and one end touches the ground) 2x4x8 foot board from the local Home Depot, four carriage bolts, and four packs of washers. Crazy to think that is all I needed right? To be fair, the project also requires a couple of ratchet straps, but I already had those.
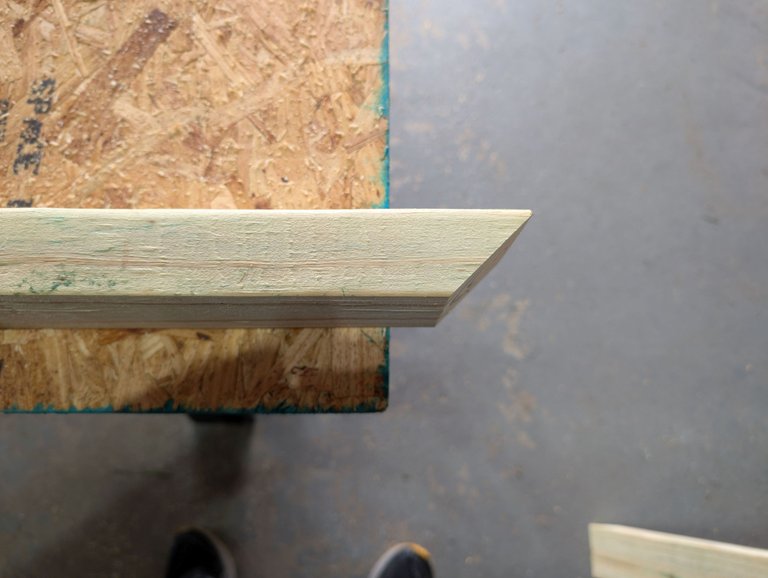
My first task was to cut the board to length and then cut a couple of angles in each end of them. The site I found said to measure from the frame of the trailer to the ground and then add about ten feet to the length. I found when I followed those directions, my board were sticking out way too far from the sides of the trailer, so I trimmed another six to eight inches off them.
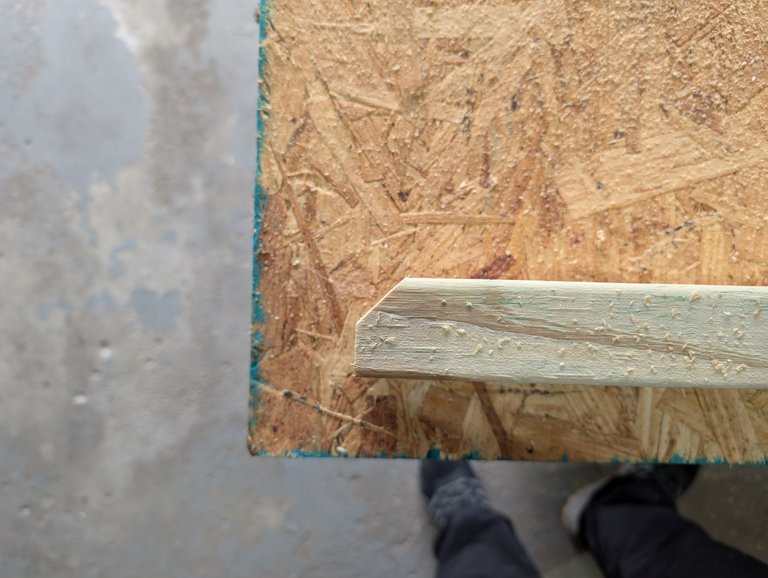
I then placed a 45 degree angle cut on each end, but on the end that rests against the trailer frame I cut the end off flat so it has a little more surface area touching the frame of the trailer.
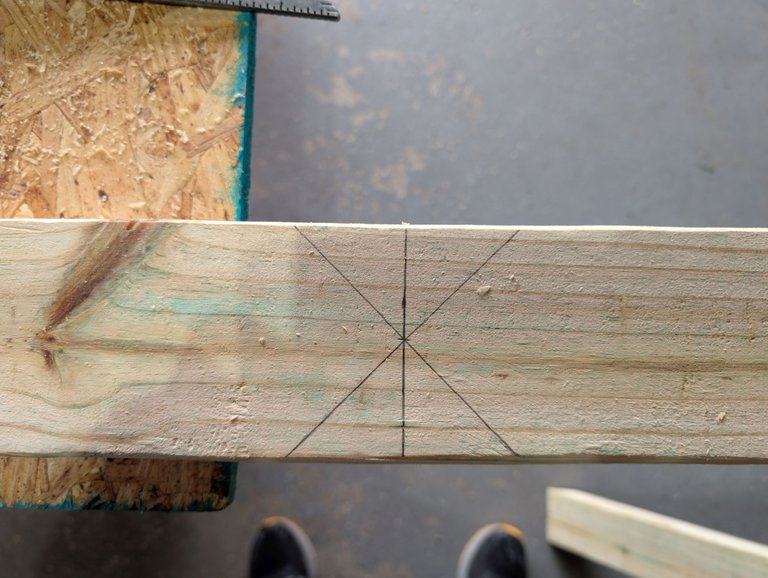
I then measured about eight inches up from the bottom of the board and I marked where I needed to drill the hole for the carriage bolt. I used my handy Swanson Speed Square to get my markings exactly where I needed them, then I used a 1/2" spade drill bit to cut the hole.
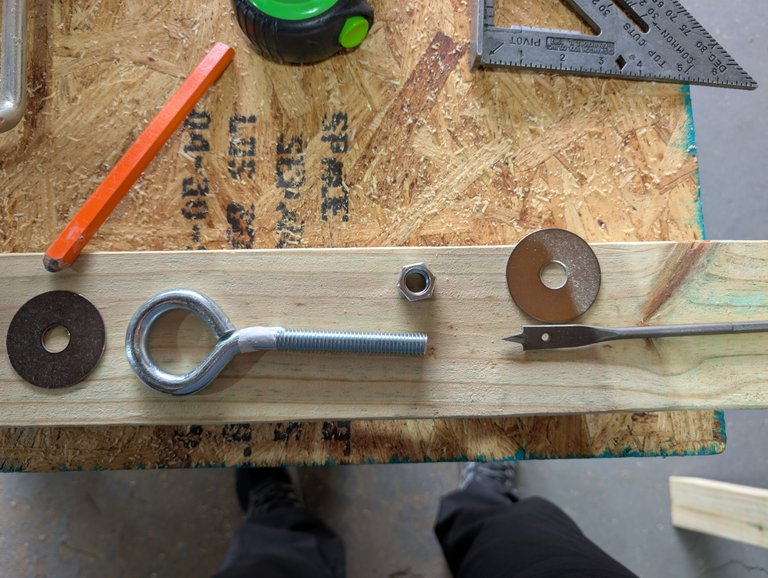
After that, it was just a matter of threading the carriage bolt through the hole with a washer on each side and then tightening down the nut. I was hoping to use a nylon locking nut, but I wasn't able to find one in the size I needed, so I figured I would just go with the nut that came with the carriage bolt. If I find that the nut starts working loose, I will then look for either a locking nut online that is the right size, or I will buy some blue Loc-Tite for it.
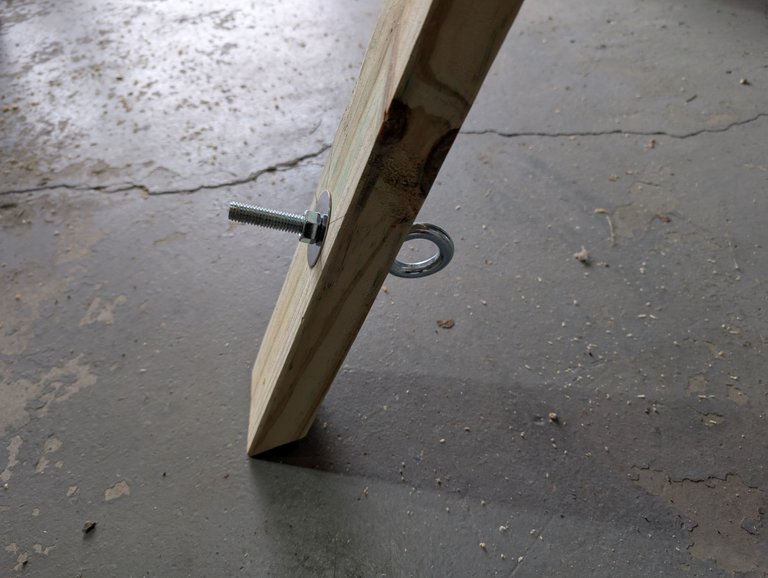
This is what the end piece looked like when I was finished with it. Technically, I could have used a shorter carriage bolt, but Home Depot didn't have a huge selection available, so I had to work with what I had. I could cut the bolt down to a shorter length if I wanted to, but I don't really want to take the chance that my hacksaw skills wreck the threads. If I find the protruding bolt becomes a hazard, I will look into fixing it.
I ended up making two sets of the stabilizers, but I am honestly not sure if we are going to need both of them. It's possible that they only need to be placed in the front of the trailer and that will do the trick. If not, I can place a set at both the front and the back and I should be good. You would think with the four built in stabilizer jacks that the trailer has, something like this wouldn't be necessary, but I guess for the cost and the time, if this fixes the issue, I am not going to complain.
I did set the stabilizers up in my driveway for a hot second to see how they worked, but like the moron I am, I forgot to take a photo of it to share with you. Instead, I am going to steal this photo from Reddit so you can see what it actually looks like.
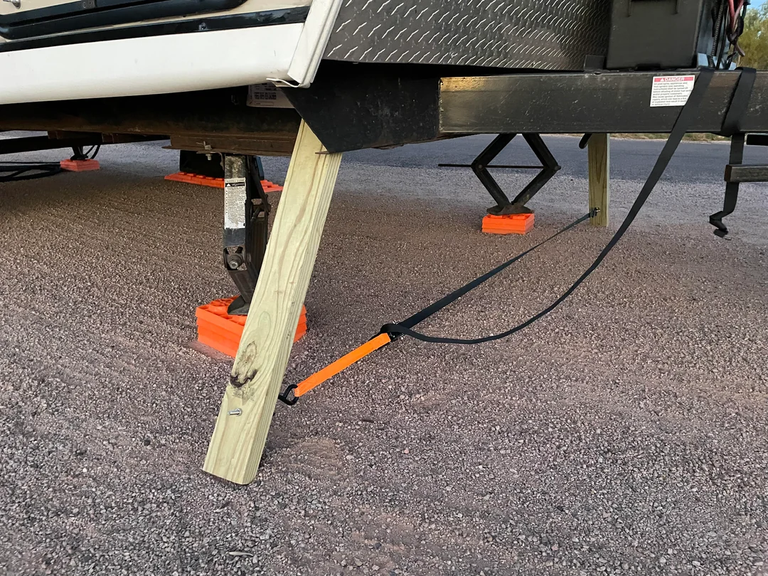
If you read that Reddit thread, you will find there are tons of people who swear by these things and others who think they are completely unnecessary. As I said earlier, a lot of it just has to do with your trailer and a bunch of other factors. Your trailer might be rock solid and that is great for you. Others, might not be so stable, and these might be just the trick to taking care of that. I plan on deploying them during our first trip in a couple of weeks and you better believe I will be letting you know if they worked or not.
I know @mrsbozz will be more than willing to let me know if she thinks they made a difference!
Sports Talk Social - @bozz.sports

My daughter bought a Scamp a couple of years ago. Went all the way to Michigan (from NY) to pick it up. It is absolutely beautiful. She has a problem hitching it, though and that makes it hard for her to use. She needs a little training in getting it hitched and unhitched.
Your trailer is enormous!! Beautiful
They can be a bit tricky. When we bought our first one they actually took us through the process. When you start adding sway bars and weight distribution rigs it can get really complex.
I like quick and easy fixes like that, if it work and stops the movement go with it. It's a lot cheaper than swapping out your shocks. That's a nice fix, very cool idea!
I'm hoping it makes a difference. It seems like it should, the science is sound and others have had a lot of luck with it.
A fine bit of DIY work there. Hope they work and help stabilize things!
I hope so too! Thanks!
This post has been manually curated by @steemflow from Indiaunited community. Join us on our Discord Server.
Do you know that you can earn a passive income by delegating to @indiaunited. We share more than 100 % of the curation rewards with the delegators in the form of IUC tokens. HP delegators and IUC token holders also get upto 20% additional vote weight.
Here are some handy links for delegations: 100HP, 250HP, 500HP, 1000HP.
100% of the rewards from this comment goes to the curator for their manual curation efforts. Please encourage the curator @steemflow by upvoting this comment and support the community by voting the posts made by @indiaunited..
This post received an extra 1.29% vote for delegating HP / holding IUC tokens.
It’s good to go out of the way to give some things a try and you did great putting all that together. I’m very sure you’d do it like a pro if there is a next time.
Thank you!
You’re welcome!
https://bsky.app/profile/did:plc:u37t33dyaufvrqujwmvm54ln/post/3lolbb5jack2x
https://bsky.app/profile/did:plc:u37t33dyaufvrqujwmvm54ln/post/3lolbb5jack2x
The rewards earned on this comment will go to the author of the blog post.
Best of luck on your upcoming camping trip!
Thank you!
Good