New Desk Time
I was sitting at my desk the other day and realised I was looking down at my monitors. Indeed, the monitor in portrait mode was sitting on the desk instead of above it. On inspection, the desk was giving way where the monitor stand bolted onto it. You can see some of the damage in the two pictures below:


Thet aren't great pictures, but you can see the indentation in the desk top on the first one, and the warping of the layers in the second.
The desk was second hand from a student and had been purchased from IKEA. I guess it is perfect for a laptop and reference books, but the thin ply and cardboard construction was not designed for multi-screen pc set ups.
So I need a new desk.
Well, a desk. New? I have timber, and desk legs, and tools, and screws, and glue.
Time to get to work.
Having a table saw made cutting the plywood I had to suitable lengths. To peice them together I used further ply glued and screwed beneath. This has the extra job of providing further strength.
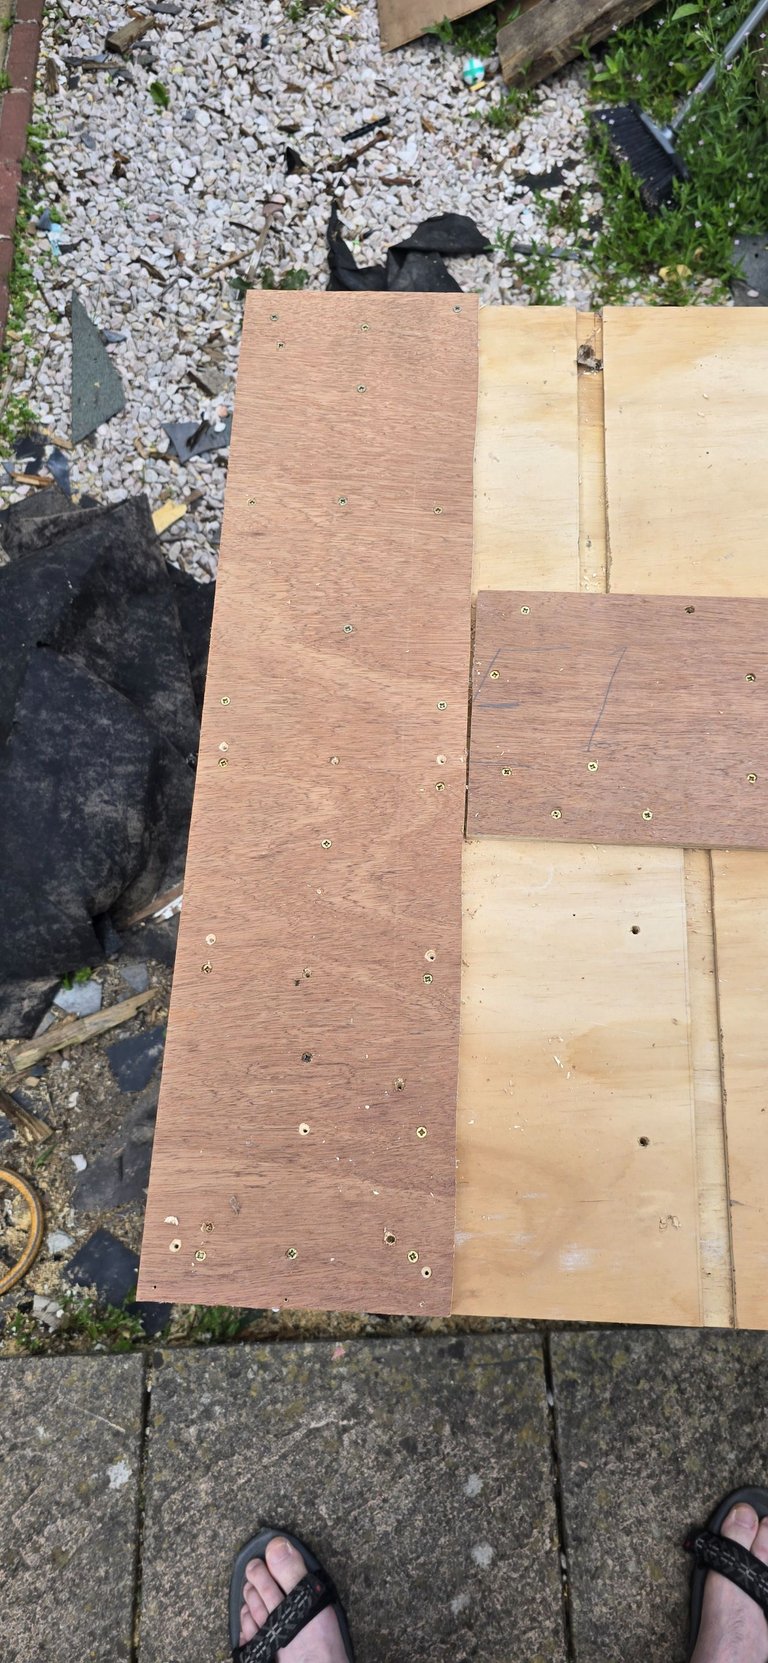

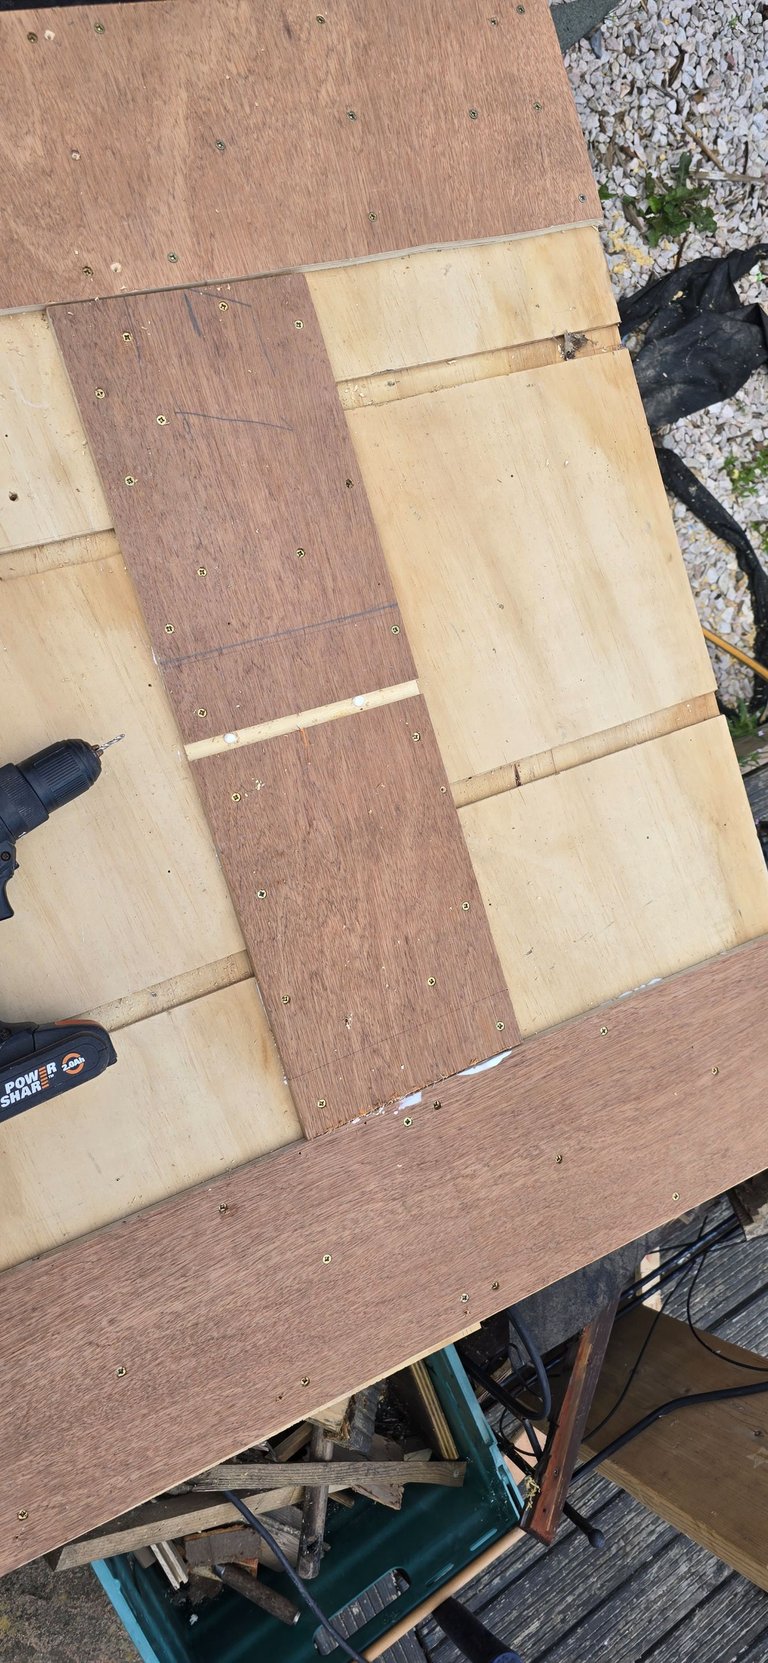
As you see, this is a bit ramshackle. Edges are rough and ready, the timber shows it's previous use (it was shelving and bookcases in my daughters room in our last property). But, it came together.
With the basic construction done, time to pay attention to the top.
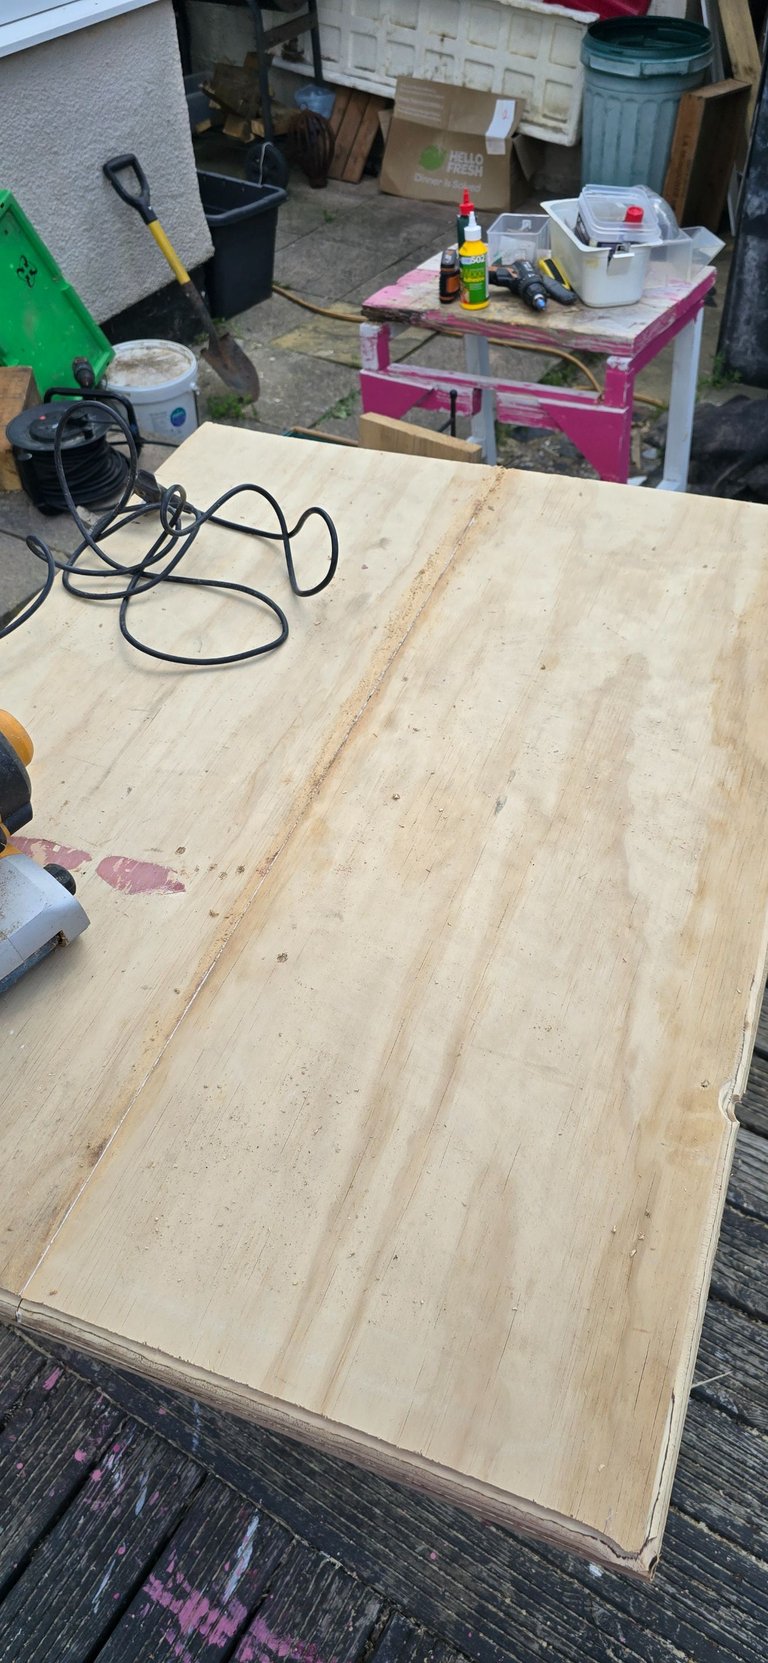
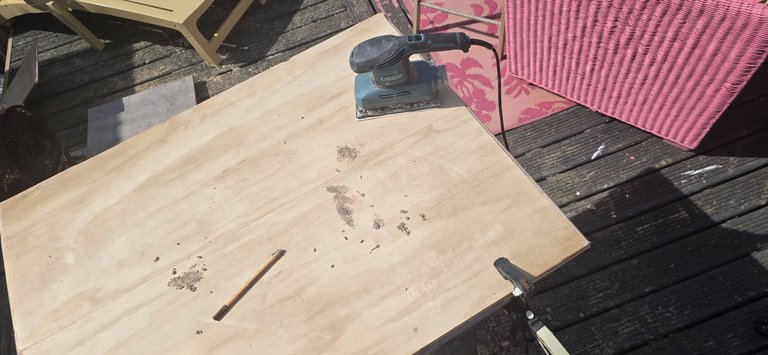
The top had a rough sand with the belt sander to remove some old adhesive and smooth the area around the centre joint. From there I mixed sawdust with wood glue and used it to fill the small gap in the center line, and a few odd places where there were drill or screw holes from previous use. After that had dried in the sun for an hour it was time to use the router to add a little chamfer round the front and side edges, and a second sand with a 120 grit on the sheet sander. This brought the surface to a nice touch smooth surface.
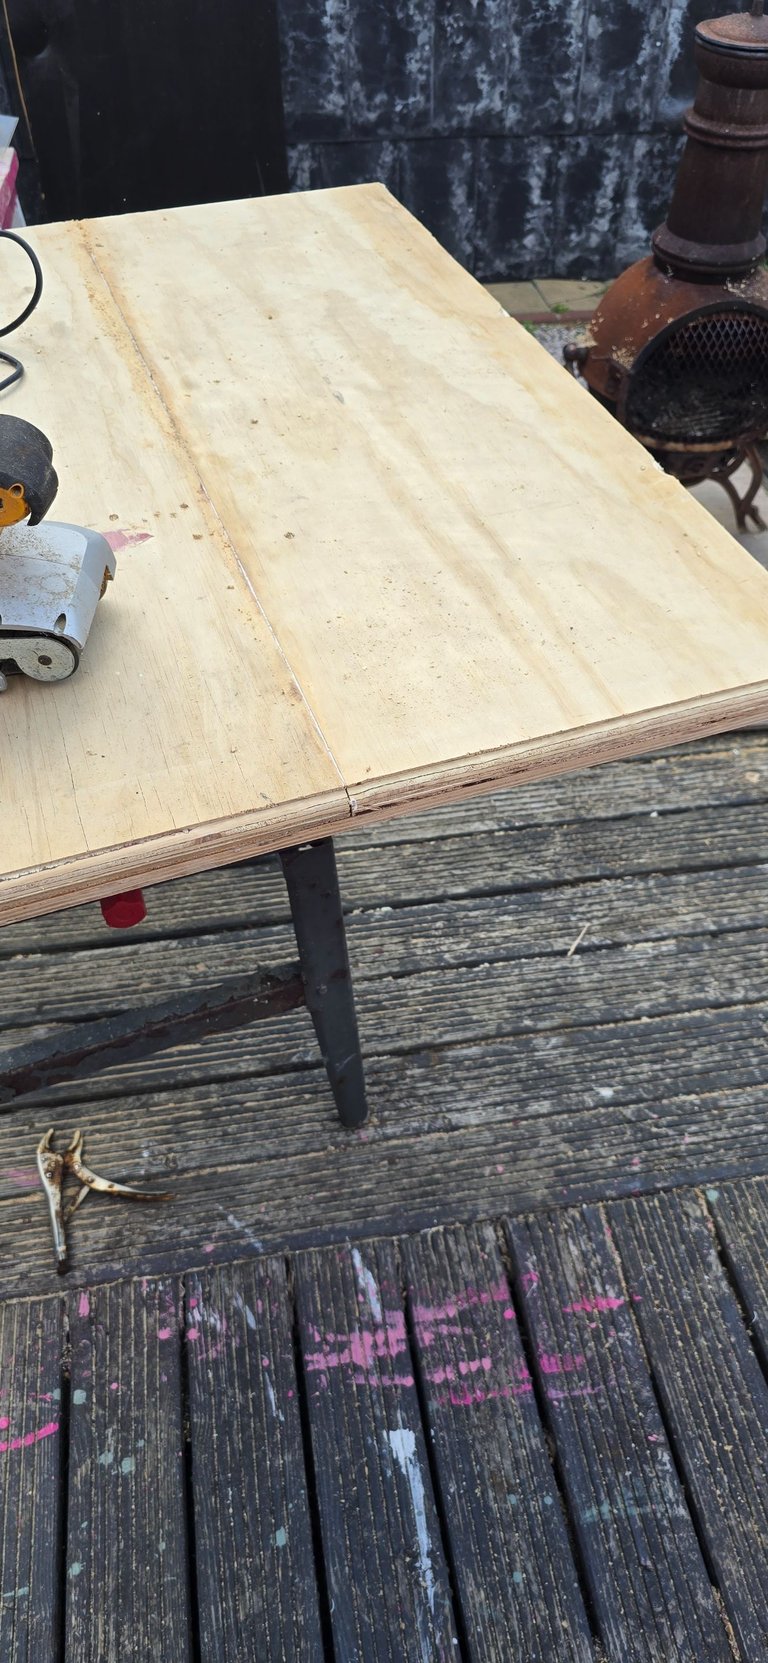
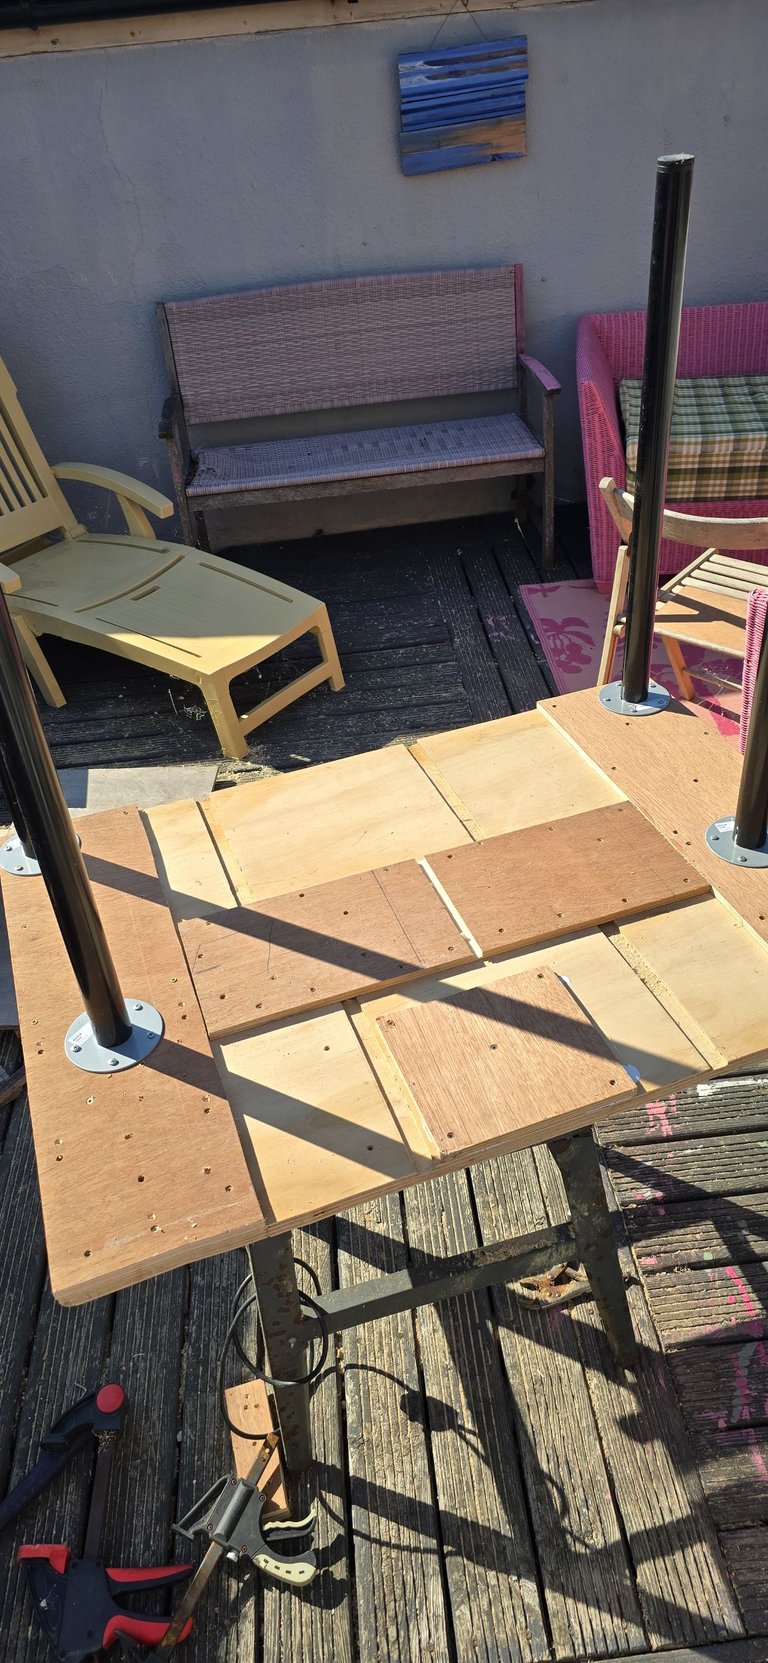
Now it was time to add the legs on. The ones from the old desk are ideal - a sturdier construction than the desktop they supported.
What these two pictures don't show is me having to take about ten centimetres off the back end of the desk, the intention being to have a smaller surface area than the last time. Measure twice, cut sixteen times 🙄

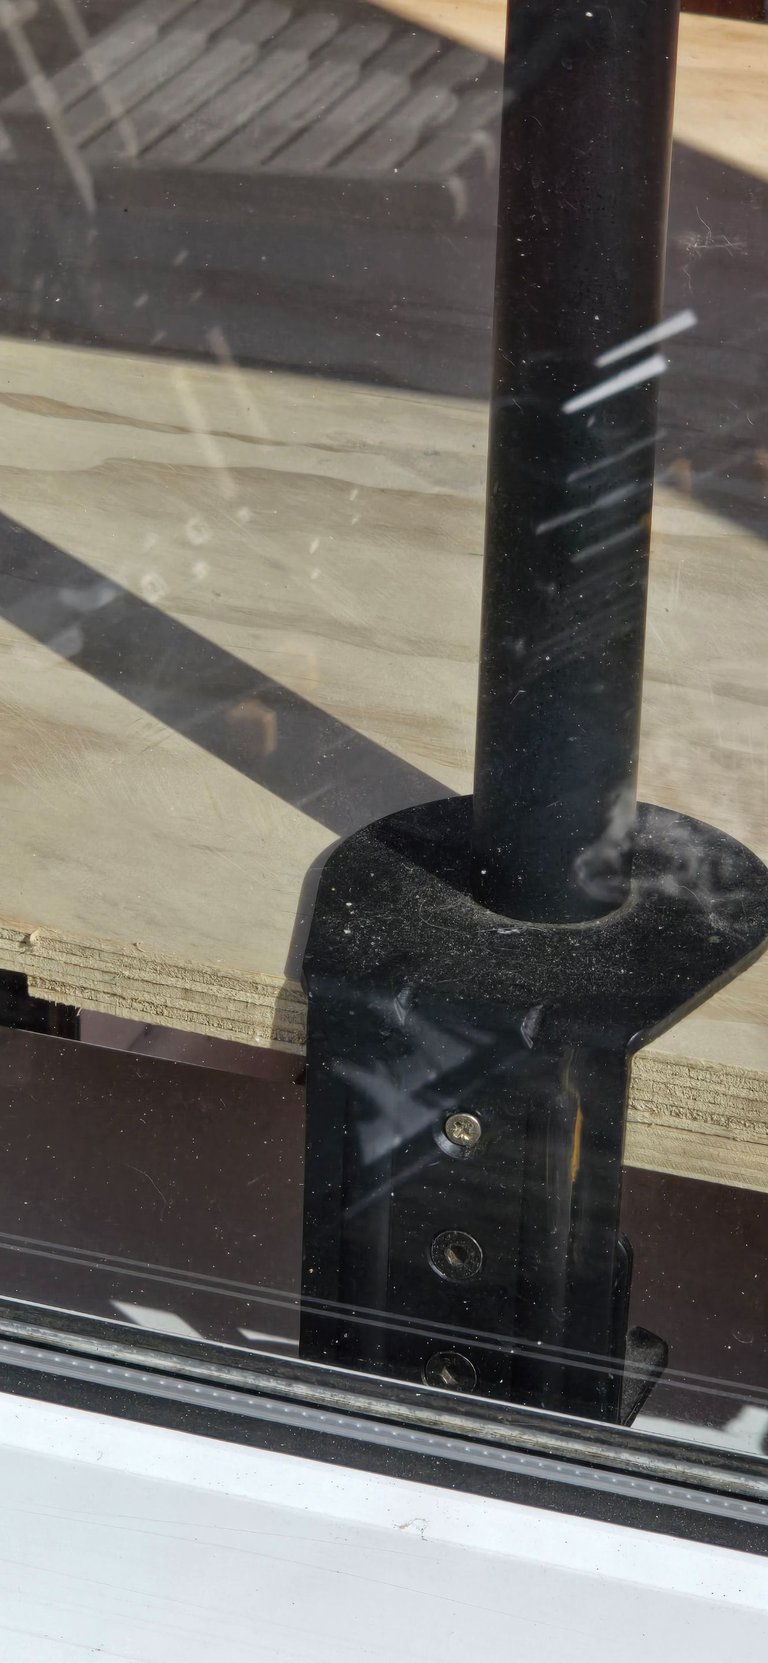
Now, time to put the desk in situ. The monitor stand is securely in place, and if this desk collapses like the last one there's bigger issues. I've put extra bracing at the point desk and stand clamp come together so I'm pretty confident there'll be no problem.
In the final picture you can see how squirrely my routing skills are. Doing such things while tired and without a good surface to brace against make things difficult.
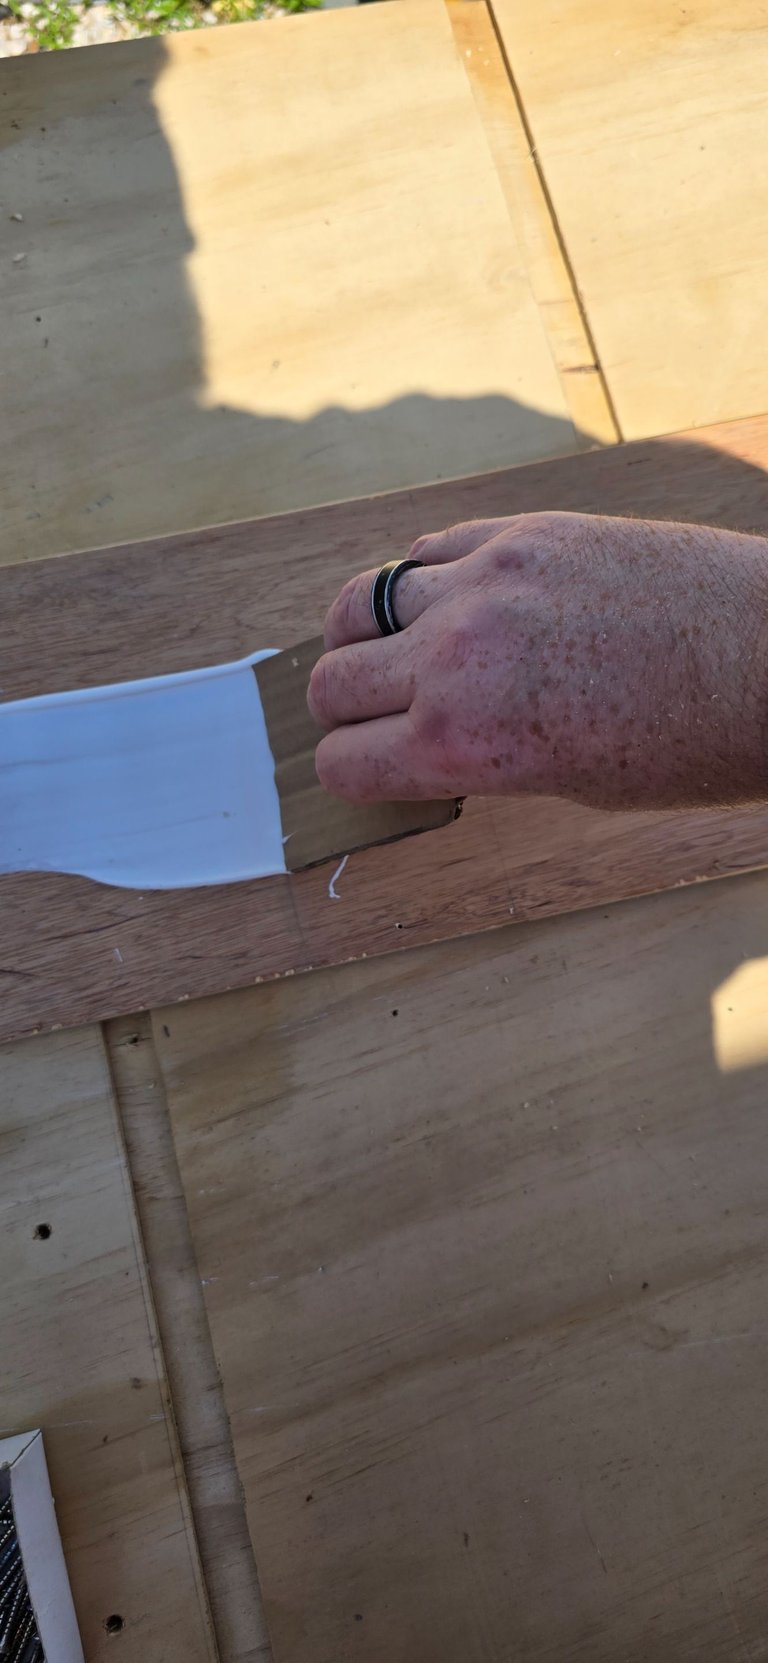
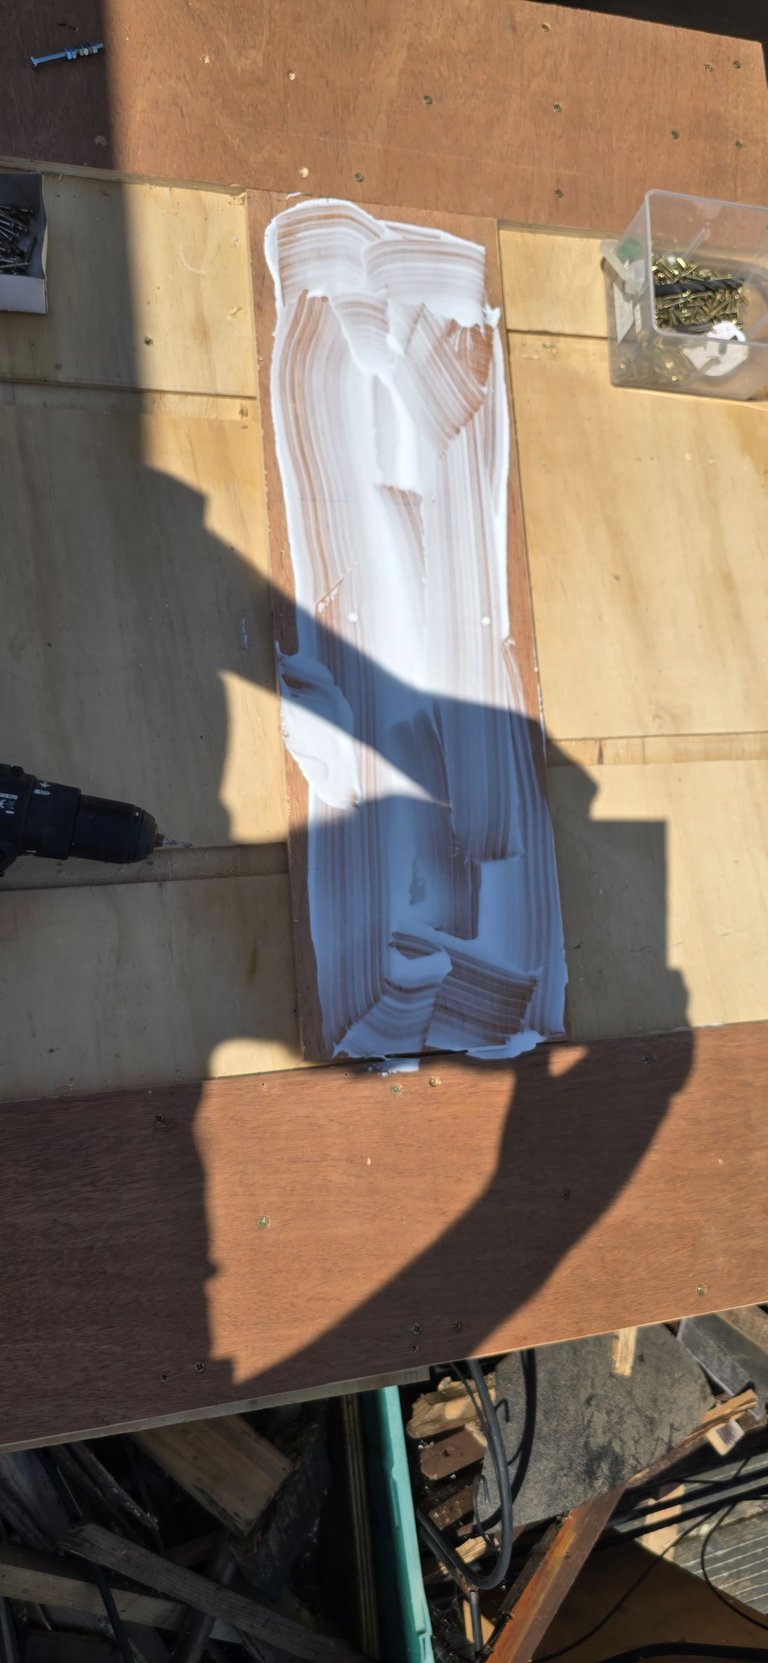
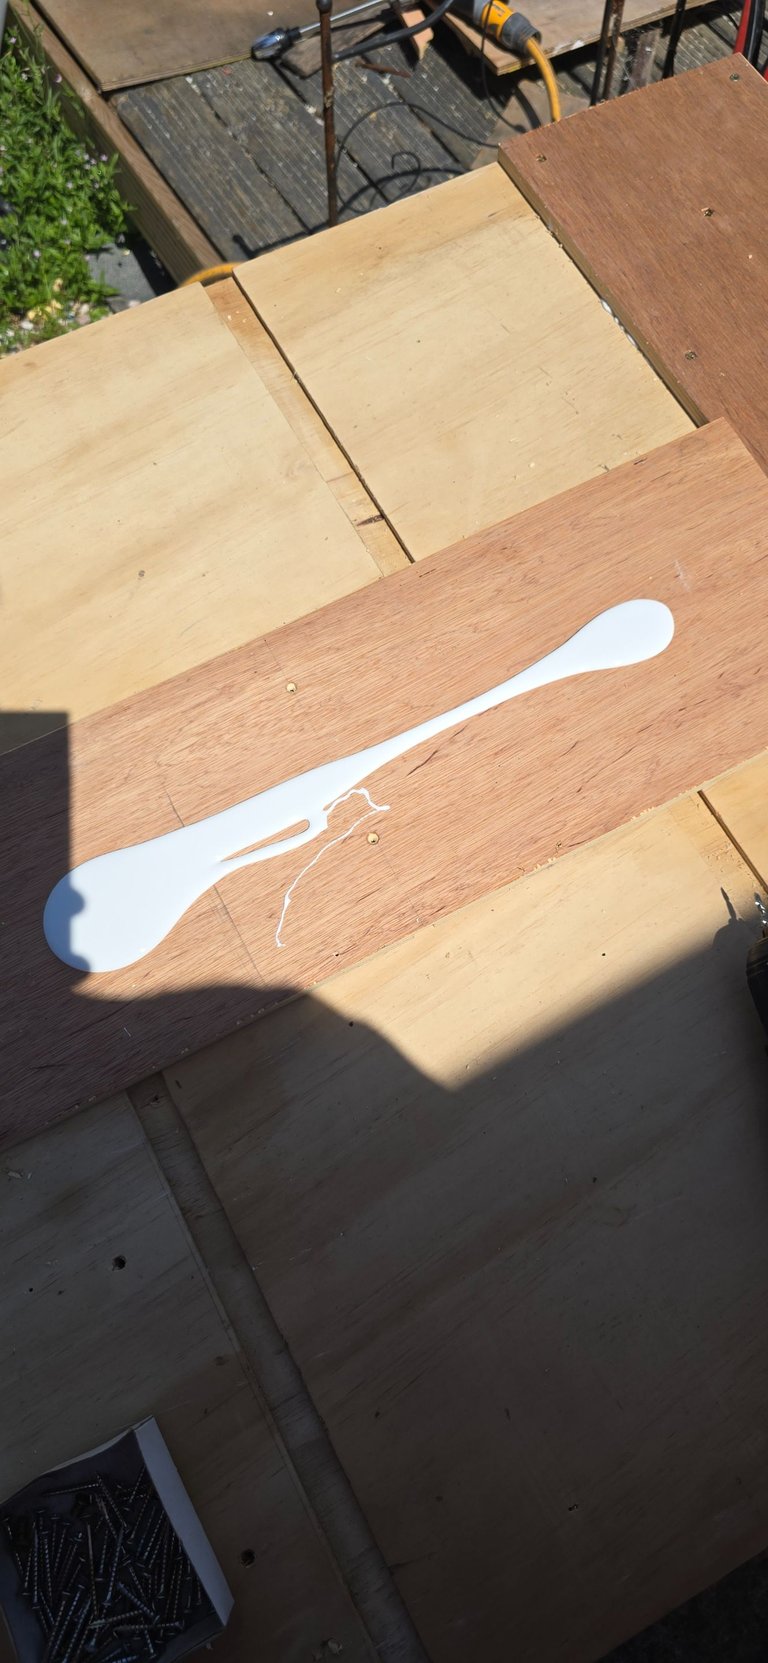
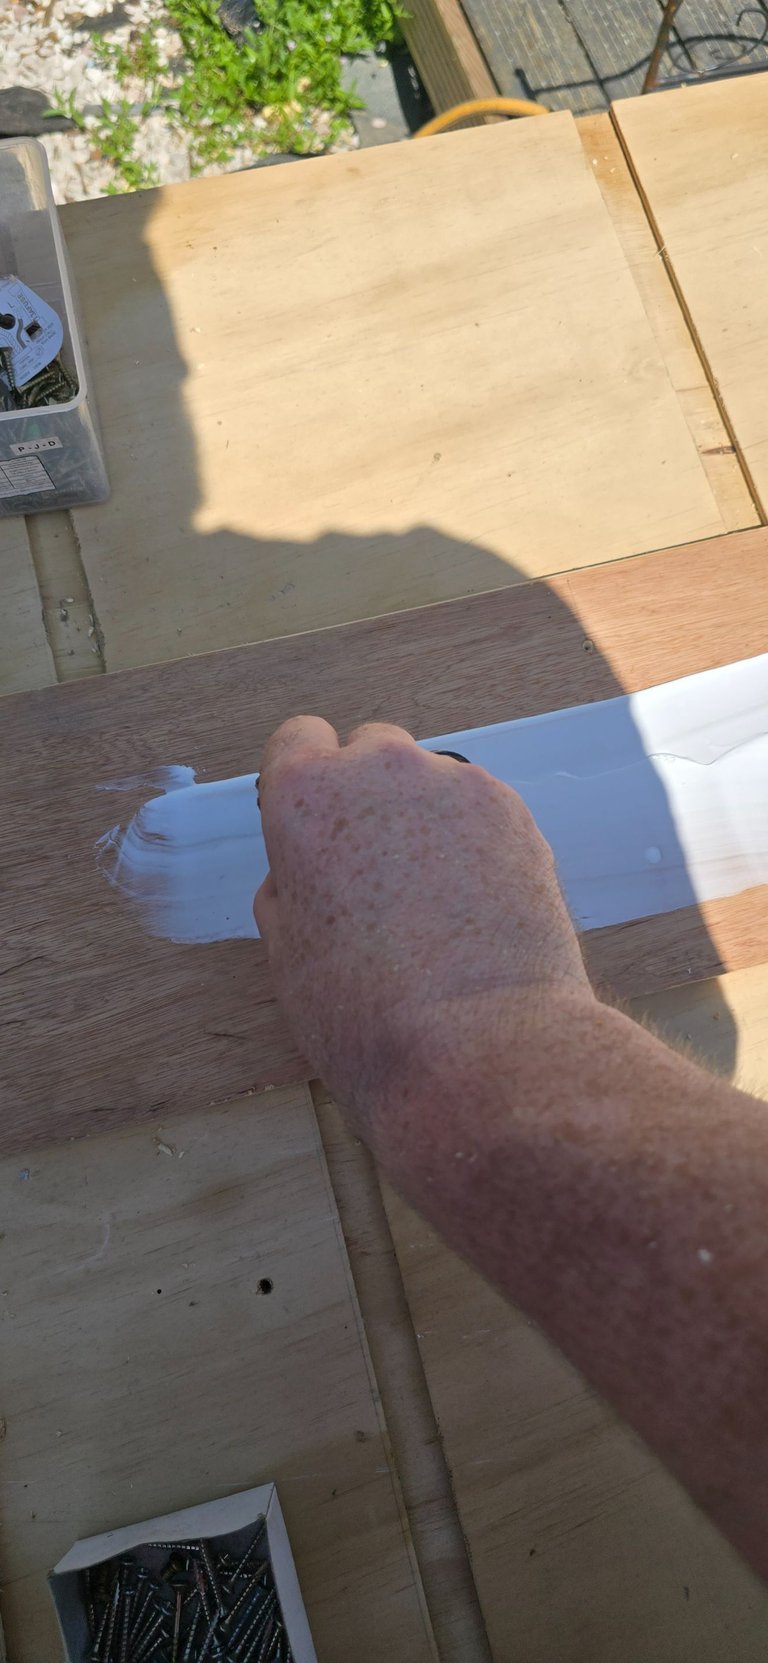
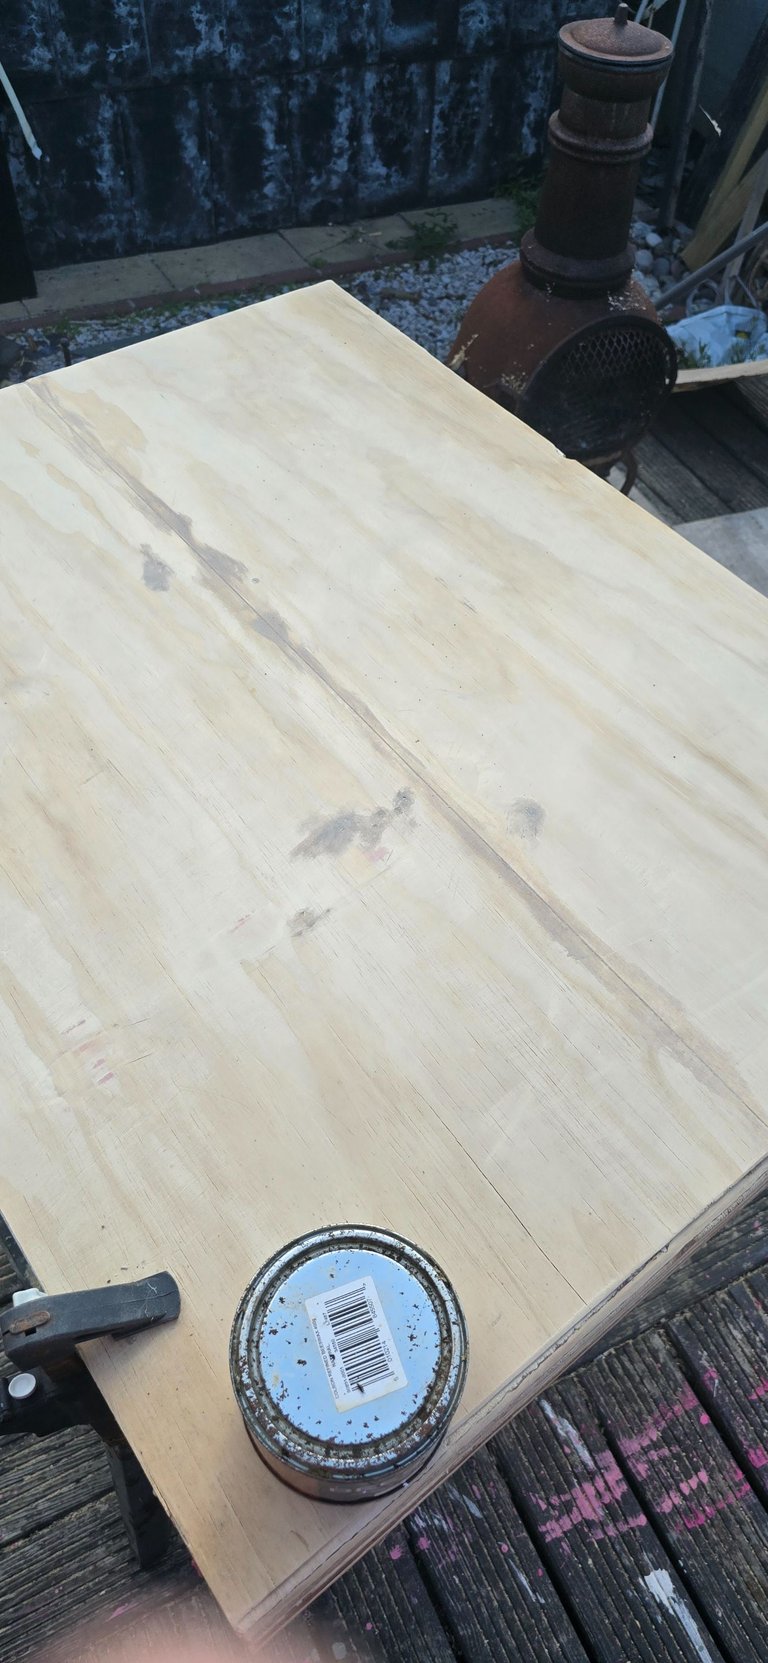
The tin at the back of the desk is beeswax, and the rag had been used to administer a generous coating. The wood sucked it in! I'll give it a buff later.

The foil behind the desk is a little wooden frame with insulation foil round it. It will sit infront of my PC and hopefully help keep it a little cooler when the sun is at it's hottest through the afternoon.
The desk will never become an heirloom or treasured posession but, in all, I'm chuffed I got all of this done in one day. I'm exhausted and will pay for it tomorrow. That's life with chronic fatigue.
Truthfully you have done an amazing job
Though you are already worned out
Am sorry about that.
Just try and rest, looking back at your job,am sure you will be proud of your efforts
thanks - resting now. and the desk is looking good with everything back in place
🎉 Love seeing your creativity with the #hueso tag! 🦴 You received 1 Hueso token gift.