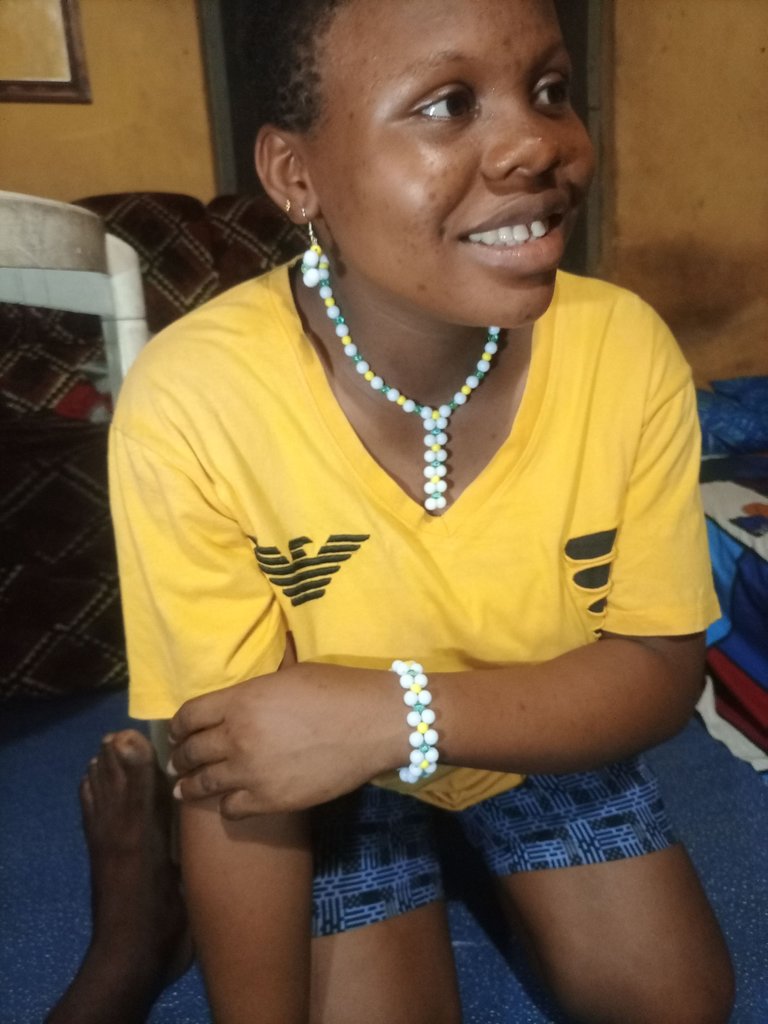
[ENG/ESP] I Tried Making A Bracelet, Necklace and Earring And Here's Outcome | Intenté hacer una pulsera, un collar y un arete y aquí está el resultado
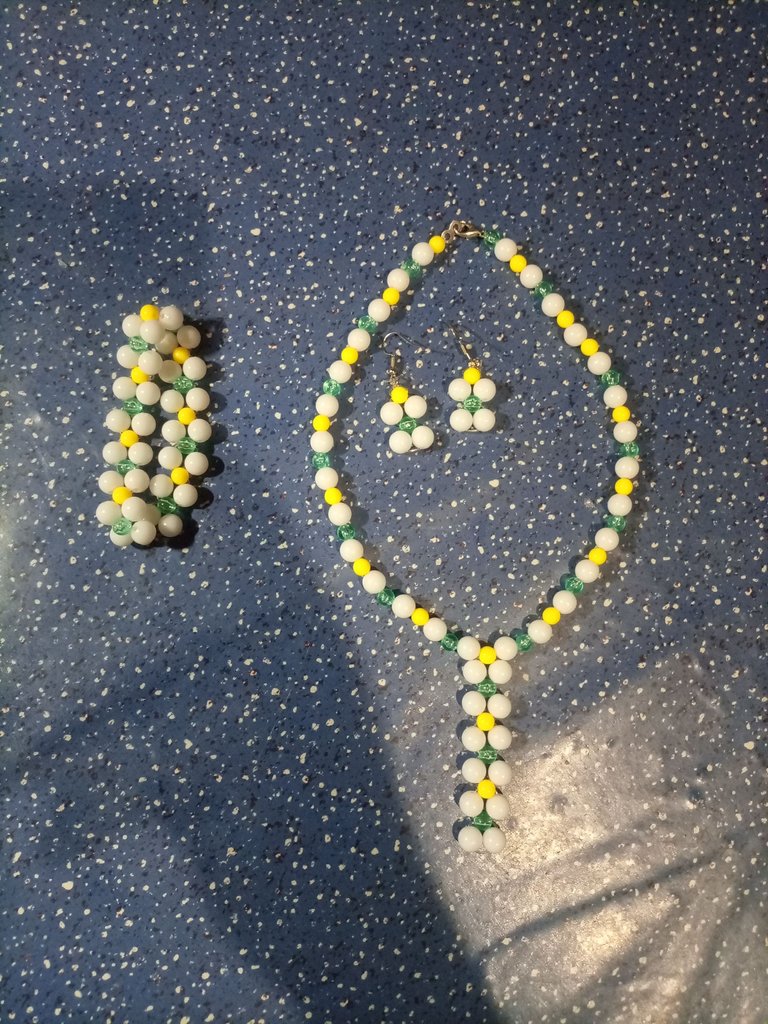
I’ve been seeing a lot of people wearing these really cool bracelets, necklaces and earrings lately. I thought to myself, “I could make that!” So, I set out to find out how. I started with bracelet because it seemed like the simplest one to make. A little bit of googling later, I had everything I needed to get started.
He estado viendo a muchas personas usando estos brazaletes, collares y aretes realmente geniales últimamente. Pensé para mis adentros: "¡Podría hacer eso!" Entonces, me propuse averiguar cómo. Empecé con la pulsera porque me parecía la más sencilla de hacer. Un poco de google más tarde, tenía todo lo que necesitaba para empezar.
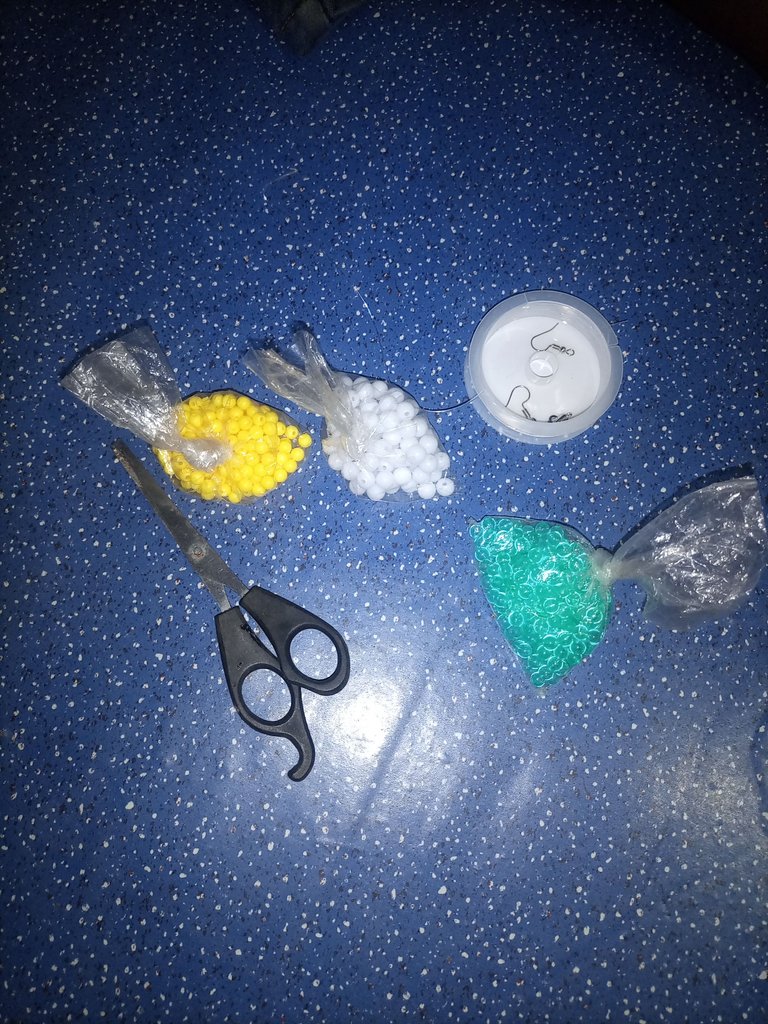
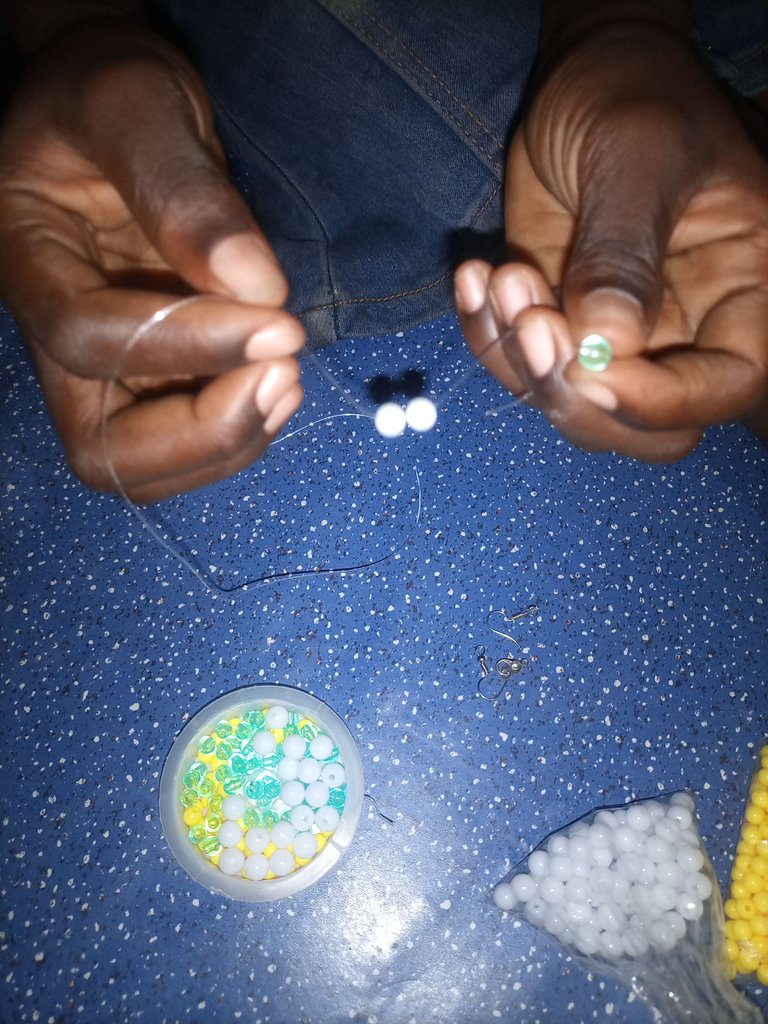
It turned out to be not as easy as I thought but I finally managed to make a decent looking bracelet. I was quite proud of myself and decided to move on to the next project – a necklace. The necklace was a little bit more complicated but I managed to make it work.
Resultó no ser tan fácil como pensaba, pero finalmente logré hacer una pulsera de aspecto decente. Estaba bastante orgulloso de mí mismo y decidí pasar al siguiente proyecto: un collar. El collar fue un poco más complicado pero logré hacerlo funcionar.
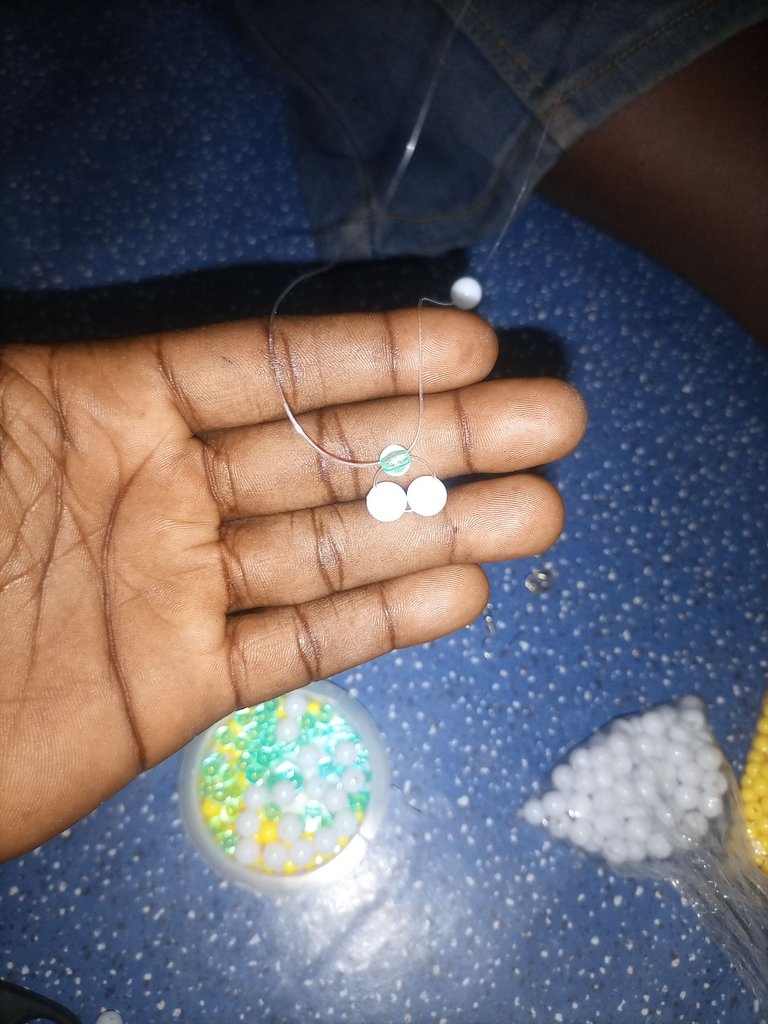
The earrings were the most challenging but I’m glad I persisted because they turned out really well in the end. To my surprise, I was actually able to make all three! It was a lot of fun and I was very proud of my accomplishment.
Los aretes fueron los más desafiantes, pero me alegro de haber persistido porque al final resultaron muy bien. Para mi sorpresa, ¡pude hacer los tres! Fue muy divertido y estaba muy orgulloso de mi logro.
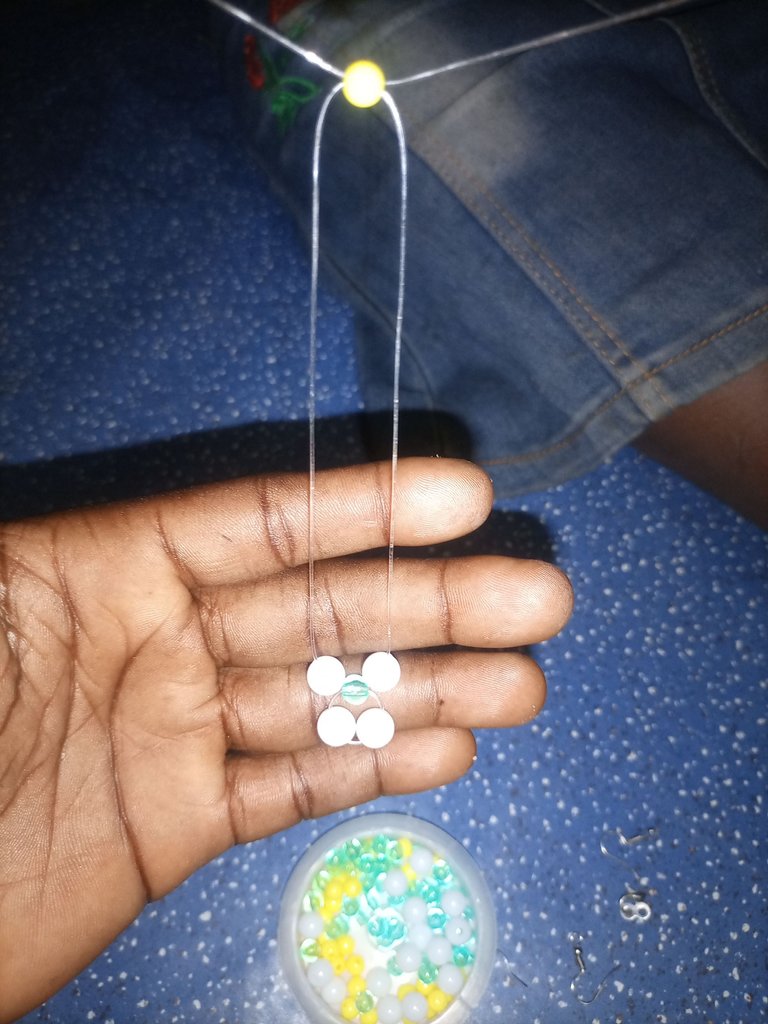
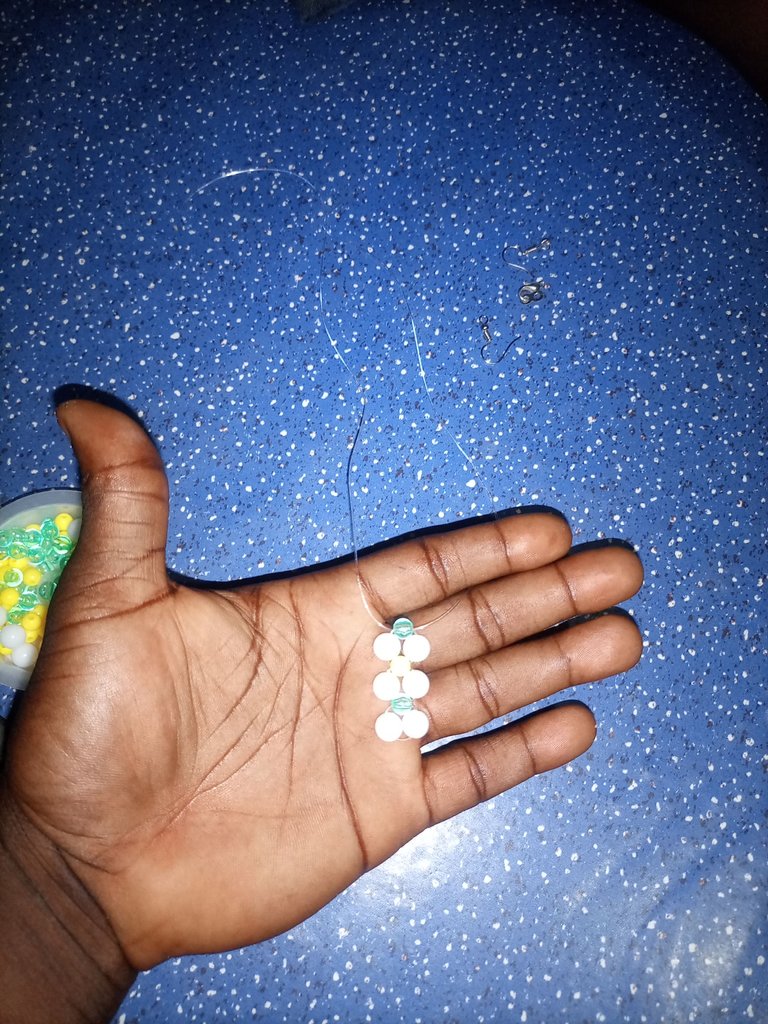
Making your own bracelet is a fun and easy way to show your personality. With just a few supplies and some creative inspiration, you can make a one-of-a-kind bracelet that is sure to get compliments.
The first step is to gather your supplies. For this project, you will need some jewelry wire, beads, and pliers. You can find all of these items at your local craft store. Once you have your supplies, choose the beads you want to use for your bracelet. You can mix and match different colors and sizes to create a unique look.
Hacer tu propia pulsera es una manera fácil y divertida de mostrar tu personalidad. Con solo unos pocos suministros y un poco de inspiración creativa, puede hacer una pulsera única que seguramente recibirá cumplidos.
El primer paso es reunir sus suministros. Para este proyecto, necesitará alambre de joyería, cuentas y alicates. Puedes encontrar todos estos artículos en tu tienda de manualidades local. Una vez que tenga sus suministros, elija las cuentas que desea usar para su pulsera. Puede mezclar y combinar diferentes colores y tamaños para crear una apariencia única.
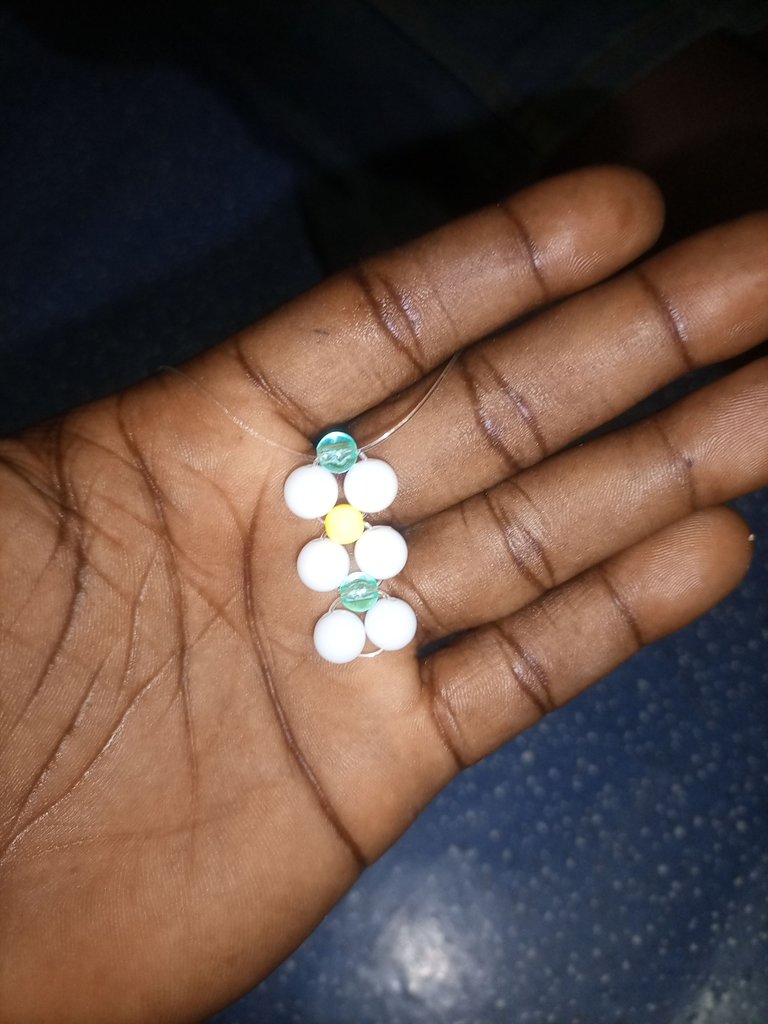
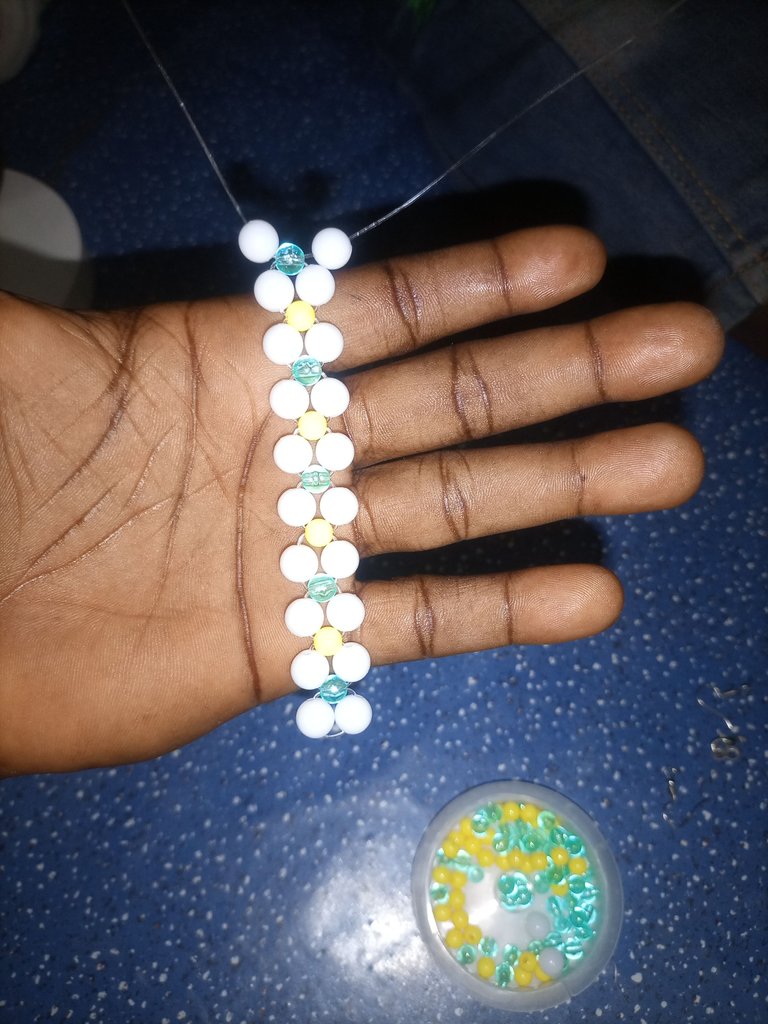
After you have selected your beads, it is time to start stringing them onto the wire. This is where the pliers come in handy, as they will help you to twist and turn the wire as you add the beads. Once all of the beads are in place, twist the two ends of the wire together to secure them.
Una vez que haya seleccionado sus cuentas, es hora de comenzar a enhebrarlas en el alambre. Aquí es donde los alicates son útiles, ya que te ayudarán a torcer y girar el alambre a medida que agregas las cuentas. Una vez que todas las cuentas estén en su lugar, tuerza los dos extremos del alambre para asegurarlos.
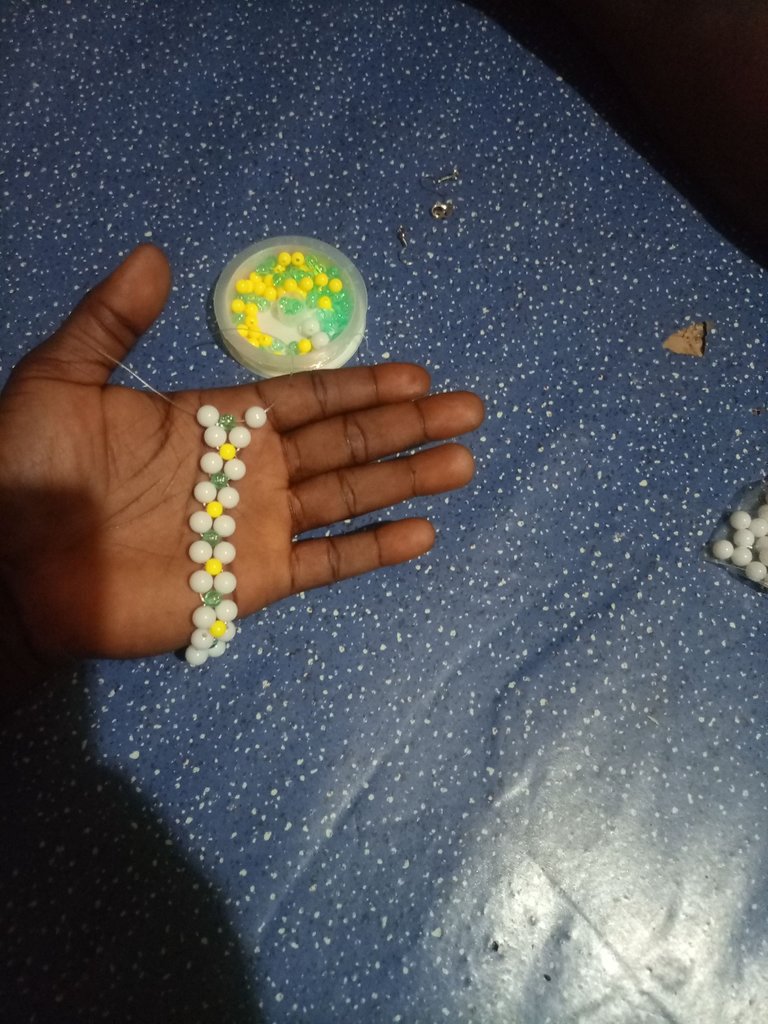
To make this bracelet, you'll need the following materials:
- 1 yard of string
- 1 yard of ribbon
- 1 yard of twine
- 1 small button
- 1 large button
- 1 bead
- 1 snap
- 1 pair of scissors
Para hacer esta pulsera, necesitarás los siguientes materiales: - 1 yarda de cuerda - 1 yarda de cinta - 1 yarda de cordel - 1 botón pequeño- 1 botón grande- 1 cuenta - 1 chasquido - 1 par de tijeras
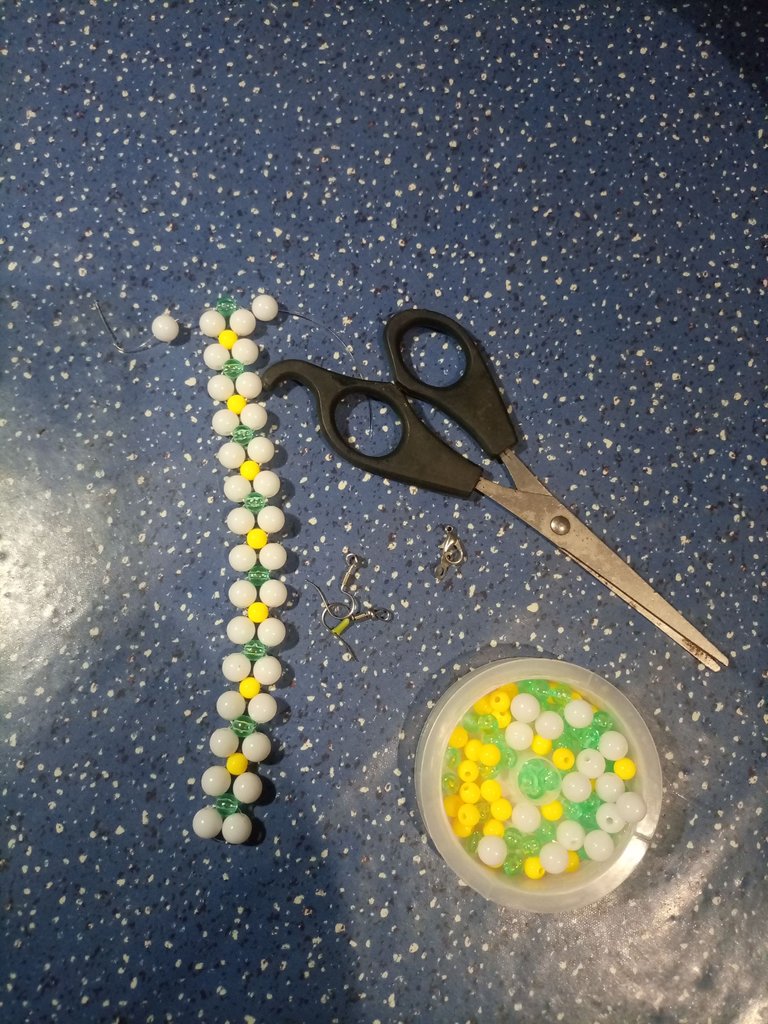
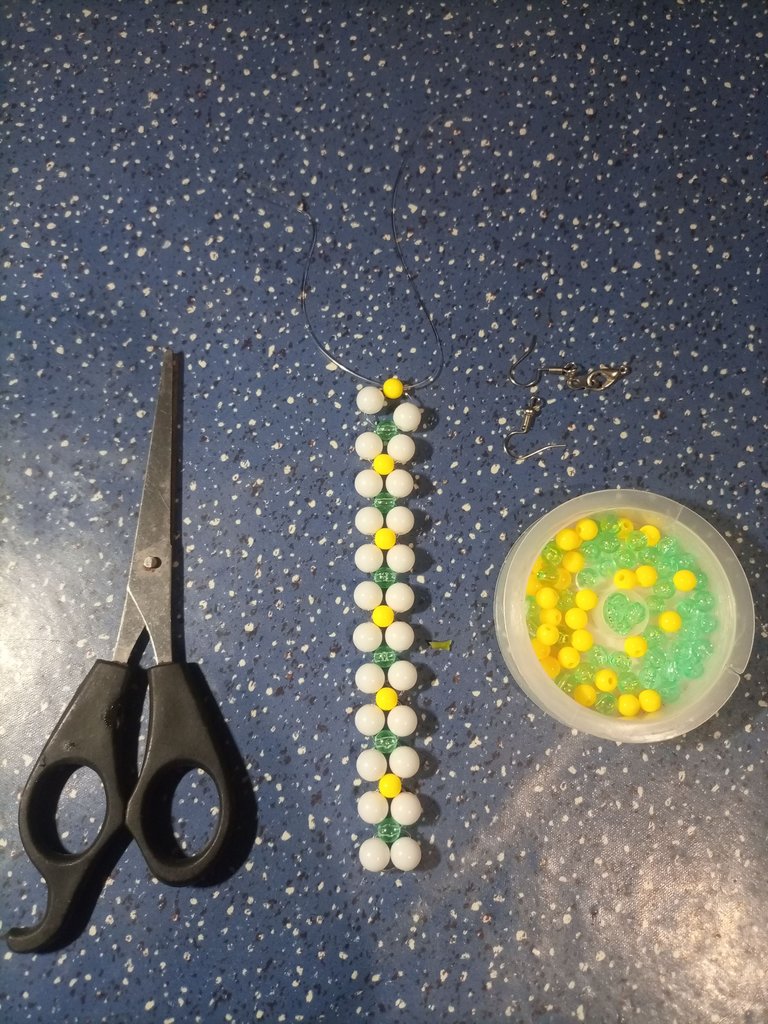
Now that you have your materials, let's get started!
Step 1: Cut the string, ribbon, and twine into three equal lengths.
Step 2: Tie the string, ribbon, and twine together at one end.
Step 3: Attach the small button to the other end of the string, ribbon, and twine.
Step 4: String the bead onto the string, ribbon, and twine.
Step 5: Tie the string, ribbon, and twine around the large button.
Step 6: Trim the excess string, ribbon, and twine.
Step 7: Attach the snap to the end of the bracelet.
And that's it! Your bracelet is now complete.
Ahora que tiene sus materiales, ¡comencemos!
Paso 1: corte la cuerda, la cinta y el cordel en tres longitudes iguales.
Paso 2: Ate la cuerda, la cinta y el cordel juntos en un extremo.
Paso 3: Adjunte el botón pequeño al otro extremo de la cuerda, la cinta y el cordel.
Paso 4: ensarte la cuenta en la cuerda, la cinta y el cordel.
Paso 5: Ate la cuerda, la cinta y el cordel alrededor del botón grande.
Paso 6: Recorte el exceso de cuerda, cinta y cordel.
Paso 7: coloque el broche en el extremo de la pulsera.
¡Y eso es! Su pulsera ahora está completa.
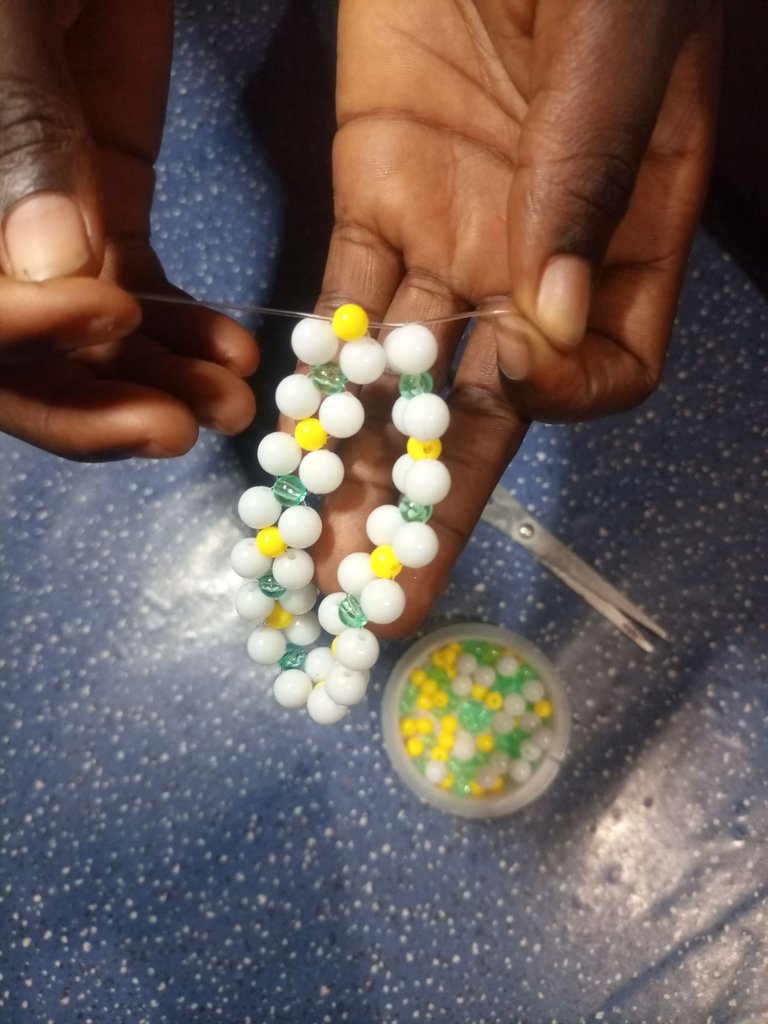
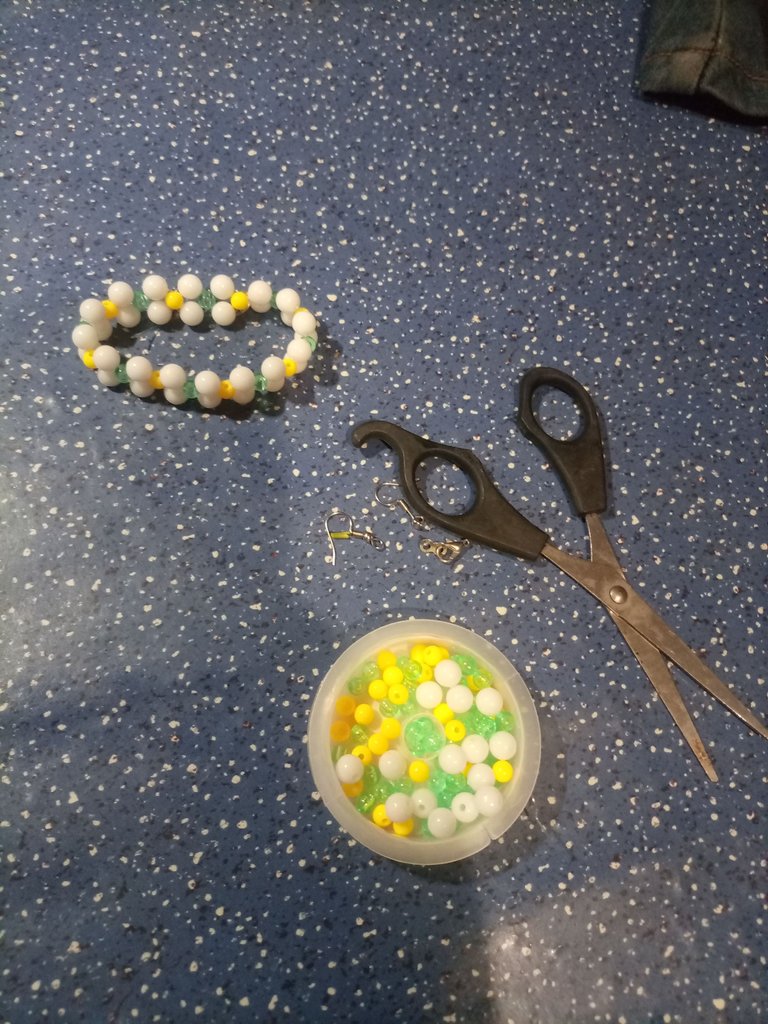
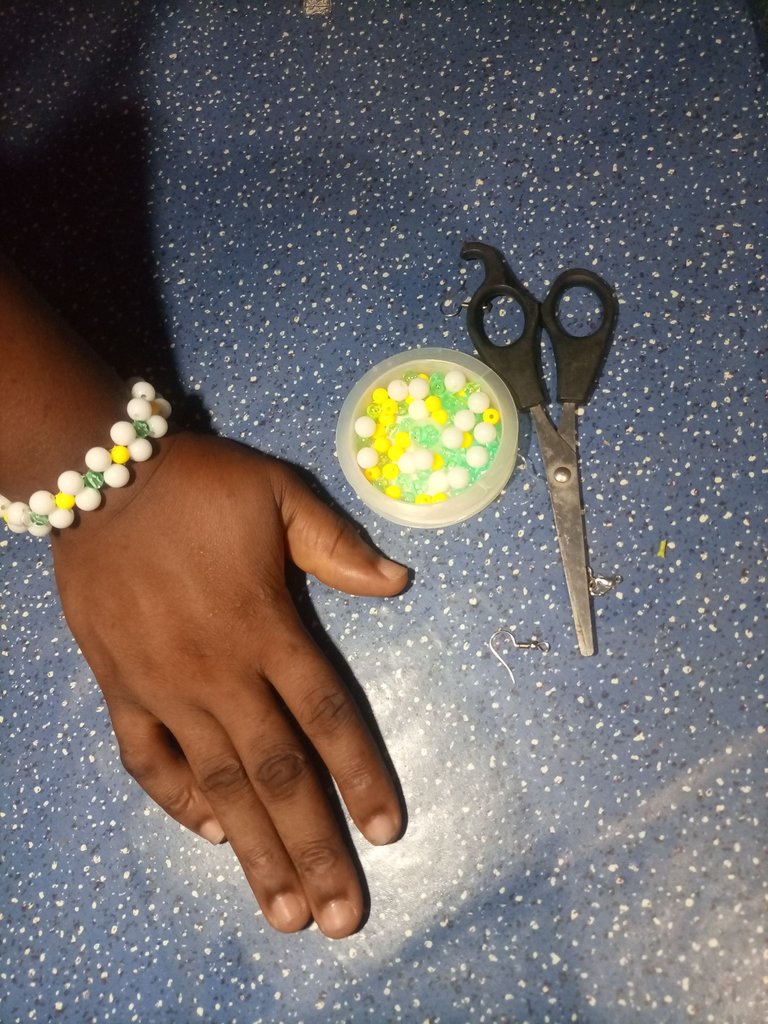
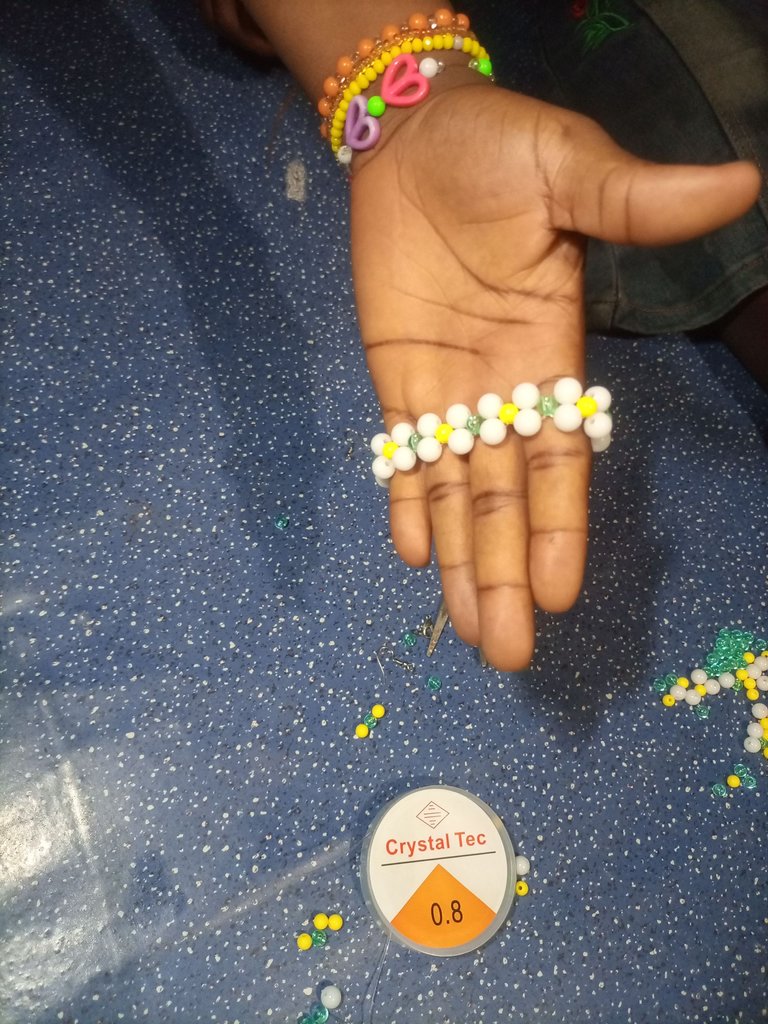
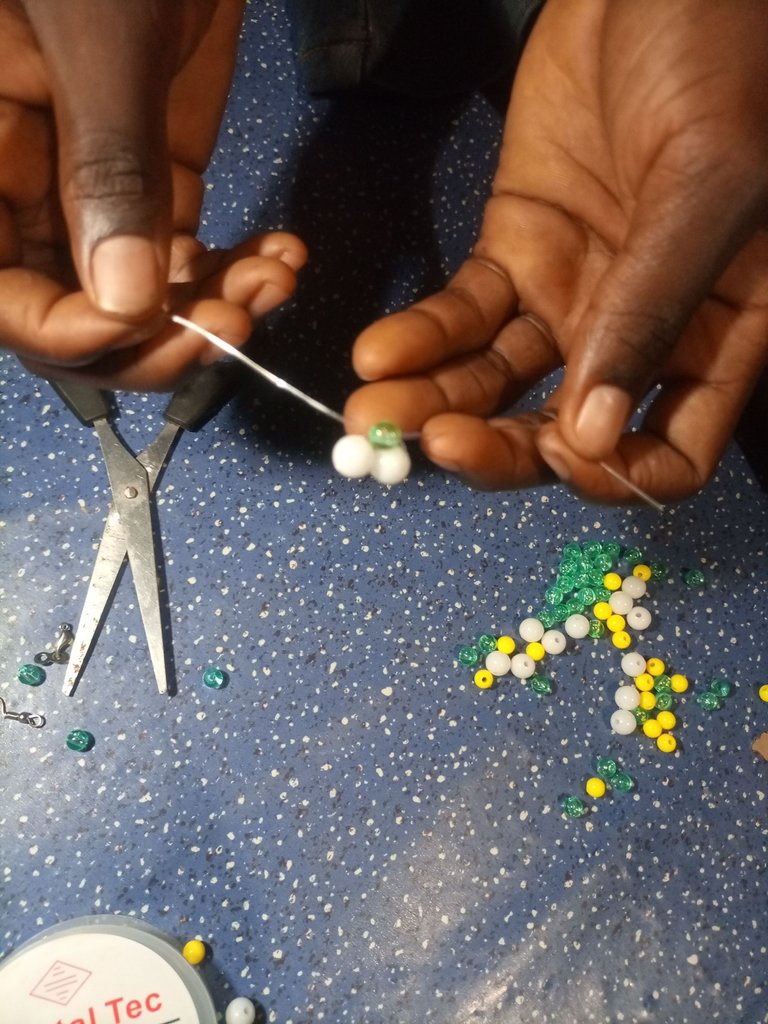
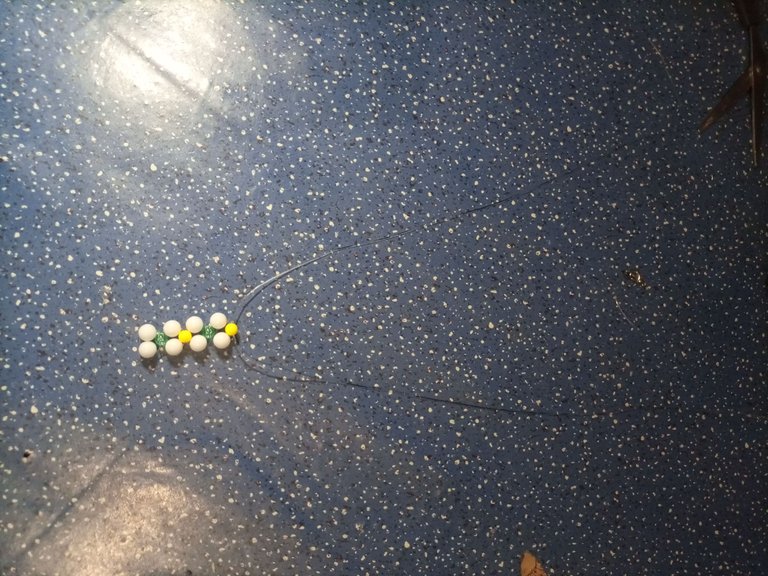
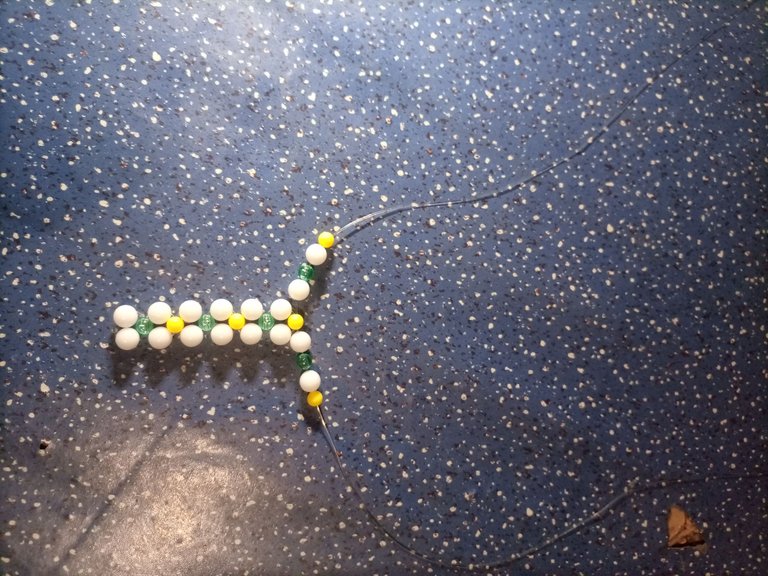
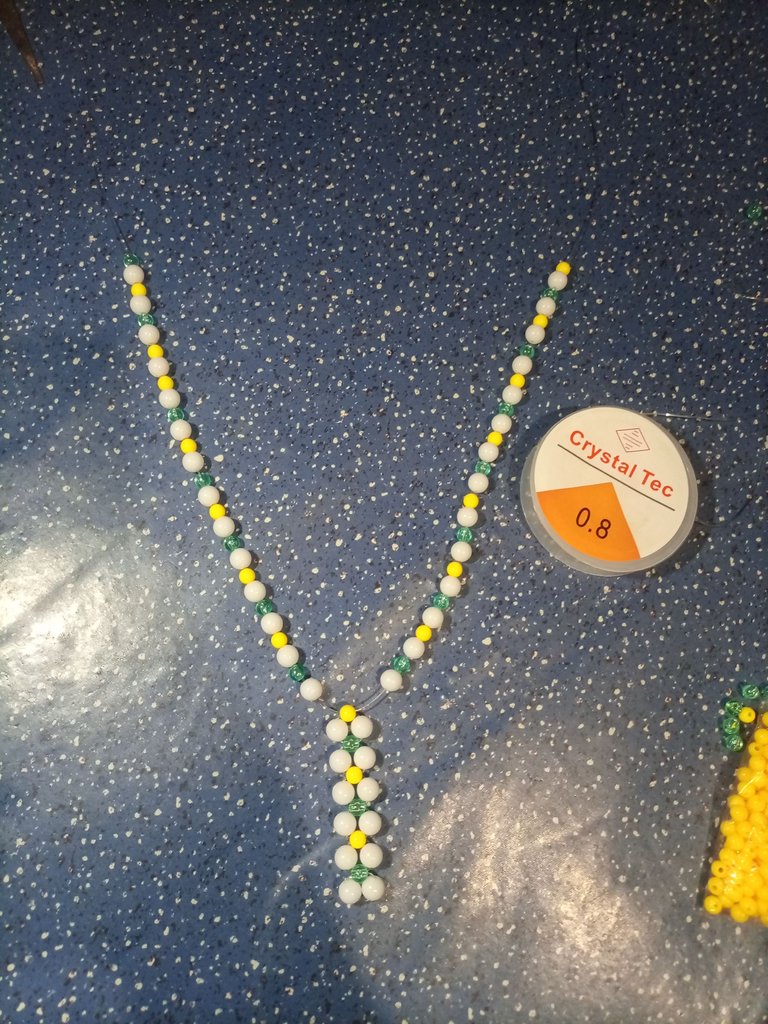
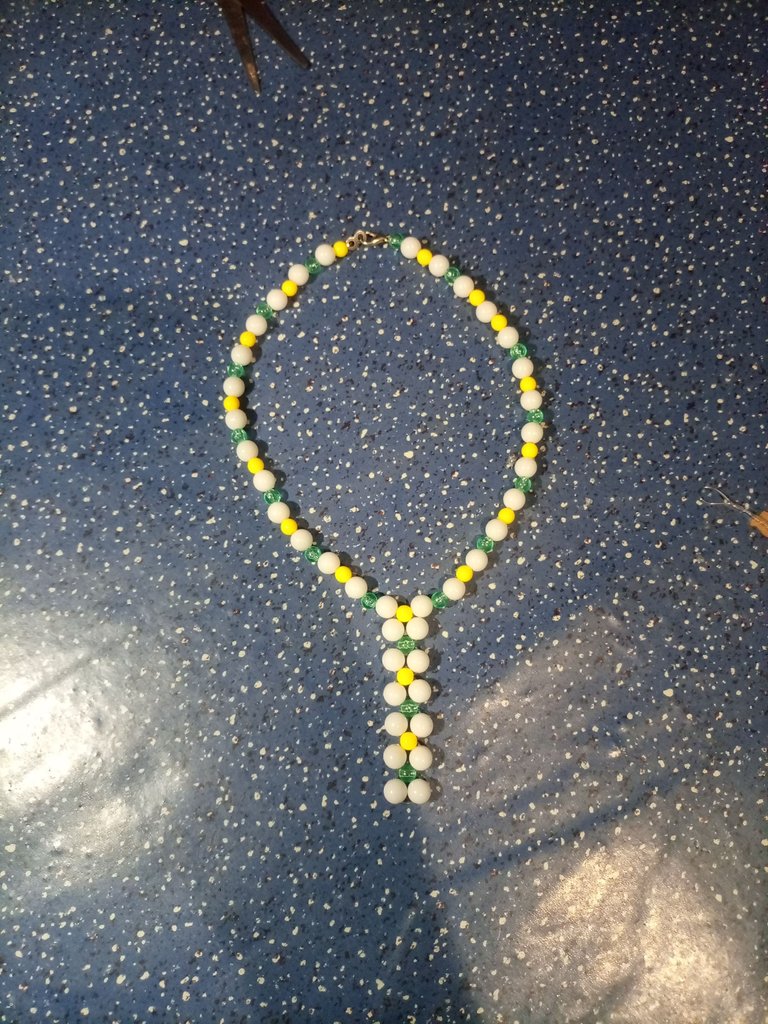

After finally sitting down and making my first bracelet, necklace and earring set, I was feeling really excited. I had been wanting to make some jewelry for a while, but I was never really sure how to get started. But after following some tutorials and spending some time practice, I finally felt ready to give it a shot.
And I'm glad I did! It was so satisfying to see the finished product and to know that I had made it myself. It's definitely something I'll be doing again in the future.
Después de finalmente sentarme y hacer mi primer juego de pulsera, collar y aretes, me sentía muy emocionada. Había querido hacer algunas joyas durante un tiempo, pero nunca estaba realmente seguro de cómo empezar. Pero después de seguir algunos tutoriales y pasar un tiempo practicando, finalmente me sentí listo para intentarlo.
¡Y me alegro de haberlo hecho! Fue muy satisfactorio ver el producto terminado y saber que lo había hecho yo mismo. Definitivamente es algo que volveré a hacer en el futuro.

Gracias
First of all welcome to the community friend @danokoroafor we love having you in the community, and that you bring us a complete tutorial and a very beautiful design of a special set.
It's good to know that you have been researching on Google and that you were able to learn a little bit and bring it to the community, you have done a great job, congratulations 👏
Primero que nada bienvenida a la comunidad amiga @danokoroafor nos encanta tenerte en la comunidad, y que nos traigas un tutorial completo y un diseño muy hermoso de un conjunto especial.
Es bueno saber que has estado investigando en Google y que pudieras aprender un poco y traerlo a la comunidad, haz realizado un gran trabajo, felicidades 👏
Thank you so much. I appreciate
Welcome to the Community @danokoroafor, Thank you for showing us your creative process, it is really very nice this set.
Thank you so much @marleyn I appreciate